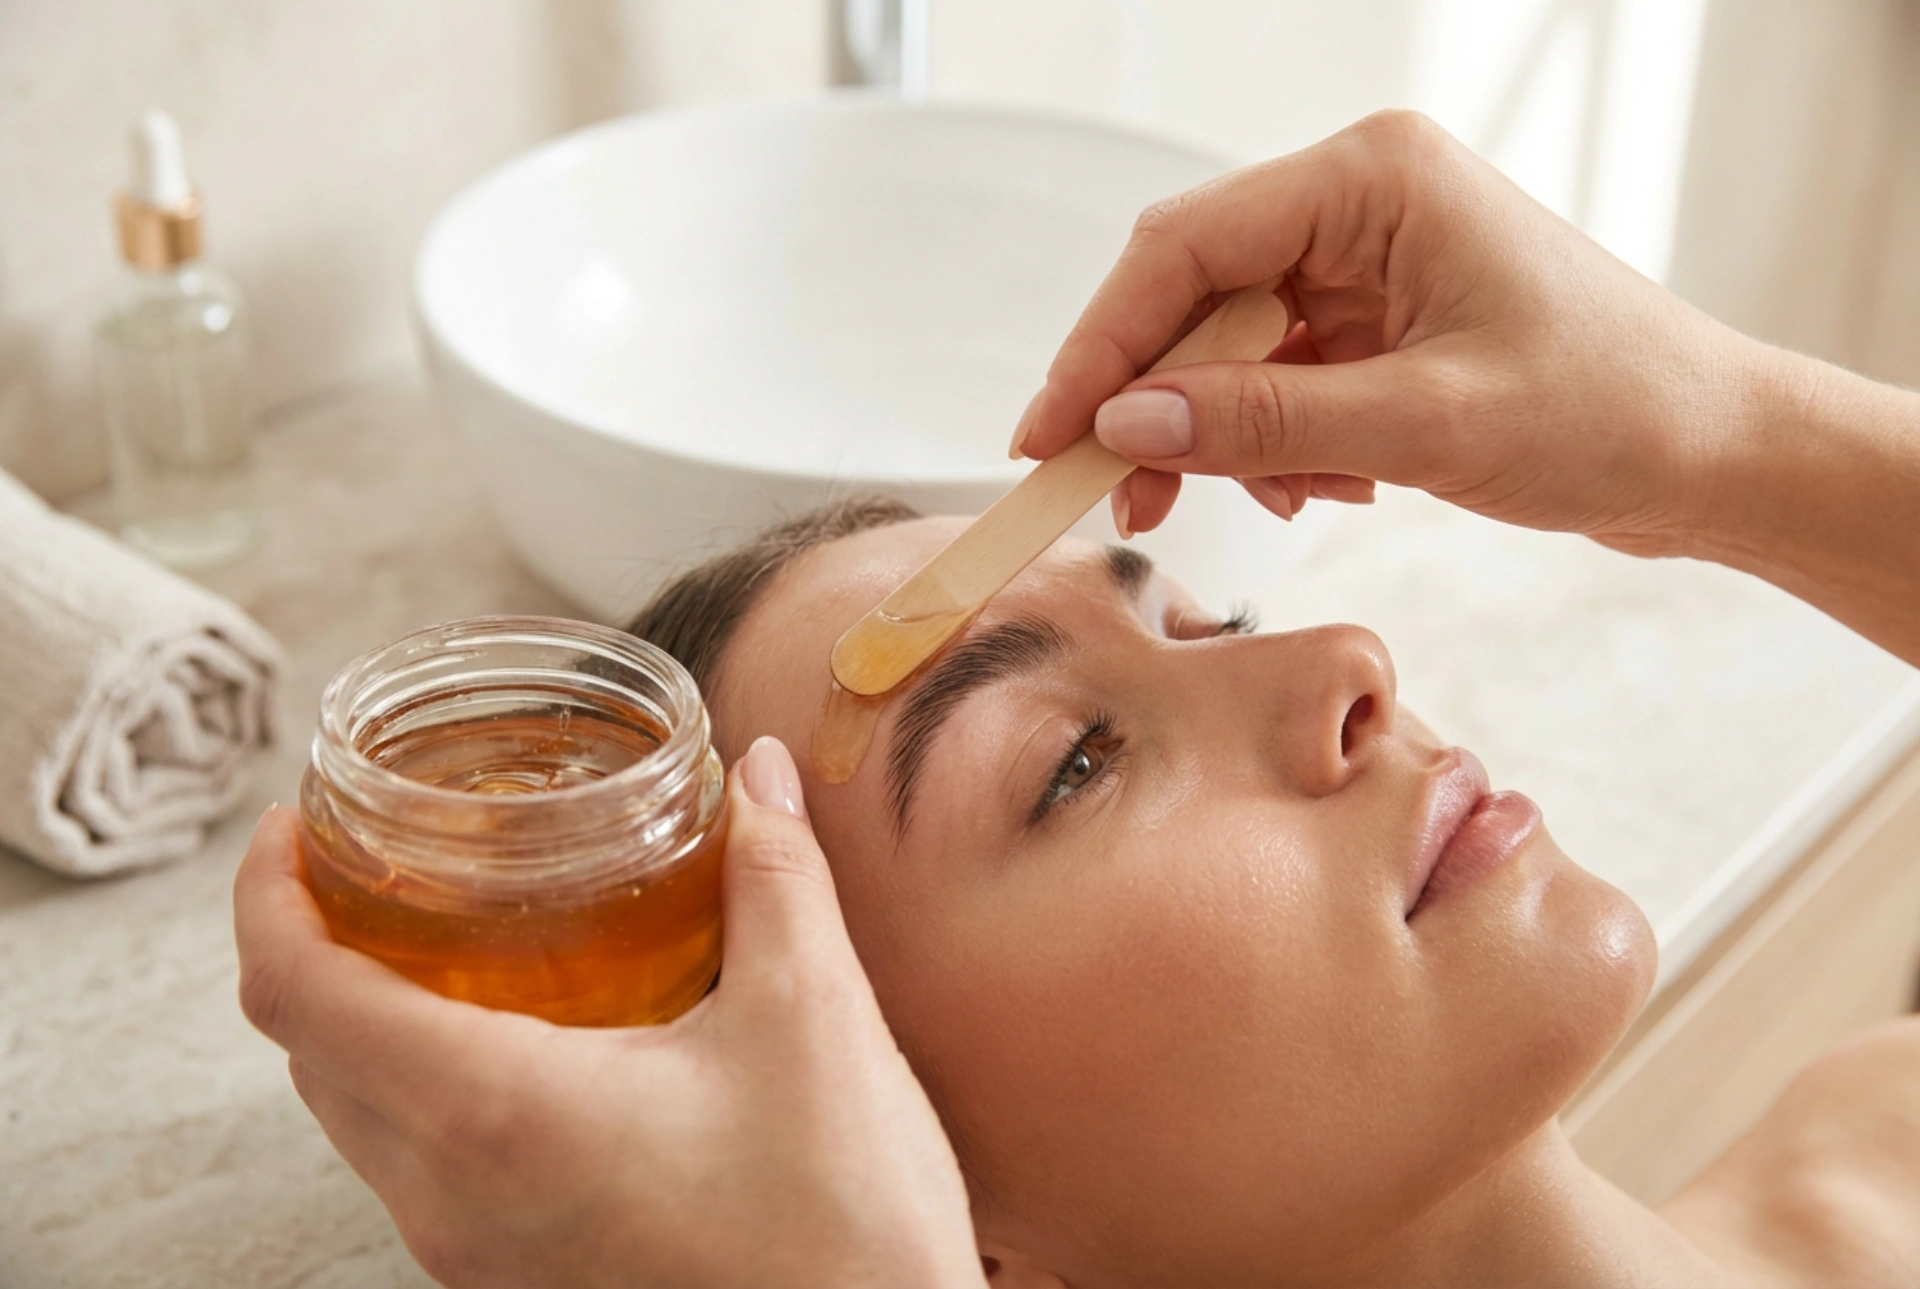


Shaping eyebrows at home has become a cherished self-care ritual for many. With the right tools, such as a precise wooden spatula and a high-quality warm wax, you can achieve professional-looking results in the comfort of your own bathroom. Ensuring your skin is properly prepared and understanding the exact techniques for application and removal are key to a smooth, comfortable experience that leaves your brows looking beautifully defined.
Preparing the Skin for Home Waxing
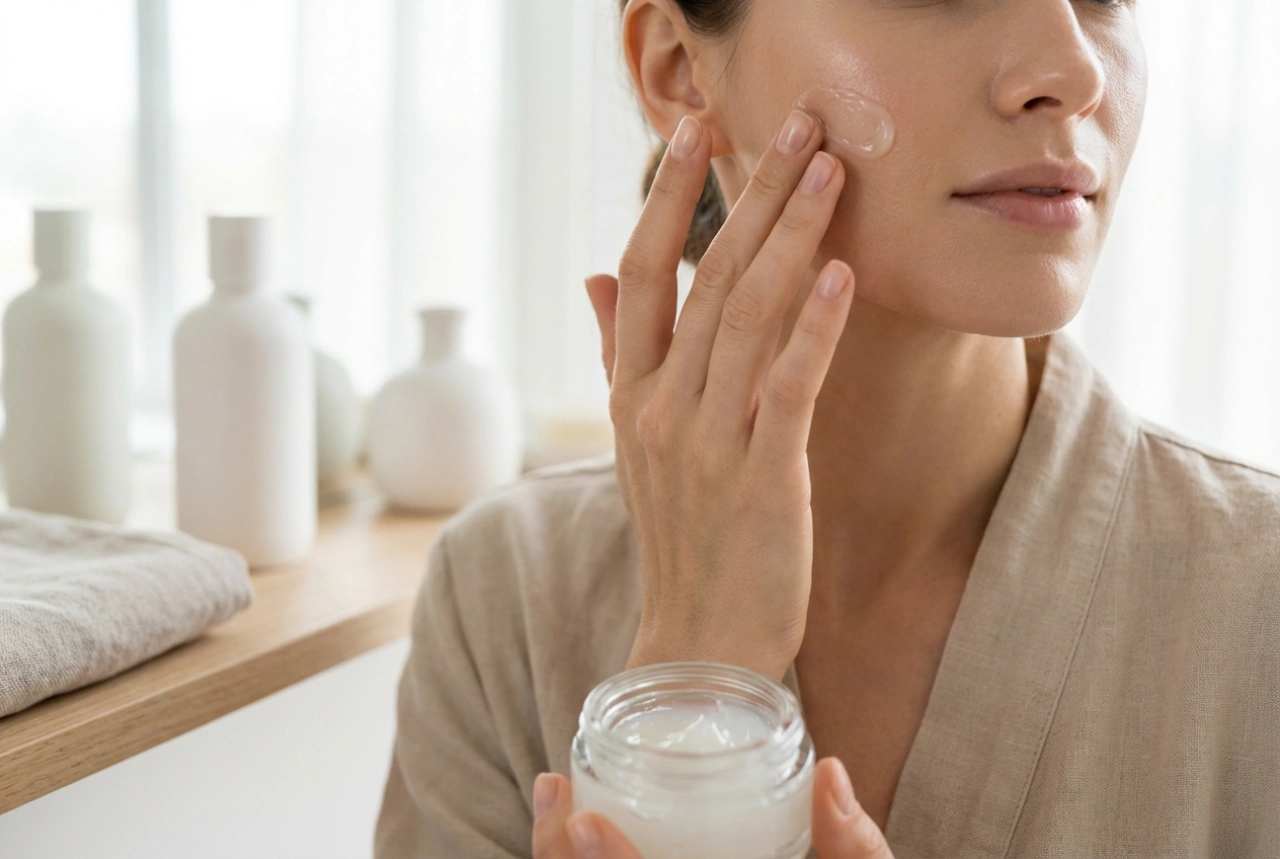
Before you begin the waxing process, prepping the delicate skin around your eyes is absolutely essential. Any residual makeup, oils, or moisturisers can prevent the wax from adhering correctly to the brow hairs. Start by thoroughly cleansing your face with a gentle, oil-free cleanser. Pat the area completely dry with a clean, soft towel.
To ensure the wax grips only the hair and not the skin, you can apply a very light dusting of talc-free powder to the brow area. This absorbs any remaining moisture or natural sebum, protecting the skin barrier during the process. It is also wise to avoid using active skincare ingredients, like retinol or chemical exfoliants, for at least three days prior to waxing, as these can make the skin overly sensitive and prone to lifting.
Choosing and Warming the Wax
For at-home brow shaping, hot film wax (also known as hard wax) is often the most recommended option. Unlike soft strip wax, hard wax wraps around the hairs and shrinks as it cools, adhering directly to the hair rather than pulling tightly on the skin. This makes it much gentler for the sensitive eye area.
When heating your wax, always follow the manufacturer's instructions carefully. The ideal consistency should resemble warm honey—fluid enough to glide on smoothly, but not so hot that it becomes runny. Always test the temperature on the inside of your wrist before applying it to your face to prevent thermal discomfort or burns.
Step-by-Step Application Technique
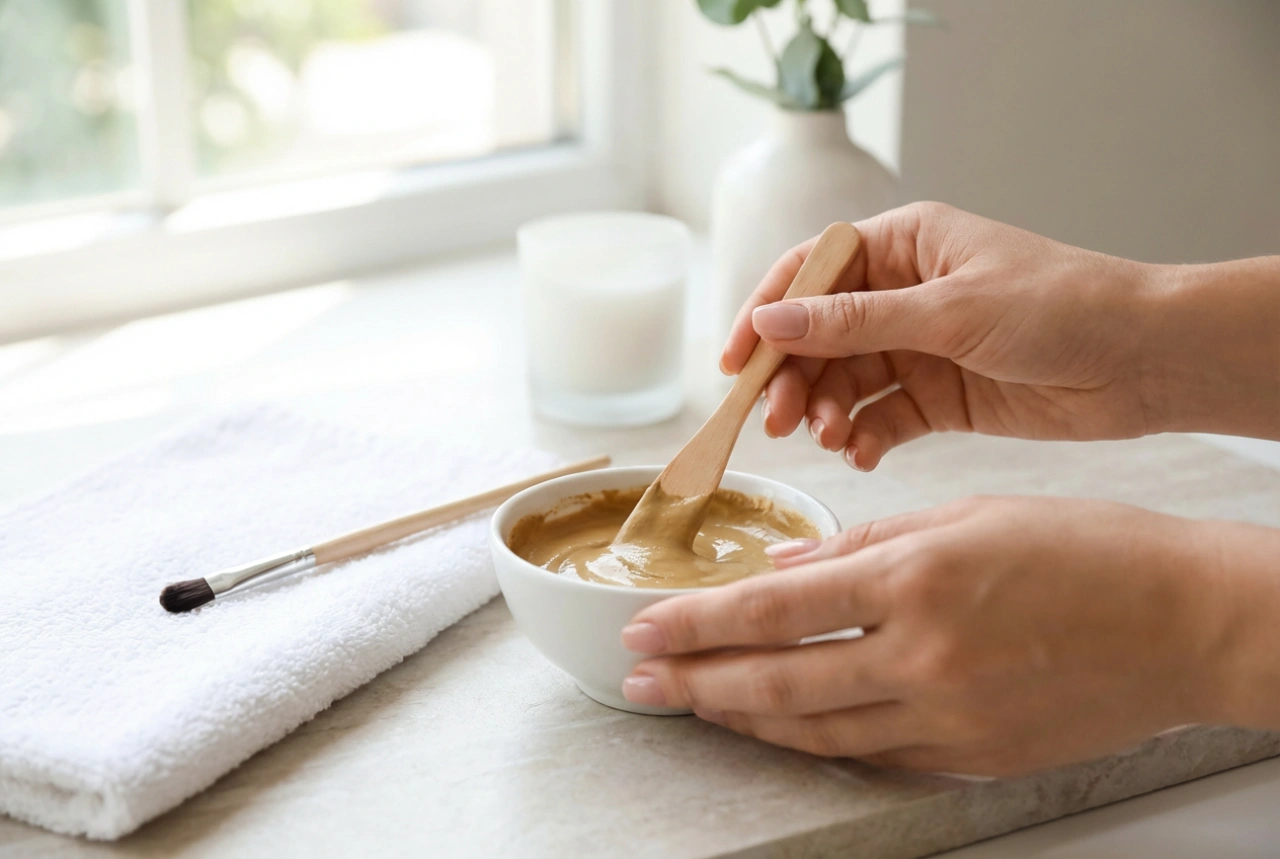
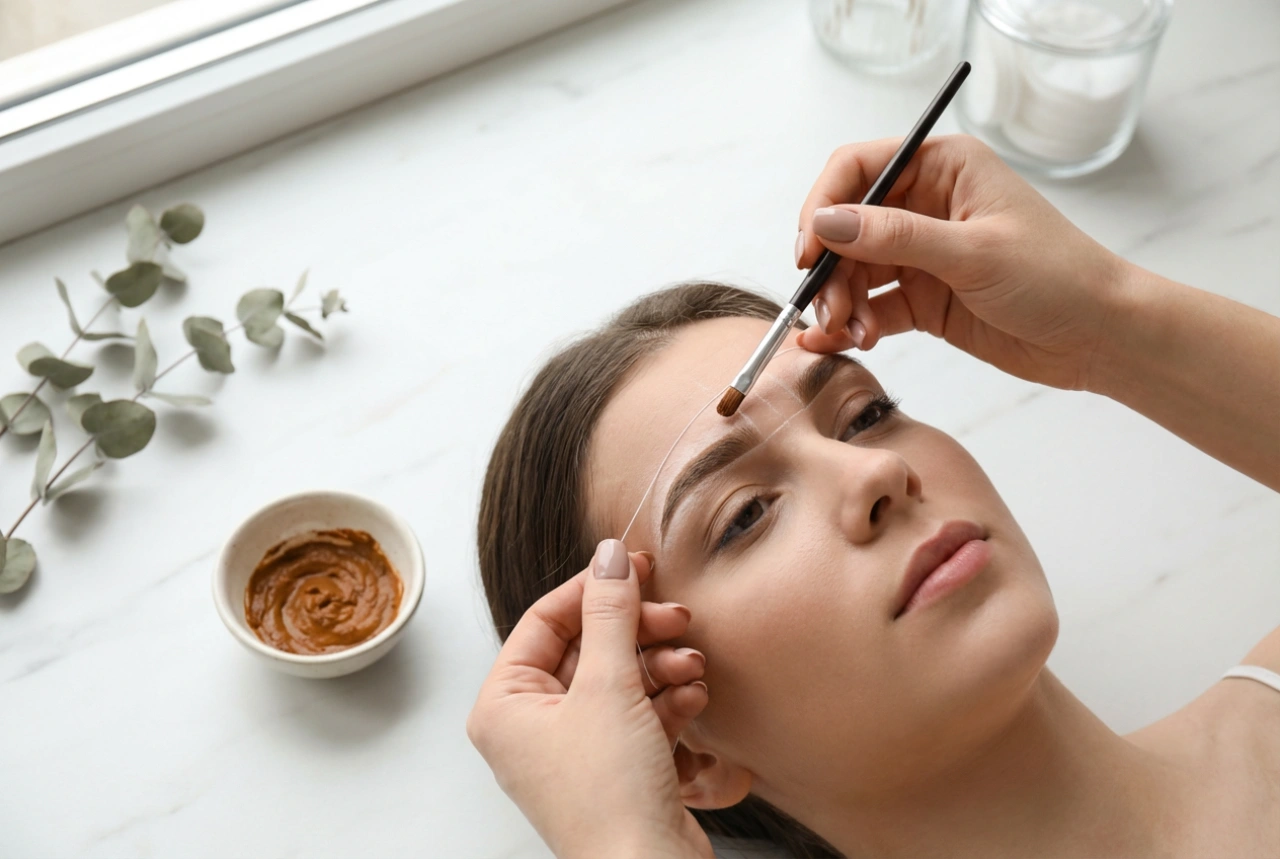
Precision is the most crucial element of eyebrow waxing. Using a small, flat wooden spatula allows for the ultimate control during application. Dip the edge of the spatula into the warm wax, wiping off any excess to prevent drips.
- Apply the wax in the direction of hair growth, pressing down gently but firmly to ensure the wax wraps around the base of each hair.
- Work in small, manageable sections rather than attempting to wax the entire brow area at once. Start with the space between the brows, then move to the area underneath the arch, and finally the top edge if necessary.
- Always leave a slightly thicker tab of wax at the end of your application strip, as this gives you a clean grip point to pull from once the wax sets.
Safe Removal and Post-Wax Care
Removal requires a swift, confident motion to minimise discomfort and protect the skin. Wait a few seconds for the wax to cool and become slightly firm to the touch, but not completely brittle. To remove, hold the skin taut with one hand—this is vital to prevent bruising and skin lifting. With your other hand, grip the thicker tab at the edge of the wax strip.
Pull the strip back quickly in a single motion, keeping it parallel and close to the skin, rather than pulling upwards. Pulling upwards can lead to broken hairs and unnecessary irritation. Immediately after removing the strip, press your clean fingertip gently onto the waxed area for a few seconds to soothe the nerve endings.
Essential Post-Waxing Steps
Once you have achieved your desired brow shape, caring for the post-waxed skin will prevent irritation and keep the area looking smooth:
- Use a gentle, soothing oil, such as sweet almond or jojoba oil, applied on a cotton pad to gently dissolve and wipe away any lingering wax residue.
- Avoid applying heavily perfumed lotions, alcohol-based toners, or heavy makeup to the brow area for at least twenty-four hours to let the hair follicles close naturally.
- Keep the area clean and hydrated with a pure, fragrance-free aloe vera gel if you experience any mild redness.