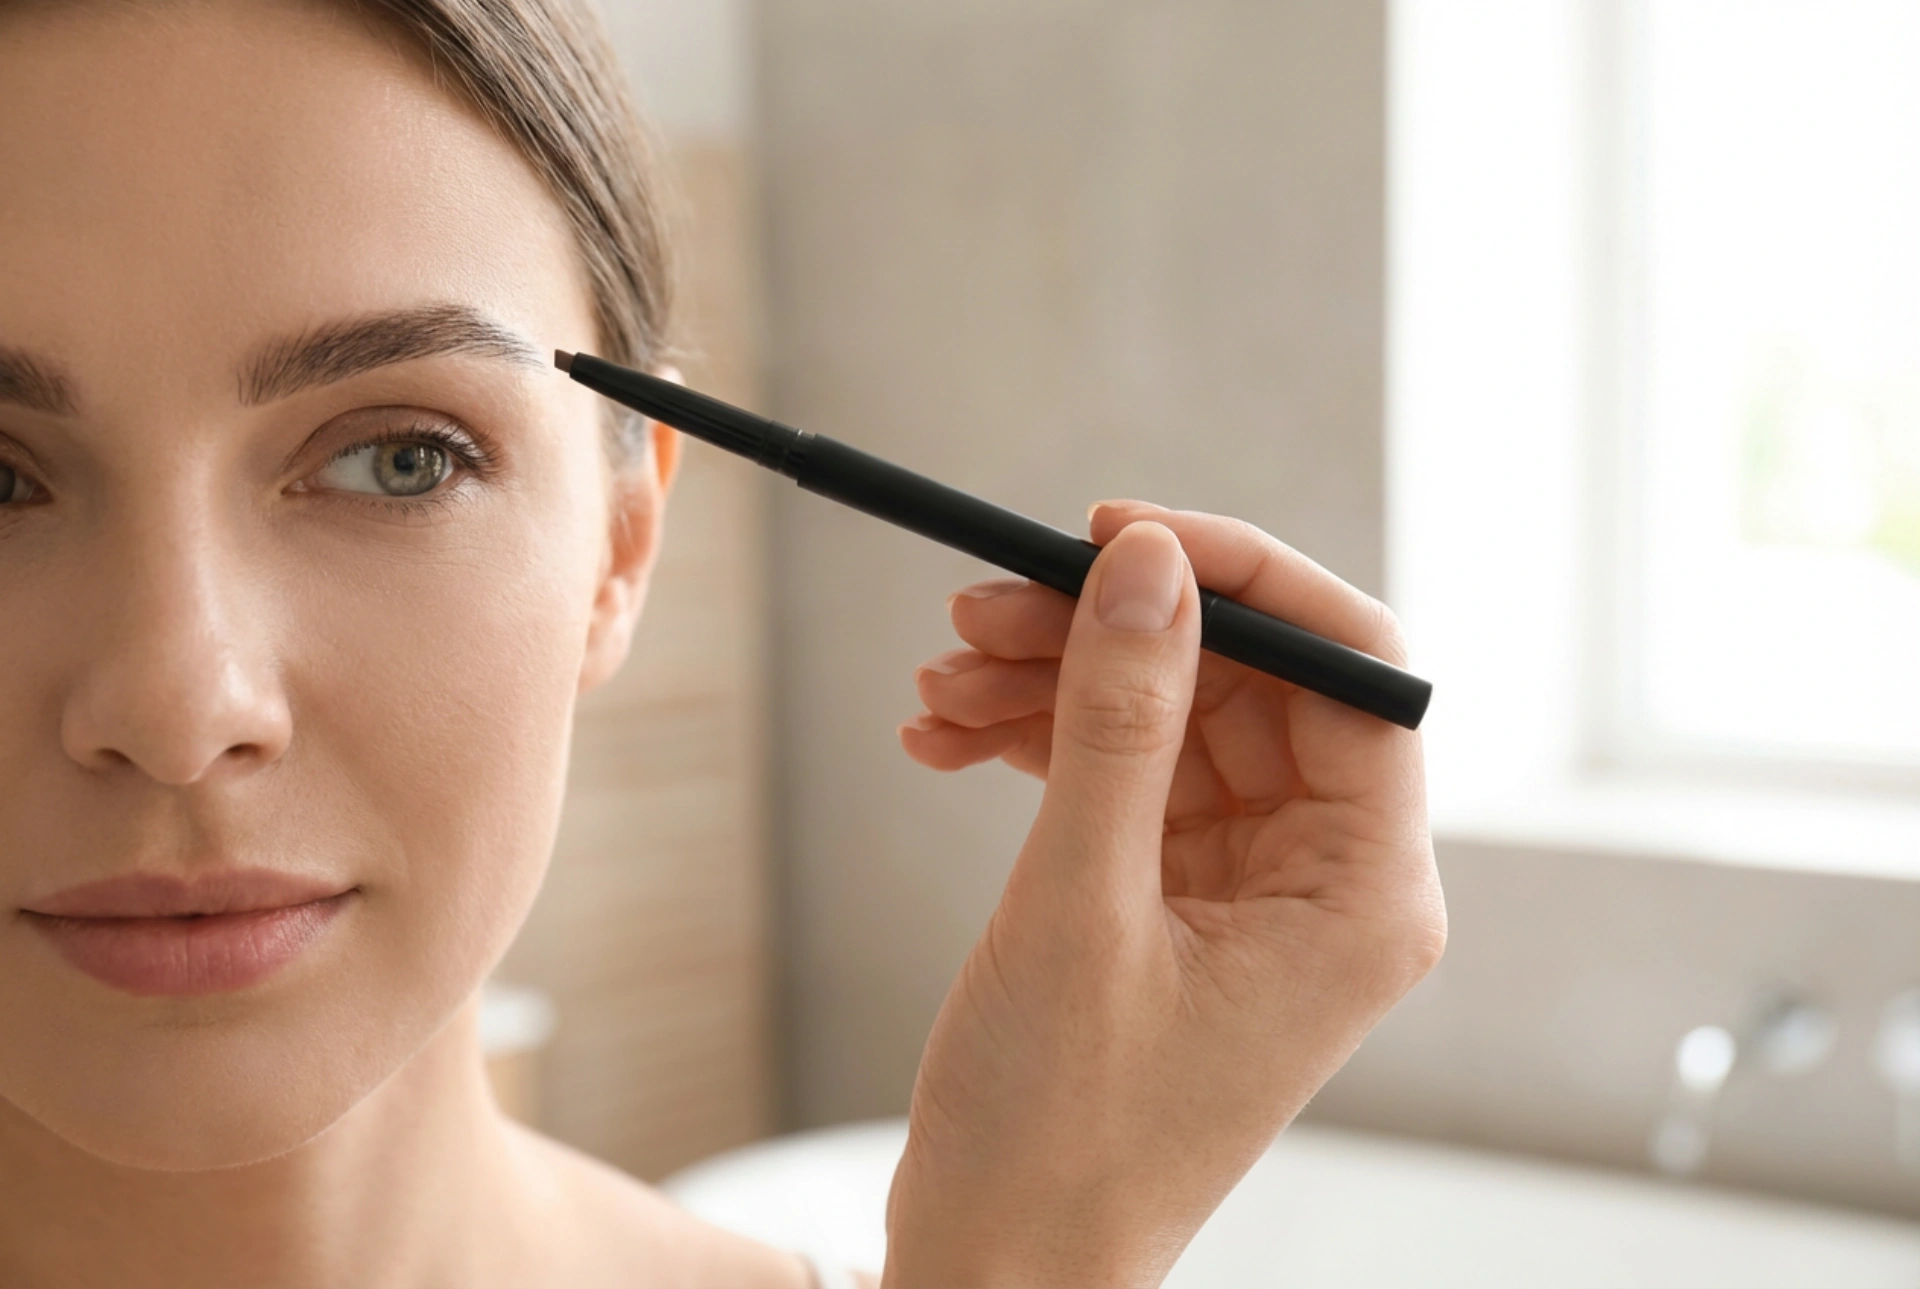


Achieving perfectly defined eyebrows is an art form that relies on the right tools and a steady hand. When holding a sleek eyebrow pencil in natural light, one can appreciate how subtle details can completely transform the facial structure. While beauty trends constantly shift, well-groomed, natural-looking brows remain a timeless standard. Using a professional-style eyebrow pencil allows for ultimate precision, helping to fill in sparse areas and define the arch with natural hair-like strokes.
Choosing the Ideal Eyebrow Pencil
Before beginning the application process, selecting the appropriate pencil is essential for a natural finish. Eyebrow pencils generally fall into two categories: ultra-fine micro pencils and classic wooden pencils. Micro pencils are ideal for drawing individual hairs, while traditional pencils are excellent for shading and filling larger areas. When choosing a colour, it is advisable to select a shade that matches the natural undertone of your hair. For a soft, realistic appearance, blondes should opt for neutral ash tones, whilst those with darker hair should look for cool brown shades rather than harsh black, which can appear too heavy.
Preparing the Brow Area for Styling
To ensure that the pencil glides on smoothly and stays in place throughout the day, proper preparation of the skin is key. Begin by thoroughly cleansing the face to remove any excess oils, moisturisers, or makeup residue from the brow area. If the skin is too oily, the wax-based formula of the pencil may slide or smudge. A light dusting of translucent powder over the brows can create a matte, clean base, allowing the pencil to adhere beautifully and last much longer. Gently brush the brow hairs upward and outward using a clean spoolie brush to reveal the natural shape and identify any gaps.
The Mapping Technique: Finding Your Perfect Shape
Precise eyebrow shaping relies on basic facial geometry. Before applying any colour, you can map out the ideal start, arch, and tail of your brows using your pencil as a guide.
1. Locating the Start
Hold the pencil vertically against the side of your nose, pointing straight up to the brow. This is where your eyebrow should ideally begin. Mark this spot with a tiny, faint dot.
2. Determining the Arch
Angle the pencil from the outer edge of your nostril through the centre of your pupil. The point where the pencil intersects your brow bone is the highest part of your arch. Mark this point gently.
3. Defining the Tail
Align the pencil from the outer corner of your nose to the outer corner of your eye. Where the pencil extends past the eye indicates where the brow tail should gracefully end. Avoid drawing the tail too low, as this can create a drooping effect.
Drawing and Blending Step-by-Step
With the mapping points in place, you can begin the actual application. The secret to professional-looking brows is a light touch. Avoid drawing long, continuous lines, which can look harsh and artificial. Instead, use short, flicking motions that mimic the natural direction of your hair growth. Start at the centre of the brow, where the hair is naturally denser, and work your way outward to the tail. Use lighter pressure at the front of the brow to create a soft, gradient effect that looks incredibly natural. Once the gaps are filled, use the spoolie brush to blend the pencil lines upwards, softening any sharp edges and distributing the pigment evenly.
Locking the Look in Place
The final step in your brow routine is setting the shape to ensure longevity. A clear brow gel or a lightweight brow wax can be brushed through the hairs in an upward motion. This not only locks the hairs in place but also adds a subtle sheen, making the brows look healthy and groomed. If any mistakes were made during the process, a small cotton bud dipped in micellar water can be used to clean up the edges, ensuring a sharp, professional finish.