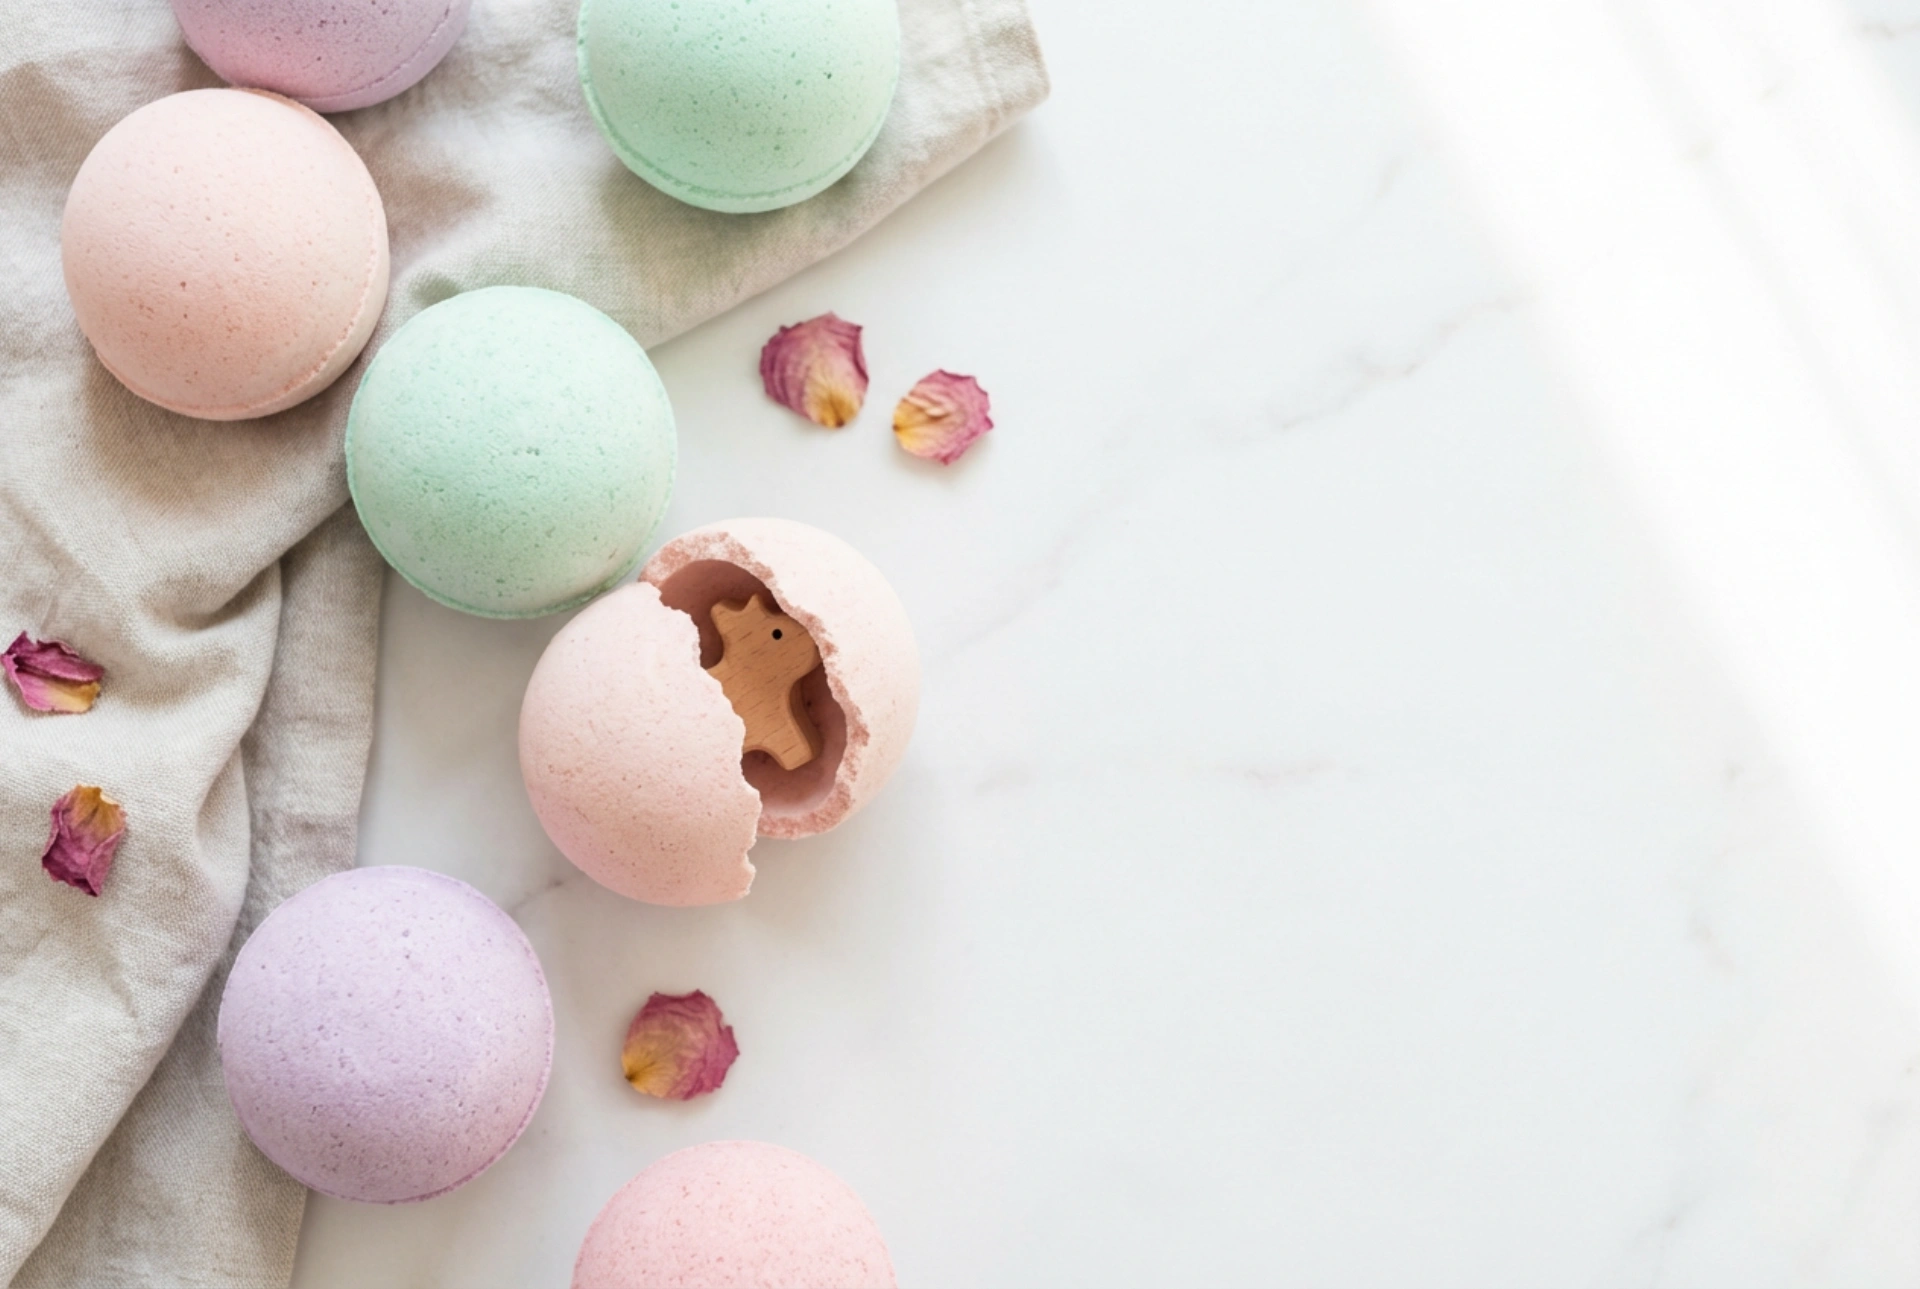


Creating a relaxing and playful bath experience is a wonderful way to elevate daily self-care rituals. Beautiful, pastel-coloured bath bombs arranged on a clean surface, gently releasing their soothing scents, bring an element of spa-like luxury into the home. Adding a hidden surprise, such as a tiny toy nestled deep inside, transforms a simple bath into an exciting, delightful event. Making these handcrafted creations yourself allows you to control the ingredients, customise the fragrances, and design the perfect personalised gift or personal treat.
The Appeal of DIY Bath Bombs
Handmade bath bombs have become incredibly popular because they offer a creative outlet and a customisable bathing experience. When you formulate your own bath fizziers, you can select nourishing oils, soothing scents, and gentle colourants that suit your skin's specific needs. The addition of a small, hidden toy inside the sphere adds a charming, playful element that appeals to the young and the young at heart. It turns the effervescent dissolving process into an engaging countdown to reveal the hidden treasure.
Furthermore, crafting these items at home is a sustainable and cost-effective alternative to purchasing premium store-bought options. It allows you to avoid harsh synthetic additives, ensuring that your bath time remains gentle, hydrating, and completely safe for regular use.
Essential Ingredients and Tools
Before you begin the crafting process, it is important to gather high-quality, cosmetic-grade ingredients. The base of any successful bath bomb relies on a simple chemical reaction between an acid and a base, which triggers the characteristic fizzing action when introduced to water.
- Bicarbonate of Soda (Baking Soda): This acts as the alkaline base and provides skin-softening properties.
- Citric Acid: The acidic agent that reacts with the bicarbonate of soda to create the delightful effervescence.
- Cornflour or Arrowroot Powder: This functions as a binder and slows down the fizzing reaction, allowing the bath bomb to last longer in the water.
- Nourishing Carrier Oils: Sweet almond oil, jojoba oil, or melted coconut oil help bind the dry ingredients together while offering deep moisturisation to the skin.
- Essential Oils or Gentle Fragrances: Natural scents like lavender, sweet orange, or chamomile provide a calming aromatherapy experience.
- Natural Colourants: Cosmetic-grade mica powders or water-soluble dyes add beautiful pastel hues to your creations.
- The Surprise: Small, waterproof plastic or silicone toys, generic figurines, or even small encapsulated messages that can withstand water.
Step-by-Step Guide to Crafting the Surprise
Achieving the perfect consistency is the secret to a durable bath bomb that holds its shape and conceals the toy effectively. Follow these simple steps to master the technique:
Step 1: Mixing the Dry Ingredients
In a large glass bowl, combine two parts bicarbonate of soda with one part citric acid and one part cornflour. Sift the mixture thoroughly to remove any lumps, ensuring a silky, uniform texture. If you are using dry colourants like mica powder, blend them into the dry mixture at this stage until the colour is evenly distributed.
Step 2: Preparing the Wet Phase
In a separate small container, mix your chosen carrier oil with a few drops of essential oil. If you are using liquid colourants, add them to the wet ingredients. Keeping the wet and dry elements separate initially prevents the premature activation of the fizzing reaction.
Step 3: Combining with Care
Slowly add the wet mixture to the dry ingredients, one teaspoon at a time. Whisk rapidly or use your hands to incorporate the moisture. The mixture should reach a consistency resembling wet sand—it should clump together firmly when squeezed in your palm, but crumble easily if pressed too hard. If the mixture is too dry, mist it lightly with a tiny amount of water or witch hazel using a spray bottle.
Step 4: Inserting the Toy and Moulding
Take your bath bomb moulds and pack the mixture firmly into both halves. Create a small hollow in the centre of one half and place your chosen generic toy inside. Pile extra loose mixture loosely on top of both halves, then press them together with firm, direct pressure. Avoid twisting the moulds, as this can cause the spheres to crack. Let them sit in the moulds for at least twenty-four hours in a dry, cool place to harden completely before gently unmoulding them.
Tips for a Perfect, Long-Lasting Fizz
Humidity is the greatest challenge when crafting bath bombs at home. High moisture levels in the air can activate the citric acid prematurely, causing the spheres to expand, crack, or lose their fizzing potential. Always work in a well-ventilated, dry environment, and avoid making them on rainy days if possible.
Once your bath bombs are completely dry and cured, wrap them individually in biodegradable plastic wrap or store them in an airtight glass jar. This preserves their scent, prevents moisture absorption, and ensures they deliver a spectacular fizzing display when finally dropped into a warm bath.
Safe and Creative Variations
You can easily customise your creations to suit different preferences. Consider blending different pastel shades together in the mould to create a beautiful marbled effect, or add a sprinkle of dried botanicals like lavender buds or rose petals to the bottom of the mould before packing. Always ensure that any toys embedded inside are of an appropriate size, waterproof, and completely safe for bath use, avoiding any sharp edges or small detachable parts.