


Proper foot care is an essential part of any self-care routine, yet it's often overlooked. Thickened toenails can be a common issue that makes regular trimming a challenge. Using the right tools, such as a sturdy pair of nail nippers, ensures a precise and comfortable experience. This guide will walk you through the process of safely and effectively shortening thick toenails at home, turning a difficult task into a simple act of personal care.
Preparing for a Safe Pedicure at Home
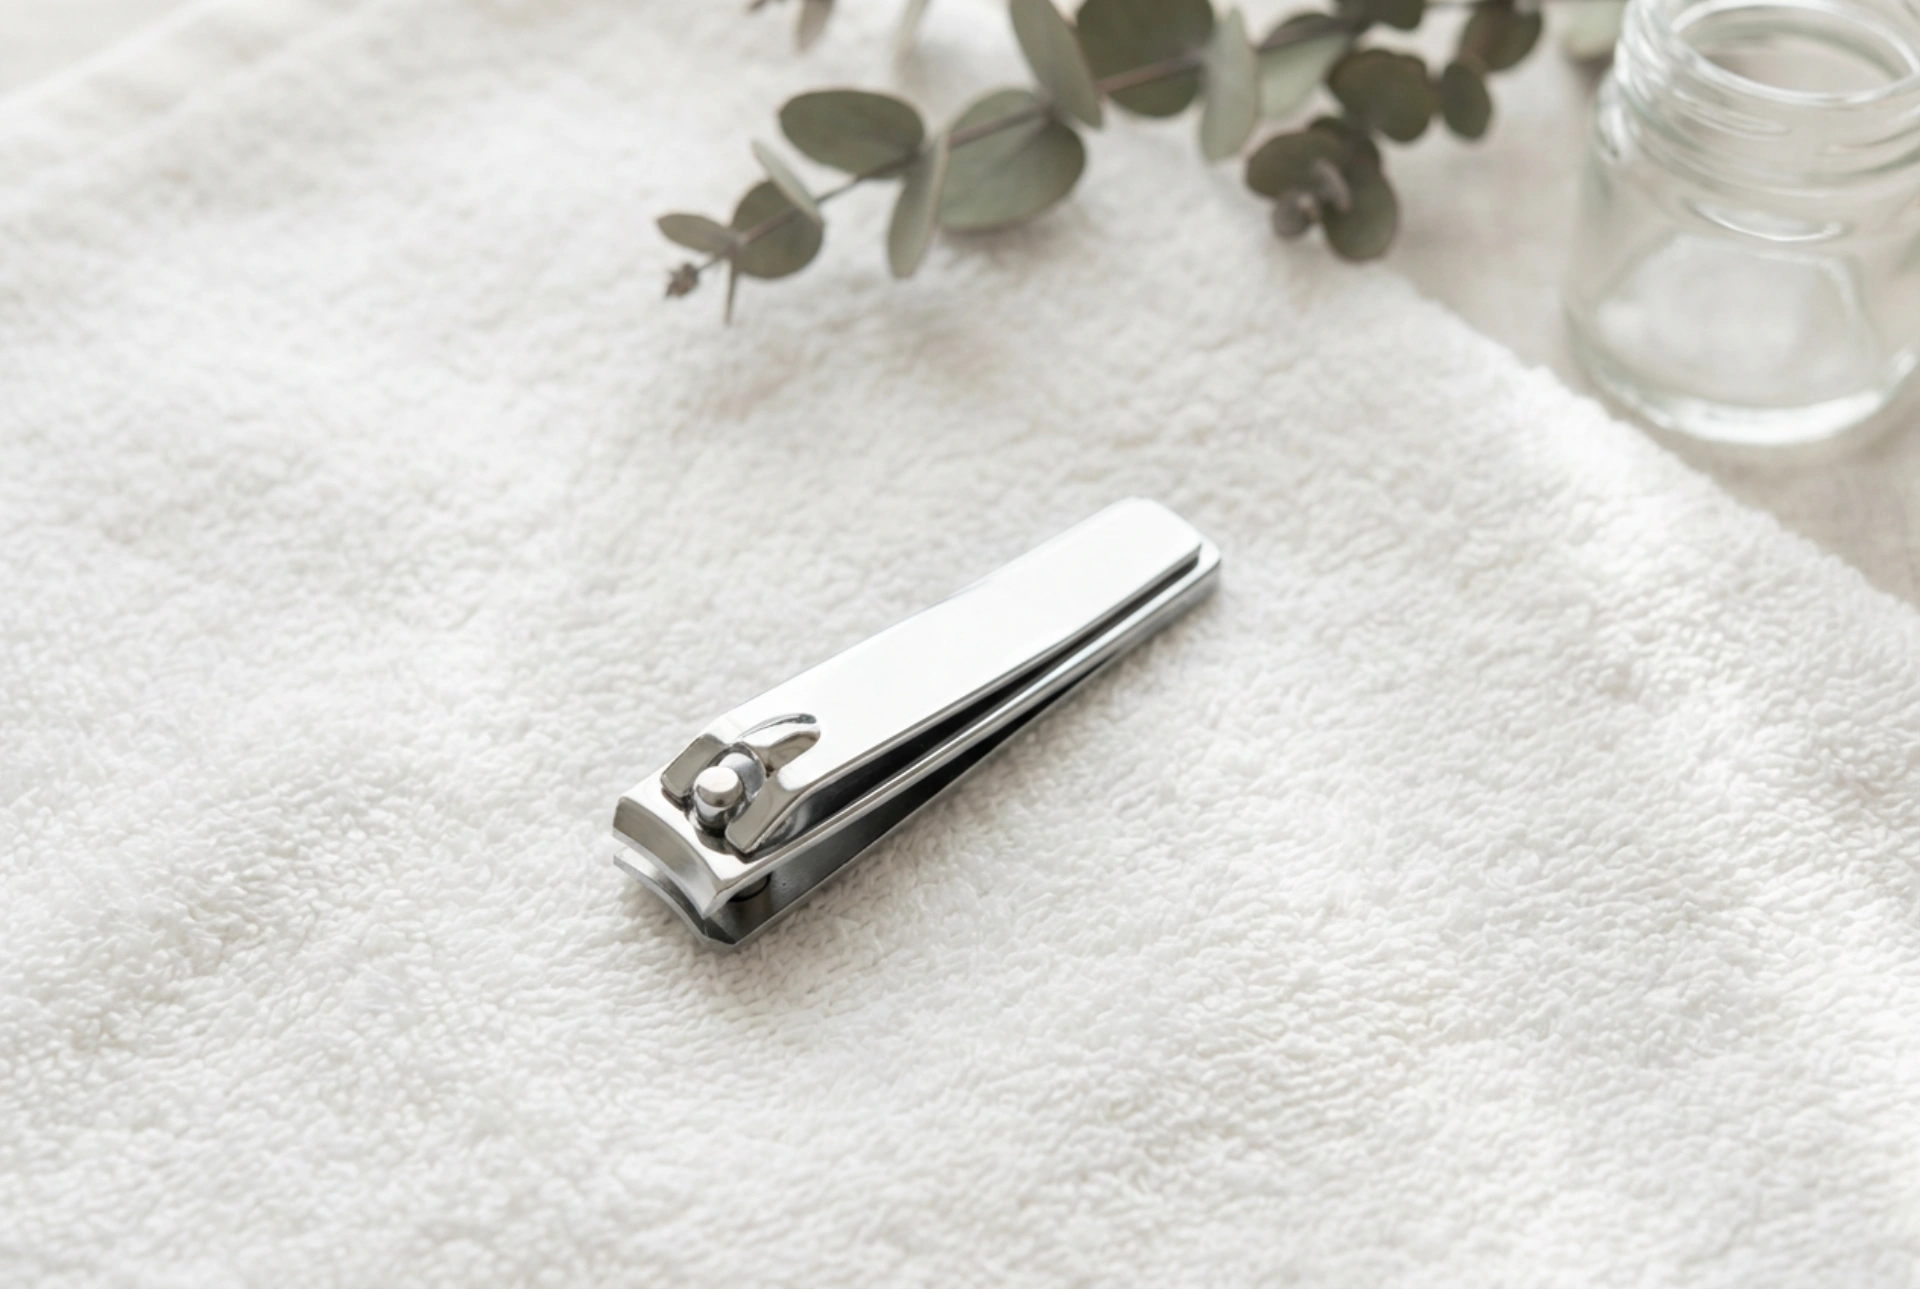
Before you begin, proper preparation is key to making the process smoother and more comfortable. Start by softening your toenails. Soaking your feet in a basin of warm water for 10 to 15 minutes will make thick nails much easier to cut. You can add bath salts or a gentle soap if you wish, creating a relaxing spa-like experience. While your feet are soaking, gather your tools: a clean pair of high-quality nail nippers, a nail file, and a fresh towel. It is crucial to ensure your tools are clean. Wipe the nippers with an antiseptic solution before and after each use to maintain good hygiene and prevent the spread of bacteria.
A Step-by-Step Guide to Trimming Thick Toenails
Once your nails are softened and your tools are ready, you can begin the trimming process. Following the correct technique is vital for achieving a neat result and maintaining nail health.
Find a Comfortable Position
Sit in a well-lit area where you can comfortably reach your feet without straining. Place your foot on a towel to catch any clippings, making clean-up easier. Good lighting is important to see exactly what you are doing and avoid cutting the nail too short or catching the skin.
The Correct Trimming Technique
Unlike regular clippers, nippers offer more control and leverage, which is ideal for thicker, tougher nails. Always work with small, deliberate movements.
- Begin at one corner of the nail and make a small, straight cut. Do not attempt to cut the entire nail in one go.
- Continue making several small snips straight across the nail. This method prevents the nail from cracking or splitting under pressure.
- The goal is to trim the nail straight across. This shape is generally recommended to help prevent discomfort at the sides of the nail. Avoid cutting down the sides or rounding the corners too deeply.
- Be mindful not to cut the nail too short. It's best to leave a small amount of white at the tip (around 1-2mm) to protect the sensitive nail bed underneath.
Aftercare and Finishing Touches
After you have trimmed your nails to the desired length, the next step is to smooth any sharp or rough edges. Use a nail file to gently shape the top edge of the nail. It's best to file in one direction rather than sawing back and forth, as this prevents fraying and leaves a much neater finish. If the corners feel a little sharp, you can very gently round them with the file, but again, avoid filing deep into the sides of the nail. Once you're satisfied with the shape, wash and dry your feet thoroughly. To complete your pedicure, apply a nourishing foot cream or cuticle oil to moisturise the skin and nails, helping to keep them healthy and supple.
Maintaining Your Tools and Routine
Good quality nail nippers are a worthwhile investment for your home pedicure kit. Look for a pair made from stainless steel, as they are durable, rust-resistant, and easy to keep clean. The blades should be sharp to ensure a clean cut without crushing or damaging the nail. To keep your nippers in excellent condition, always clean them after each use, dry them completely, and store them in a dry place, preferably in a protective pouch. Regular trimming, typically every few weeks depending on how quickly your nails grow, is an important part of maintaining foot comfort and appearance.


