


Smooth, well-cared-for feet are a sign of wellbeing and give us confidence, especially during the warmer months. While professional pedicures are a treat, achieving similar results at home is now easier than ever, thanks to tools like the electric foot file. This device helps to effectively and safely manage thickened skin and calluses on the heels and soles. Learning the correct technique is key to achieving beautifully smooth feet without irritation. This guide will walk you through the process, step by step, for a perfect home pedicure.
Preparing Your Feet for the Treatment
Proper preparation is the foundation of a successful and safe home pedicure with an electric file. Unlike manual rasps or pumice stones that are often used on wet skin, electric files are designed to be used exclusively on dry skin. Start by washing your feet with a gentle soap and water to ensure they are clean. Afterwards, dry them meticulously with a towel, paying special attention to the areas between the toes and the soles. Avoid soaking your feet before the treatment. Soaking softens the skin excessively, which can make it difficult to distinguish between the callus and healthy skin, potentially leading to over-filing and irritation. Working on dry, hard skin allows the device to work more efficiently and gives you better control over the amount of skin being removed.
How to Use an Electric Foot File: A Step-by-Step Guide
Using an electric foot file is straightforward once you understand the basic principles. The goal is gradual smoothing, not aggressive removal. Patience and a gentle hand are your best allies.
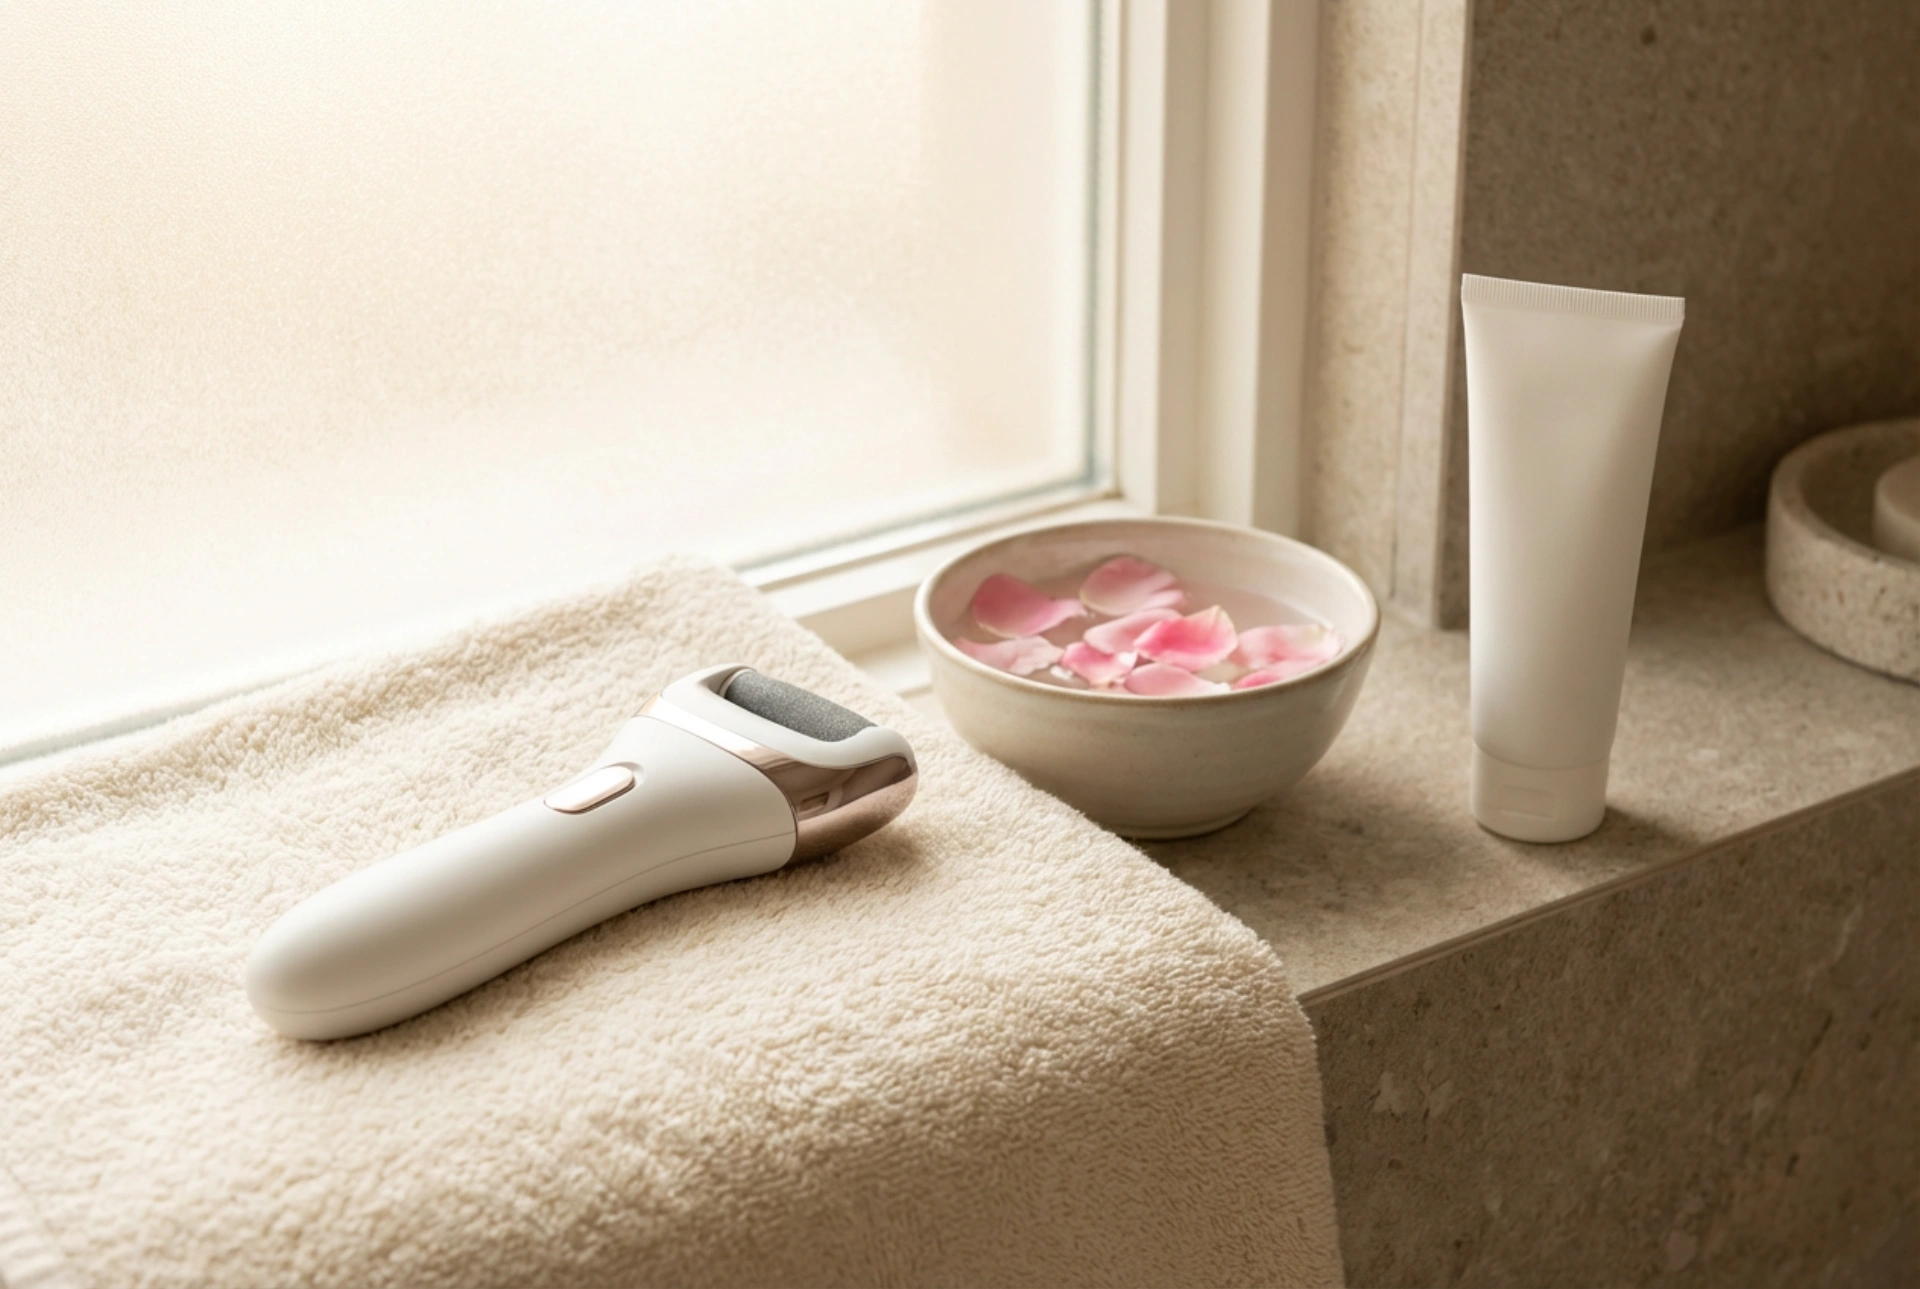
Step 1: Choose the Right Filing Head
Most electric foot files come with interchangeable heads or rollers of varying coarseness. Typically, you will find a coarser grit head for tackling thick, stubborn calluses and a finer grit head for general smoothing and finishing touches. If you are using the device for the first time or have only minor hard skin, start with the finer grit head to gauge your skin's reaction. For more prominent calluses, you can begin with the coarser head but switch to the finer one to polish the skin at the end.
Step 2: The Correct Filing Technique
Turn on the device and gently press the rotating head against the calloused area. Do not apply strong pressure; let the device do the work. The key is to keep the file in constant, slow motion. Glide it over the hard skin, moving back and forth or in small circles. Never hold the file in one spot for more than a few seconds. Pausing in one place can cause friction, which generates heat and can lead to discomfort, redness, or even burns. Work on one small section at a time, for example, one side of the heel, before moving to the next. You will see the dead skin turning into a fine powder – this is a sign that the tool is working correctly.
Step 3: Assess Your Progress Regularly
After filing an area for about 10-15 seconds, stop and turn off the device. Brush away the skin dust and feel the area with your fingers. The skin should feel smoother. It is important to remember that you may not remove the entire callus in a single session, especially if it is very thick. It is far safer to perform several short treatments over a few days than to try and remove everything at once. Over-filing can expose sensitive, new skin, causing pain and discomfort when walking.
Aftercare: The Key to Long-Lasting Smoothness
What you do after filing is just as important as the filing itself. Proper aftercare will soothe the skin and help maintain the smooth results for longer. Once you are satisfied with the smoothness, rinse your feet with lukewarm water to wash away all the fine skin powder. Gently pat them dry with a clean towel. Immediately afterwards, apply a generous amount of a rich, hydrating foot cream. Look for products containing ingredients known for their moisturising properties, such as urea, shea butter, or glycerine. Take a minute to massage the cream into your soles, heels, and all over your feet. This simple act not only helps the cream to absorb better but also stimulates circulation, leaving your feet feeling refreshed and revitalised.
Common Mistakes to Avoid
To ensure your home pedicure is both effective and safe, be mindful of these common errors:
- Using the device on wet or damp skin, which can cause uneven results and skin irritation.
- Applying too much pressure, which can lead to skin abrasion and soreness.
- Holding the file in one spot for too long, risking friction burns.
- Attempting to remove a thick callus entirely in one go. Gradual removal is safer and more effective.
- Using the file on healthy, soft skin, which can cause unnecessary damage.
- Forgetting to clean the device. Always rinse the roller head after each use to maintain hygiene and performance.


