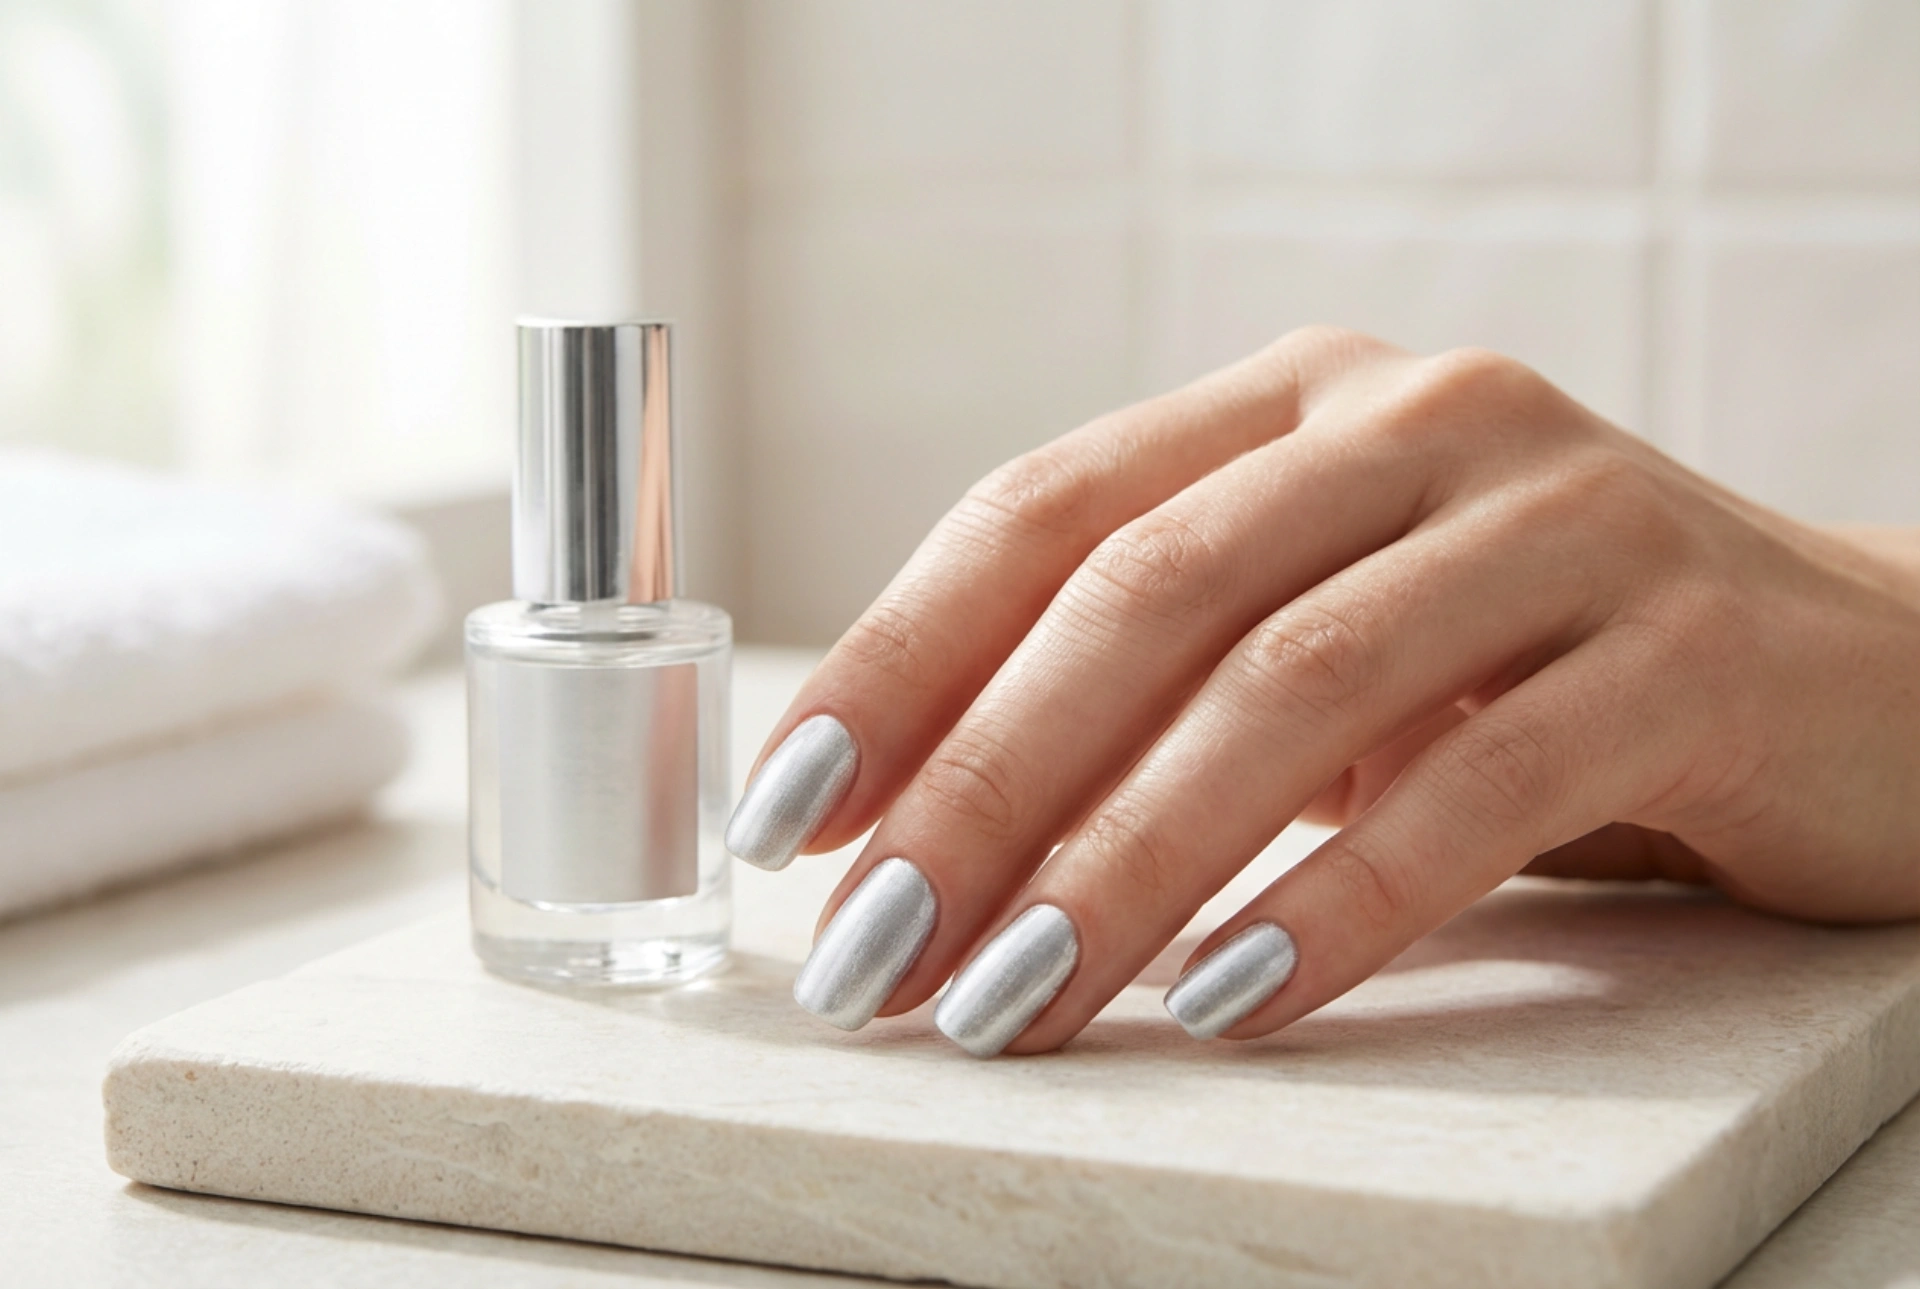


Silver nail polish offers a touch of modern elegance, capable of elevating any look with its metallic sheen. Achieving that flawless, mirror-like finish seen in professional photos, however, requires more than just a quick swipe of the brush. The key lies in proper preparation, a patient application technique, and the right finishing touches to ensure your manicure is smooth, vibrant, and long-lasting. With a few simple steps, you can master the art of applying silver polish for a stunning, streak-free result.
Preparing Your Nails for a Flawless Finish
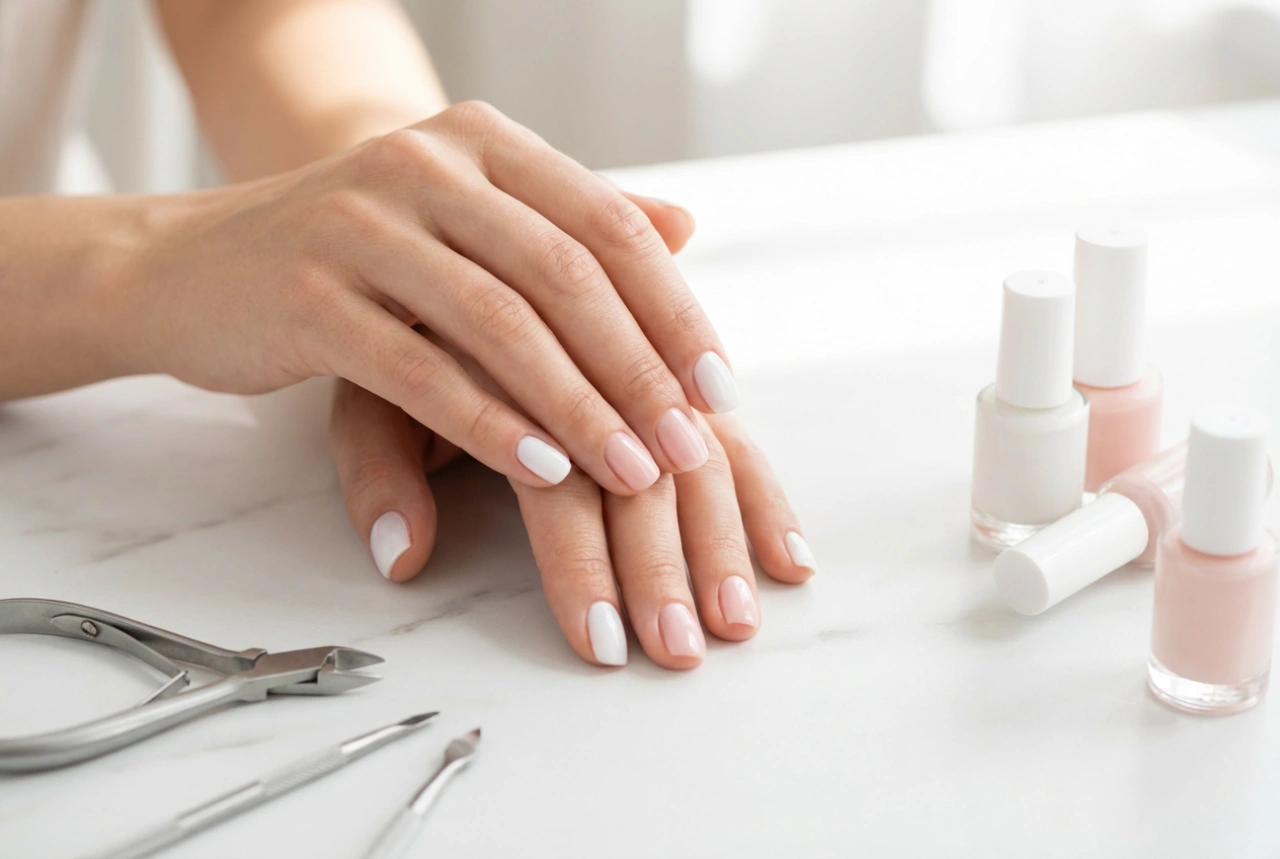
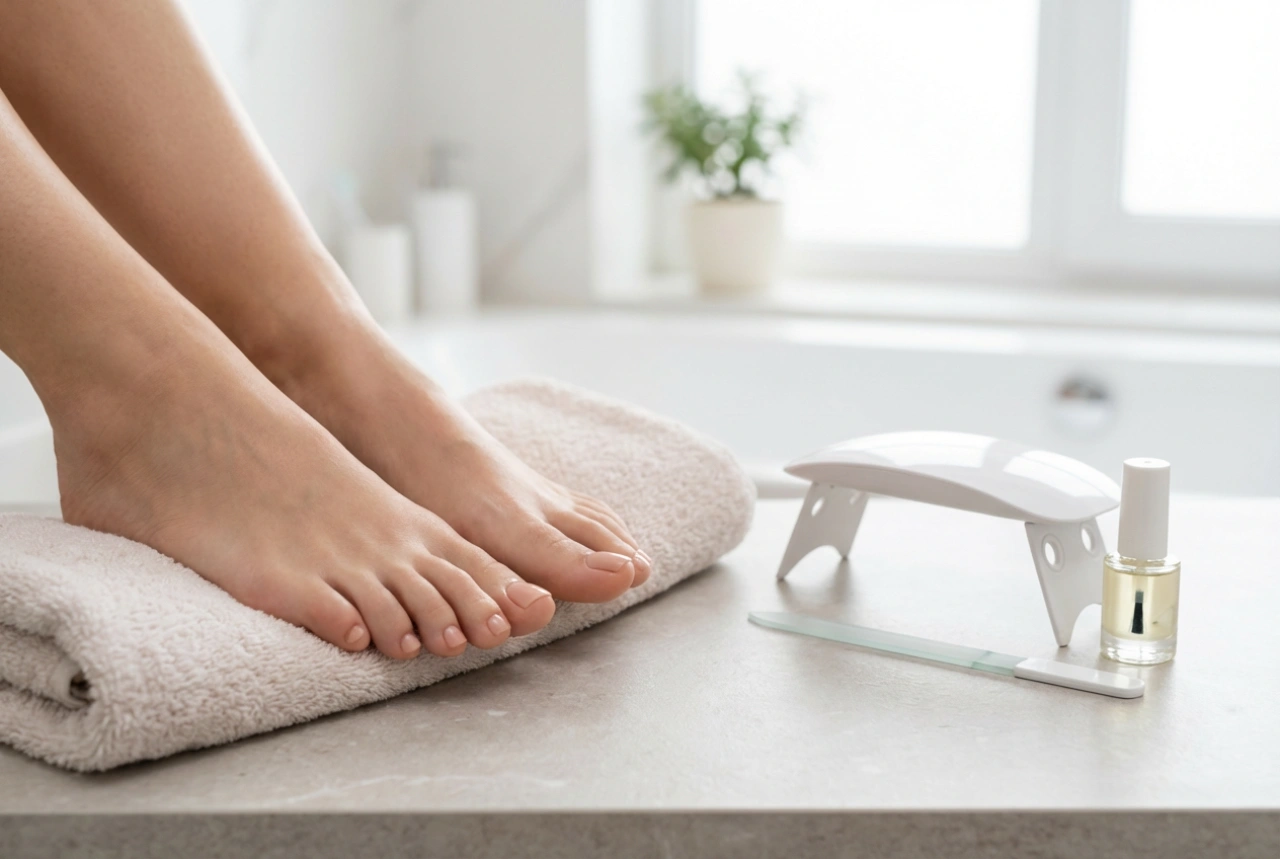
Before you even open the polish bottle, preparing your nail surface is a crucial first step. A smooth canvas is essential for an even application, especially with metallic polishes that can highlight any imperfections.
- Clean and Shape: Start by removing any old polish completely. Gently push back your cuticles and shape your nails with a file. Aim for a uniform shape across all nails, as this contributes to a polished, cohesive look.
- Buff the Surface: Lightly buff the surface of your nails. This creates a slightly rougher texture that helps the polish adhere better, but be gentle to avoid thinning the nail. Afterwards, wipe your nails with a lint-free cloth and a bit of rubbing alcohol to remove any dust and natural oils.
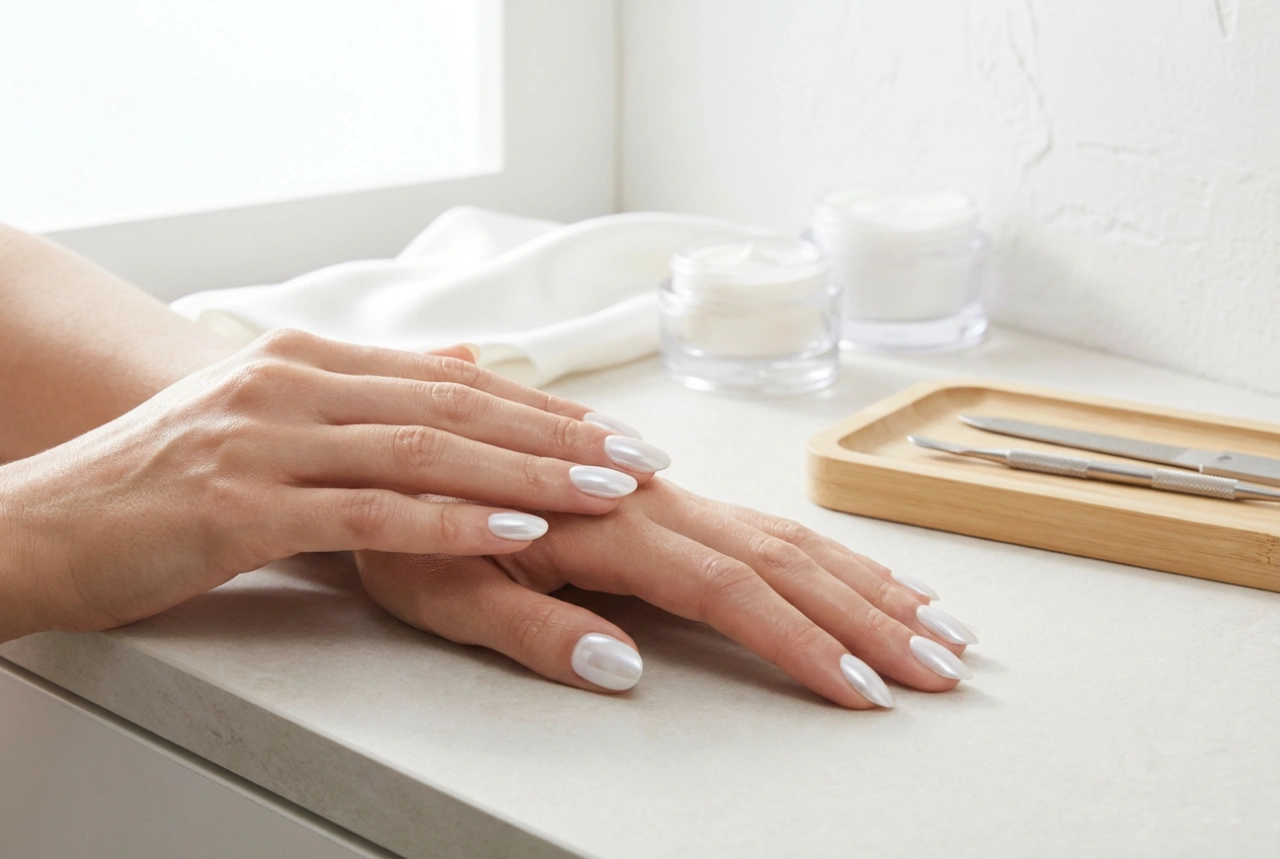
- Apply a Base Coat: Never skip the base coat. It serves multiple purposes: it protects your natural nails from staining, provides a smooth foundation for the colour, and helps your manicure last longer. Let the base coat dry completely before proceeding.
The Art of Applying Silver Nail Polish
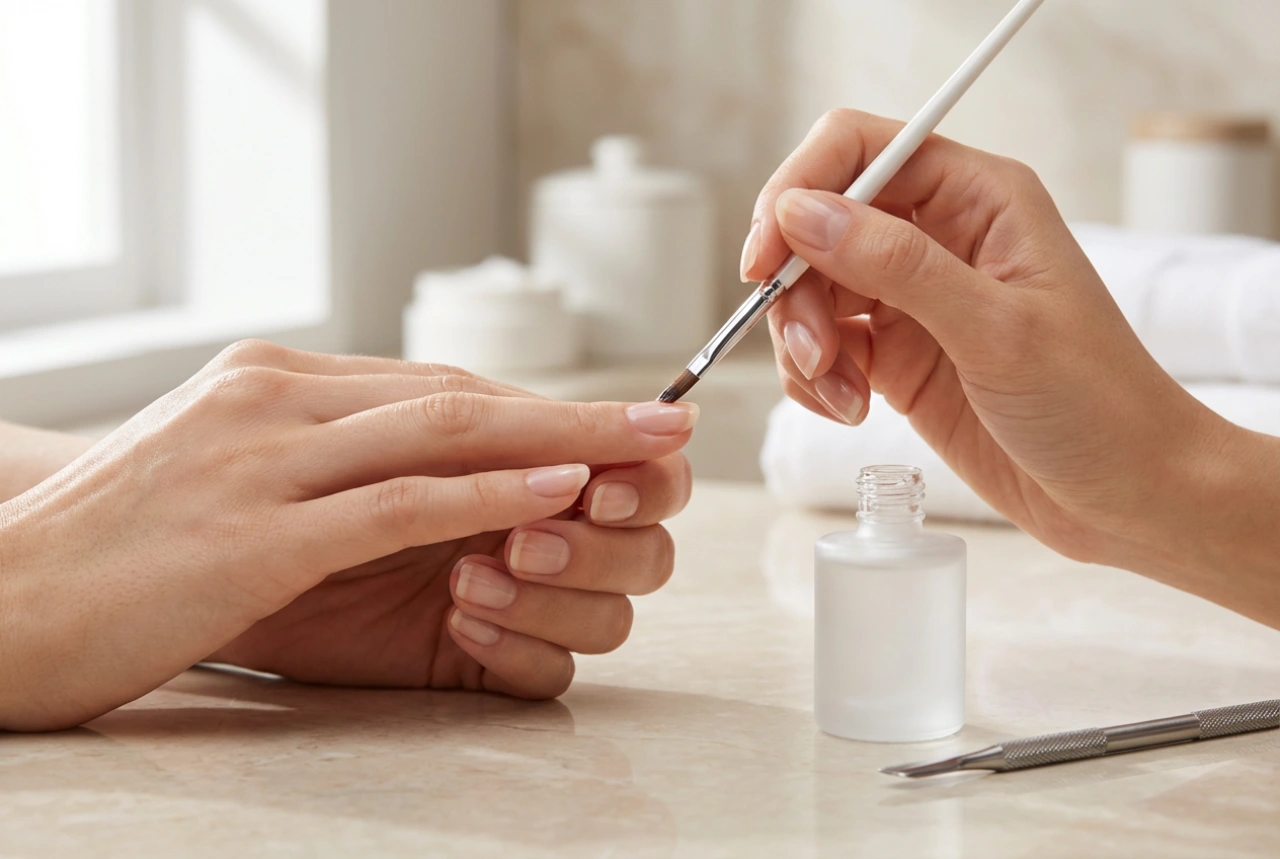
Applying metallic polish can be tricky, as the fine particles that create the shimmer are prone to showing brush strokes. The technique is all about control and precision. Start by loading your brush with a moderate amount of polish, wiping off any excess on the bottle's inner rim. The goal is to apply thin, even layers.
How Many Layers Are Enough?
For most silver polishes, two to three thin coats are ideal to achieve full opacity and a rich, metallic effect. Applying one thick coat will likely result in a bubbly, uneven texture that takes a long time to dry and is prone to smudging. Instead, focus on building the colour gradually.
- First Coat: Apply the first layer as thinly as possible. It might look sheer or patchy, but that's perfectly fine. Focus on creating a clean outline around your cuticle and down the sides of the nail. Use the 'three-stroke' method: one stroke down the centre, followed by one on each side.
- Subsequent Coats: Wait for the first coat to be dry to the touch before applying the second. This prevents dragging and clumping. The second coat will build opacity and deepen the silver shimmer. If you can still see your natural nail or any patchiness, apply a third thin coat after the second has dried.
Achieving an Even, Streak-Free Surface
Streaks are the most common challenge with silver and other metallic polishes. The key to avoiding them is to work quickly and with confidence, using straight, deliberate brush strokes. Try to keep the brush parallel to the nail and apply light pressure. Avoid going back over an area that's already started to dry, as this will create drag marks and ruin the smooth finish. Let each layer dry for at least two to three minutes to allow the formula to self-level, which helps minimise the appearance of brush strokes.
Securing Your Manicure with a Top Coat
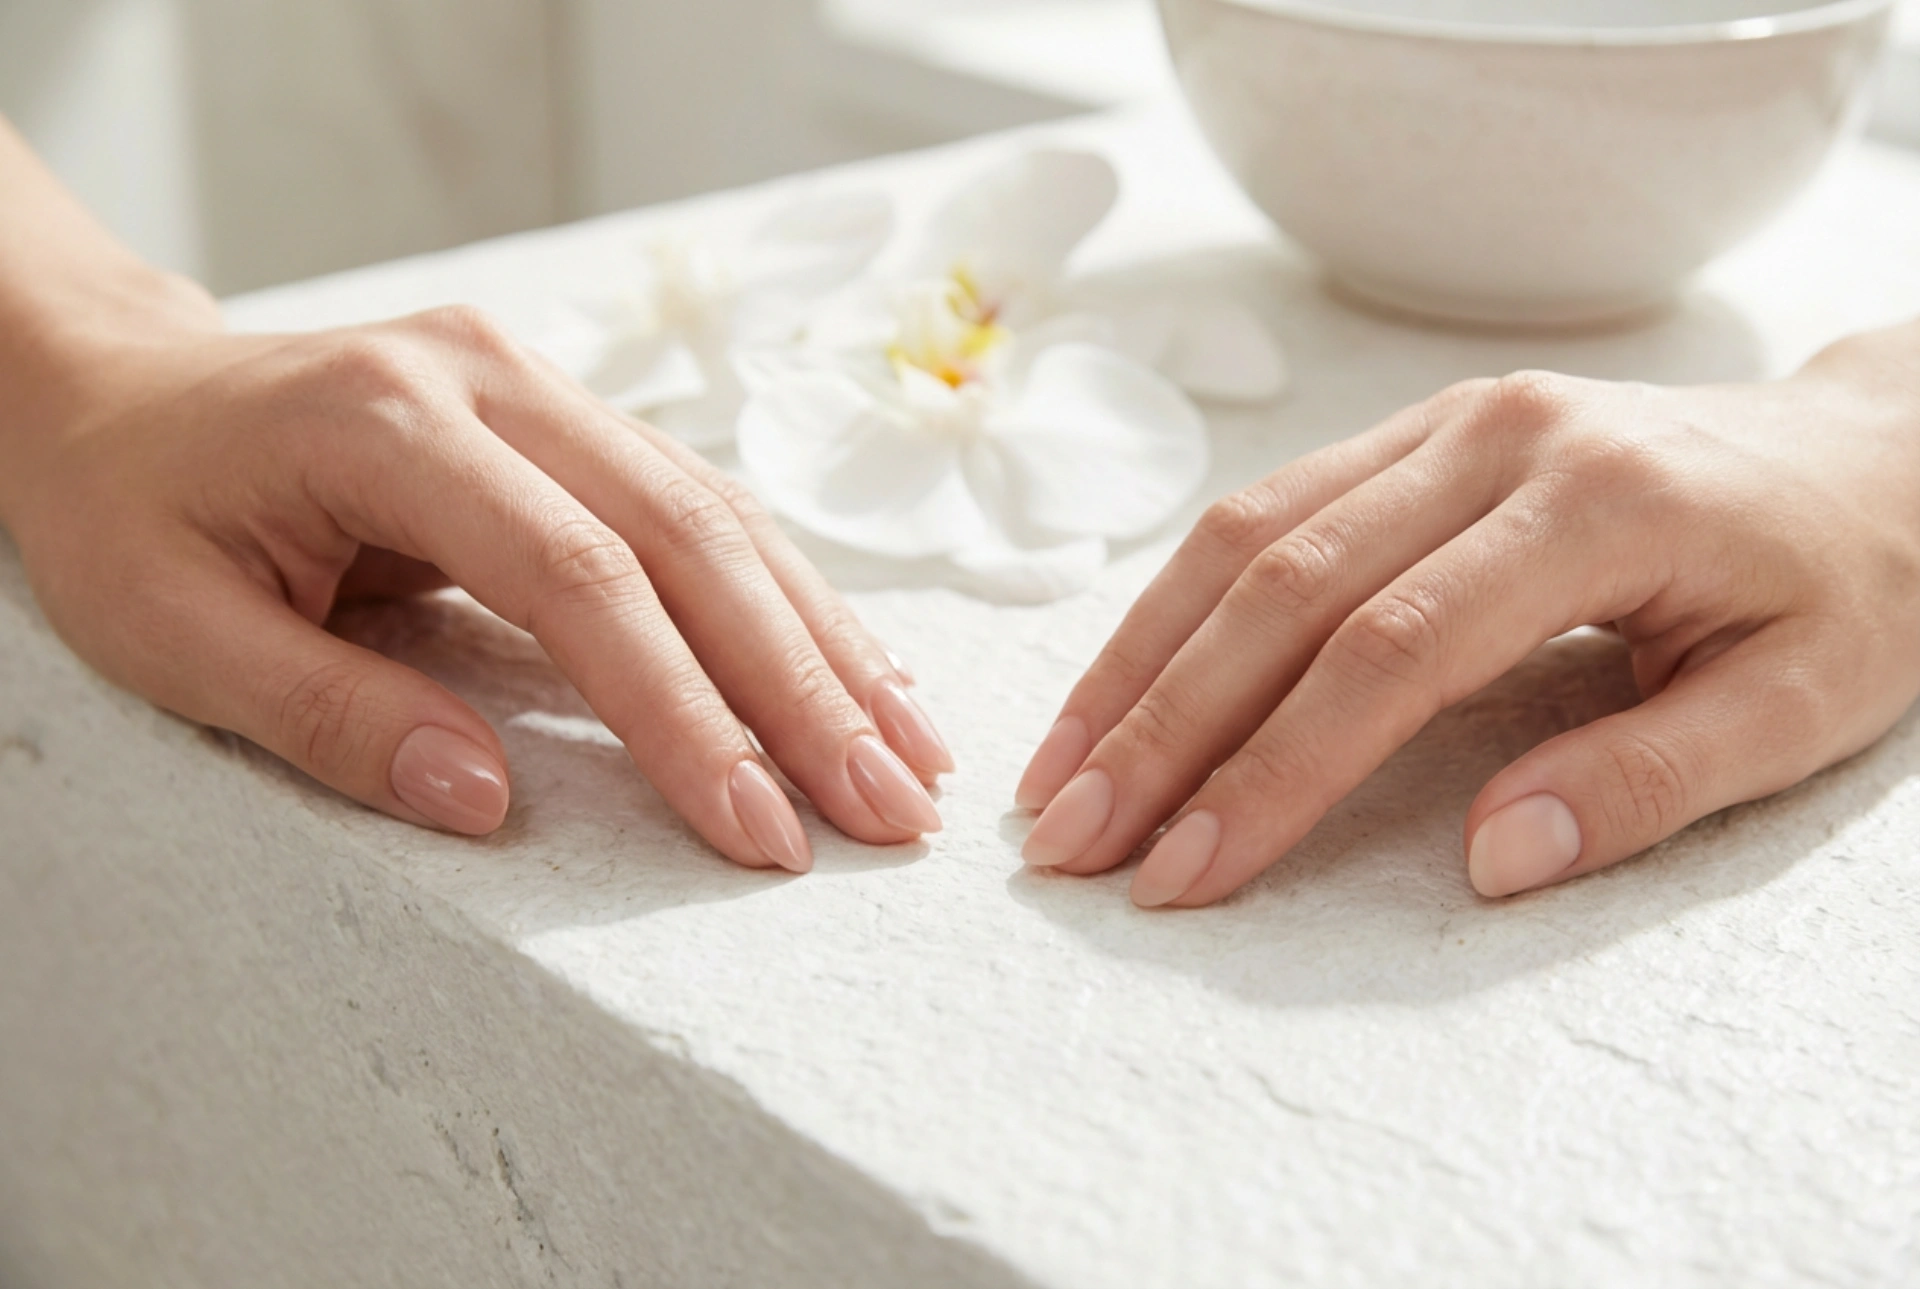
Once your final colour coat is completely dry, a top coat is essential to protect your work. A good quality top coat will not only add a high-gloss shine but also create a durable shield over the polish, preventing chips and extending the life of your manicure. It also helps to smooth over any minor imperfections or faint brush strokes, giving your silver nails that professional, liquid-metal appearance. For extra protection, run the top coat brush along the free edge of your nail tip. This 'caps' the edge and helps prevent chipping from daily activities. Let the top coat dry thoroughly to ensure a hard, resilient finish.