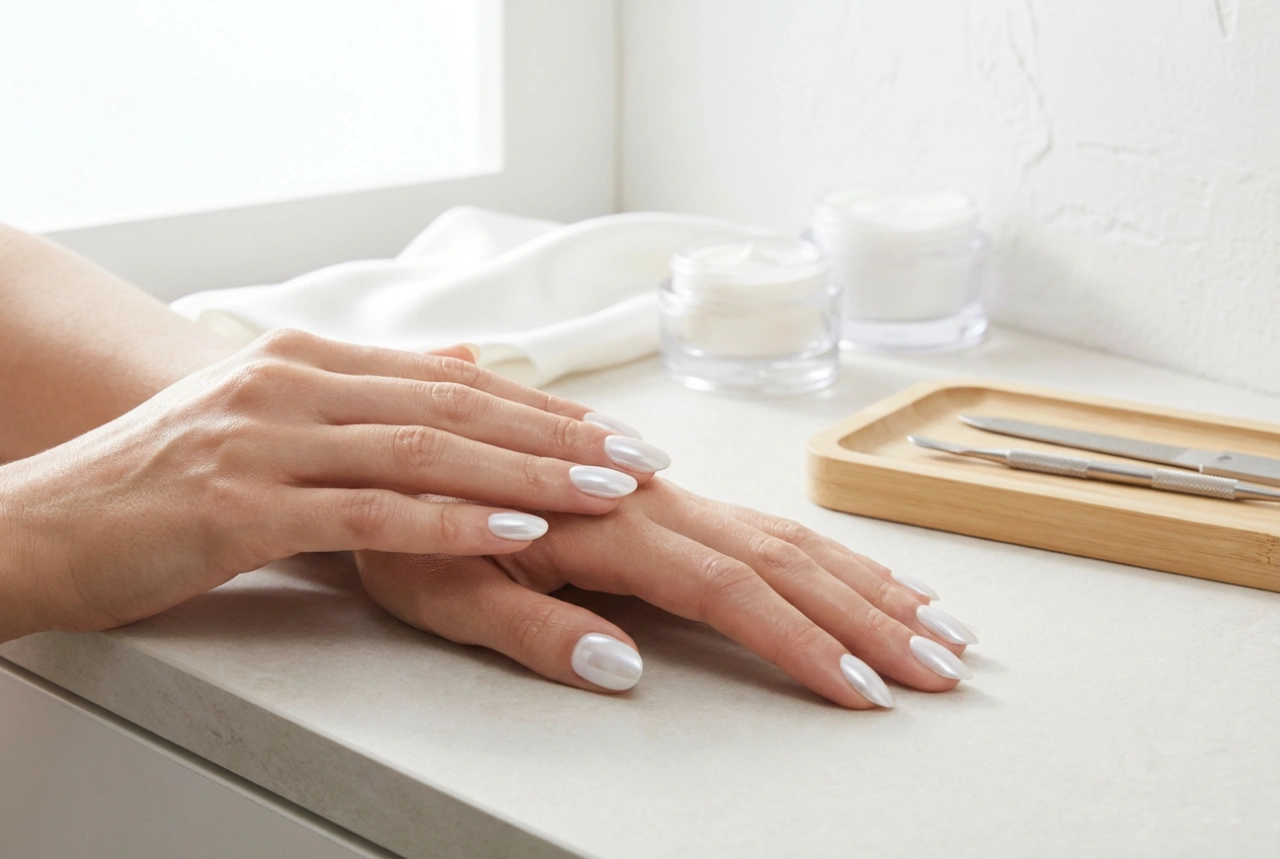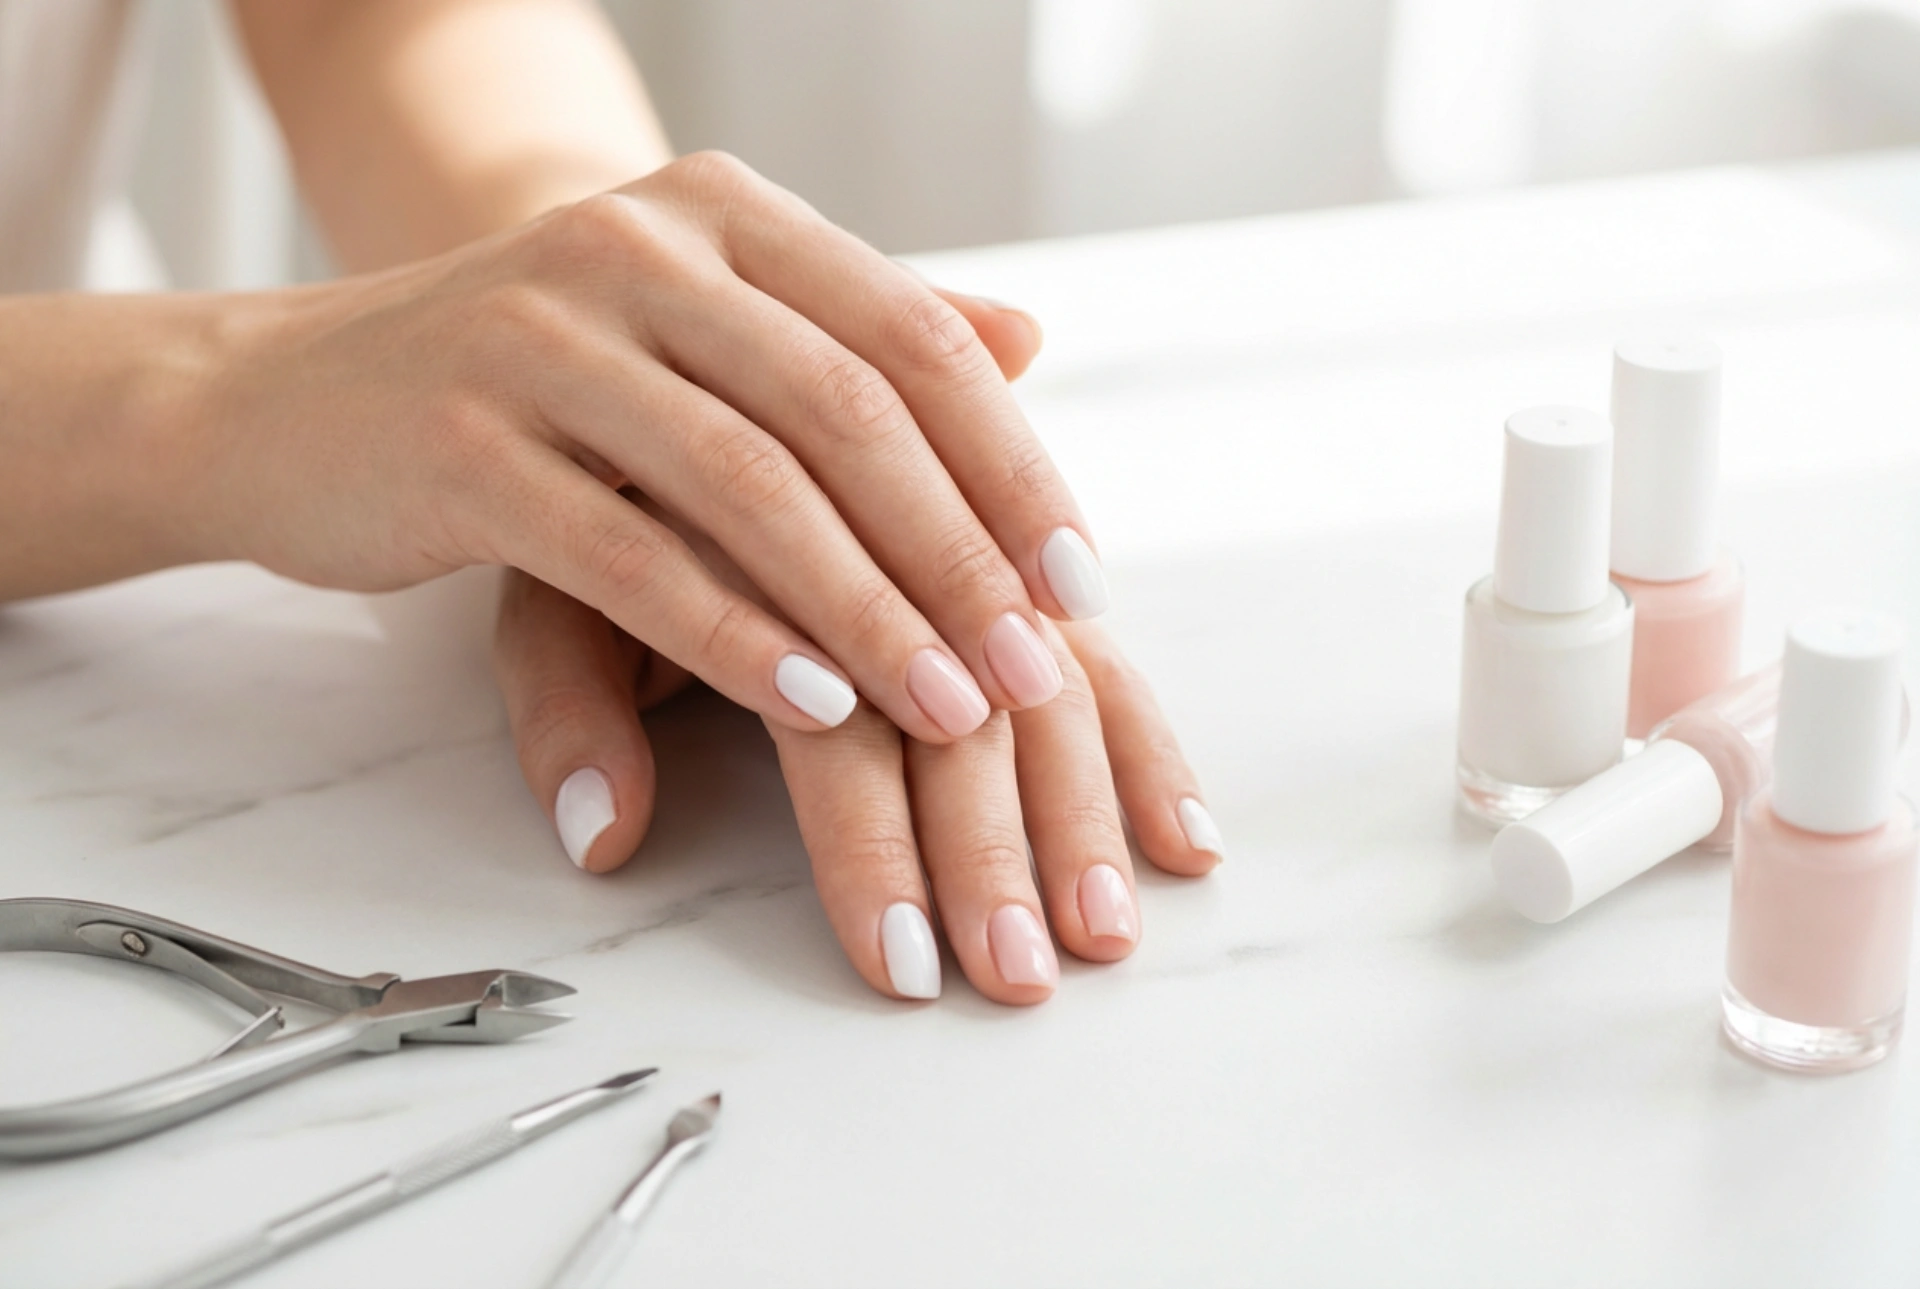


The combination of white and blush pink on the nails offers a timeless aesthetic, embodying elegance, refinement, and delicate femininity. This versatile colour palette is perfect for any occasion, seamlessly transitioning from a professional setting to a celebratory event. Achieving this polished and sophisticated look at home is entirely within reach. With careful preparation and a few fundamental techniques, you can create a beautiful and durable manicure that enhances the natural grace of your hands.
Essential Preparation for a Flawless Manicure
Good preparation is the foundation of any long-lasting manicure. Start by ensuring your nails are completely clean. Remove any old polish using a gentle nail polish remover. Afterwards, wash your hands with mild soap and water to remove any oils or residue.
Shaping and Smoothing the Nail
Next, focus on shaping. Using a soft nail file, gently shape your nails to your desired length and form, whether it be square, oval, or almond. Always file in one direction to prevent splitting or weakening the nail. Once you are happy with the shape, use a nail buffer to lightly smooth the surface of your nails. This step removes ridges and creates an even canvas for the polish to adhere to.
Caring for Your Cuticles
Proper cuticle care is vital for a neat appearance. Apply a cuticle remover or a nourishing oil to soften the skin around your nails. After a minute or two, use a wooden or rubber-tipped cuticle pusher to gently push them back. It is generally advised to avoid cutting cuticles at home, as this can lead to irritation or damage. Finish by wiping away any excess oil or remover.
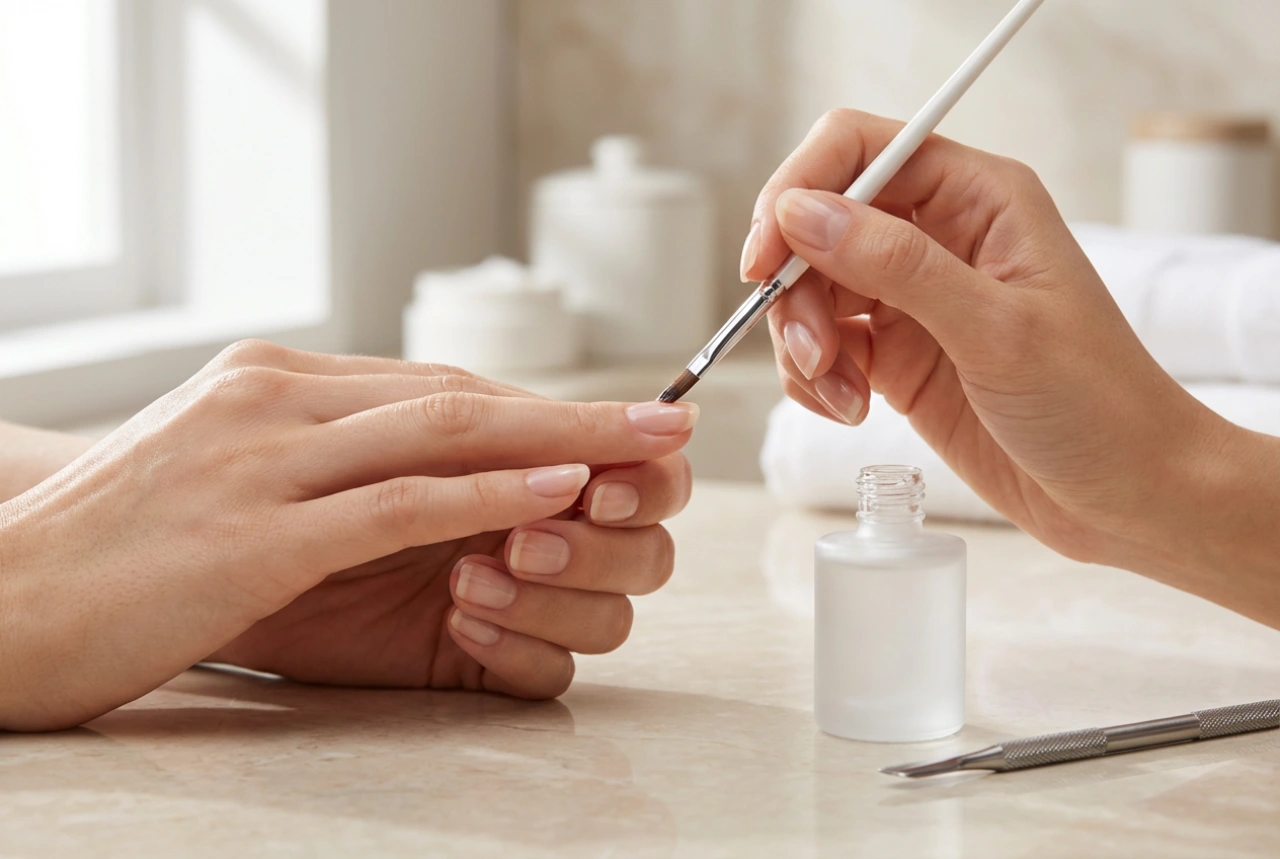
The Protective Base Coat
Never skip the base coat. This clear layer acts as a protective barrier between your nail and the coloured polish, preventing staining, especially with pigmented shades. It also helps the manicure last longer by providing a slightly tacky surface for the colour to grip onto. Apply one thin, even layer of base coat to each nail, from the cuticle to the tip, and allow it to dry completely before proceeding.
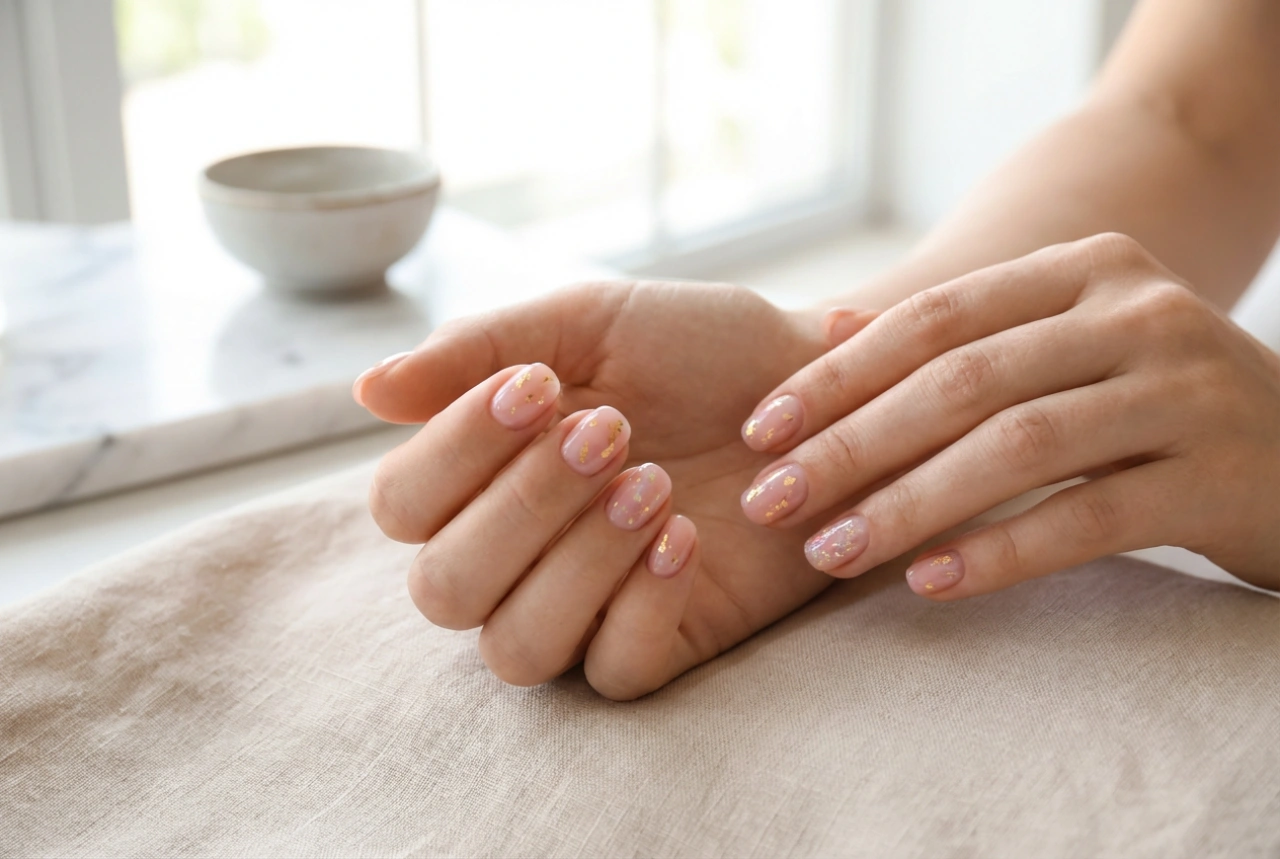
Creating Your White and Pink Design
Now for the creative part. The beauty of the white and pink combination lies in its versatility. Here are a few simple yet elegant designs you can easily recreate at home.
The Modern French Manicure
This is a subtle twist on a classic. Apply two thin coats of a sheer, blush pink polish to the entire nail, allowing each coat to dry. Then, using a crisp white polish, carefully paint the tip of each nail. For a clean line, you can use nail guide stickers or a very fine brush. The contrast between the soft pink base and the white tip is modern and chic.
The Subtle Ombré Gradient
An ombré or gradient effect looks professional but is surprisingly easy to achieve. On a disposable makeup sponge, paint a stripe of your pink polish and a stripe of your white polish right next to it, slightly overlapping them. Gently dab the sponge onto your nail, moving it slightly up and down to blend the colours. Repeat until you achieve the desired opacity. Clean up any polish on the skin around your nail with a small brush dipped in nail polish remover.
The Elegant Accent Nail
For a minimalist yet stylish look, the accent nail is a perfect choice. Paint the nails on your thumb, index, middle, and little finger with two coats of your chosen pink shade. Then, paint your ring finger nail with two coats of the opaque white polish. This simple technique adds a point of interest and sophistication to your manicure.
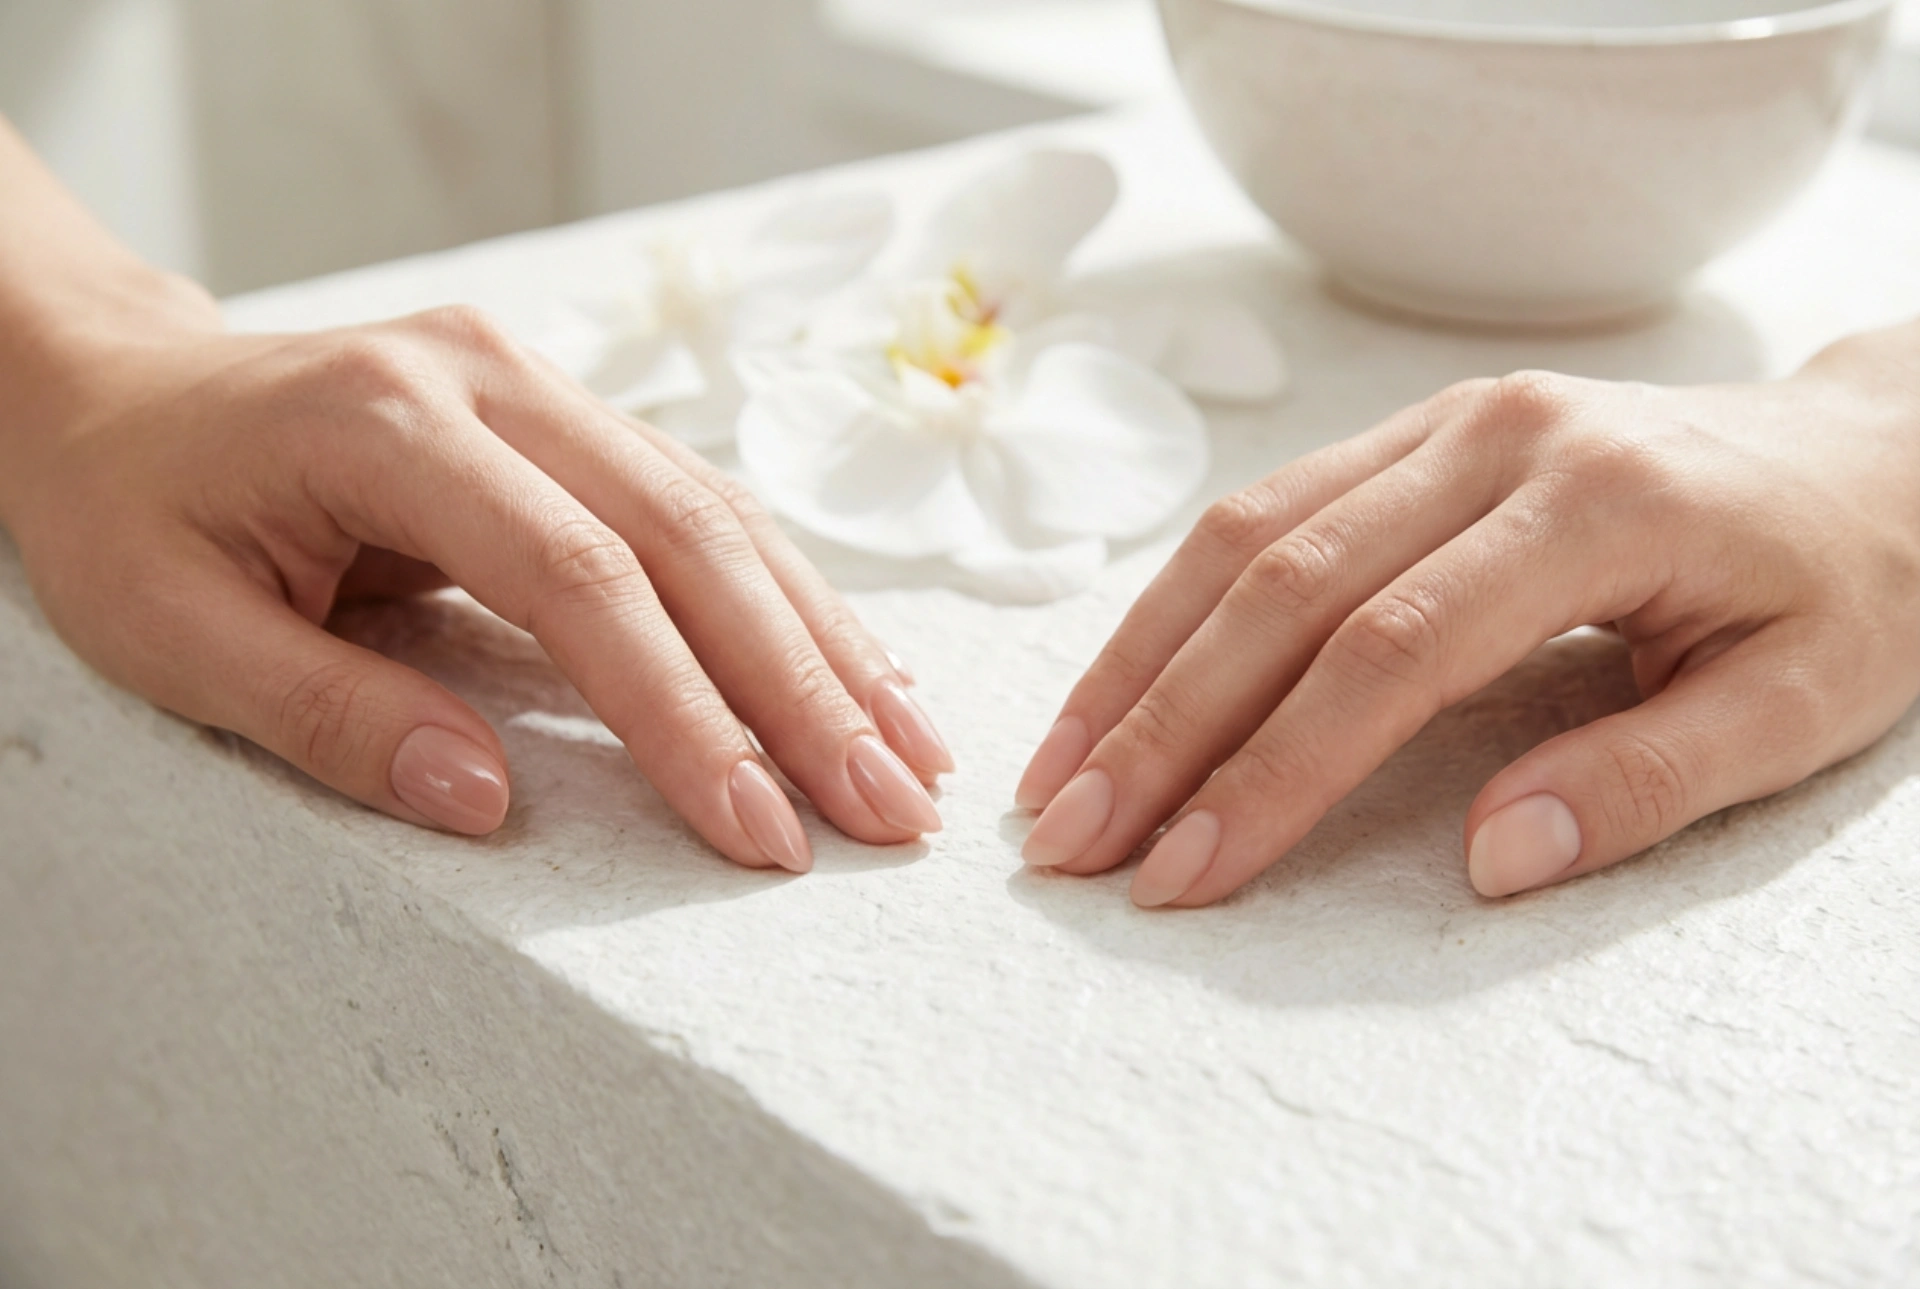
Sealing and Protecting Your Artistry
The final step is to seal your design with a high-quality top coat. This not only adds a beautiful, glossy shine but also protects the polish from chipping and extends the life of your manicure. Apply a thin layer over the entire nail, making sure to 'cap' the free edge by swiping the brush along the very tip. This creates a seal that helps prevent chips. Allow your nails to dry thoroughly—be patient, as this is crucial for a smudge-free finish. To maintain your manicure, you can reapply the top coat every two to three days. Finally, apply a drop of cuticle oil to rehydrate the skin around your nails for a truly professional-looking result.