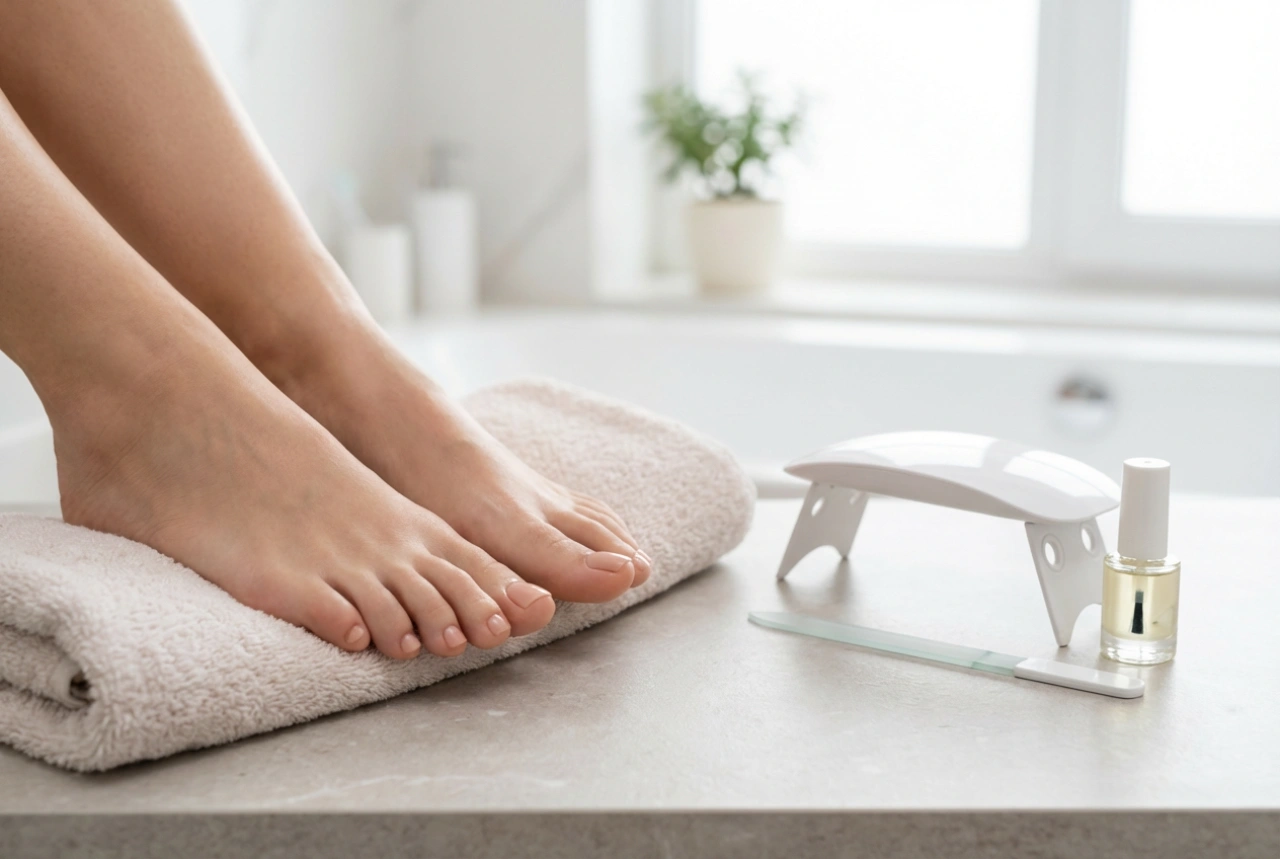


Achieving a professional-looking and long-lasting manicure at home is entirely possible with the right techniques. A key element for creating durable nail extensions or strengthening natural nails is the correct application of an extension base. The secret lies in creating a proper structure, including the apex, and meticulously preparing the nail plate to prevent lifting. This guide will walk you through the essential steps to master this technique for a flawless finish.
What is an Extension Base and Why is it Important?
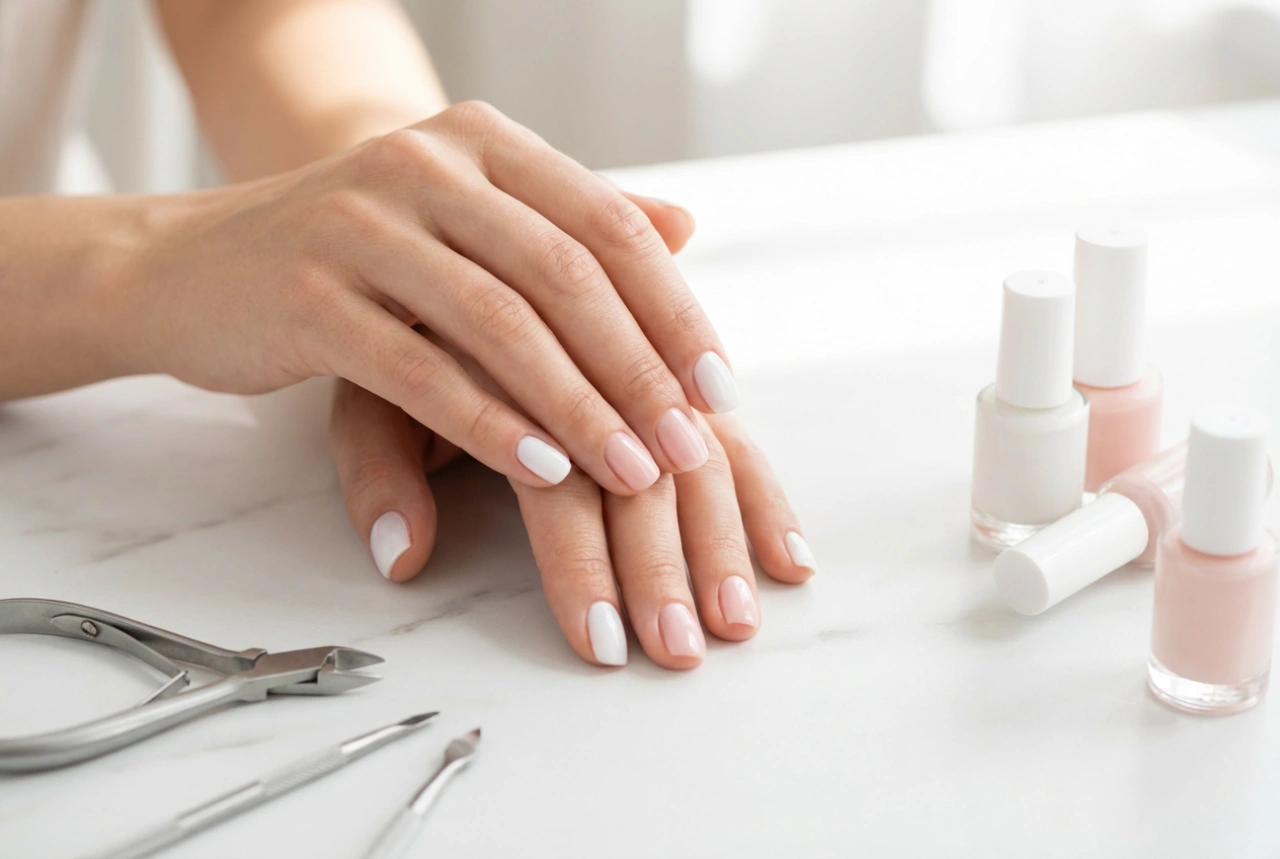
An extension base, often called a builder base, is a type of viscous gel designed to provide structure and strength to the nail. Unlike a standard thin base coat, its thicker consistency allows you to build up the nail, correct its shape, and even create a short extension. Its primary role is to form a strong, resilient foundation that adheres perfectly to the natural nail, preventing chips and breaks. A correctly applied extension base is the backbone of a durable manicure.
Preparing the Nail Plate: The Foundation for a Lasting Manicure
The most common reason for product lifting is inadequate nail preparation. Any oils, moisture, or leftover cuticle on the nail plate will compromise adhesion. Following these steps carefully is non-negotiable for success.
Step-by-Step Preparation
- Cuticle Care: Gently push back the cuticles from the nail plate. It is crucial to also remove the non-living tissue that is stuck to the nail surface. A clean cuticle area ensures the product does not touch the skin, which would cause immediate lifting.
- Buffing the Surface: Using a fine-grit buffer, lightly remove the natural shine from the entire nail surface. The goal is to create a slightly matte texture for the base to grip onto, not to thin the nail. Be gentle and thorough, paying special attention to the areas near the cuticle and sidewalls.
- Cleansing and Dehydrating: After buffing, wipe the nail with a lint-free pad soaked in a specialised nail cleanser or dehydrator. This step removes all dust and oils, creating the perfect dry surface for product application. Avoid touching the nails with your fingers after this step.
- Applying a Primer: For enhanced adhesion, you can apply a thin layer of an acid-free primer. This acts like double-sided tape between the natural nail and the extension base. Allow it to air dry completely before proceeding.
Building the Perfect Apex: The Key to Strength and Beauty
The apex is the highest point of the nail enhancement, strategically placed at the nail's stress area (usually around the centre of the nail bed). It provides structural support, absorbing pressure and preventing the nail from bending or breaking. A well-formed apex not only adds strength but also creates an elegant, slender look.
How to Create a Smooth Apex
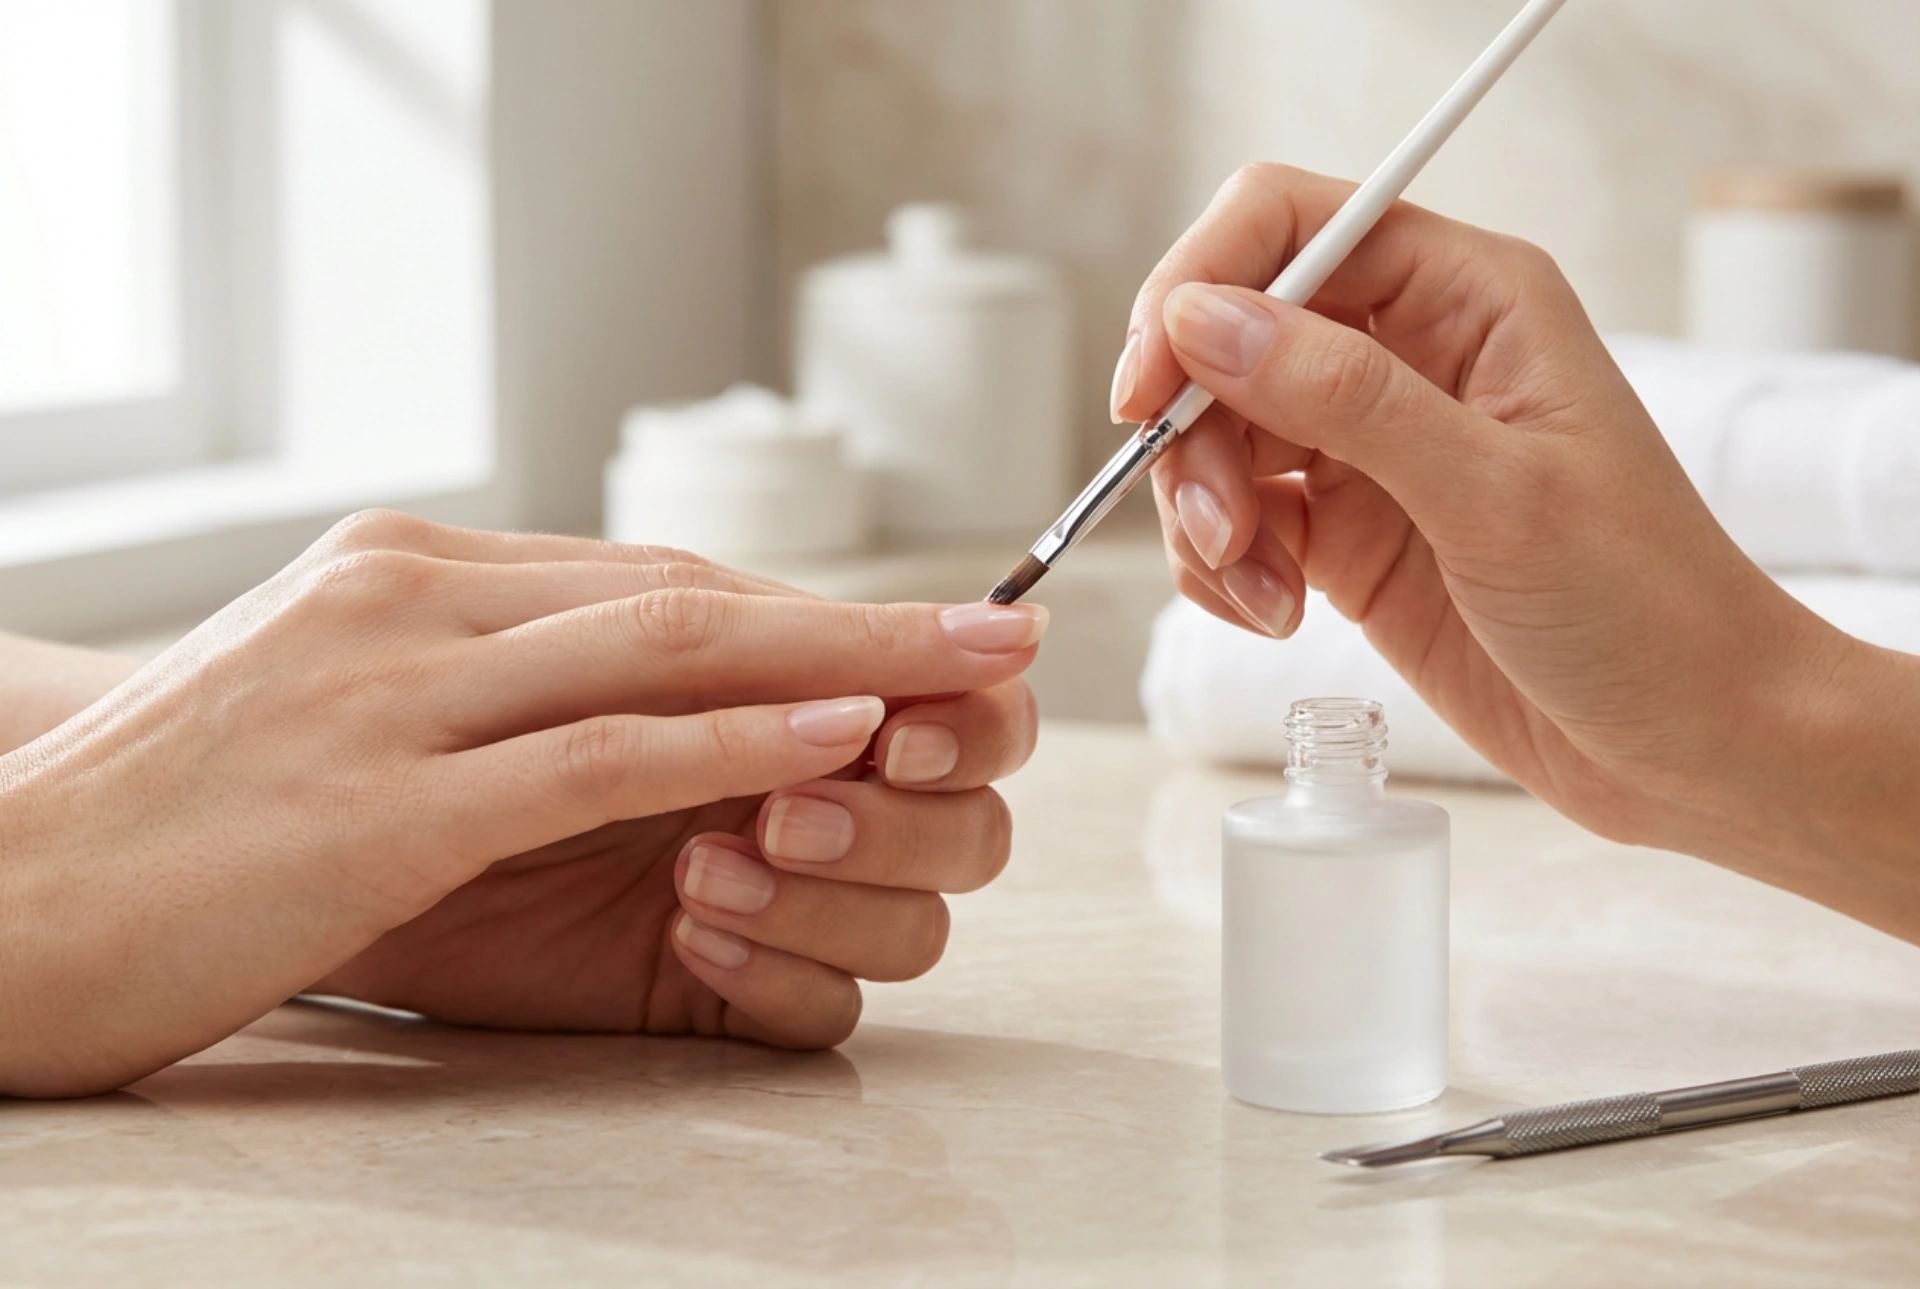
- Apply a Slip Layer: Begin by polishing a very thin, even layer of the extension base over the entire prepared nail. This is called a 'slip layer' and it helps the next layer of product to self-level smoothly. Do not cure this layer yet.
- Place the Builder Bead: Gather a small bead of the extension base on your brush. Place it in the centre of the nail, slightly away from the cuticle area. This bead will form the bulk of your apex.
- Guide the Product: Using a fine liner brush or the tip of the bottle brush, gently guide the product into shape. Nudge it towards the cuticle and sidewalls, being careful to leave a tiny, clean margin around the entire nail to prevent flooding the skin. Let gravity assist as the product self-levels into a smooth curve.
- Check the Shape: Turn the finger upside down for a few seconds to help the product gather perfectly in the centre, enhancing the apex. Then, turn it back and check the nail's reflection from the side. You should see a smooth, continuous curve from the cuticle to the free edge, with the highest point being the apex.
- Cure Correctly: Once you are happy with the shape, cure the nail in a suitable lamp according to the product's instructions. Under-curing can lead to a weak structure and potential skin sensitivities.
Common Mistakes and How to Avoid Lifting
Lifting or 'air pockets' occur when the product separates from the natural nail. Here are the main culprits and how to avoid them:
- Flooding the Cuticles: If the base touches the skin, it will lift as the nail grows. Always maintain a small, clean gap around the cuticle and sidewalls.
- Improper Preparation: As mentioned, any residue of cuticle, dust, or oil will prevent the product from adhering properly. Be meticulous with your prep work.
- Application is Too Thick: Applying a single, very thick layer can result in it not curing all the way through, leading to a soft, unstable structure that can easily lift. It is better to build the structure in two thin layers if necessary.
- Filing Natural Nail Too Aggressively: Over-filing thins and weakens the natural nail, making it more flexible and prone to causing the enhancement to lift. A gentle buff is all that is needed.
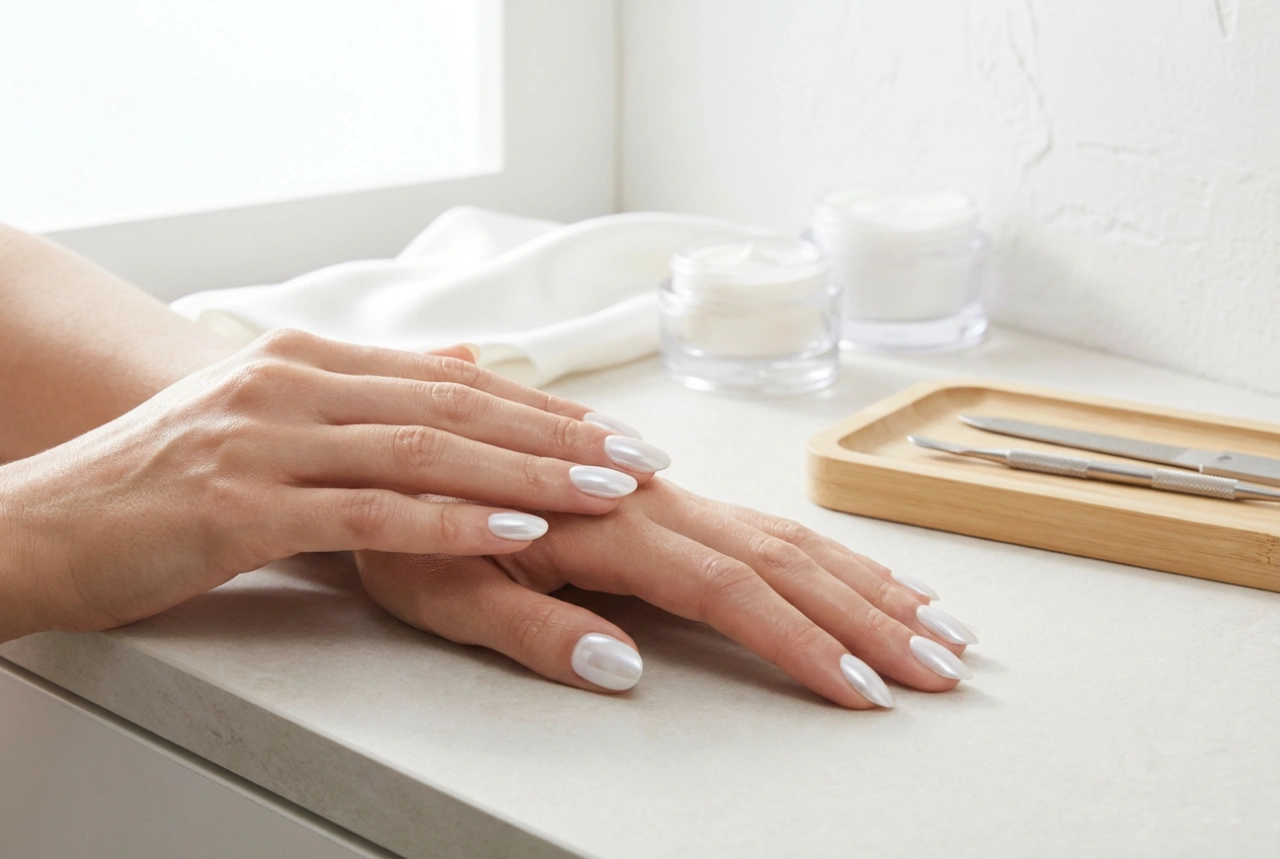
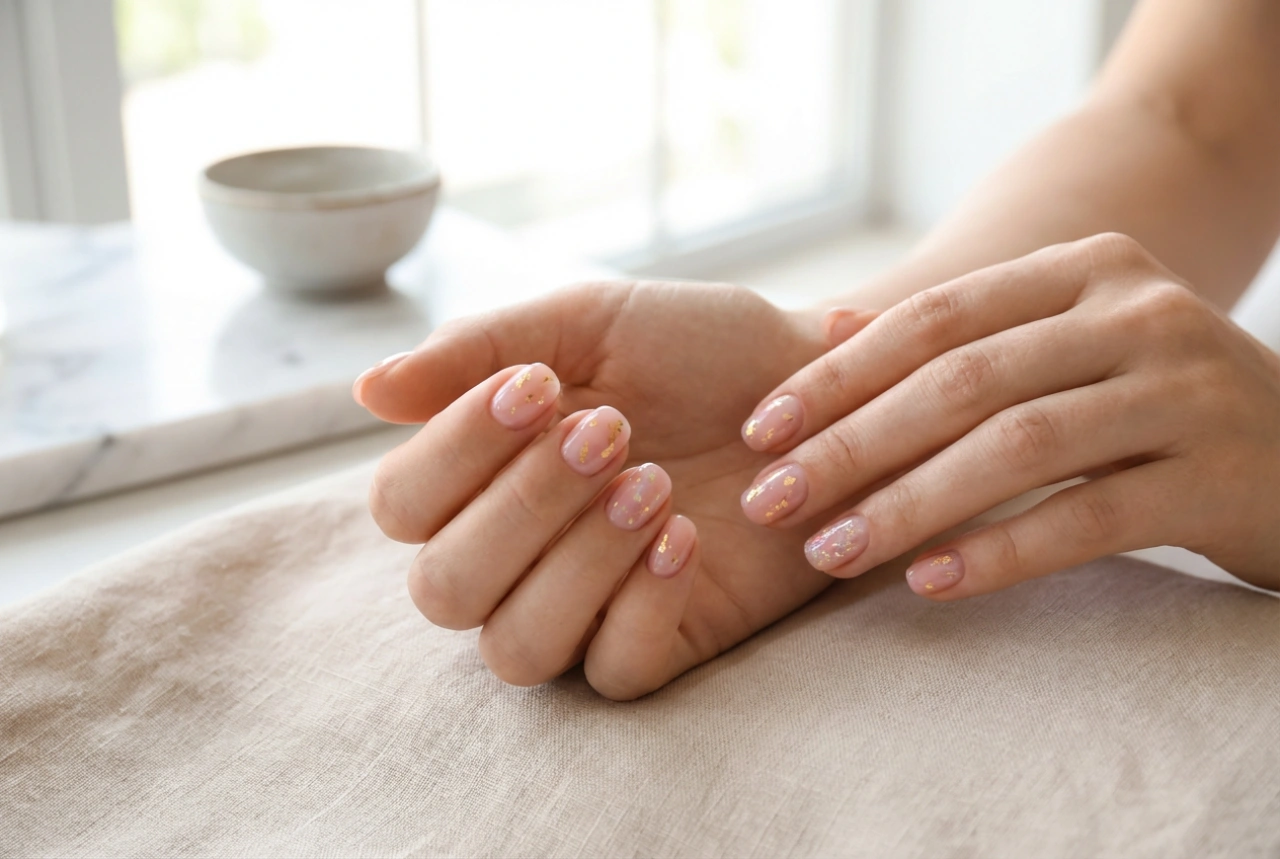
After curing the structure, you can cleanse the sticky layer, refine the shape with a file if needed, and finish with a colour and top coat for a beautiful, durable manicure that lasts.