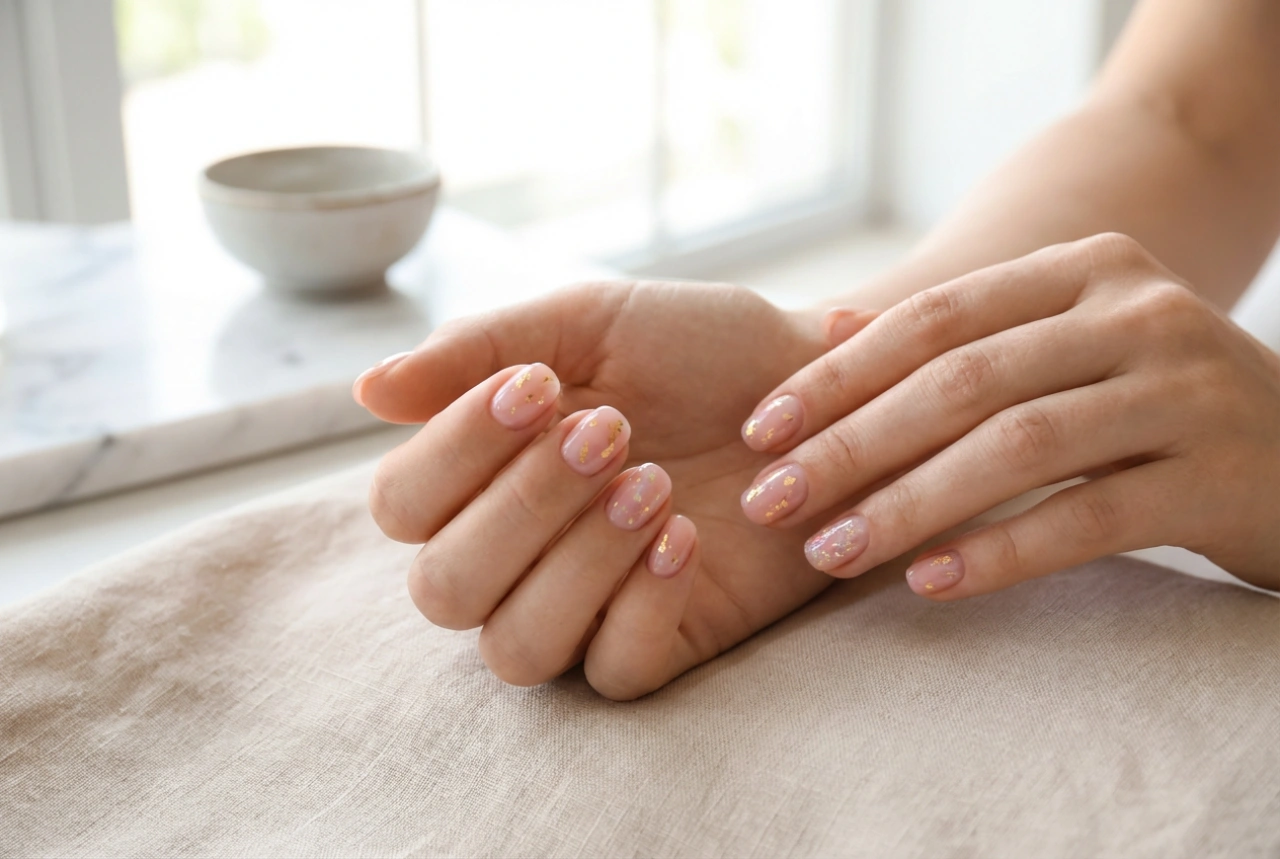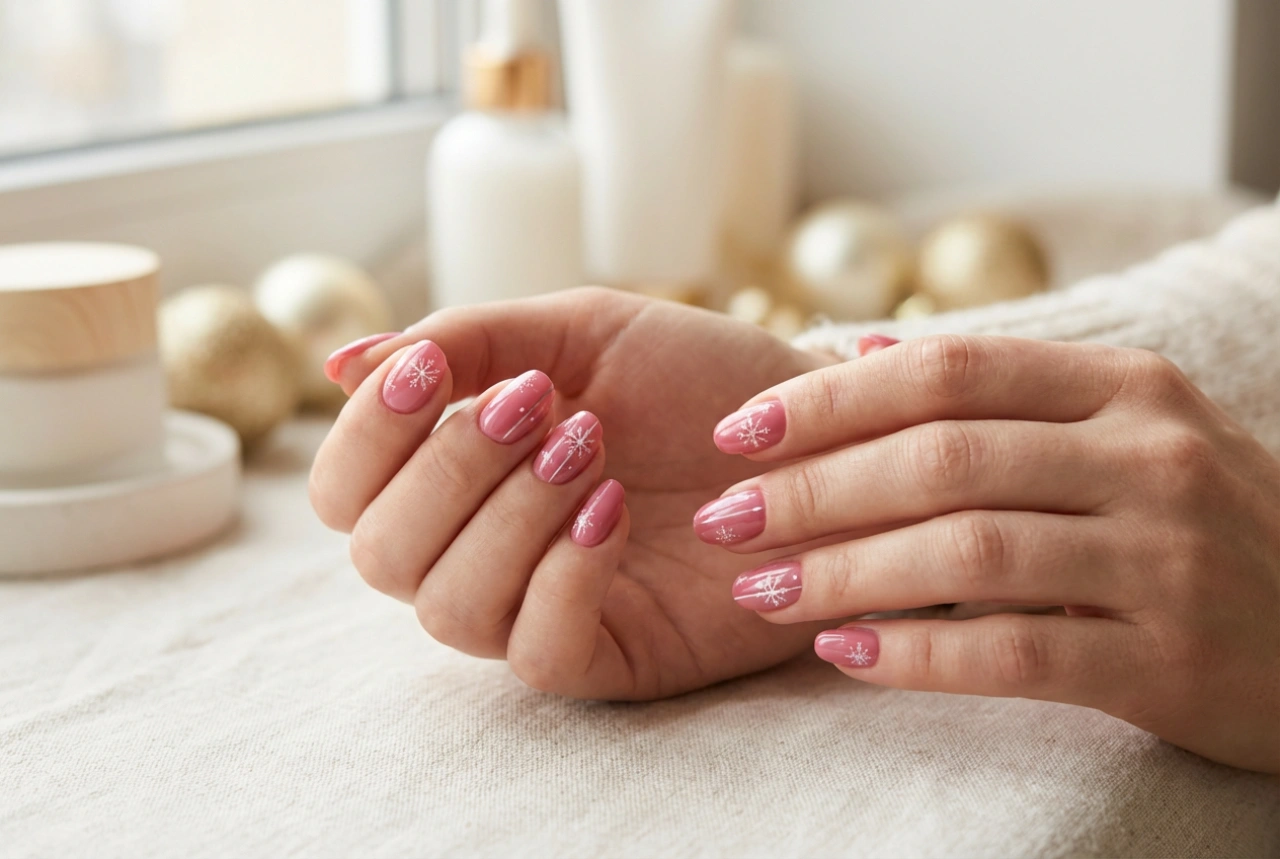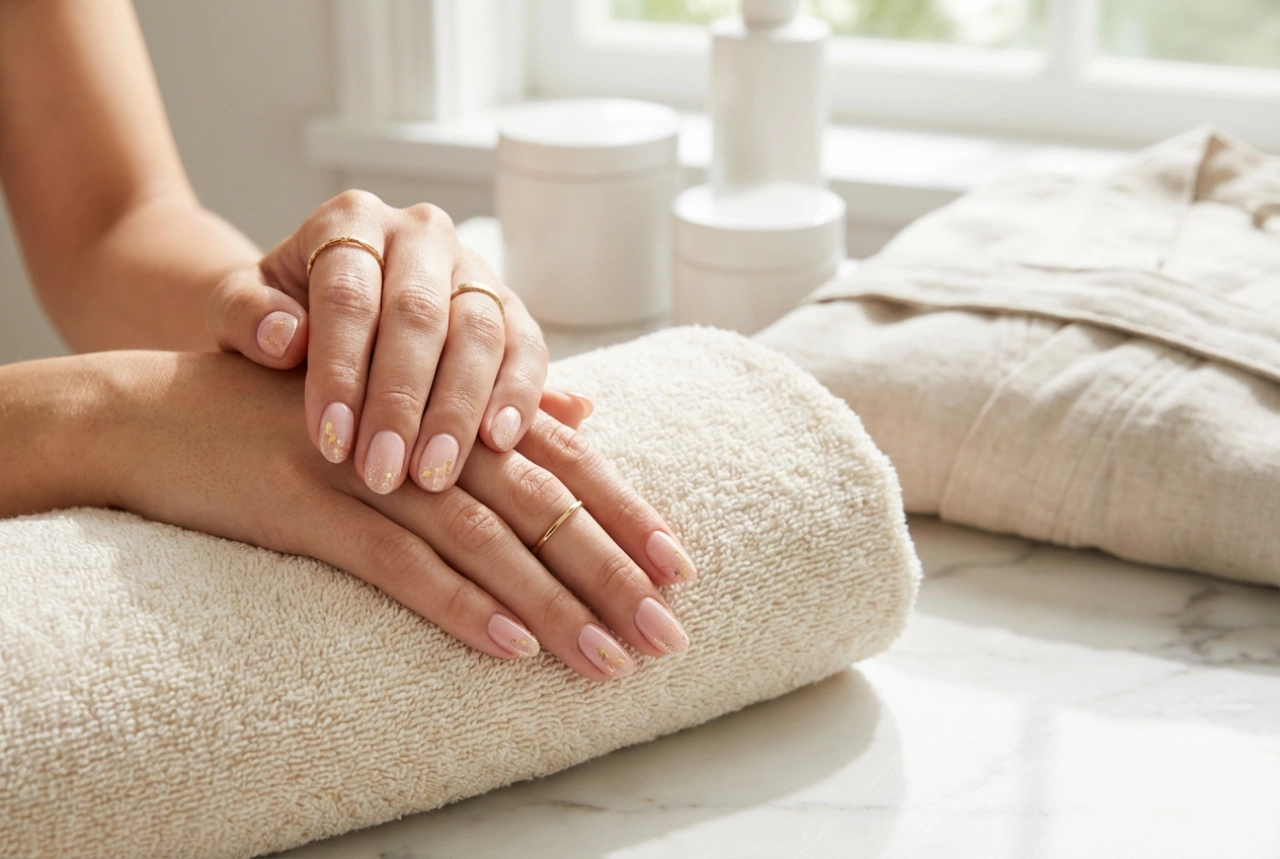


A flawless, glossy pedicure that lasts for weeks is a wonderful way to feel put-together and confident. While often associated with salon visits, a professional-looking gel pedicure can be achieved in the comfort of your own home. With the right tools, techniques, and a focus on safety, you can give your feet a durable and beautiful finish. This guide will walk you through the essential steps, from preparing your toenails to the final curing process, ensuring a great result every time.
Preparing Your Nails for a Gel Pedicure
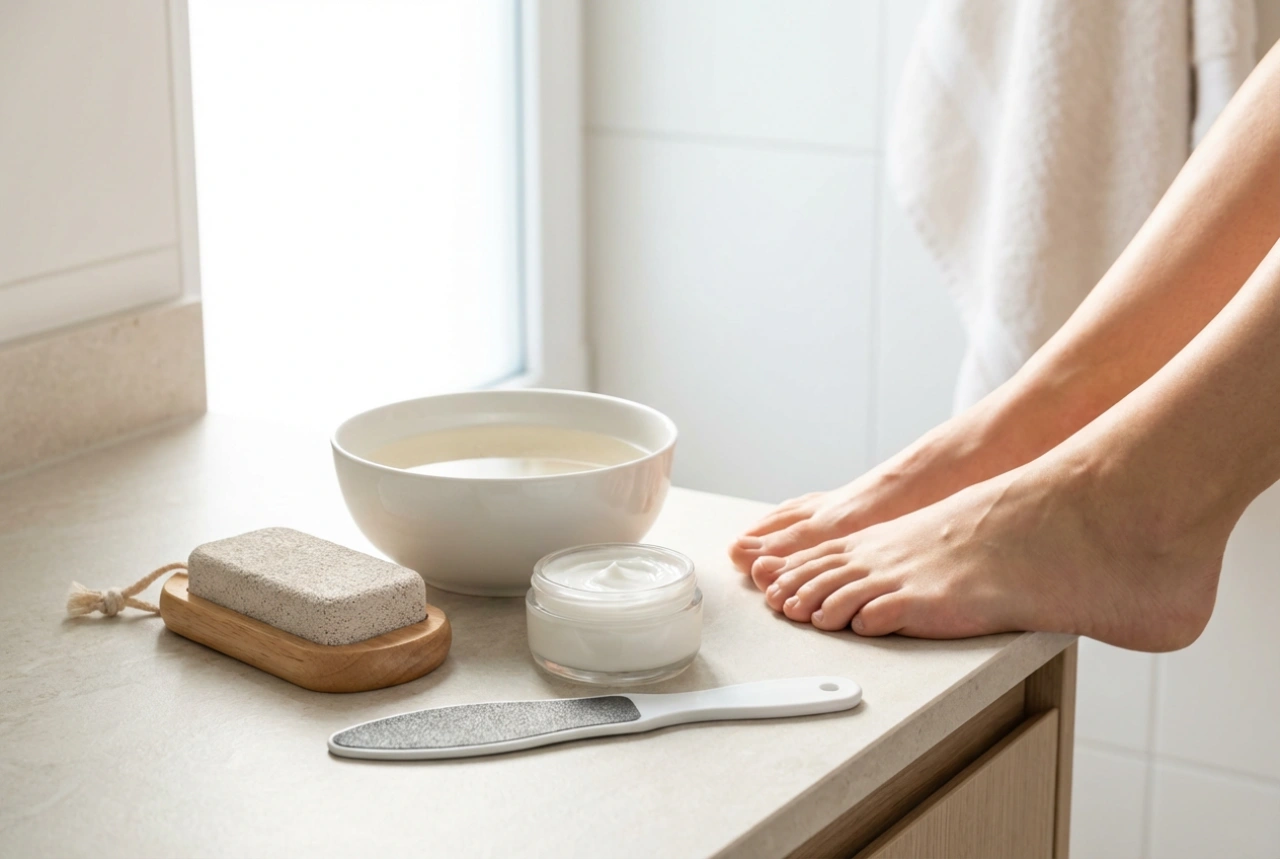
Proper preparation is the foundation of a long-lasting and neat gel pedicure. Rushing this stage can lead to a less durable finish and a messy appearance. Set aside enough time to create a clean and smooth canvas for your gel polish.
1. Cleanse and Shape
Start by thoroughly cleaning your feet. If you enjoy it, a warm foot soak can help soften the skin. Once your feet are clean and completely dry, trim your toenails to your desired length using nail clippers. Afterwards, use a nail file to gently shape the edges. Filing in one direction is often recommended to prevent weakening the nail. The goal is to create a uniform and neat shape across all toenails.
2. Gentle Cuticle Care
Healthy-looking cuticles are key to a polished appearance. Apply a cuticle remover solution and let it work for the time specified in the product's instructions. Then, using a wooden stick or a gentle cuticle pusher, carefully push back the softened skin from the nail plate. Avoid cutting the cuticles, as they act as a protective barrier. Simply pushing them back creates a larger, cleaner nail surface for polish application.
3. Preparing the Nail Plate
For the gel polish to adhere properly, the nail plate must be slightly mattified and completely free of oils. Use a fine-grit buffer block to very gently buff the surface of each toenail. The aim is to remove the natural shine, not to thin the nail. After buffing, wipe each nail with a lint-free wipe soaked in a nail cleaner or isopropyl alcohol. This step removes any dust and dehydrates the nail plate, ensuring maximum adhesion for the base coat.
The Gel Application Process: Step-by-Step
With your nails perfectly prepped, it's time for the application. Work on one foot at a time, completing all the steps before moving to the next. Applying thin, even layers is crucial for a smooth finish and proper curing.
- Base Coat: Apply a very thin layer of gel base coat to each nail, making sure to cover the entire surface without touching the surrounding skin. 'Capping' the free edge by running the brush along the tip of the nail can help prevent chipping.
- Cure the Base Coat: Place your foot under your UV/LED lamp and cure for the time recommended by the lamp and polish manufacturer (typically 30-60 seconds for LED lamps). The surface will feel slightly sticky afterwards; this is normal and helps the colour coat adhere.
- First Colour Coat: Apply a thin, even layer of your chosen gel colour. Again, avoid contact with the skin. If you do get any polish on your skin, clean it up with a small brush dipped in nail cleaner before curing.
- Cure the Colour Coat: Cure the first layer of colour under the lamp for the recommended time.
- Second Colour Coat (Optional): For a more opaque and richer colour, apply a second thin coat of gel polish and cure it under the lamp for the same amount of time.
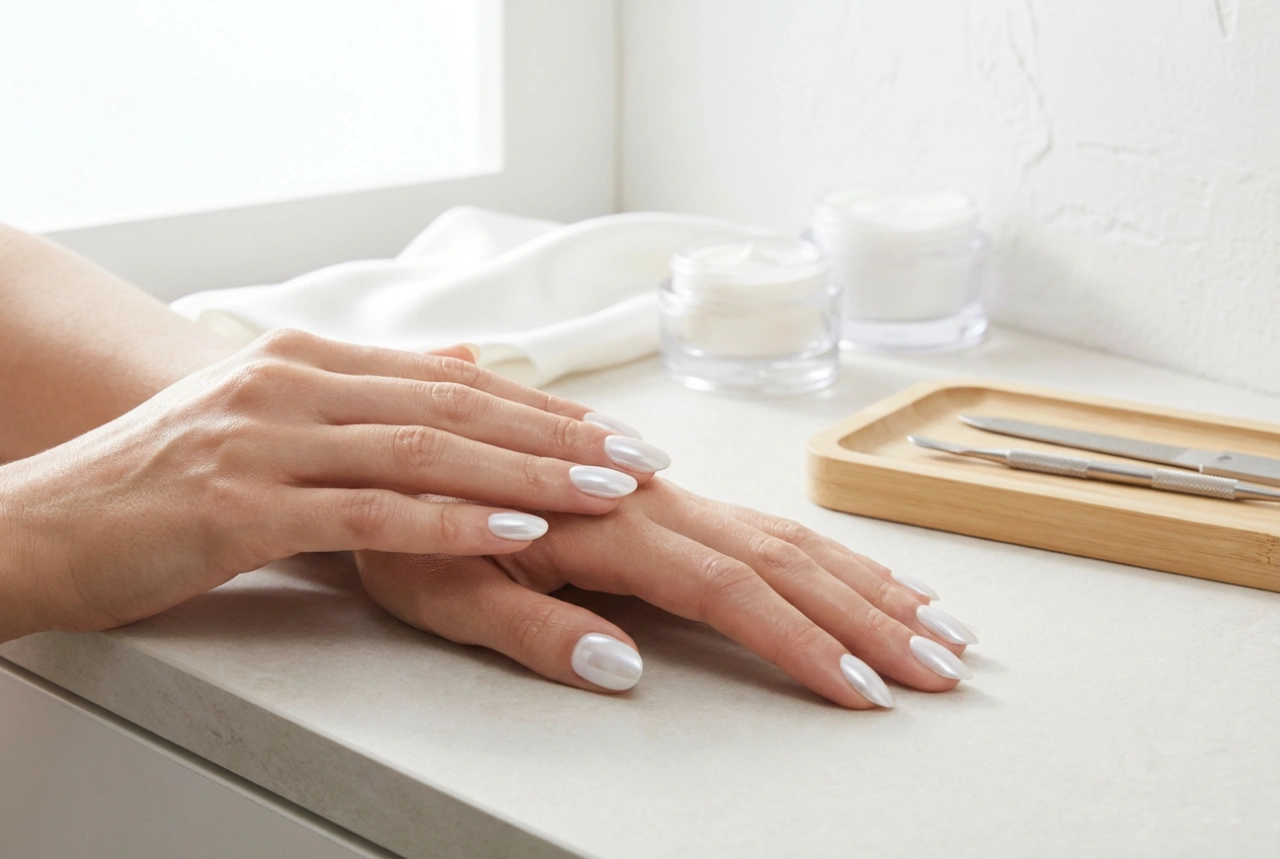
- Top Coat: Apply a thin layer of gel top coat. This coat seals in the colour and provides that signature high-gloss shine and durability. Be sure to cap the free edge again.
- Final Cure: Cure the top coat under the lamp. This cure is often slightly longer than the previous ones, so check the instructions for your specific product.
- Remove the Inhibition Layer: After the final cure, the nails will still have a sticky layer. Soak a lint-free wipe with a specialised gel cleanser or isopropyl alcohol and firmly wipe each nail to reveal the hard, glossy finish.
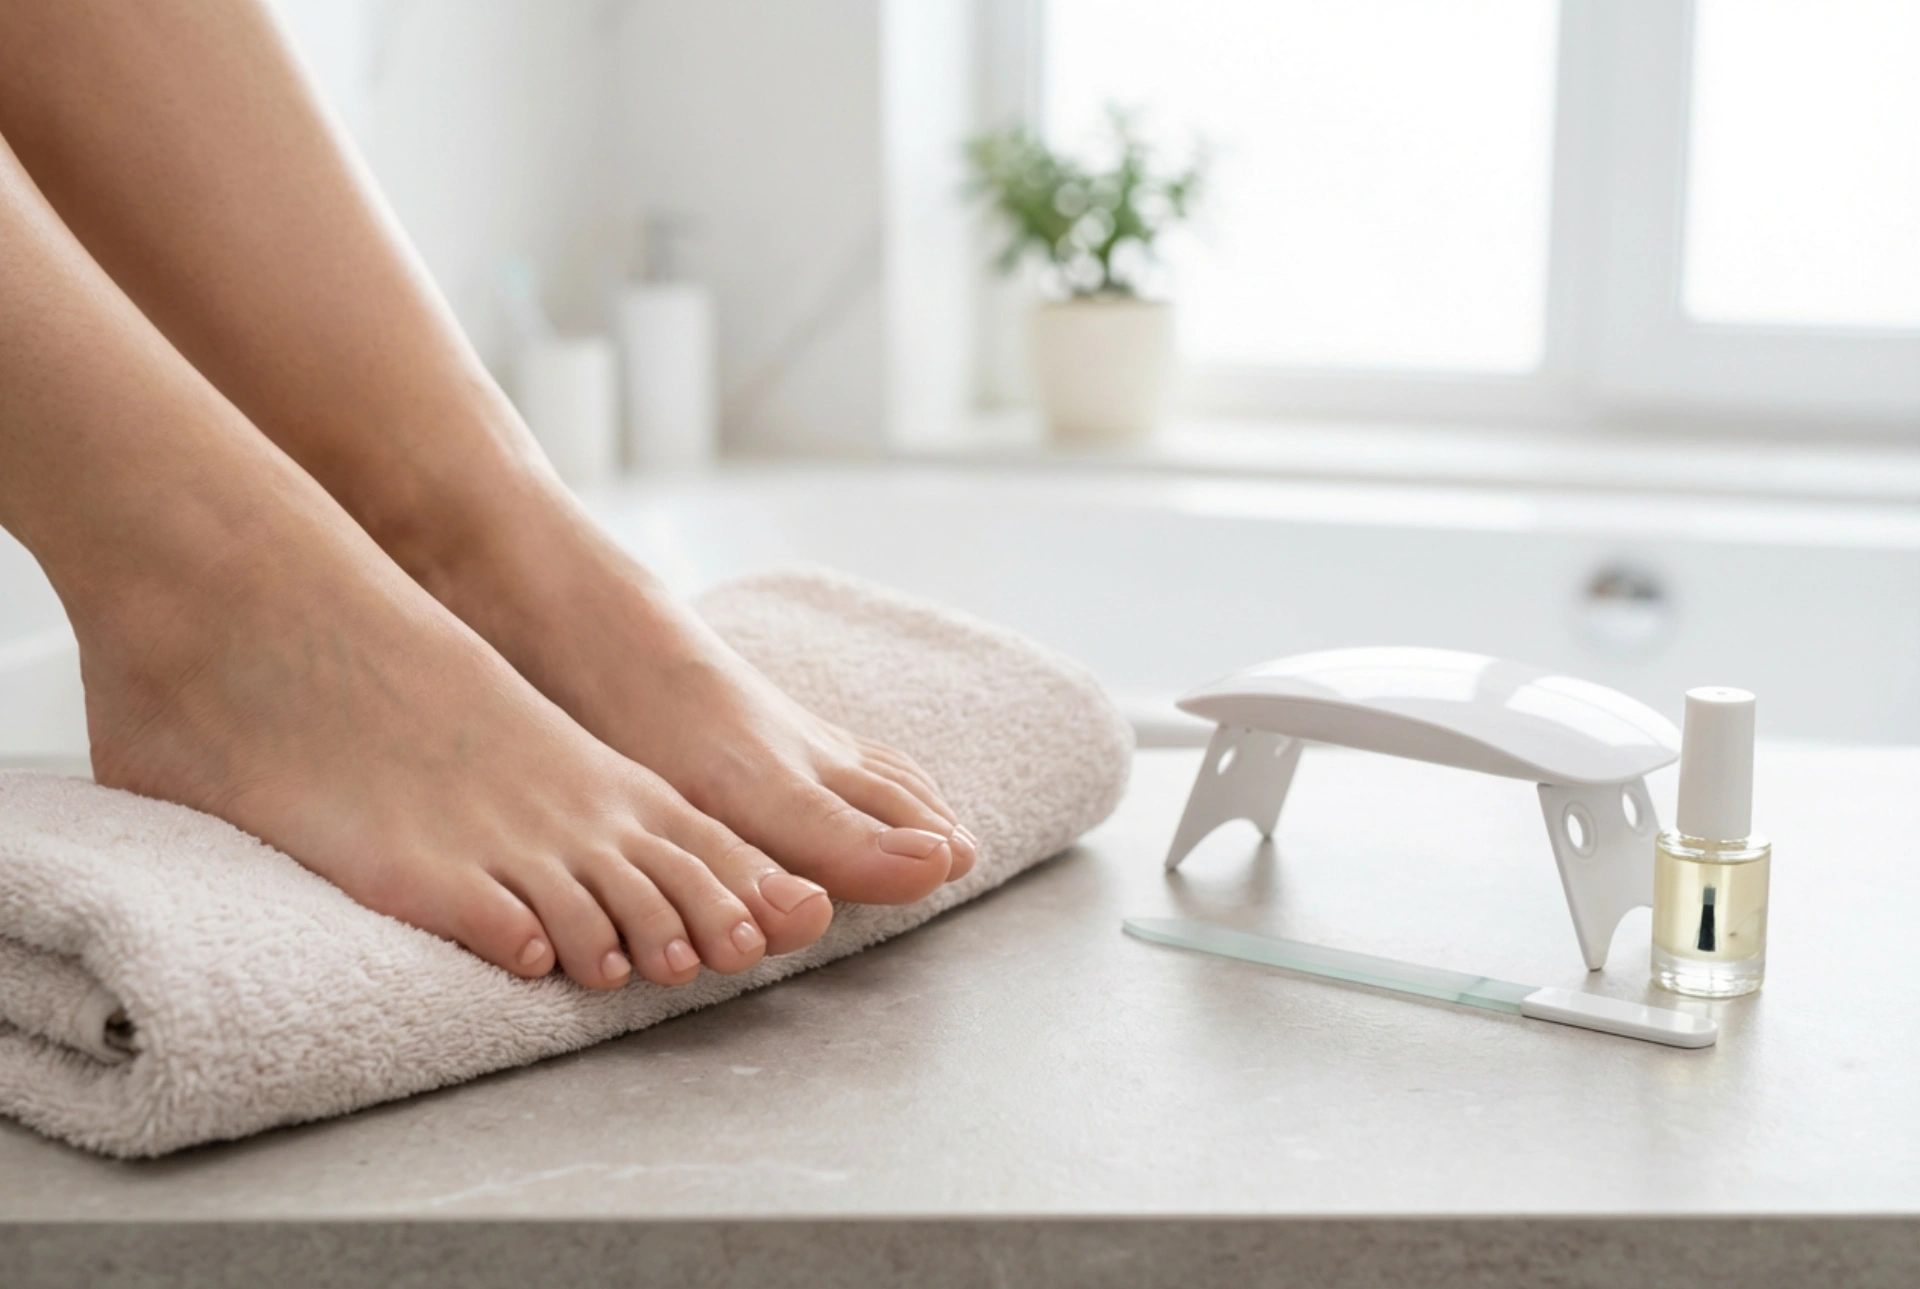
Using a Curing Lamp Safely
The UV/LED lamp is an essential tool for any home gel manicure or pedicure. To use it safely and effectively, always follow the manufacturer's instructions regarding curing times. LED lamps are generally faster and have a longer lifespan than traditional UV lamps. Never look directly into the light, and ensure the lamp is placed on a stable, flat surface during use. Using the correct curing times is vital; under-curing can lead to a soft, peel-prone finish, while over-curing can sometimes cause discolouration or make the polish brittle.
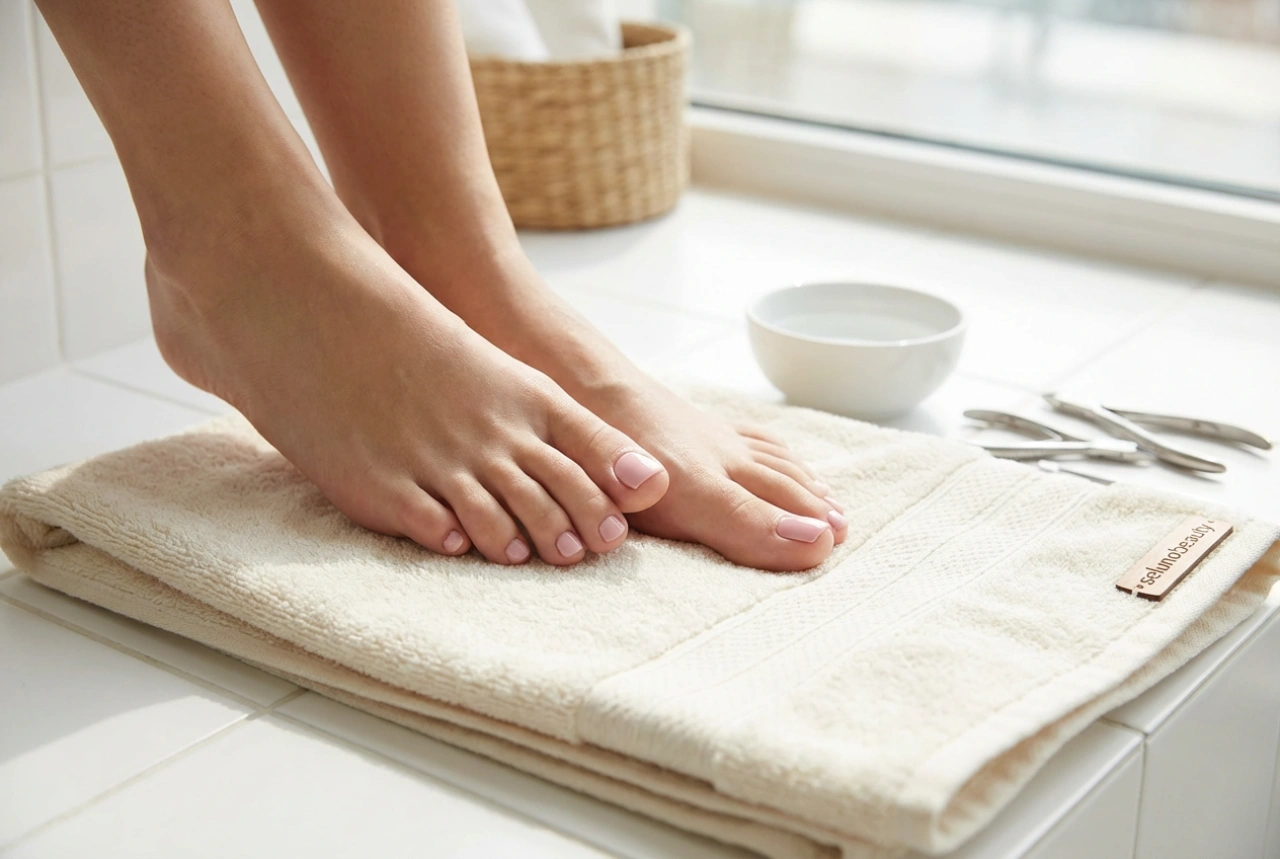
Aftercare and Safe Removal
To prolong the life of your home gel pedicure, moisturise your feet and cuticles regularly with a rich cream or oil. When it's time for a change, proper removal is essential to protect your natural nails. Never pick or peel off gel polish, as this can strip away layers of your nail plate, causing significant damage. The safest method is to gently file the shiny top coat off, then soak cotton pads in an acetone-based gel polish remover. Place a soaked pad on each toenail, wrap it in a small piece of aluminium foil, and wait 10-15 minutes. The gel should lift and flake off easily. Use a wooden stick to gently scrape away any remaining polish before lightly buffing the nail smooth.