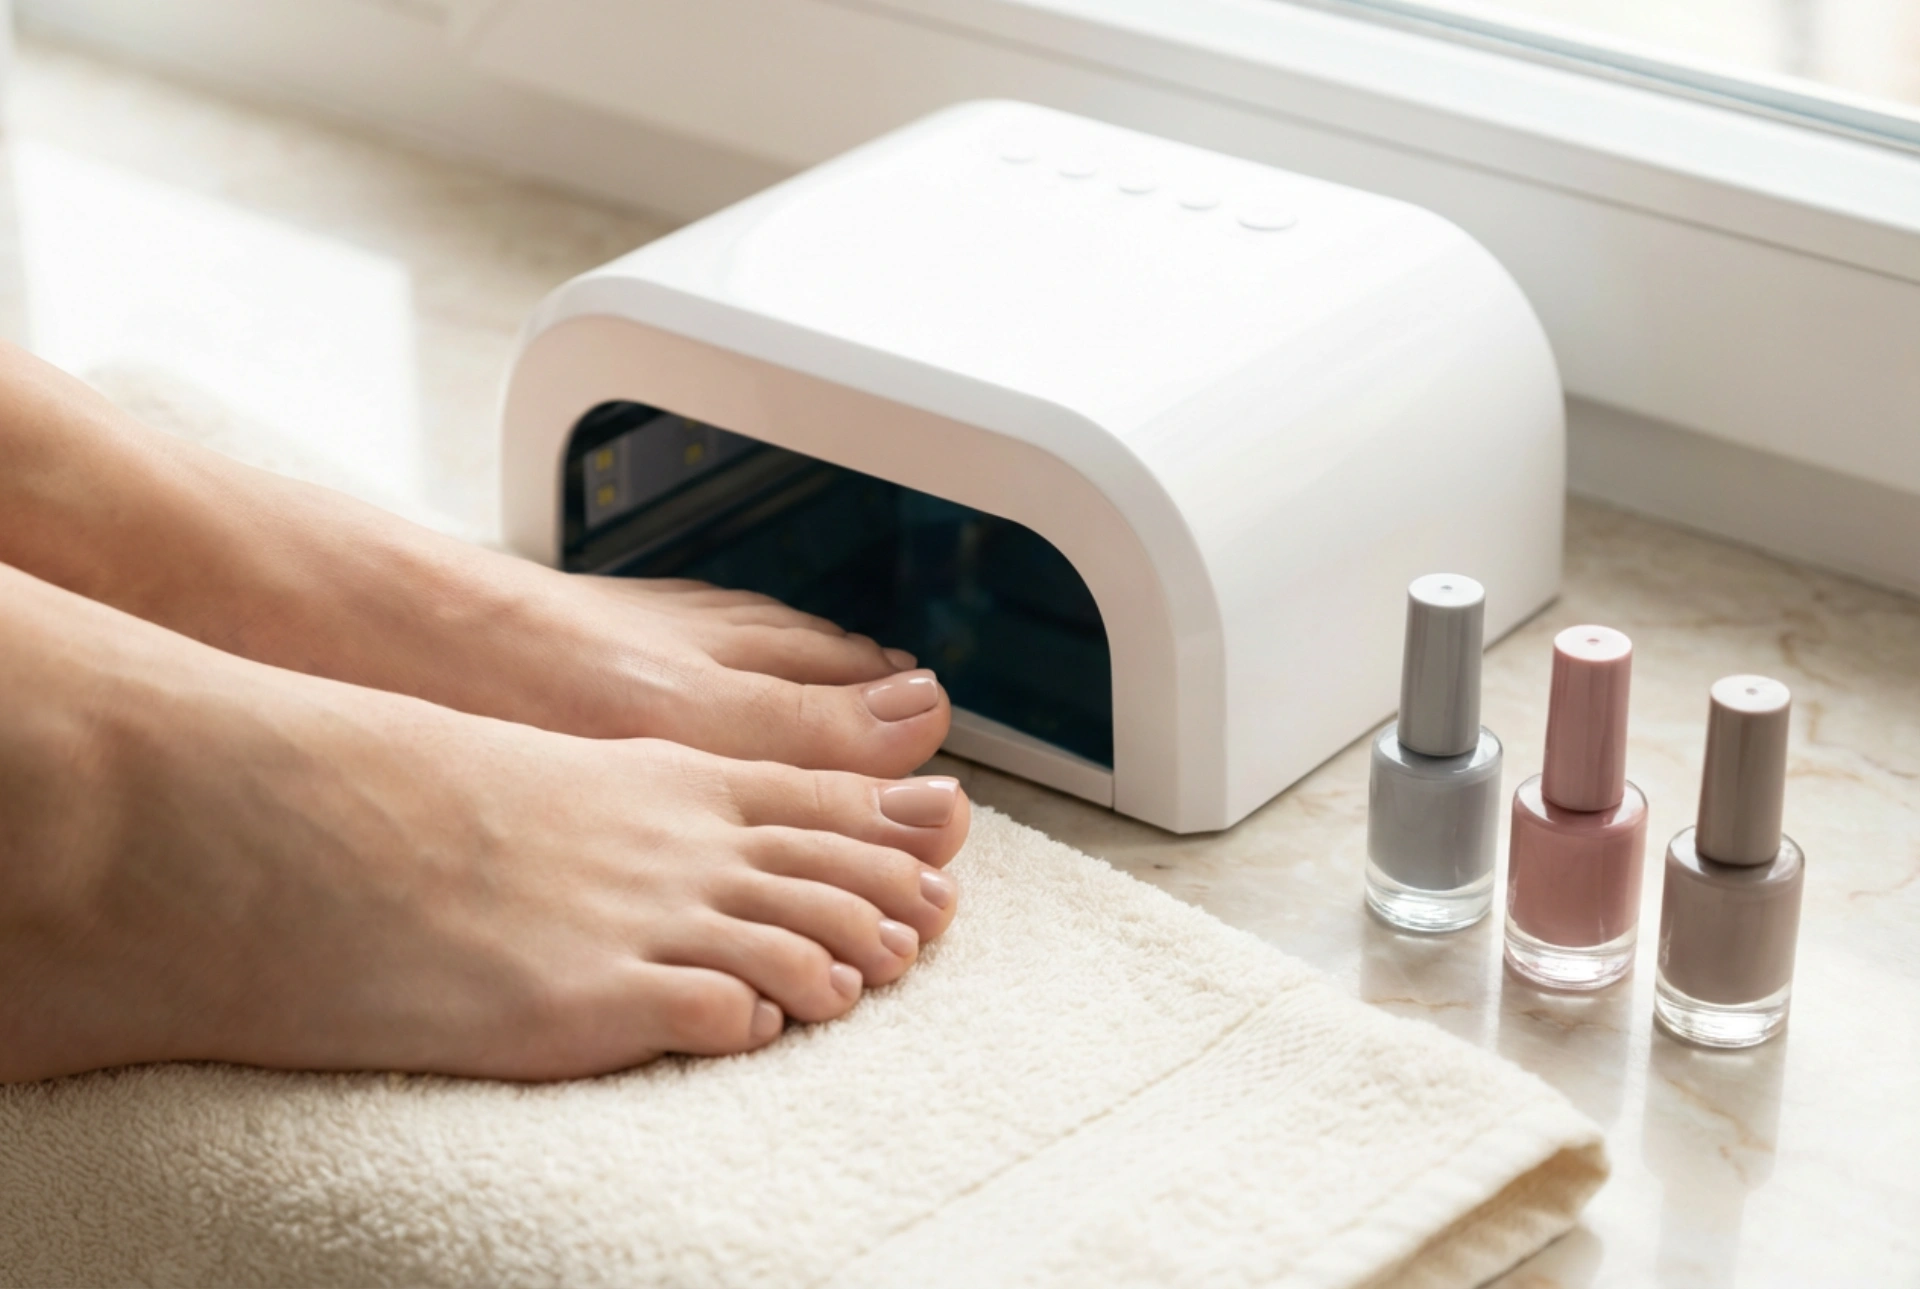


Achieving a flawless, long-lasting pedicure at home is entirely possible with the right tools. Alongside your favourite polish colours, a high-quality curing lamp is the key to getting that durable, high-shine finish seen in professional salons. Understanding how these devices work is the first step towards perfect toes. Whether you're new to home gel pedicures or looking to upgrade your equipment, this guide will illuminate the path to choosing and using a pedicure lamp effectively and safely.
LED vs. UV Lamps: Understanding the Technology
When selecting a lamp for your pedicure, the primary choice is between two types of technology: LED (Light Emitting Diode) and UV (Ultraviolet). While both are designed to cure gel polishes, they do so in slightly different ways.
UV Lamps
UV lamps are the traditional option. They use fluorescent bulbs that emit a broad spectrum of ultraviolet wavelengths to cure the polish. While effective for all types of gel polishes, they have some drawbacks. Curing times are generally longer, typically around 2 minutes per coat. The bulbs also have a limited lifespan and need to be replaced periodically to maintain their effectiveness. A drop in performance can lead to improper curing and a less durable finish.
LED Lamps
LED lamps represent a newer, more advanced technology. They use light-emitting diodes that produce narrower, more targeted wavelengths of light. This focused energy allows for significantly faster curing times, often as quick as 30-60 seconds per coat. LED bulbs are also far more energy-efficient and can last for the entire lifetime of the lamp, meaning no replacements are necessary. The main consideration is that some older gel formulas may not be compatible with LED light, but most modern polishes are formulated to work with both.
Dual-Cure Lamps
Today, many lamps on the market are 'dual-cure' or LED/UV lamps. These combine the benefits of both technologies, using dual-light source LEDs that cover a wider wavelength spectrum. This ensures they can cure virtually any type of gel polish quickly and efficiently, making them a versatile and future-proof choice for home use.
How to Choose the Right Lamp for Your Pedicure
With the technology understood, consider these practical features when making your selection:
- Power and Wattage: The power of a lamp, measured in watts (W), affects curing speed. For home use, a lamp between 36W and 48W is generally sufficient for efficient and thorough curing without being excessive.
- Size and Design: For pedicures, the lamp's design is crucial. Look for a model with an open design or a removable bottom plate. This makes it much easier and more comfortable to place your foot underneath without smudging your freshly applied polish. Ensure the interior is spacious enough to accommodate all five toes comfortably.
- Timers and Sensors: Most modern lamps come with preset timer buttons (e.g., 30s, 60s, 90s), which helps you follow the recommended curing times for different coats accurately. An infrared sensor is another handy feature; it automatically turns the lamp on when you place your foot inside and off when you remove it, making the process seamless.
- Low Heat Mode: Some people experience a brief heat spike as the gel cures. A 'low heat mode' can be a great feature for those with sensitive nail beds. It increases the power gradually, making the curing process more comfortable.
A Guide to Curing Times and Best Practices
Correct curing is essential for a chip-free, long-lasting pedicure. While you should always follow the instructions provided by your gel polish manufacturer, here are some general guidelines:
- Preparation: Ensure your toenails are clean, dry, and properly prepped before applying any polish.
- Base Coat: Apply a thin layer of base coat and cure for 30-60 seconds. This creates the foundation for your colour.
- Colour Coats: Apply each colour coat in a thin, even layer. Thick layers do not cure properly. Cure each coat for 60 seconds. Most colours require two coats for full opacity.
- Top Coat: Finish with a thin layer of top coat to seal the colour and provide a high-shine or matte finish. Cure this final layer for 60-90 seconds to ensure it is completely hardened and scratch-resistant.
- The Sticky Layer: After the final cure, most gel systems leave a slightly sticky (inhibition) layer on top. This is normal. Simply wipe it away with a lint-free pad soaked in a specialized gel cleanser or isopropyl alcohol to reveal the hard, glossy finish underneath.
Safety and Maintenance for Your Pedicure Lamp
Home-use nail lamps are designed to be safe when used correctly. To ensure a secure experience, keep these points in mind. Avoid staring directly into the lit lamp. While the UV exposure from a standard home-use lamp during a typical pedicure is considered low, if you have particularly light-sensitive skin or concerns, you can apply a broad-spectrum sunscreen to your feet 20 minutes before your pedicure, making sure to avoid the nail plate itself. Alternatively, pedicure socks that expose only the toenails are available. Always keep your lamp clean by wiping it down after use and ensure the power cord is in good condition. Proper care will not only ensure safety but also extend the life of your device, guaranteeing many more beautiful home pedicures to come.


