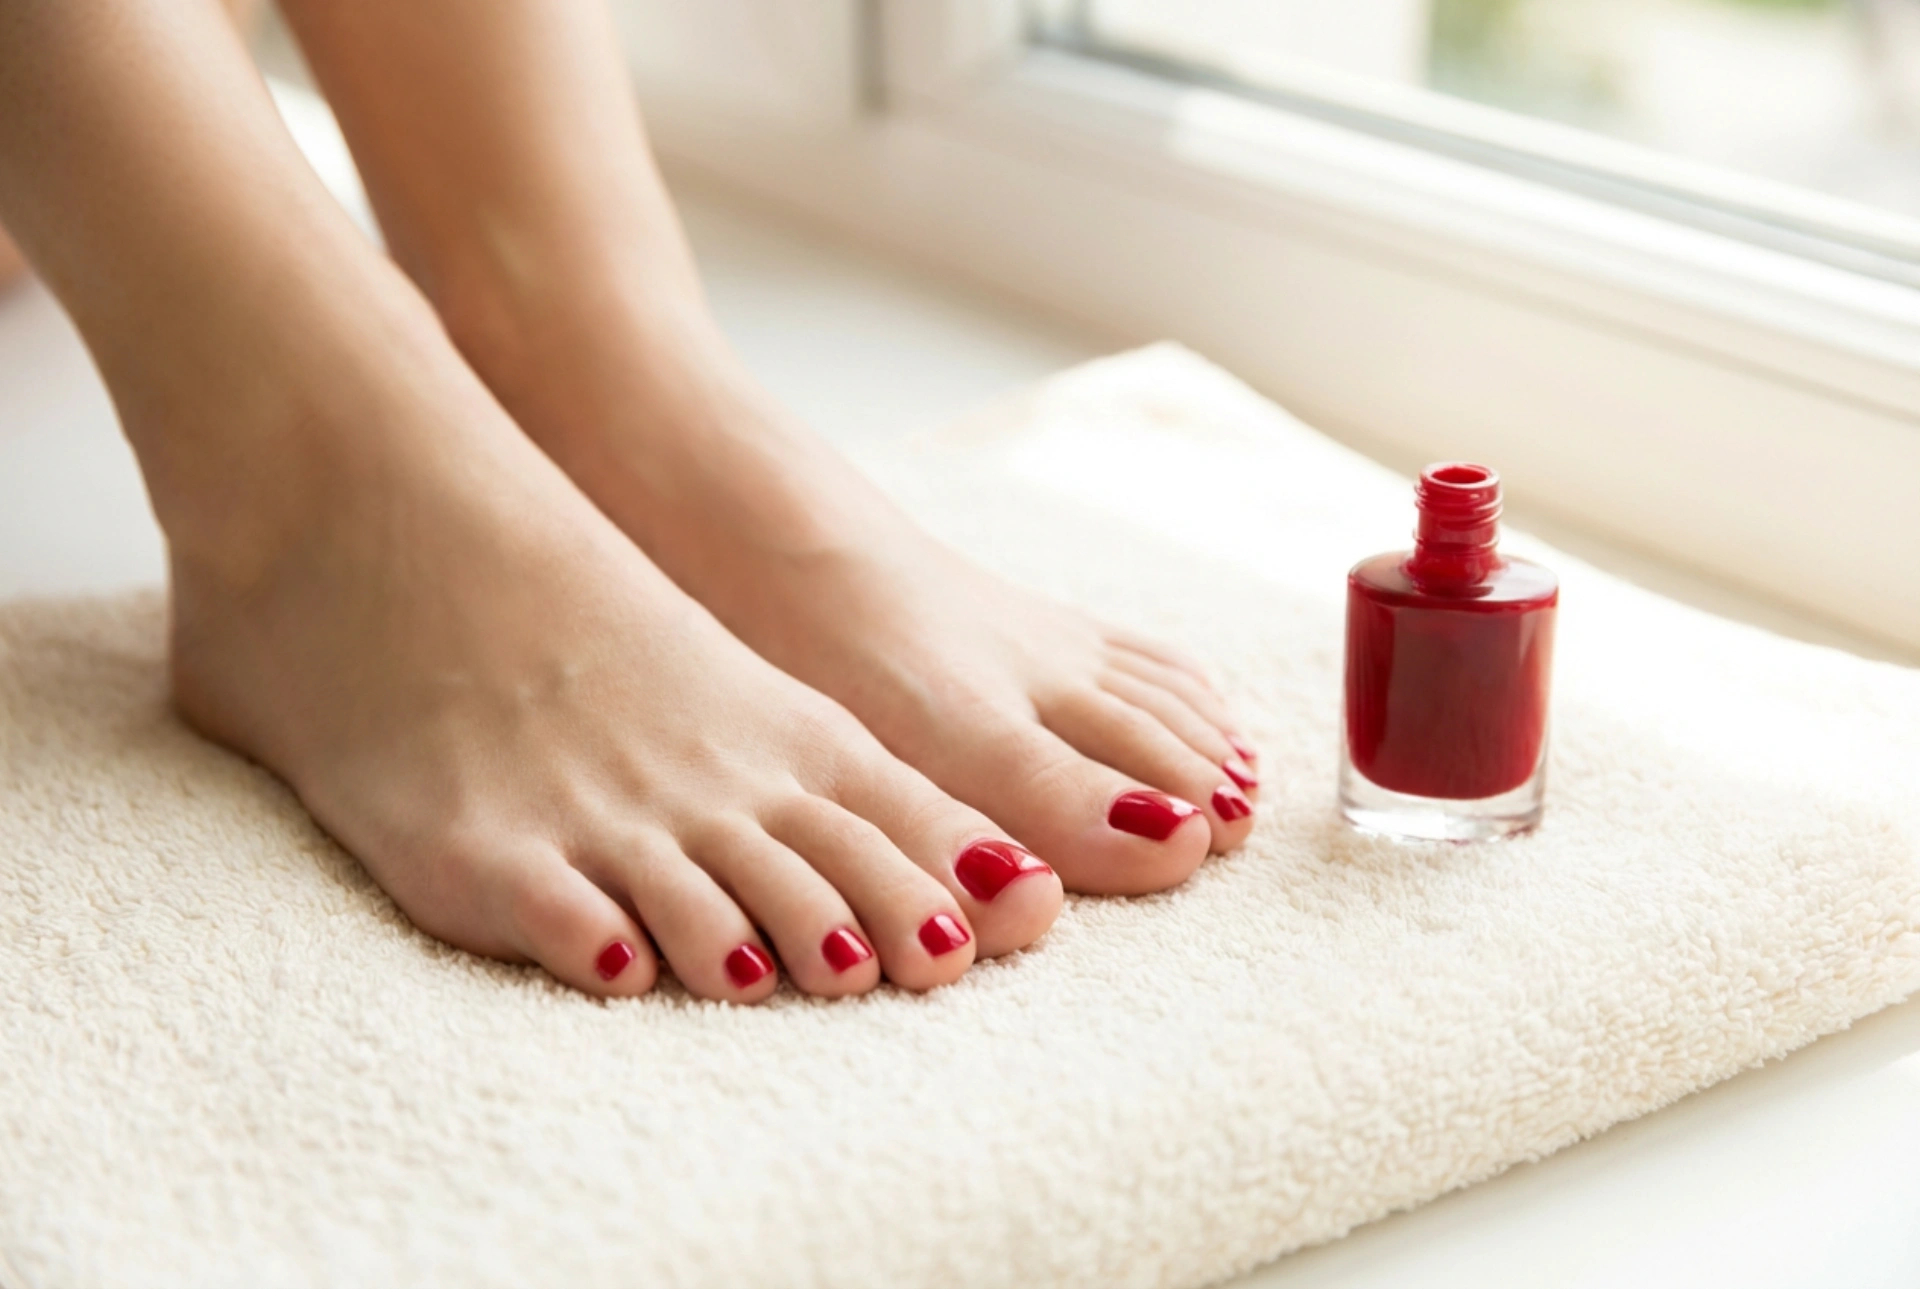


A classic red pedicure is a timeless symbol of elegance and self-assurance. It's a versatile choice that complements any style, from casual summer sandals to sophisticated evening wear. Achieving that perfect, glossy red finish seen in professional photos is entirely possible at home. It all comes down to choosing the right shade, proper preparation, and a meticulous application technique. With a little care and attention, your red toenails can look flawless and beautifully maintained.
Choosing the Perfect Shade of Red
The world of red nail polish is vast, with shades ranging from vibrant cherry to deep wine. The key to finding your perfect red is to consider your skin's undertone. A well-chosen shade will illuminate your skin and create a harmonious look.
For Fair Skin Tones
If you have fair skin with cool (pink, blue) undertones, opt for true reds with a blue base. Classic, pillar-box reds look stunning and create a striking contrast. Avoid orange-based reds, which can sometimes make fair skin appear ruddy. Shades like raspberry or cherry are excellent choices that provide a clean, crisp finish.
For Medium Skin Tones
Medium skin tones, which often have warm (yellow, golden) undertones, are incredibly versatile. You can pull off a wide spectrum of reds. Warm, fiery reds with an orange tint will beautifully complement your complexion. Deeper shades like brick red or terracotta also look exceptionally chic. For a bolder look, a vibrant coral-red can be a wonderful option, especially in warmer months.
For Deep Skin Tones
Deep skin tones provide a stunning backdrop for rich, opulent reds. Look for polishes with deep, warm undertones. Shades like burgundy, merlot, and dark berry create a sophisticated and luxurious feel. Bright, true reds also pop beautifully against deeper skin, creating a vibrant and eye-catching statement. Avoid reds that are too light or have a chalky finish, as they may not offer the same rich impact.
Preparing for a Flawless Application
Great nail polish application starts with well-prepped feet and nails. This foundation is crucial for a smooth finish and a long-lasting pedicure. Set aside some time to give your feet the attention they deserve.
- Soak and Soften: Begin by soaking your feet in a basin of warm water for 10-15 minutes. You can add a few drops of a gentle soap or bath oil. This will soften the skin and cuticles, making them easier to manage.
- Cuticle Care: After soaking, gently pat your feet dry. Apply a cuticle remover and use a wooden or rubber-tipped cuticle pusher to gently push back the cuticles from the nail plate. Never cut your cuticles, as this can lead to damage.
- Shape and File: Trim your toenails straight across to help prevent ingrown nails. Use a nail file to gently smooth the edges and create your desired shape. A 'squoval' (square-oval) shape is often the most flattering and durable for toenails.
- Buff the Surface: Lightly buff the surface of each nail. This removes natural oils and creates a slightly textured surface, which helps the nail polish adhere better and last longer.
- Cleanse the Nail Plate: Before applying any polish, wipe each nail with a cotton pad soaked in nail polish remover or rubbing alcohol. This crucial step removes any remaining oils or residue, ensuring a clean canvas for your base coat.
The Art of Application: A Step-by-Step Guide
Applying a bold colour like red requires a steady hand and a bit of patience. Follow these steps for a professional-looking result that minimises streaks and smudges.
1. Always Start with a Base Coat
Never skip the base coat, especially with pigmented colours like red. A good base coat serves two purposes: it prevents the red pigment from staining your natural nails and it provides a smooth, grippy surface for the colour to adhere to, extending the life of your pedicure.
2. Apply in Thin, Even Coats
The secret to opaque, even coverage is to apply two thin coats rather than one thick, gloopy one. A thick coat takes much longer to dry and is more prone to smudging and bubbling. Apply the first thin coat, wait at least two minutes, and then apply the second. This layering technique builds up the colour intensity beautifully.
3. Master the Three-Stroke Method
For a clean application, load your brush with just enough polish for one nail. Place the brush in the centre of the nail, slightly away from the cuticle. Push the brush gently back towards the cuticle, then pull it straight down to the tip. Return to the base and paint one stroke down the left side, and another down the right side. This method ensures full coverage without flooding the cuticle area.
4. Clean Up Any Mistakes
Even with a steady hand, mistakes happen. Keep a small, flat brush (an old lip or eyeliner brush works well) and a small dish of nail polish remover handy. Dip the brush into the remover, wipe off the excess, and carefully trace around the nail to clean up any polish on the skin. Do this before the polish fully dries for the best results.
5. Seal with a Top Coat
A high-gloss top coat is non-negotiable. It seals in the colour, protects against chips and scratches, and provides that enviable, shiny finish. It also helps to smooth out any minor imperfections in the colour coats. For extra longevity, 'cap' the free edge of your nail by running the top coat brush along the tip.
Maintaining Your Red Pedicure
With a little post-pedicure care, you can keep your red toenails looking fresh and vibrant for weeks.
- Moisturise Daily: Keep the skin around your nails and your feet hydrated by applying a foot cream and cuticle oil daily. This prevents dry skin and hangnails, keeping your pedicure looking neat.
- Reapply Your Top Coat: To maintain that 'just-done' shine and add an extra layer of protection, apply a fresh layer of top coat every three to four days.
- Be Mindful of Footwear: In the first few hours after your pedicure, try to wear open-toed shoes to allow the polish to fully cure and harden. In the following days, be mindful of tight or ill-fitting shoes that can cause friction and lead to chipping.


