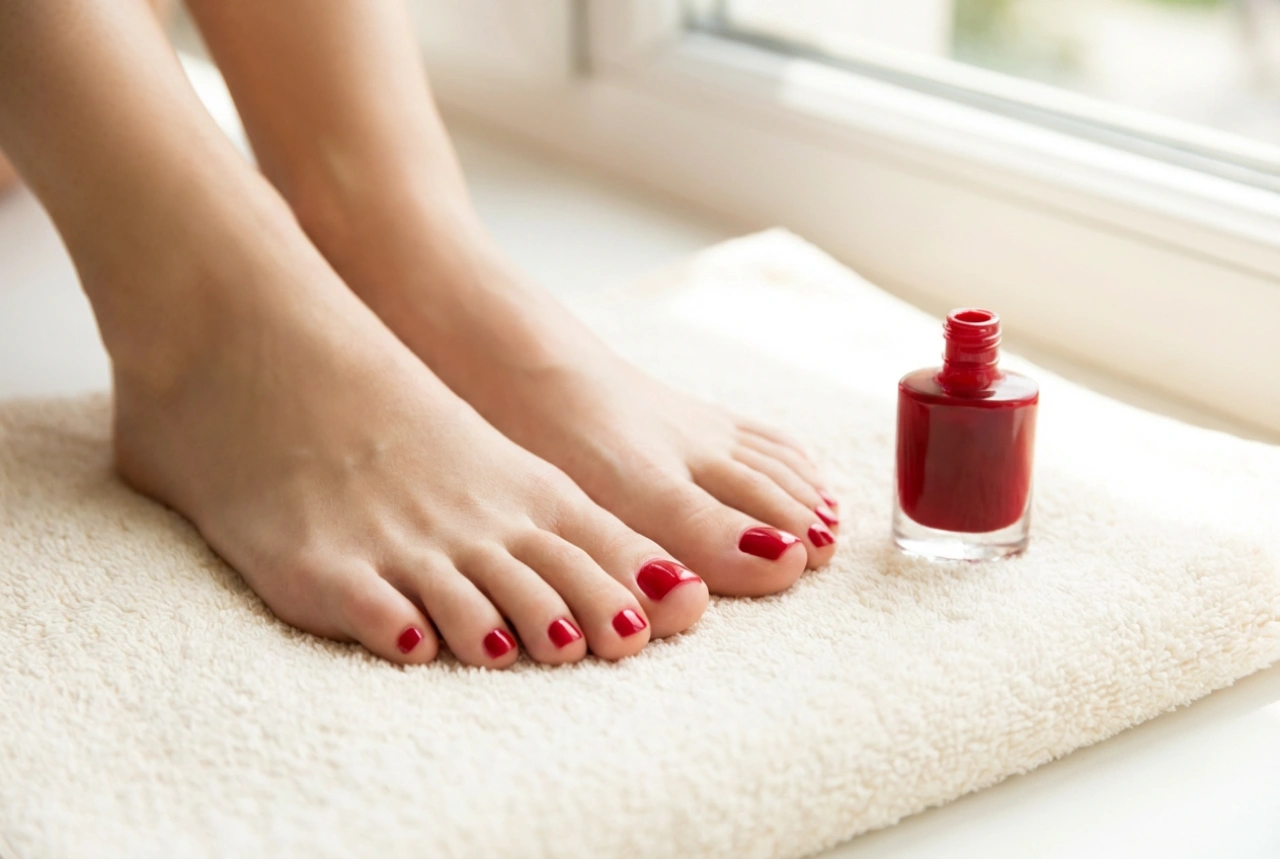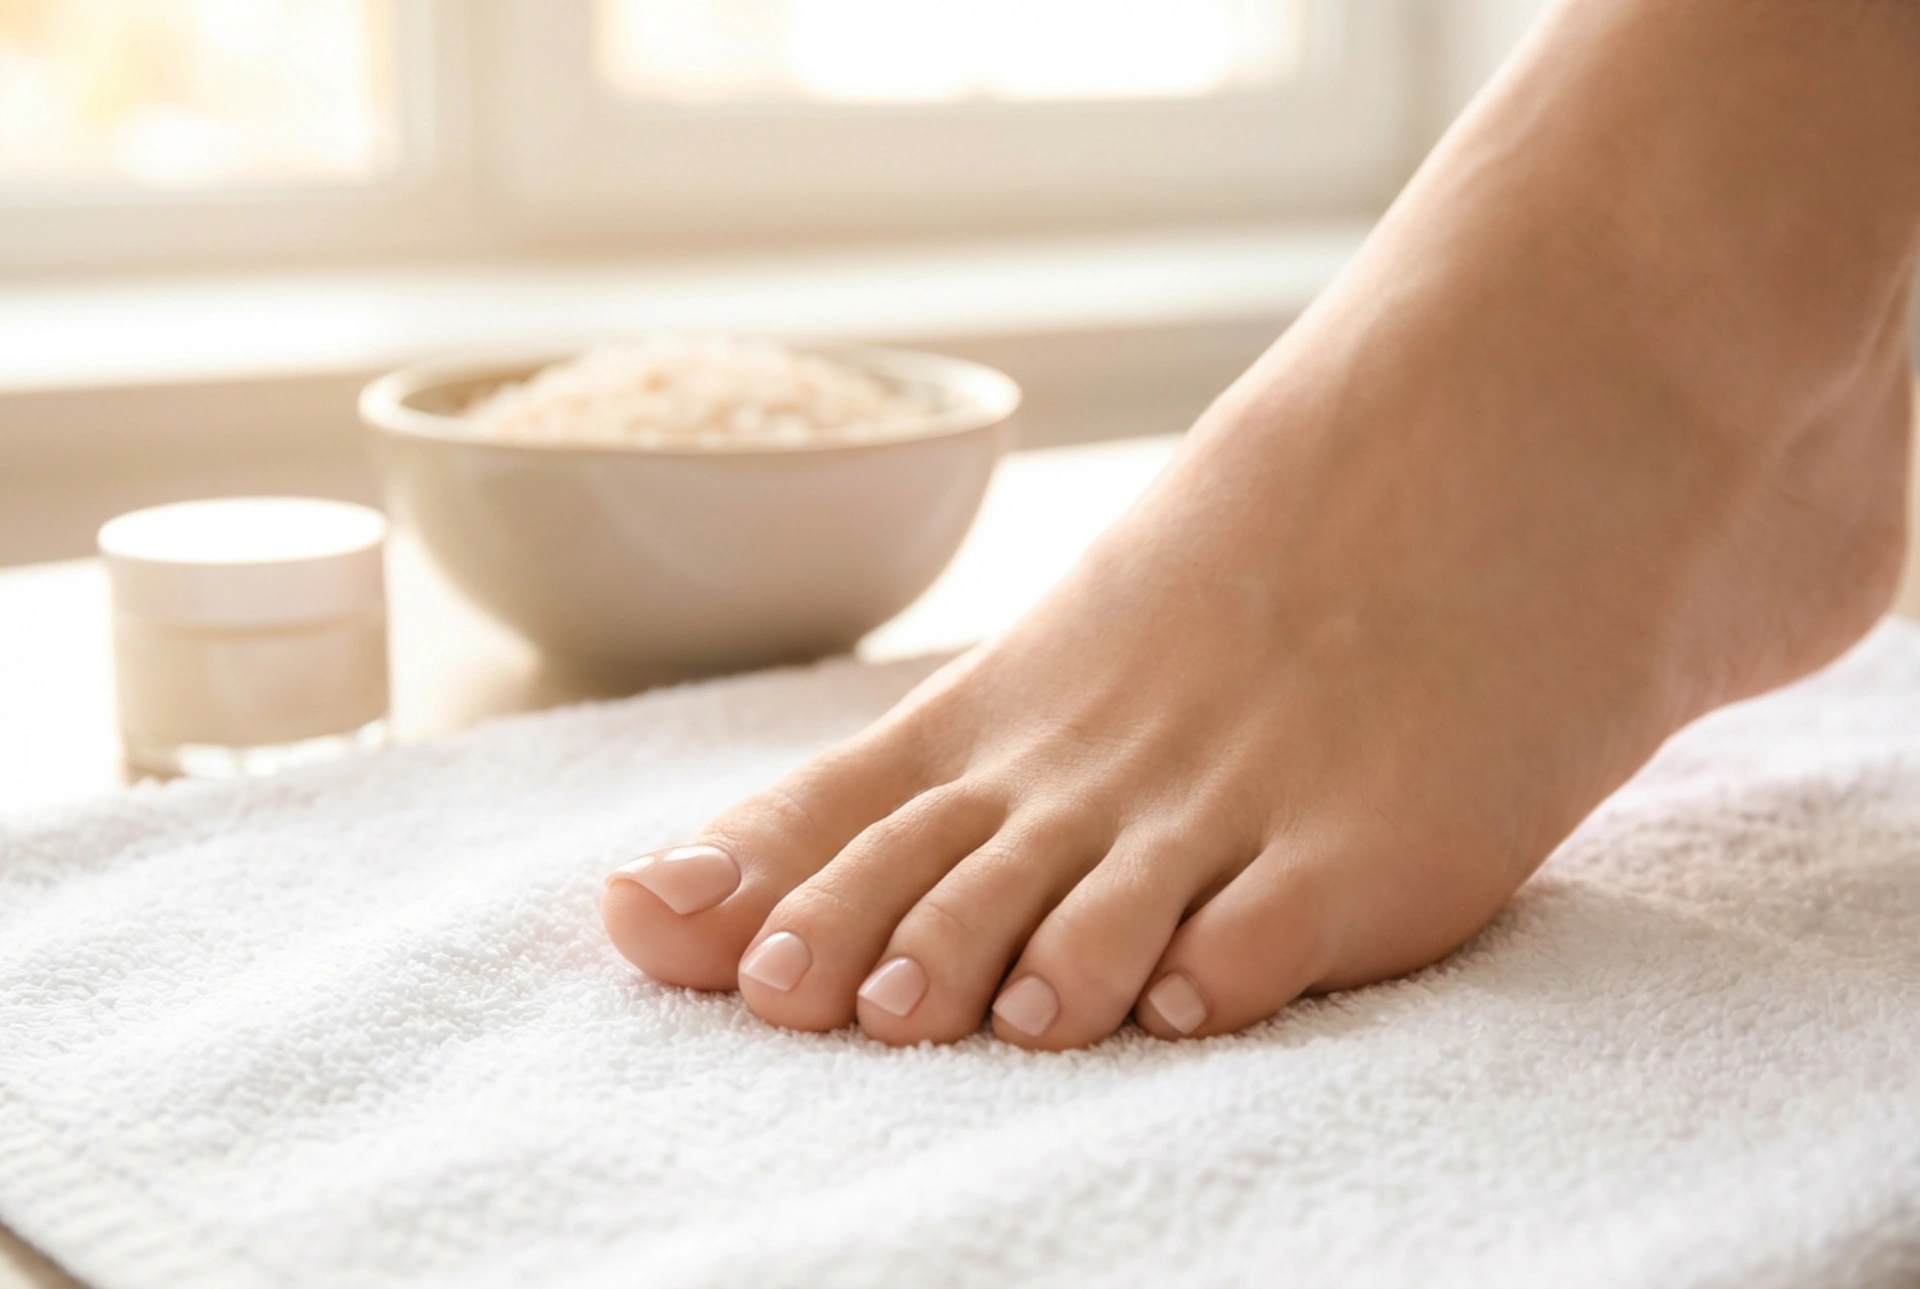


Achieving a flawless pedicure can instantly boost your confidence, making your feet look neat and elegant. While a visit to the salon is a treat, sometimes you need a quick and reliable solution at home. Artificial toenails offer a fantastic way to get a perfect, long-lasting look, especially if you're dealing with short or uneven nails. With the right technique, you can apply them to look incredibly natural and professional, transforming your feet in minutes.
Choosing the Perfect Artificial Toenails
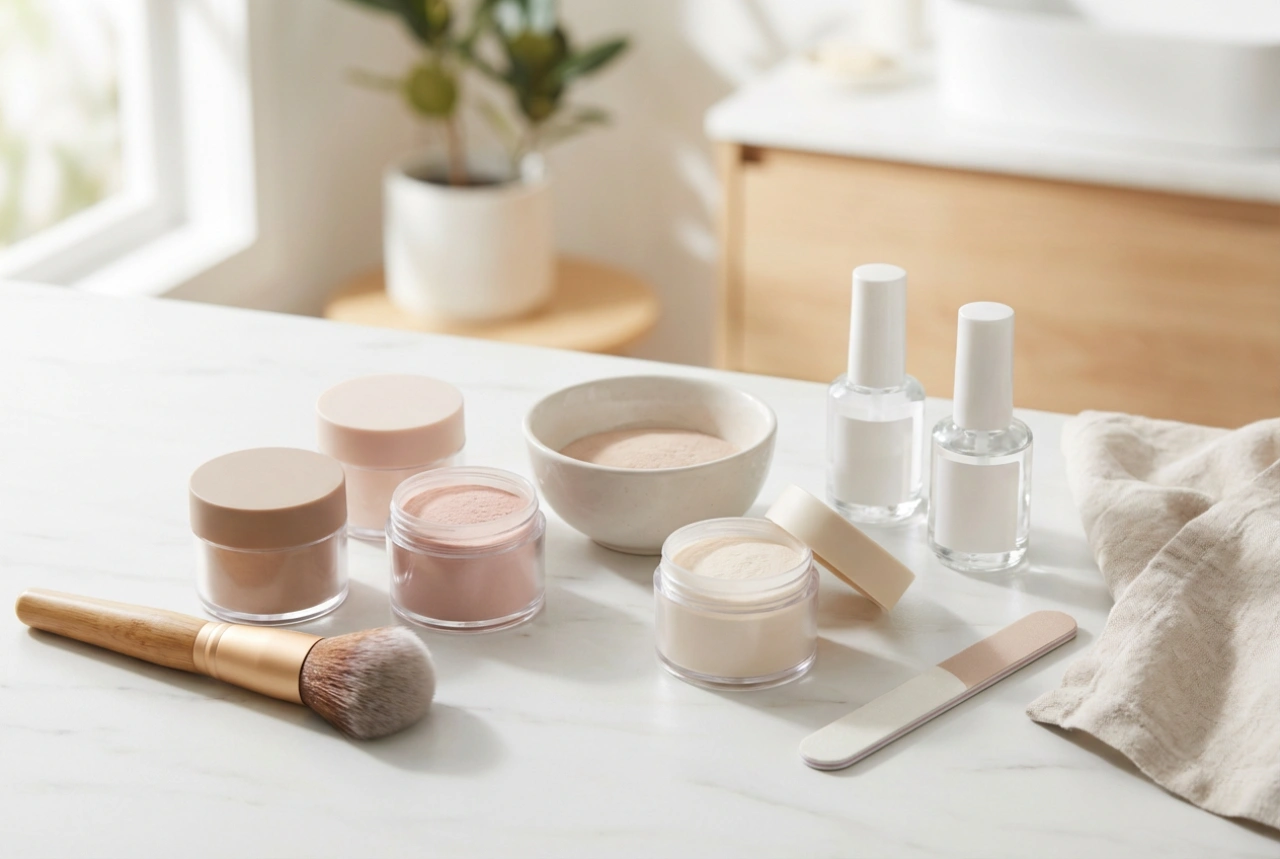
The success of your at-home pedicure starts with selecting the right product. Taking a moment to find the best fit and style will make a significant difference to the final result.
Finding Your Size
The most crucial step for a natural look is selecting the correct size. Most kits come with a range of 10-12 sizes per foot, so you should have plenty of options. Before applying any glue, test each artificial nail by placing it over your natural nail to check the fit. It should cover your entire nail bed from side to side without extending onto the surrounding skin. If you find yourself between two sizes, it's always better to choose the slightly smaller one. A nail that is too wide will look bulky and is more likely to lift prematurely.
Style and Shape
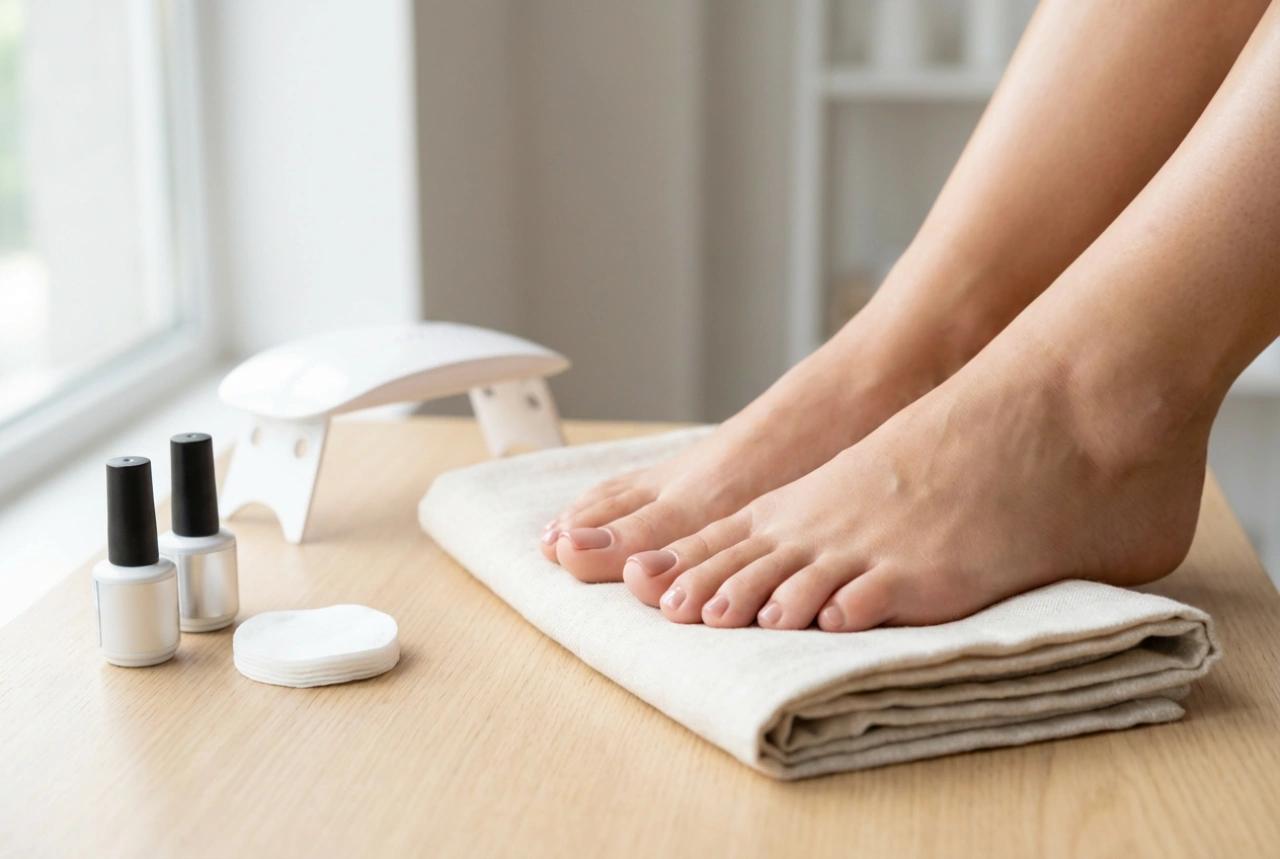
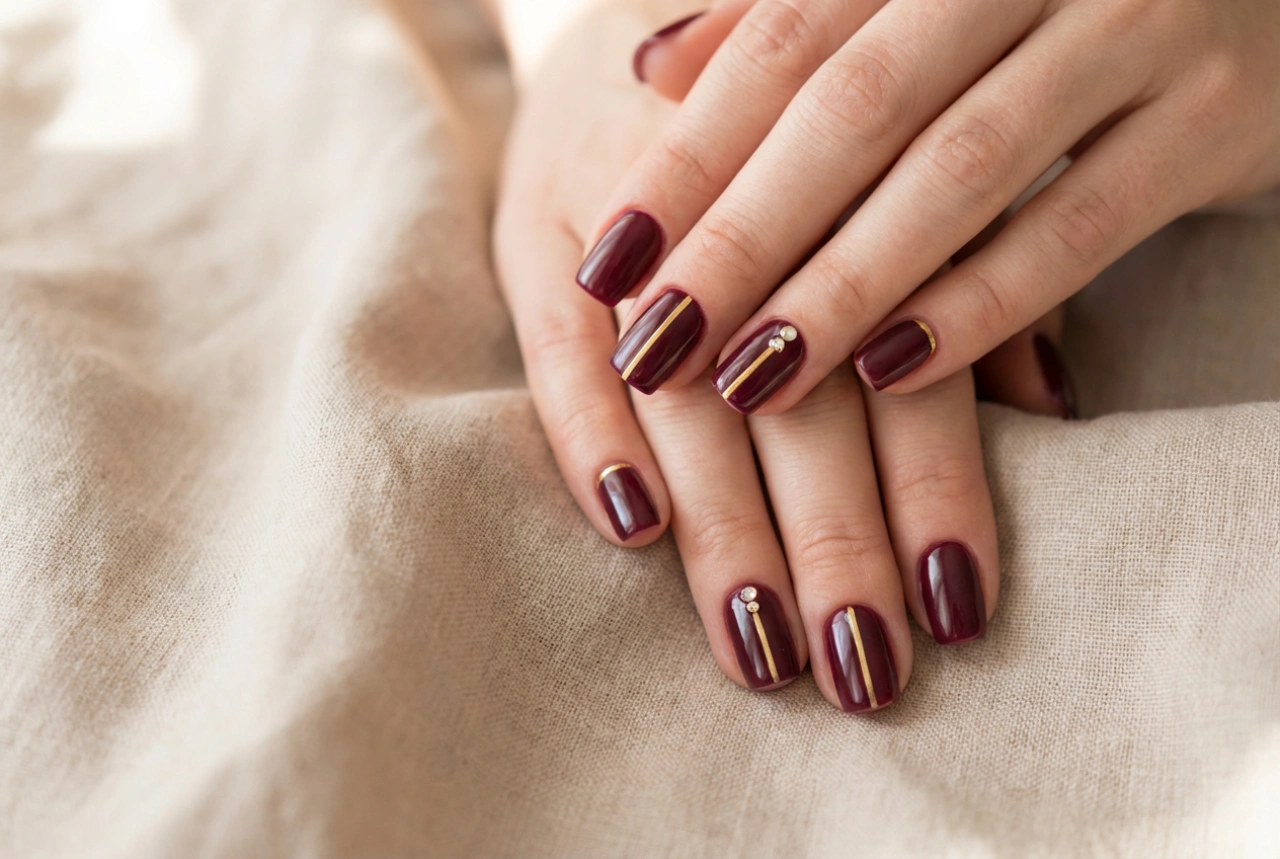
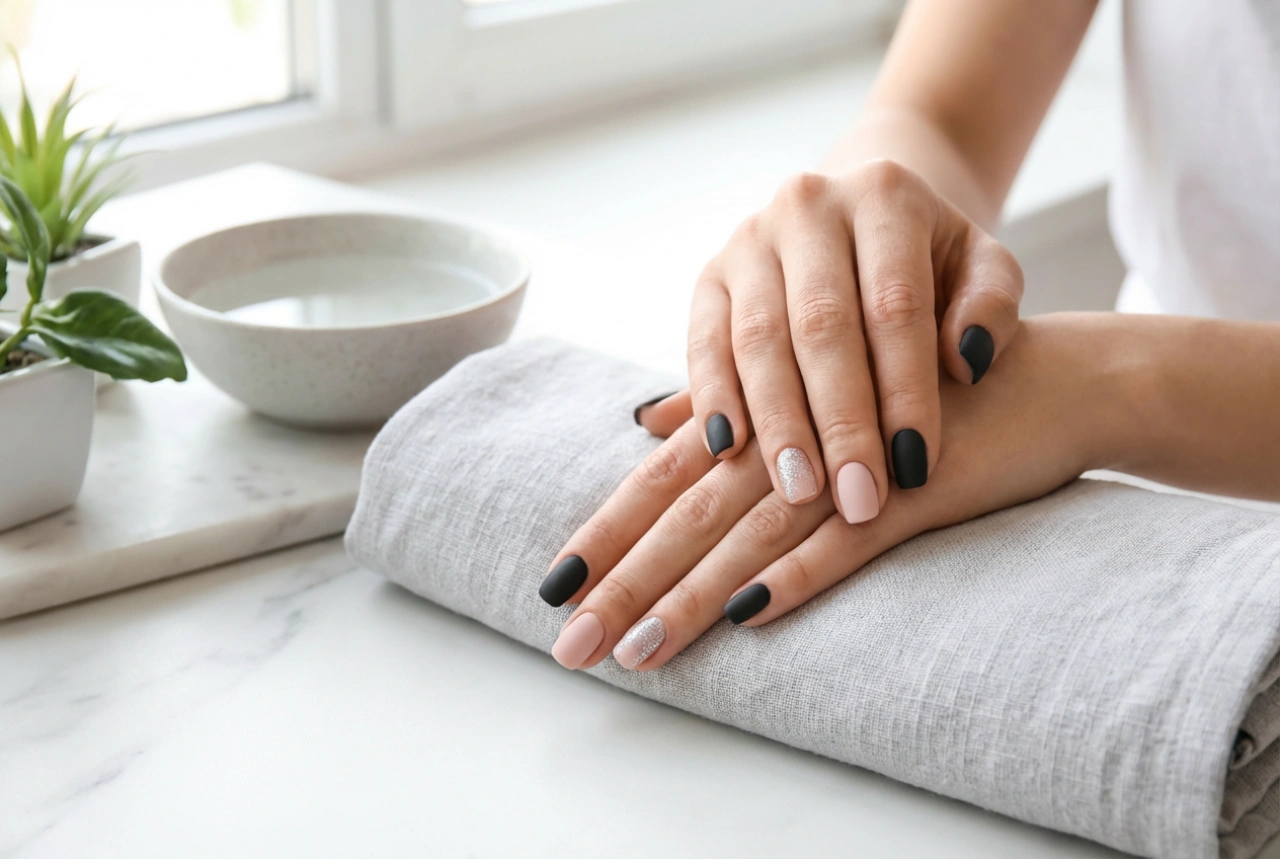
Artificial toenails come in various styles, from classic French tips to solid colours and natural, unpolished finishes. For the most subtle and versatile appearance, opt for a natural or sheer pink style that mimics a healthy nail bed. You can always paint over them with your favourite nail polish later. Consider the shape as well; a short, squoval (square-oval) shape is often the most practical and flattering for toes, providing a clean and tidy look.
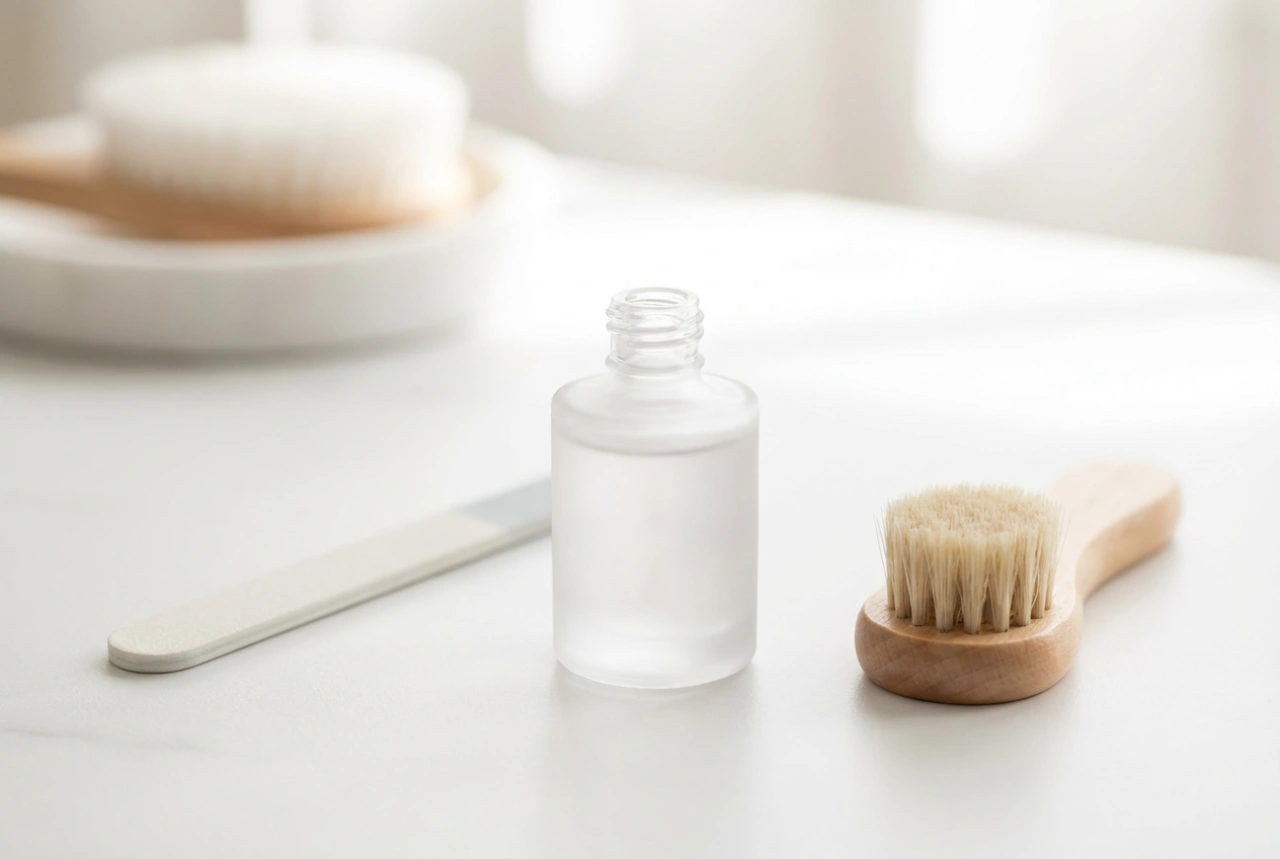
Preparation is Everything
Proper preparation of your natural nails is essential for ensuring the artificial nails adhere securely and last as long as possible. A clean, dry, and oil-free surface is your goal. Neglecting this step can lead to the nails popping off within a day or two. Follow these simple steps for the perfect canvas:
- Start by removing any old nail polish completely using a non-acetone remover.
- Trim your natural toenails so they are short and file any rough edges.
- Gently push back your cuticles using a wooden or rubber cuticle pusher. Avoid cutting them, as this can lead to irritation.
- Lightly buff the surface of each natural nail with a fine-grit buffer. This removes the natural shine and creates a slightly rougher texture for the glue to grip onto.
- Finally, cleanse each nail with an alcohol wipe or a nail dehydrator solution to remove any remaining dust and natural oils. Allow them to air-dry completely.
Step-by-Step Application Guide
Once your nails are prepped, the application process is straightforward. Work on one nail at a time to prevent the glue from drying too quickly and to ensure each nail is perfectly placed.
Applying the Adhesive
Use a high-quality nail glue designed specifically for artificial nails for the best hold. Apply a small, even drop of glue to the back of the artificial nail (the part that will be in contact with your natural nail) and spread a very thin layer of glue onto your entire natural nail. Avoid flooding the nail with glue, as this will cause it to seep out from the sides, which can be messy and irritate the skin.
Positioning the Nail
Hold the artificial nail at a 45-degree angle and align its base with your cuticle line. Slowly lower the nail onto your nail bed, applying gentle, even pressure. This technique helps to push out any potential air bubbles. Press and hold the nail firmly in place for at least 15-20 seconds to allow the glue to create a strong bond.
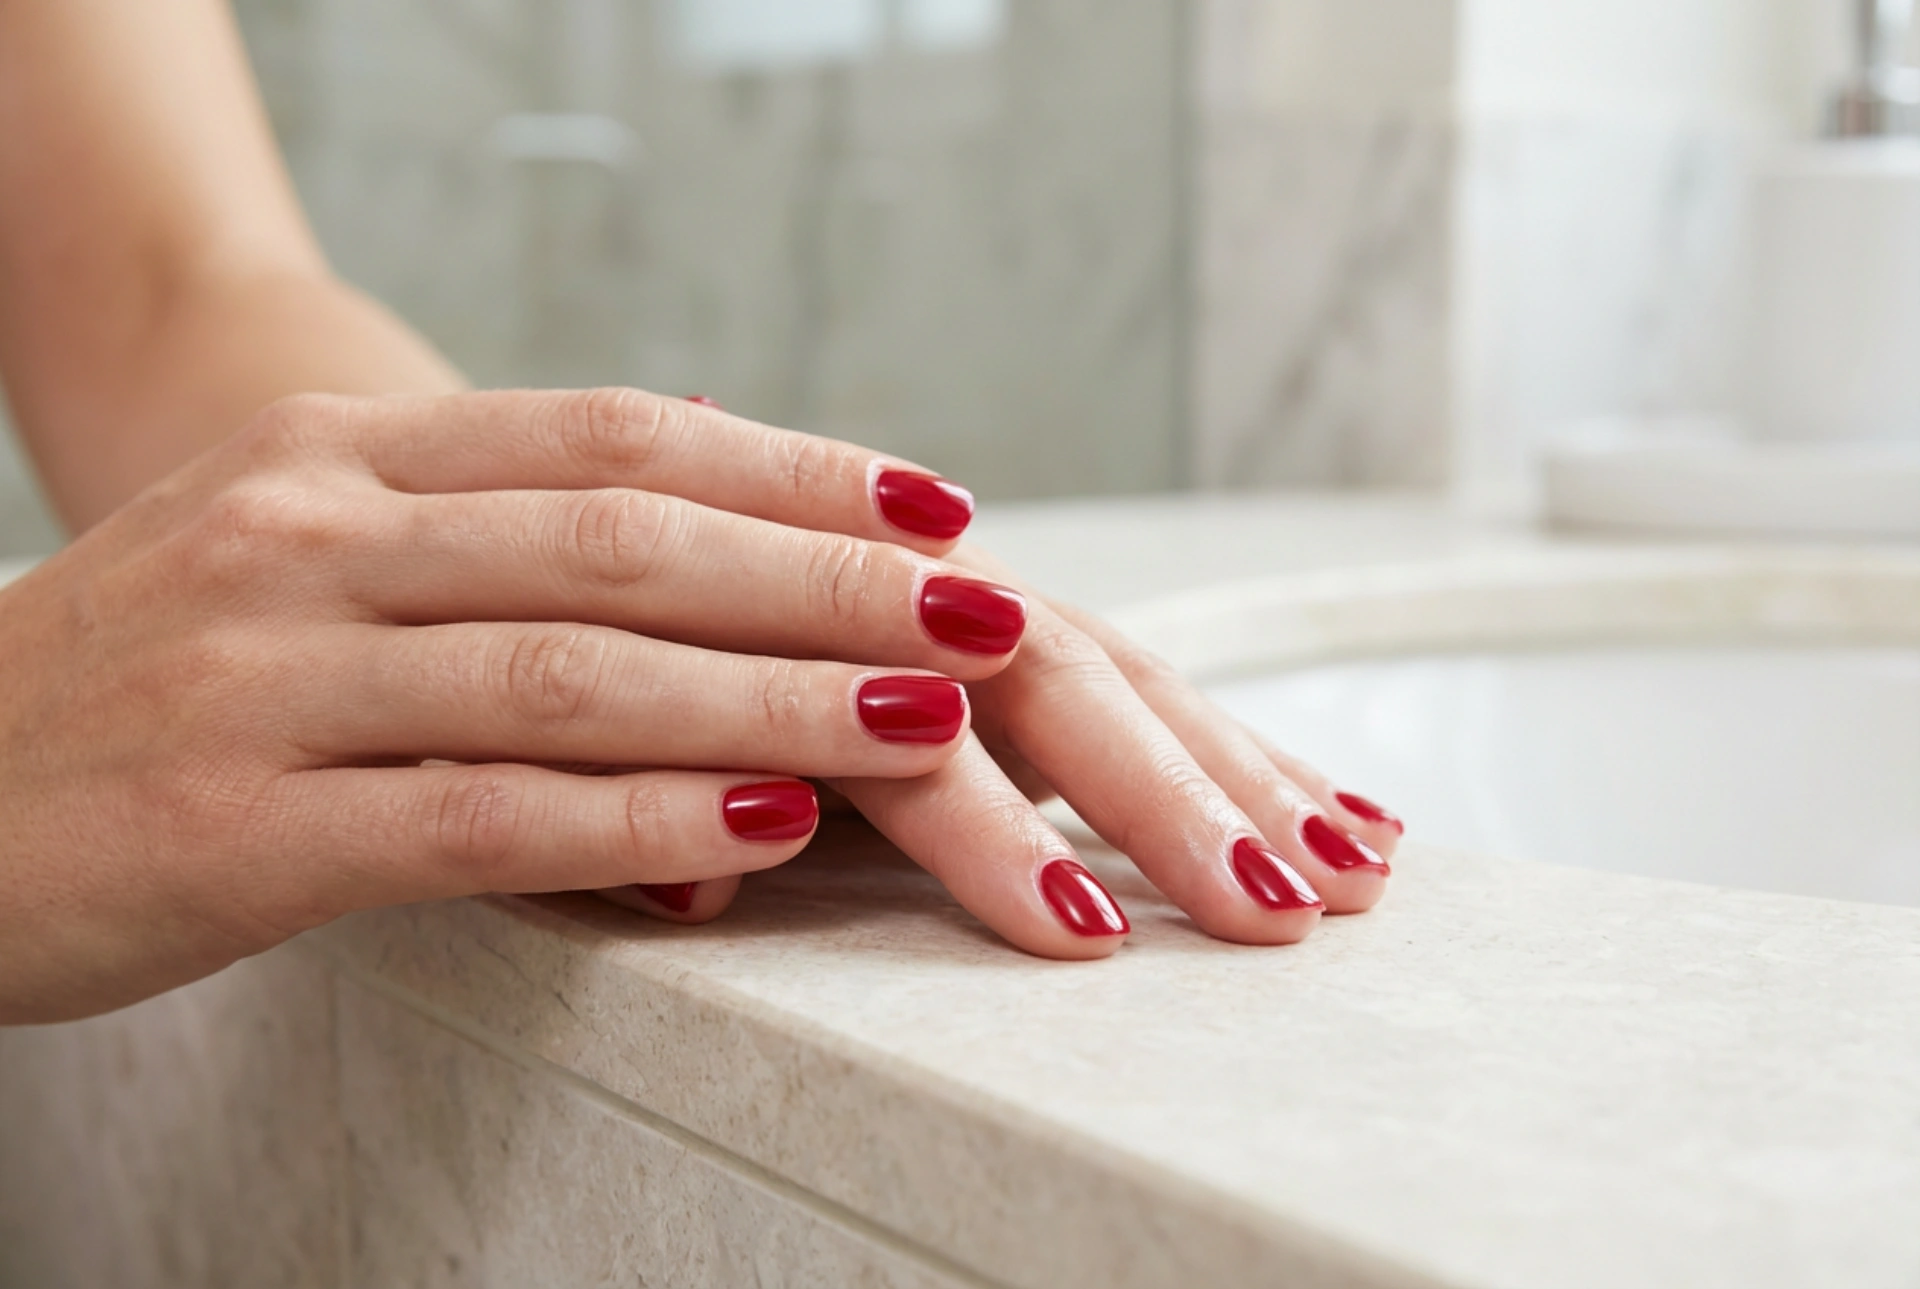
Achieving a Flawless, Natural Finish
With the nails securely applied, a few finishing touches will elevate your home pedicure to a professional standard and ensure your new nails look as natural as possible.
Shaping and Smoothing
If the artificial nails are longer than you'd like, use a nail file to gently shape them to your desired length. Always file in one direction rather than sawing back and forth, as this prevents creating rough edges. You can also lightly buff the area where the artificial nail meets your natural nail to create a seamless blend, making the transition virtually invisible.
Adding a Top Coat
To protect your new pedicure and give it a glossy, salon-quality shine, apply a clear top coat over the entire nail. This not only enhances the appearance but also adds an extra layer of durability, helping your artificial toenails to last longer and resist chipping or scuffing.