


Red lipstick is a timeless symbol of elegance and confidence. Achieving that perfect, long-lasting red lip, reminiscent of sophisticated beauty, requires more than just a quick swipe. It's an art that involves careful preparation, precise application, and clever techniques to ensure your look stays flawless for hours. This guide will walk you through the steps to master the application of red lipstick for a clean contour, full coverage, and enhanced durability, giving you a polished finish every time.
Preparing Your Lips for a Flawless Canvas
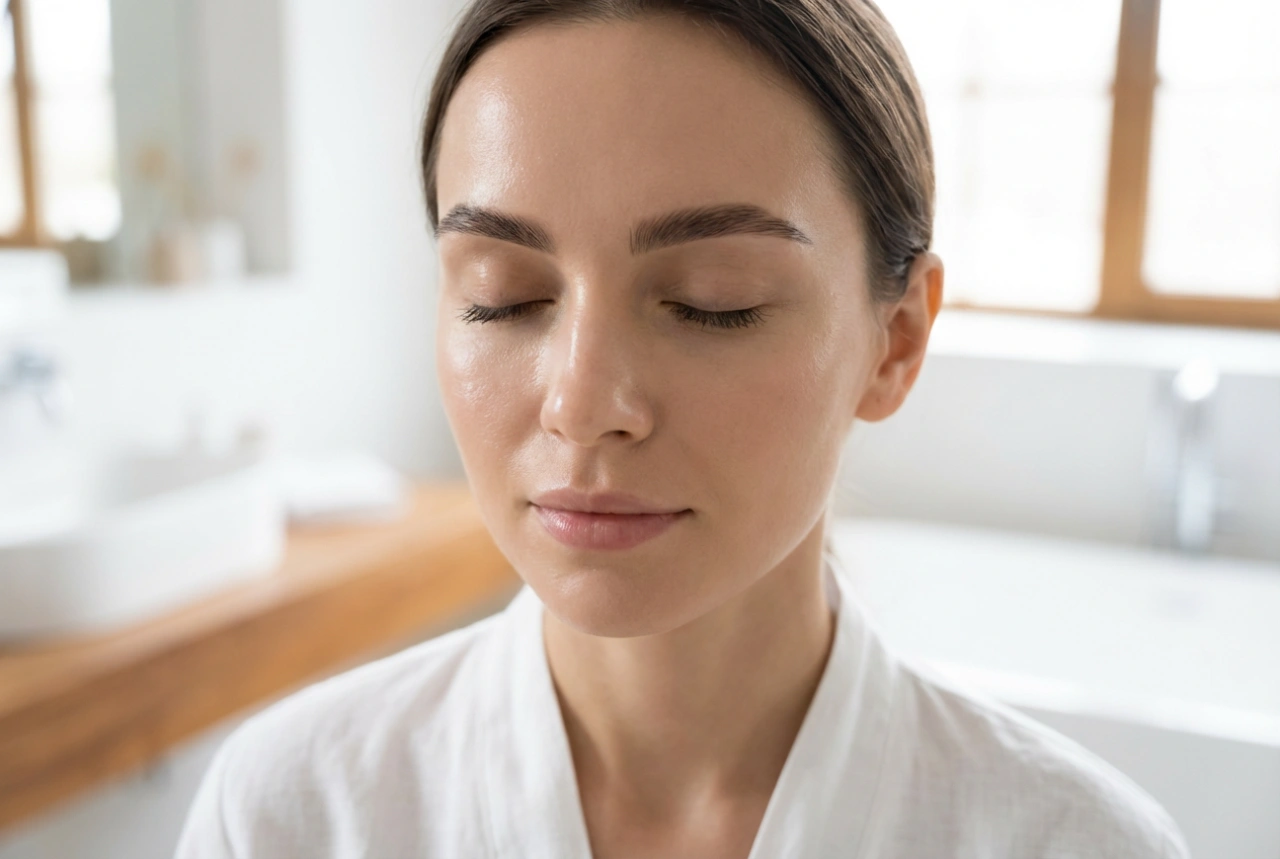
The secret to perfect lipstick application begins before you even pick up the tube. A smooth, hydrated surface is essential for an even colour finish and comfortable wear, especially with vibrant shades like red. Flaky or dry lips can cause the lipstick to look patchy and feel uncomfortable.
Gentle Exfoliation
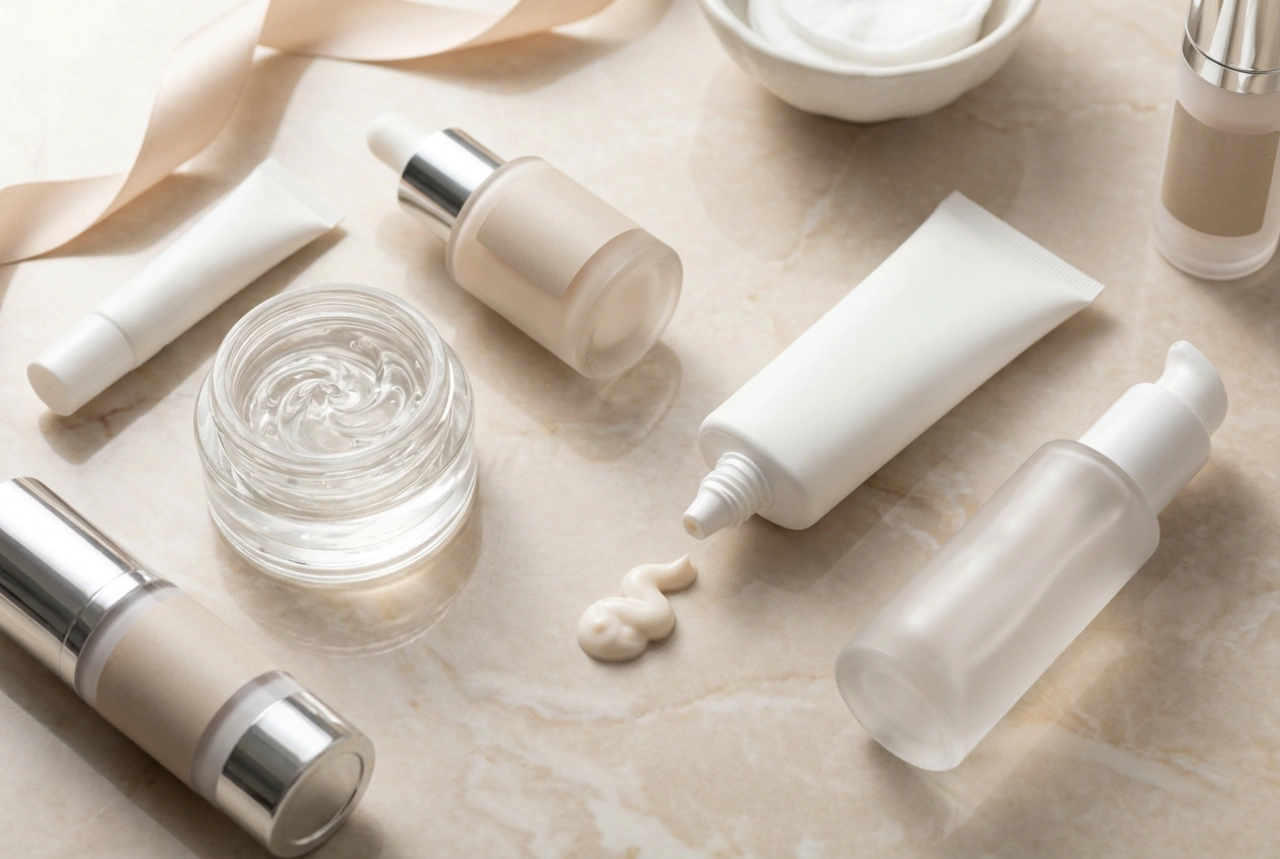
Start by gently exfoliating your lips to remove any dry skin. You can create a simple and effective scrub at home.
- Mix a small amount of sugar (brown or white) with a drop of honey or a nourishing oil like coconut or olive oil.
- Gently massage the mixture onto your lips in a circular motion for about 30 seconds.
- Wipe it off with a damp, soft cloth.
This simple step will leave your lips feeling soft and smooth, creating the ideal base for your lipstick.
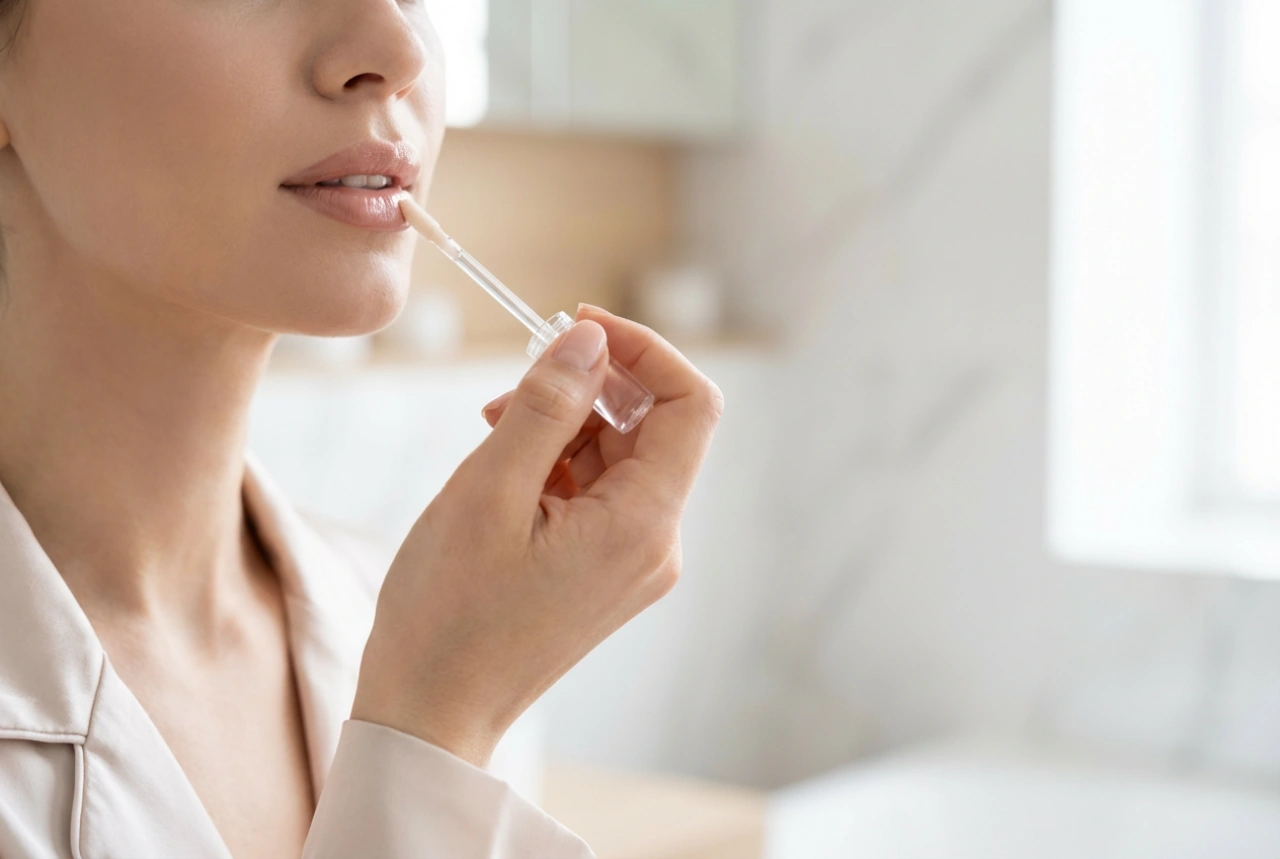
Essential Hydration
After exfoliating, it's crucial to hydrate your lips. Apply a good quality lip balm to moisturise them. However, it's important to let the balm absorb fully for a few minutes. Before you start with your lip liner, gently blot any excess balm with a tissue. This prevents the lip products from sliding around and ensures they adhere properly to your lips.
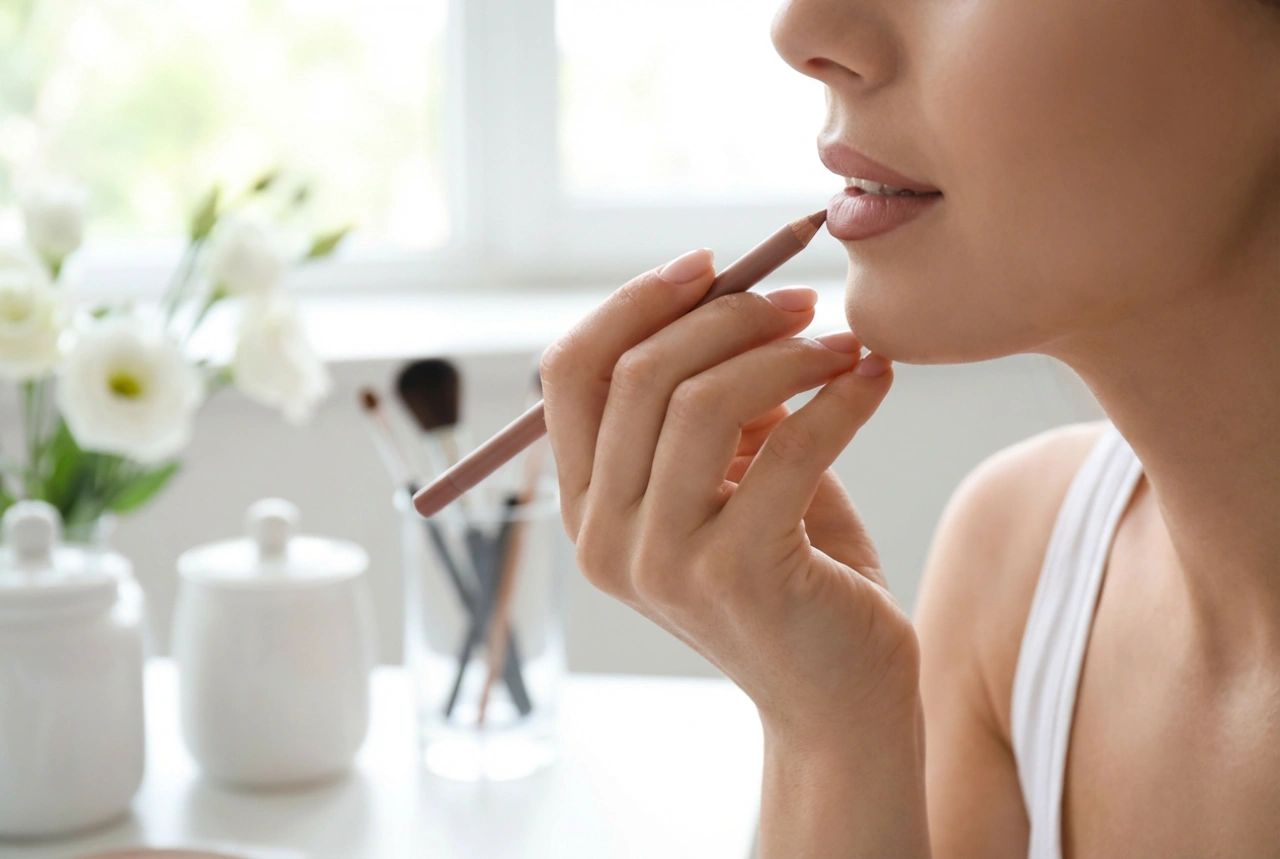
The Art of the Lip Liner: Defining Your Shape
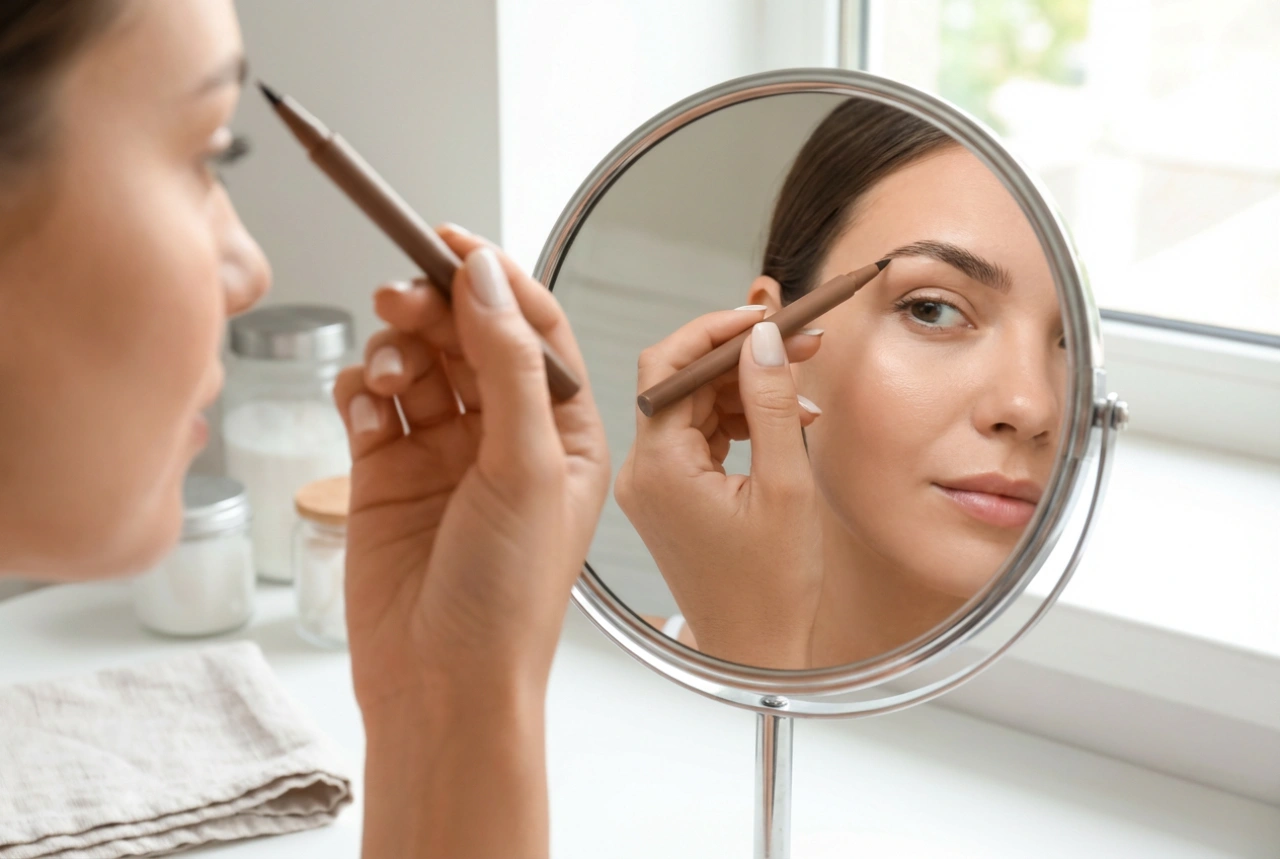
For a bold colour like red, a lip liner is non-negotiable. It serves multiple purposes: it creates a sharp, defined outline, prevents the lipstick from feathering or bleeding into fine lines around the mouth, and provides a base that helps the lipstick last longer.
Choosing and Using a Liner
Select a lip liner that closely matches your chosen shade of red. For a slightly fuller look, you can choose a shade that is just a fraction darker than your lipstick. Ensure the tip is sharpened for maximum precision.
- Begin by marking the 'X' at your Cupid's bow to ensure symmetry.
- Next, outline the bottom lip, starting from the centre and drawing outwards to the corners.
- Connect the lines from the Cupid's bow down to the outer corners of your upper lip.
- For extra staying power, you can lightly fill in your entire lips with the liner. This creates a pigmented base that will hold onto the lipstick and ensure the colour wears off more evenly.
The Main Event: Applying Your Red Lipstick
With your lips prepped and lined, it's time for the lipstick itself. For the most precise and professional-looking application, using a lip brush is highly recommended. It gives you far more control than applying directly from the bullet.
Technique for Perfect Coverage
Scoop a small amount of lipstick onto your lip brush. Start applying the colour at the centre of your lips and blend it outwards towards the lip line you created. Applying in thin, even layers is key to a smooth, non-cakey finish. Fill in the entire lip area, making sure to get right up to the edge of the liner. Press your lips together gently to help distribute the colour evenly.
Boosting Longevity: Tips for All-Day Wear
One of the biggest challenges with red lipstick is making it last. A few simple tricks can dramatically increase its staying power.
The Blot and Reapply Method
This is a classic technique used by makeup artists for decades. After your first layer of lipstick, take a single ply of tissue and gently press it against your lips to blot away excess oil and product. Then, apply a second, thin layer of lipstick. This process helps to stain the lips and build up layers of pigment that are more resistant to fading.
The Translucent Powder Trick
For maximum durability, you can set your lipstick with powder. After blotting your first layer, place a single ply of tissue over your lips again. Using a fluffy brush, lightly dust a small amount of translucent setting powder over the tissue. The powder will absorb excess moisture and lock the colour in place. Follow up with a final, light application of lipstick to restore the vibrancy.
Finishing Touches for a Razor-Sharp Look
Even with the steadiest hand, small smudges can happen. The final step is to clean up any imperfections for an incredibly sharp and defined finish. Take a small, flat concealer brush and a tiny amount of your foundation or a creamy concealer. Carefully trace around the outside of your lip line. This not only cleans up any mistakes but also makes your red lipstick pop, creating a truly polished and impactful look.