


Achieving silky-smooth legs is a rewarding part of many beauty routines, and performing a wax at home can be both convenient and effective. With the right preparation and technique, you can get salon-like results in the comfort of your own space. This guide will walk you through the entire process, from selecting the appropriate wax to soothing your skin afterwards, ensuring a smooth and pleasant experience.
Choosing the Right Wax for You
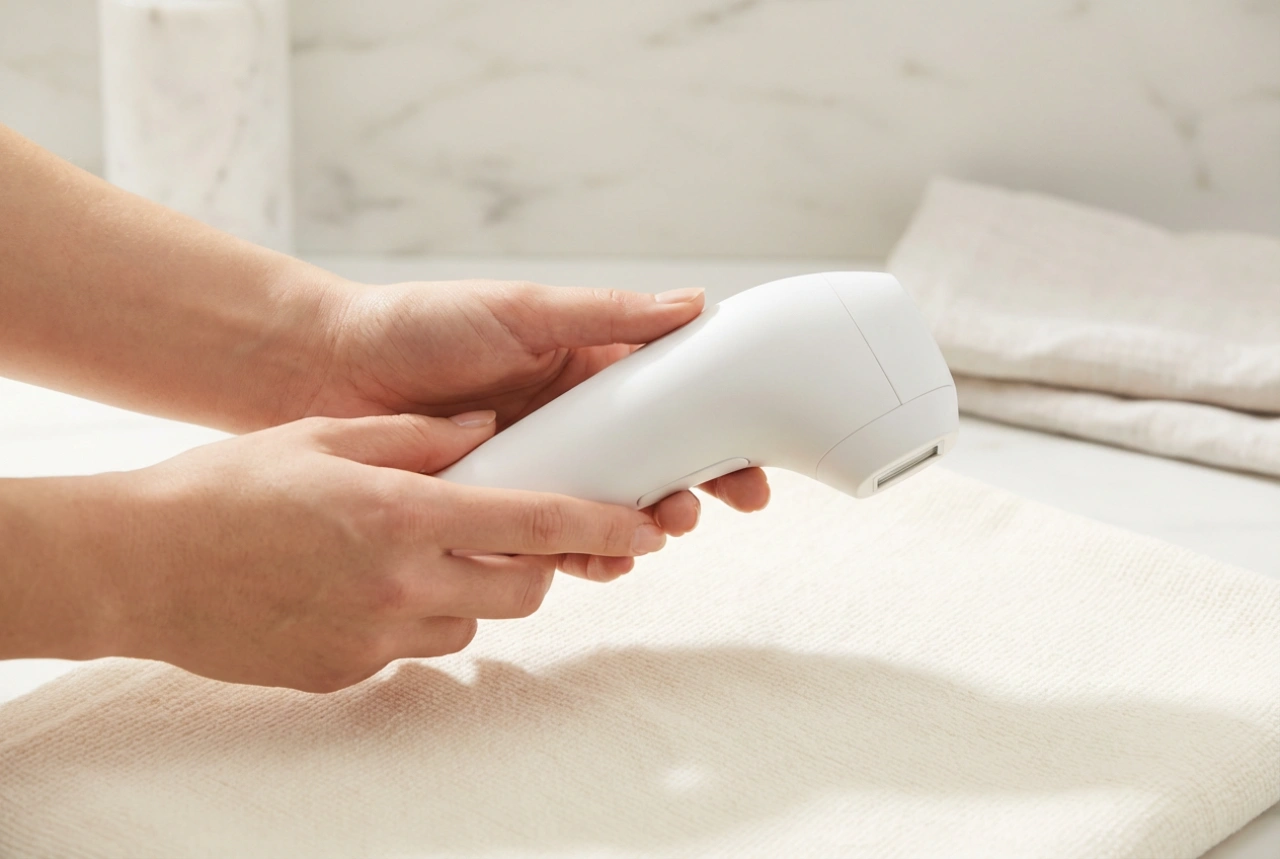
The first step is selecting a wax type that suits your needs. The two main categories for home use are soft wax and hard wax, each with its own unique properties and application methods. Understanding their differences will help you make the best choice for your skin and hair type.
Soft Wax (Strip Wax)
Soft wax is a popular choice for larger areas like the legs because it spreads thinly and is removed with a fabric or paper strip. It's very efficient at grabbing fine to medium hairs. You apply it warm in a thin layer, press a strip on top, and then pull the strip off. Because it adheres to both the hair and the skin, it also provides a light exfoliation. It's generally cost-effective for covering large surface areas.
Hard Wax (Stripless Wax)
Hard wax is applied warm and thick. As it cools, it hardens and shrink-wraps around the hair, not the skin. This makes it an excellent option for those with more sensitive skin, as it can be less irritating. It is removed by creating a small tab with the wax itself and pulling it off without the need for a strip. It's particularly effective on coarser hair and can be reapplied to the same area with less risk of irritation if you miss a spot.
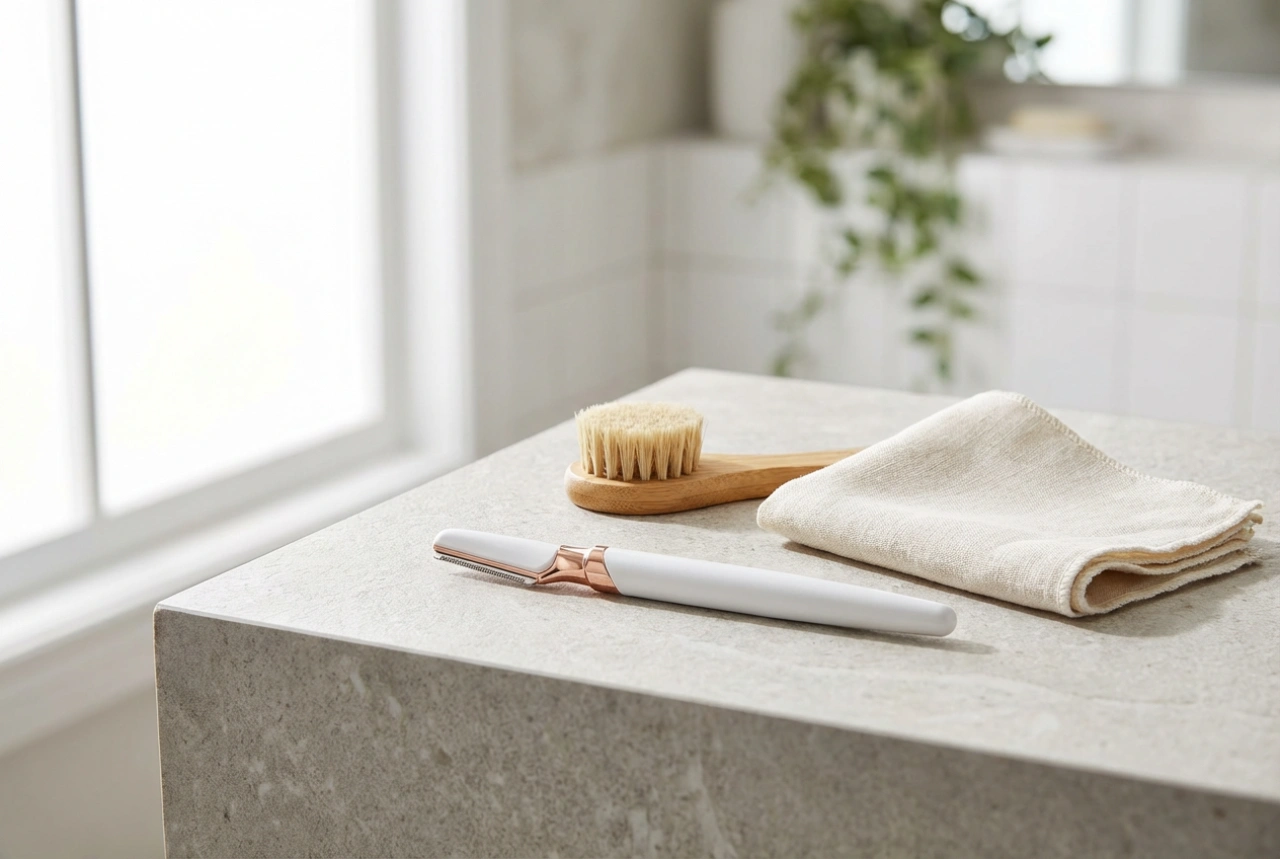
Preparing Your Skin and the Wax
Proper preparation is the key to a successful and less painful waxing session. Taking the time to get both your skin and the wax ready will minimise discomfort and help you achieve the best possible results.
Skin Preparation
Before you begin, ensure your skin is ready for waxing. Follow these simple steps:
- Make sure your hair is the right length. Ideally, it should be about 6mm long, or the length of a grain of rice. If it's too short, the wax won't be able to grip it.
- Gently exfoliate your legs 24 to 48 hours before waxing. This removes dead skin cells and helps prevent ingrown hairs.
- On the day of waxing, wash your legs with a mild soap and water to remove any oils or lotions, then dry them thoroughly. Skin must be completely dry for the wax to adhere properly.
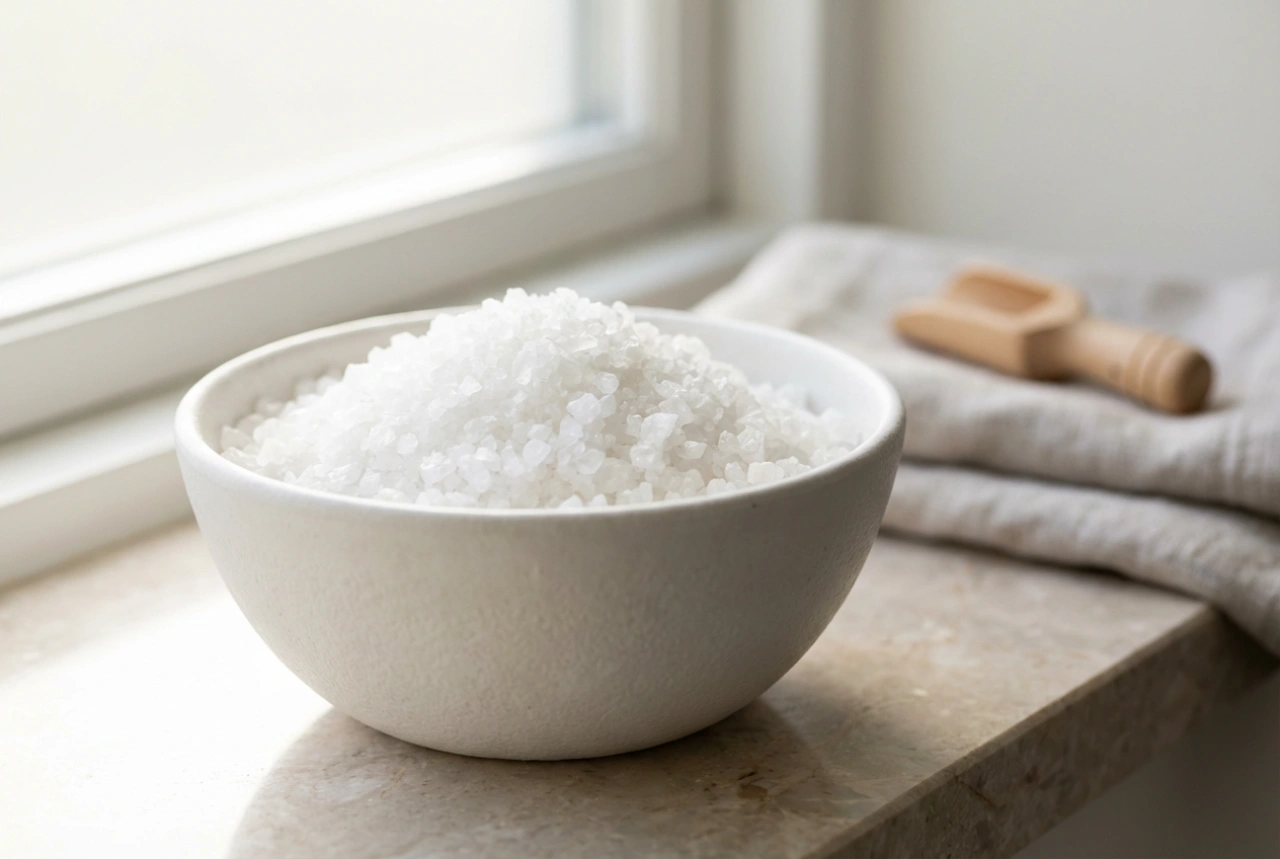
- Consider applying a light dusting of talc-free powder or a pre-wax cleanser to absorb any moisture and create a better surface for the wax to grip the hair.
Always follow the manufacturer's instructions for heating your wax. Whether you're using a dedicated wax warmer, a microwave, or a double boiler method, the goal is to achieve a consistent, honey-like texture. It should be warm, not hot. Before applying it to your legs, test a small amount on the inside of your wrist to check the temperature. It should feel comfortably warm without any stinging or burning sensation. This step is crucial to prevent burns.
The Waxing Technique: Application and Removal
With your skin and wax prepared, it's time to begin. Work in small, manageable sections, especially if you are new to waxing.
Applying the Wax
Using the applicator provided, apply a thin, even layer of wax in the direction of your hair growth. If you are using hard wax, the layer can be slightly thicker. Ensure you create a clean edge to make removal easier. For soft wax, immediately place a strip over the wax, leaving a small tab at the end that is free of wax. Rub the strip firmly in the direction of hair growth a few times to ensure it's fully adhered.
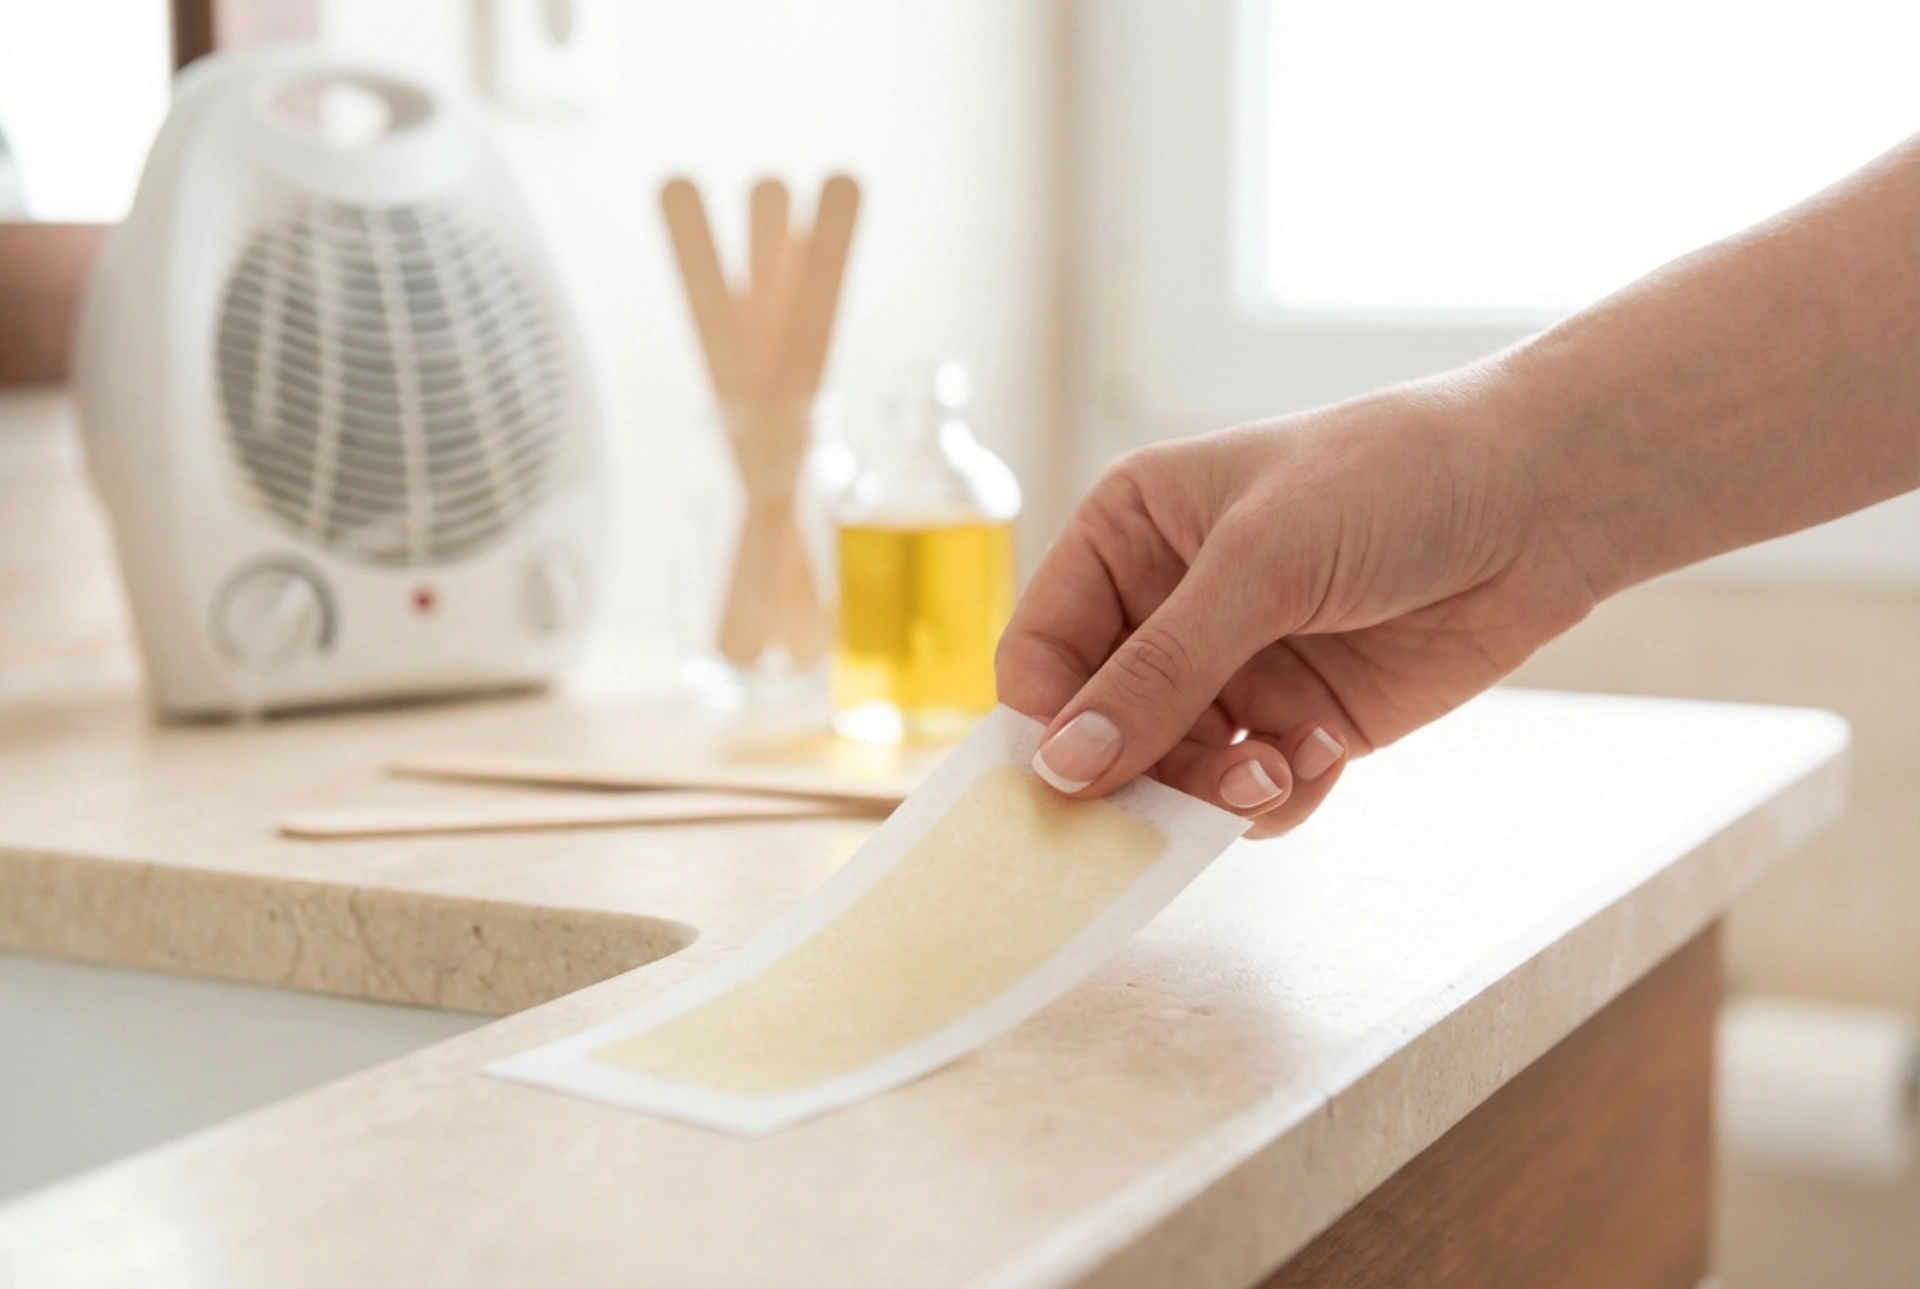
Removing the Wax
This is the most critical part of the process. Hold your skin taut with one hand. With the other hand, grip the tab you created (either the wax strip or the hardened wax itself). In one quick, fluid motion, pull the wax off in the opposite direction of hair growth. It is very important to pull parallel to the skin, not straight up, as this will be more effective and less painful. Continue this process in sections until you have removed all the desired hair.
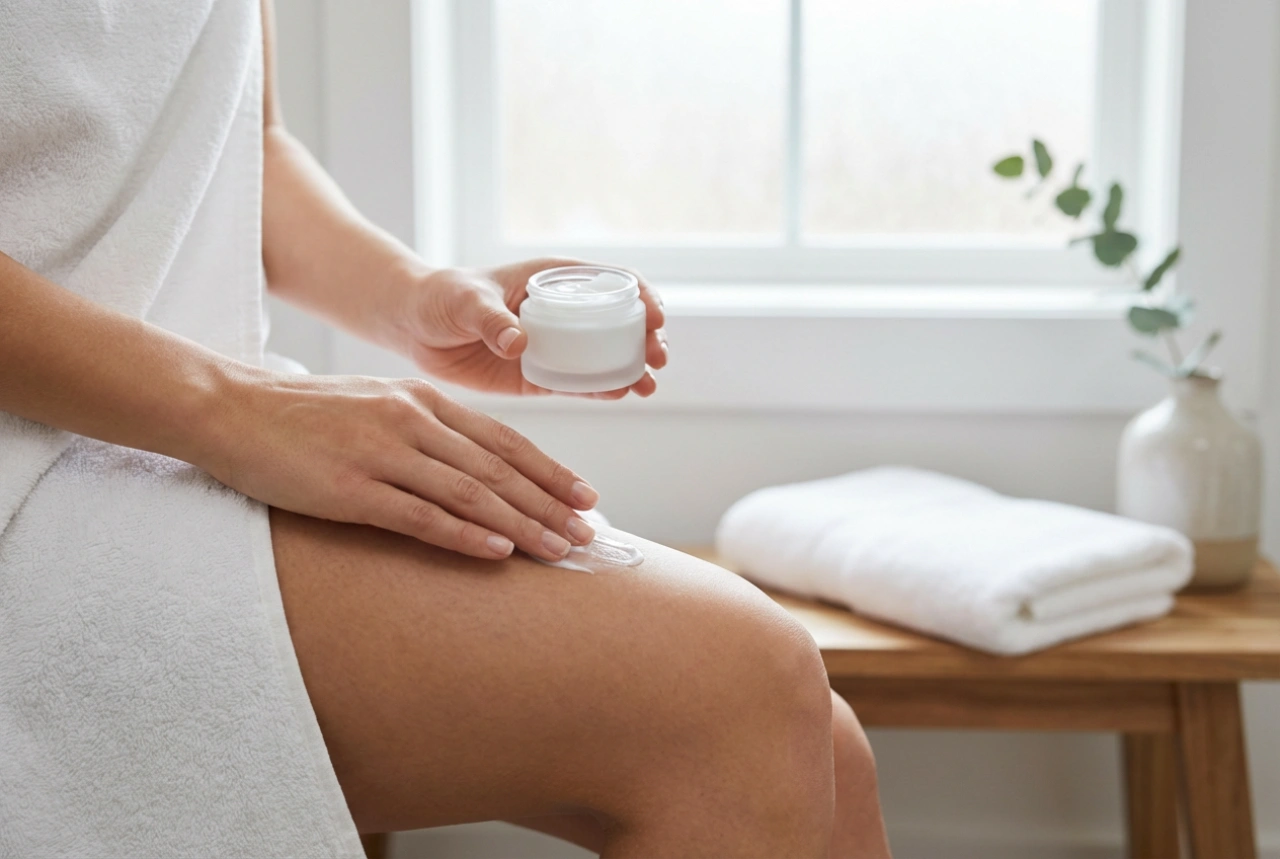
Aftercare: Soothing Your Skin Post-Wax
Once you've finished waxing, aftercare is essential to calm the skin and maintain smoothness. Your skin will be sensitive, so treat it gently.
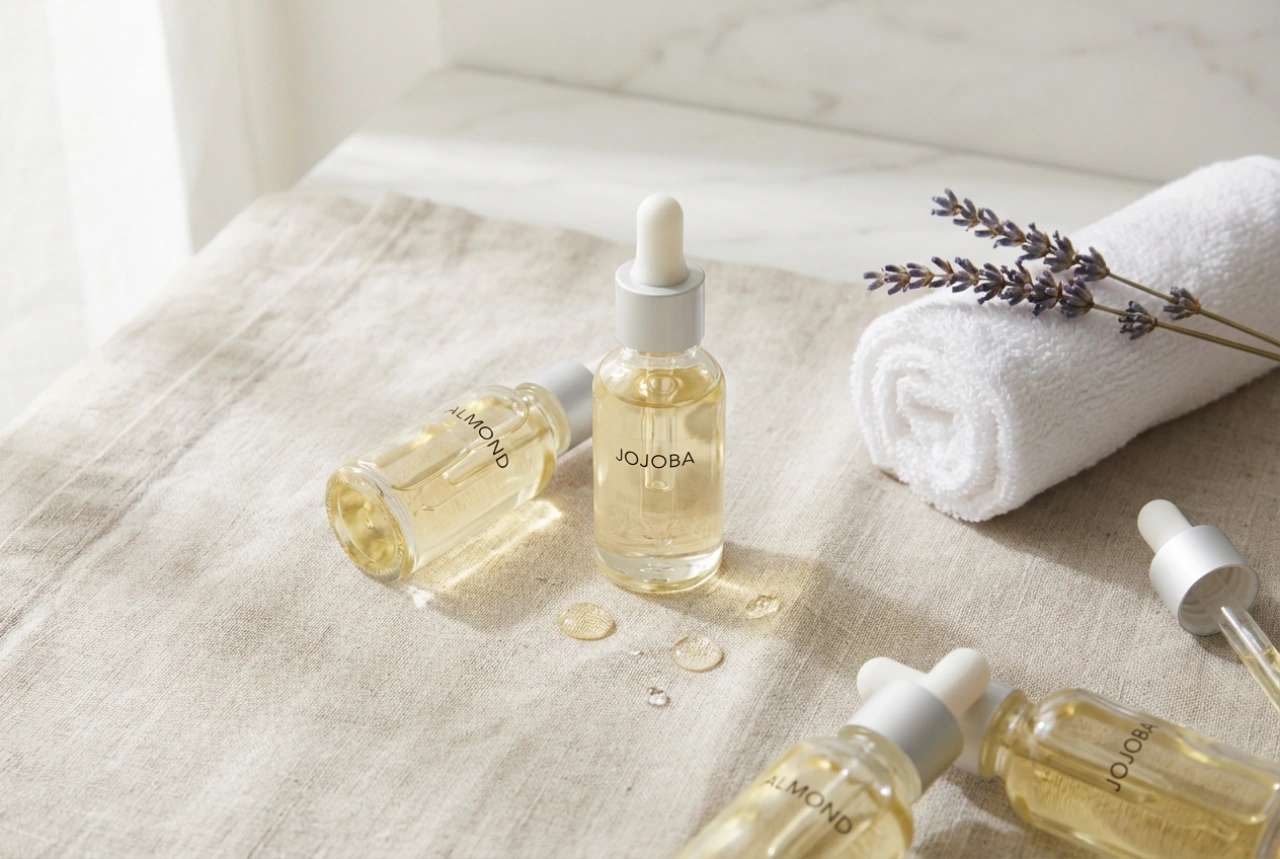
- Use a post-wax oil or a natural oil like almond or jojoba oil to remove any sticky wax residue. Water will not work on most waxes.
- For the next 24 hours, avoid hot baths or showers, saunas, swimming pools, and intense exercise to prevent irritation.
- Wear loose, comfortable clothing made from natural fibres like cotton to allow your skin to breathe.
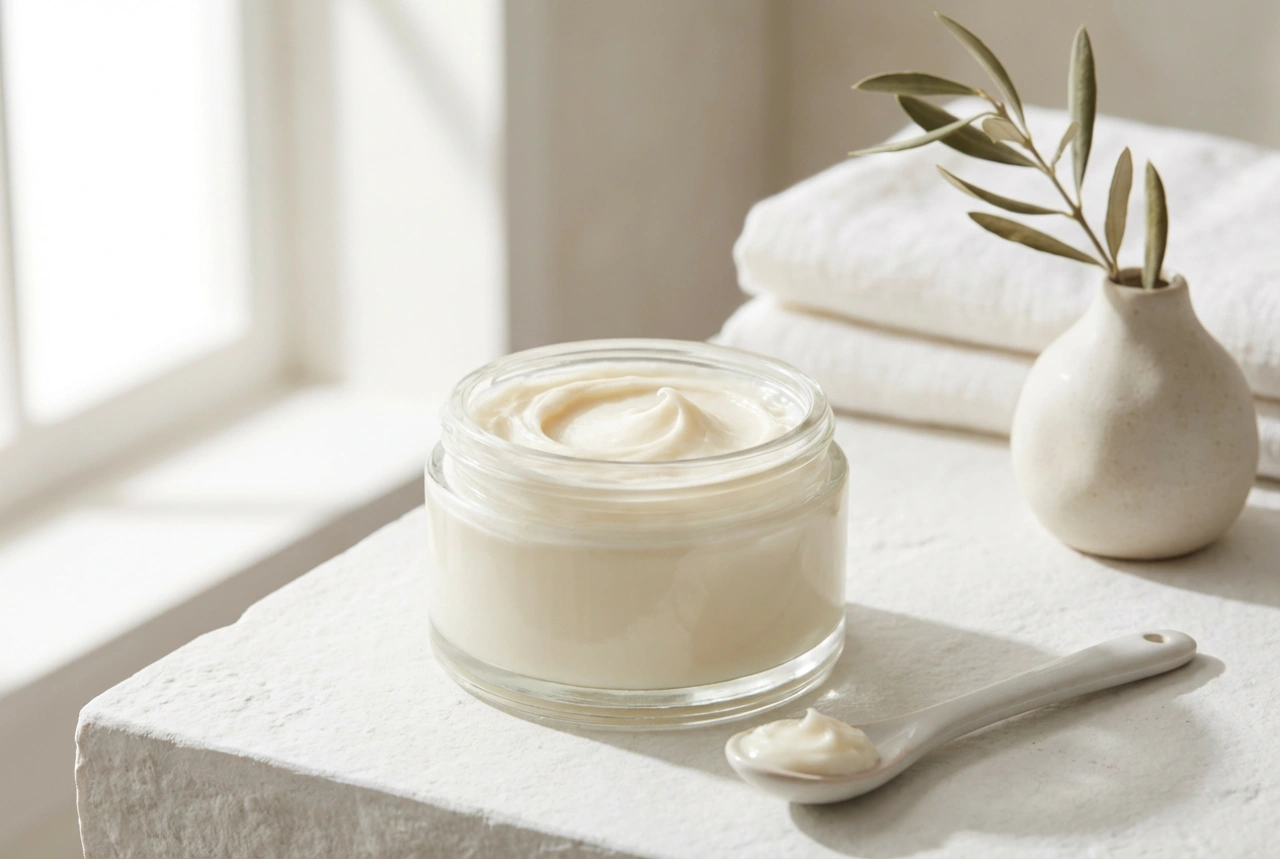
- Apply a soothing, alcohol-free and fragrance-free moisturiser or an aloe vera gel to calm redness and inflammation.
- To prevent ingrown hairs, begin gently exfoliating the area again about 2-3 days after your waxing session and continue to do so 2-3 times a week.