


A lip pencil is one of the most transformative yet underestimated tools in any makeup collection. Far more than just a simple outline, it is the key to achieving a defined, polished, and long-lasting lip look. Whether you want to subtly enhance your natural lip shape, create the illusion of fuller lips, or simply make your favourite lip colour last all day, mastering the lip pencil is an essential skill. With the right technique, this slender tool can correct asymmetry, prevent colour from feathering, and provide a rich base that intensifies any product applied over it.
Choosing Your Perfect Lip Pencil
The first step to a flawless application is selecting the right pencil. This choice comes down to two main factors: shade and formula. Making the right selection will ensure your final look is seamless and professional.
Shade Selection
The colour of your lip pencil can dramatically alter the final effect. There are three main approaches to choosing a shade:
- Matching your lip colour: A pencil that matches your natural lip tone is incredibly versatile. It can be used to define your lips for a very natural look or be worn under any shade of lipstick or gloss. It's perfect for achieving a subtle enhancement.
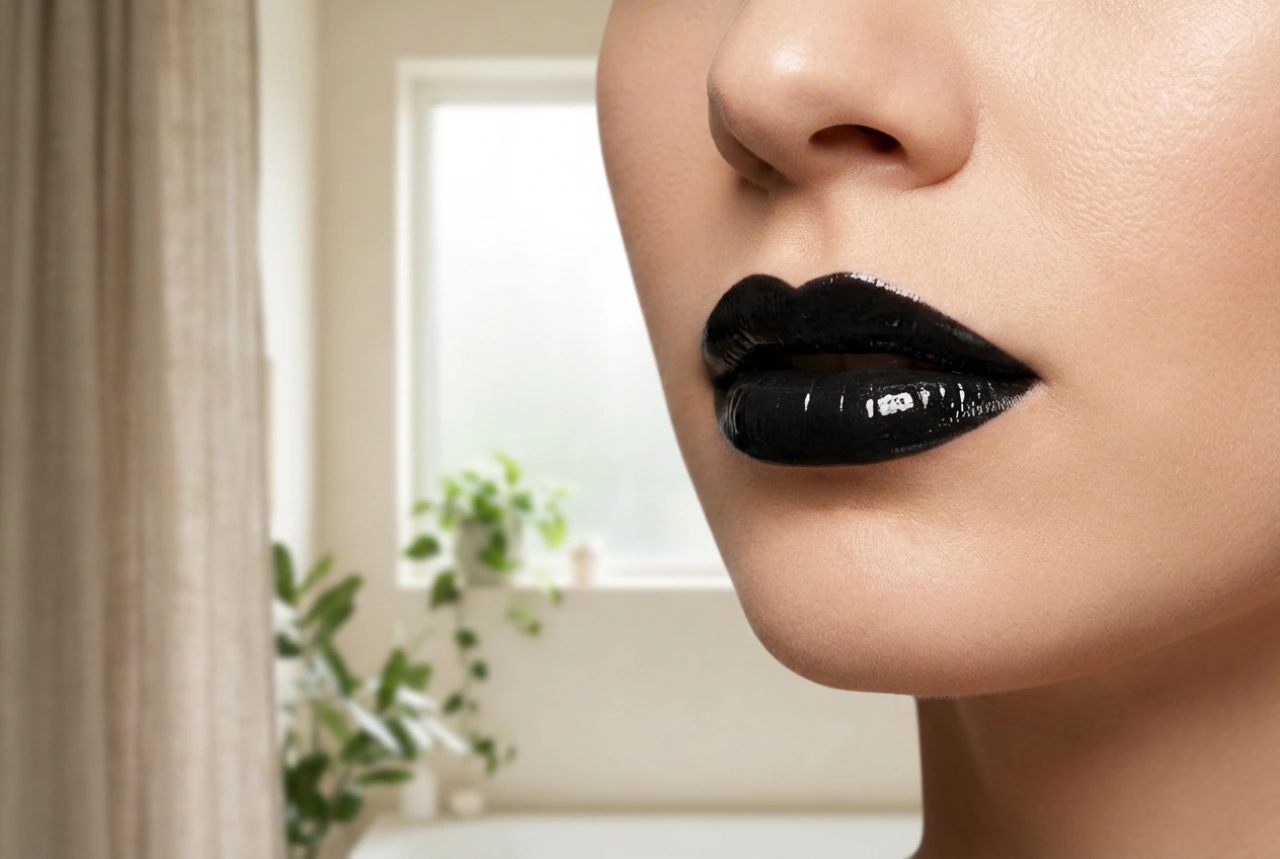
- Matching your lipstick: For a bold and cohesive look, choose a lip pencil in the exact same shade as your lipstick. This creates a sharp, clean edge and ensures there are no visible lines, providing a uniform and intense colour payoff.
- A slightly darker shade: Opting for a pencil that is one or two shades deeper than your lipstick can create dimension and the illusion of a fuller pout. This technique, often used for contouring, adds depth to the outer edges of the lips, making them appear more voluminous.
Understanding Formulas
Lip pencils come in various textures, each offering different benefits. A creamy, soft pencil glides on effortlessly, making it easy to blend and ideal for filling in the entire lip. A slightly waxier or firmer pencil provides more control for creating precise, sharp lines and offers excellent staying power, acting as a barrier to prevent lipstick from bleeding.
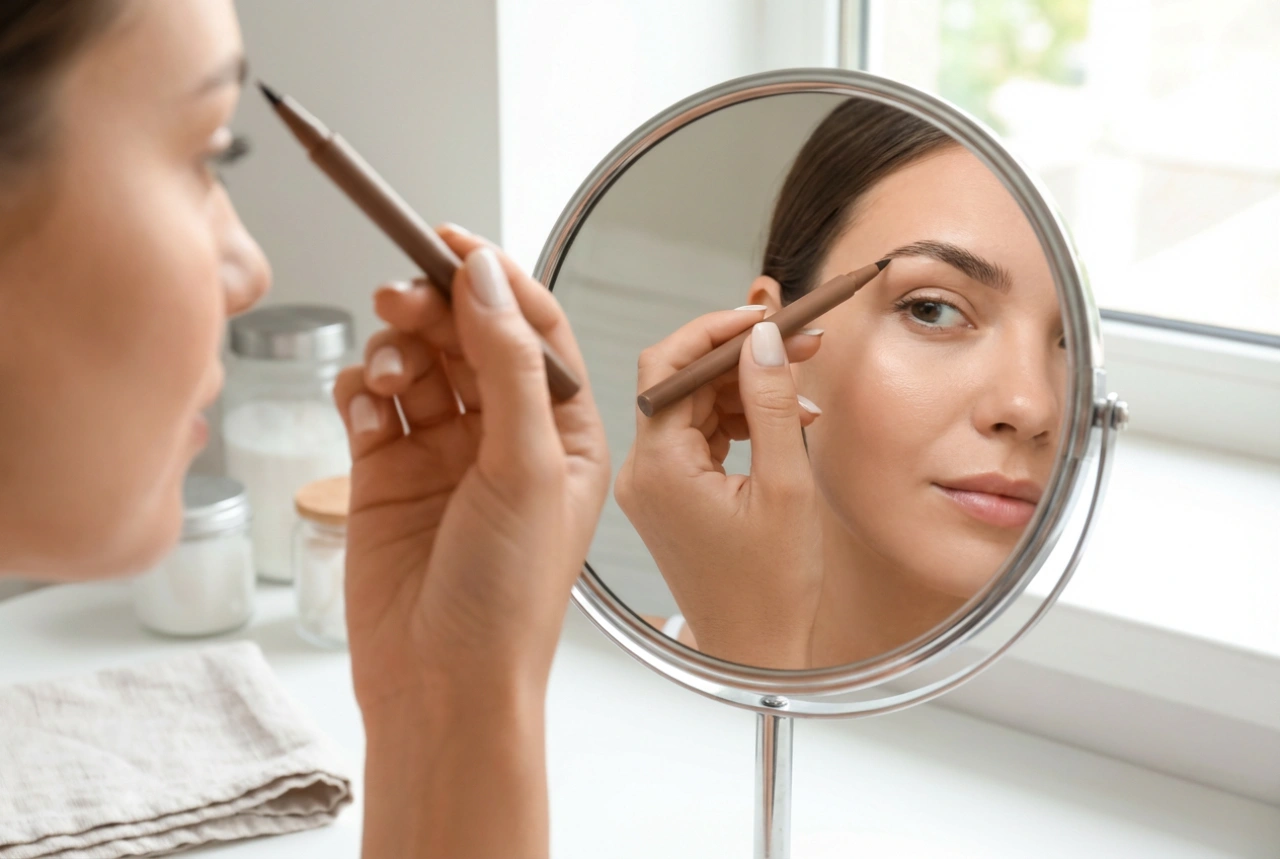
The Art of Contouring: A Step-by-Step Guide
Properly outlining your lips is the foundation of a perfect application. This process defines the shape and provides a guide for your lipstick. For best results, always start with clean, dry, and lightly moisturised lips.
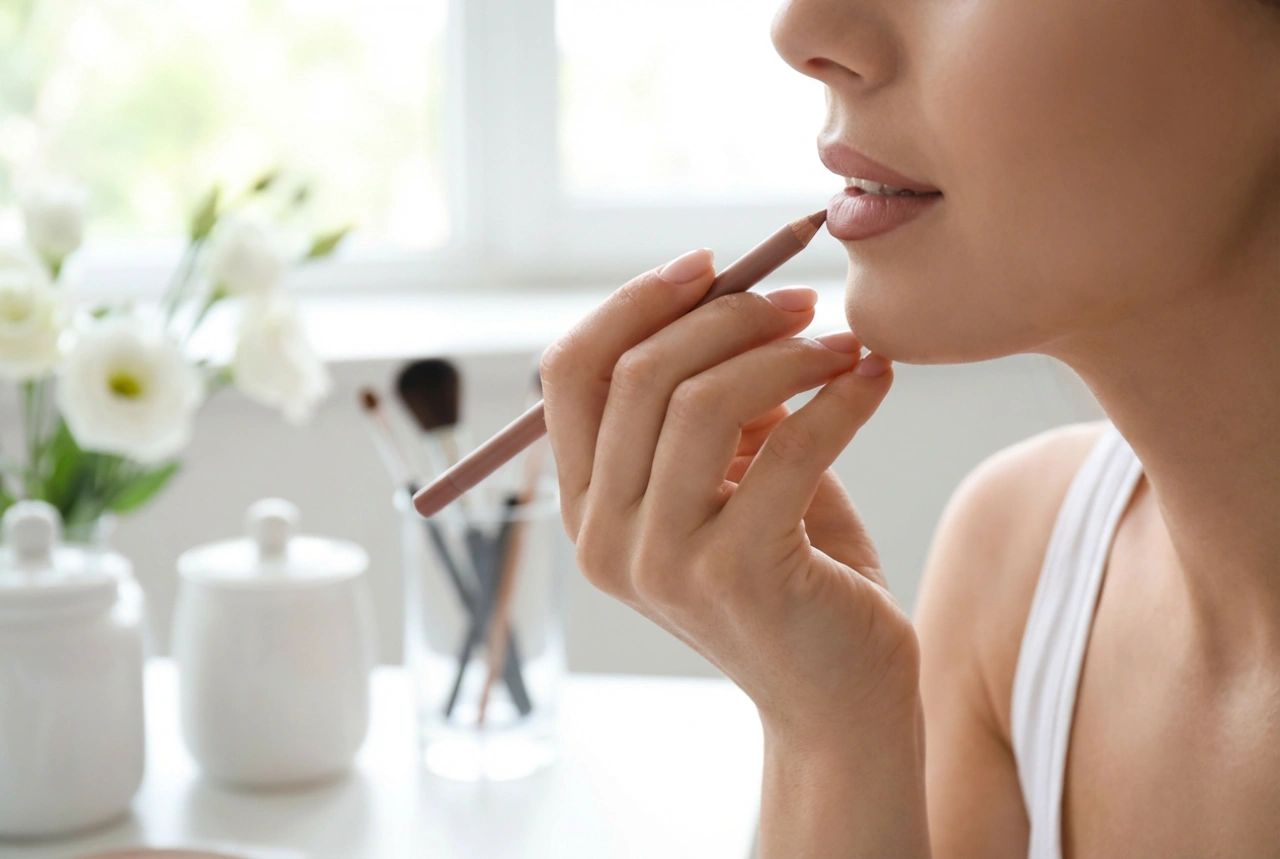
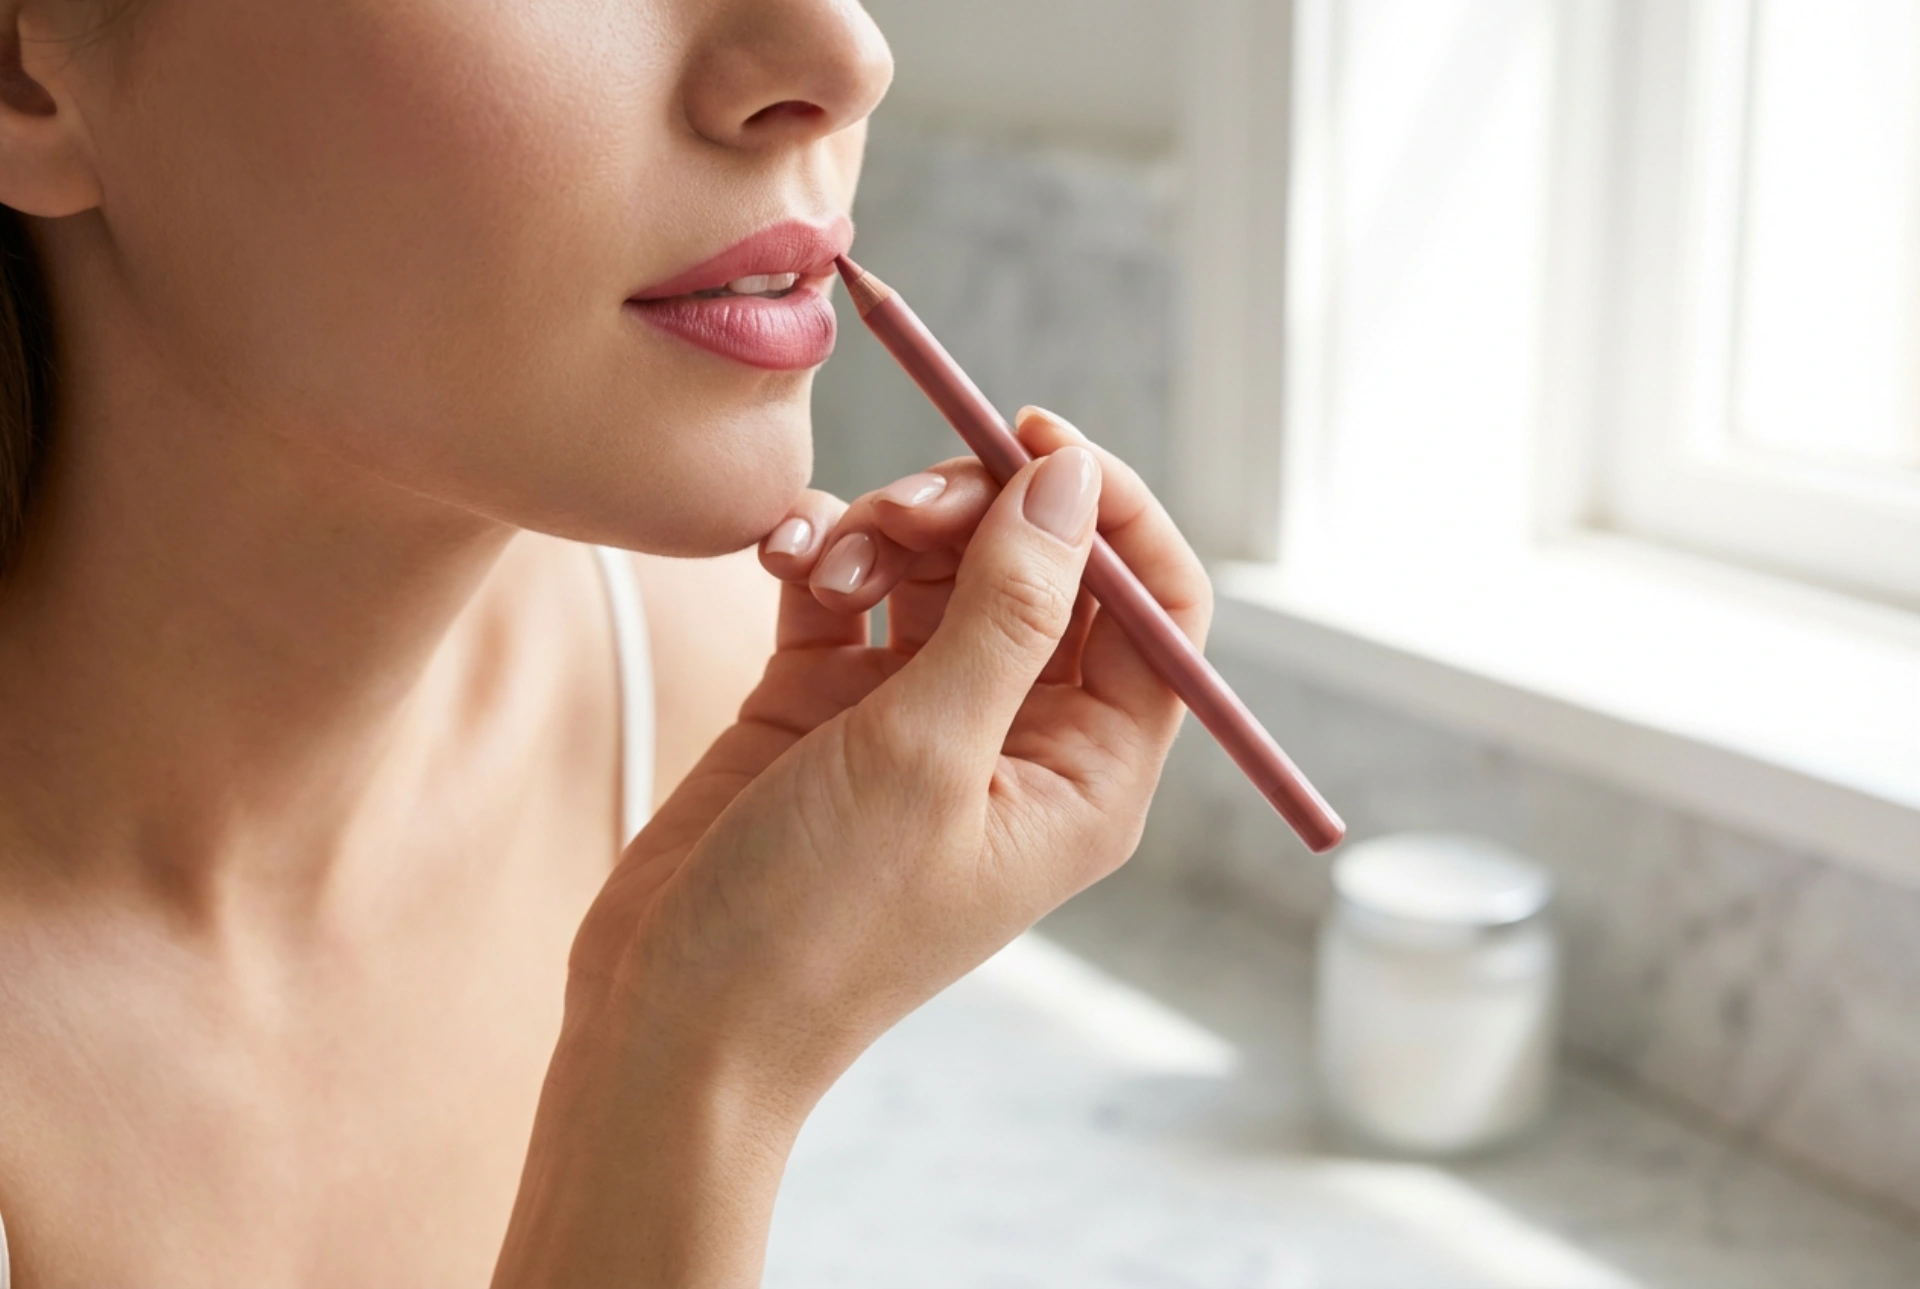
- Prepare your pencil: Always begin with a well-sharpened pencil. A fine point allows for maximum precision and control, ensuring clean lines.
- Define the Cupid's Bow: Start at the centre of your upper lip. Draw a small 'X' that follows the natural shape of your Cupid's bow. This creates a symmetrical and defined peak.
- Outline the upper lip: From the top of the 'X', draw a line down to the outer corner of your mouth on one side, following your natural lip line. Repeat on the other side. Use short, light strokes for a more natural effect.
- Define the lower lip: Start from the centre of your bottom lip and draw a line outwards to each corner, connecting with the lines from your upper lip.
- Subtly enhance: To create the illusion of fuller lips, you can apply the pencil just slightly outside your natural lip line. The key is to be subtle; straying too far will look unnatural. Focus this slight over-lining on the Cupid's bow and the centre of the lower lip.
Filling for Longevity and Intensity
Once your lips are perfectly outlined, the next step is to fill them in. This is a crucial part of the process that many people skip, but it offers significant benefits. Filling in your lips with the pencil creates a pigmented and waxy base that helps your lipstick adhere better and last much longer. It also ensures that as your lipstick fades throughout the day, you are left with a pleasant stain of colour rather than a stark outline. To do this, use the side of the pencil tip to gently shade in the entire lip area, working from the outer line inwards. Blend lightly with a lip brush or your fingertip to soften the texture and create an even canvas.
Finishing Touches for a Flawless Result
With your lips lined and filled, you are ready for the final steps. These techniques will help set your look and ensure it remains impeccable for hours.
Application and Setting
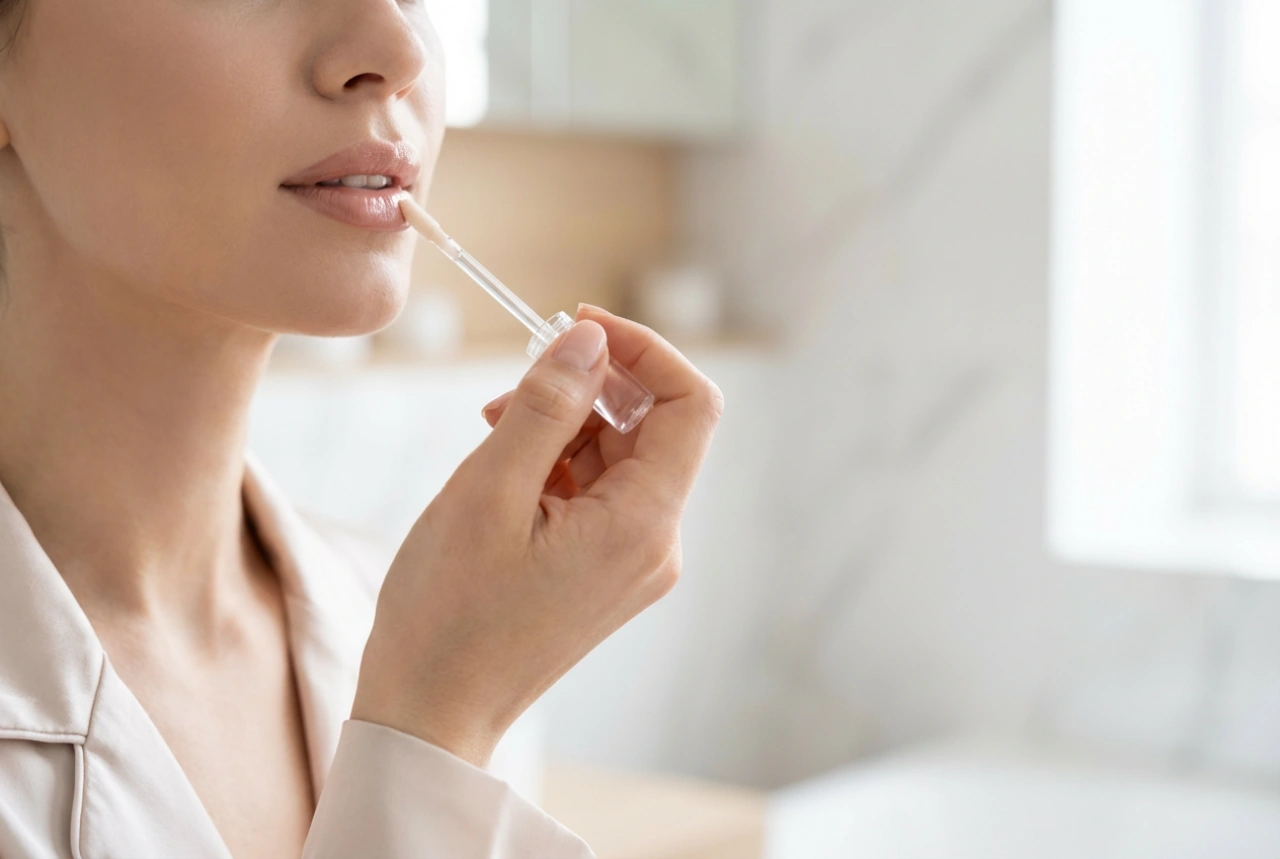
Apply your chosen lipstick or gloss over the pencilled base, either directly from the tube or using a lip brush for extra precision. Once applied, press your lips together gently. For maximum longevity, take a thin tissue, separate it into a single ply, and press it gently against your lips. This action, known as blotting, removes excess oils and emollients from the lipstick, leaving the pigment behind. For an even more durable finish, you can lightly dust a translucent setting powder through the tissue onto your lips before removing it. You can then apply a second, thin layer of lipstick. This layering technique locks in the colour for all-day wear and a velvety finish.