


The smokey eye is a timeless makeup technique, renowned for its ability to add depth, drama, and sophistication to any look. Evoking the artistry seen in professional palettes and brush sets, mastering this style is a valuable skill for anyone interested in makeup. While often associated with classic black and grey tones, the modern smokey eye embraces a wide spectrum of colours, making it a versatile choice for various occasions. This guide will walk you through the essential steps, from selecting the right shades to achieving that flawless, blended finish.
Preparation: The Foundation of a Flawless Smokey Eye
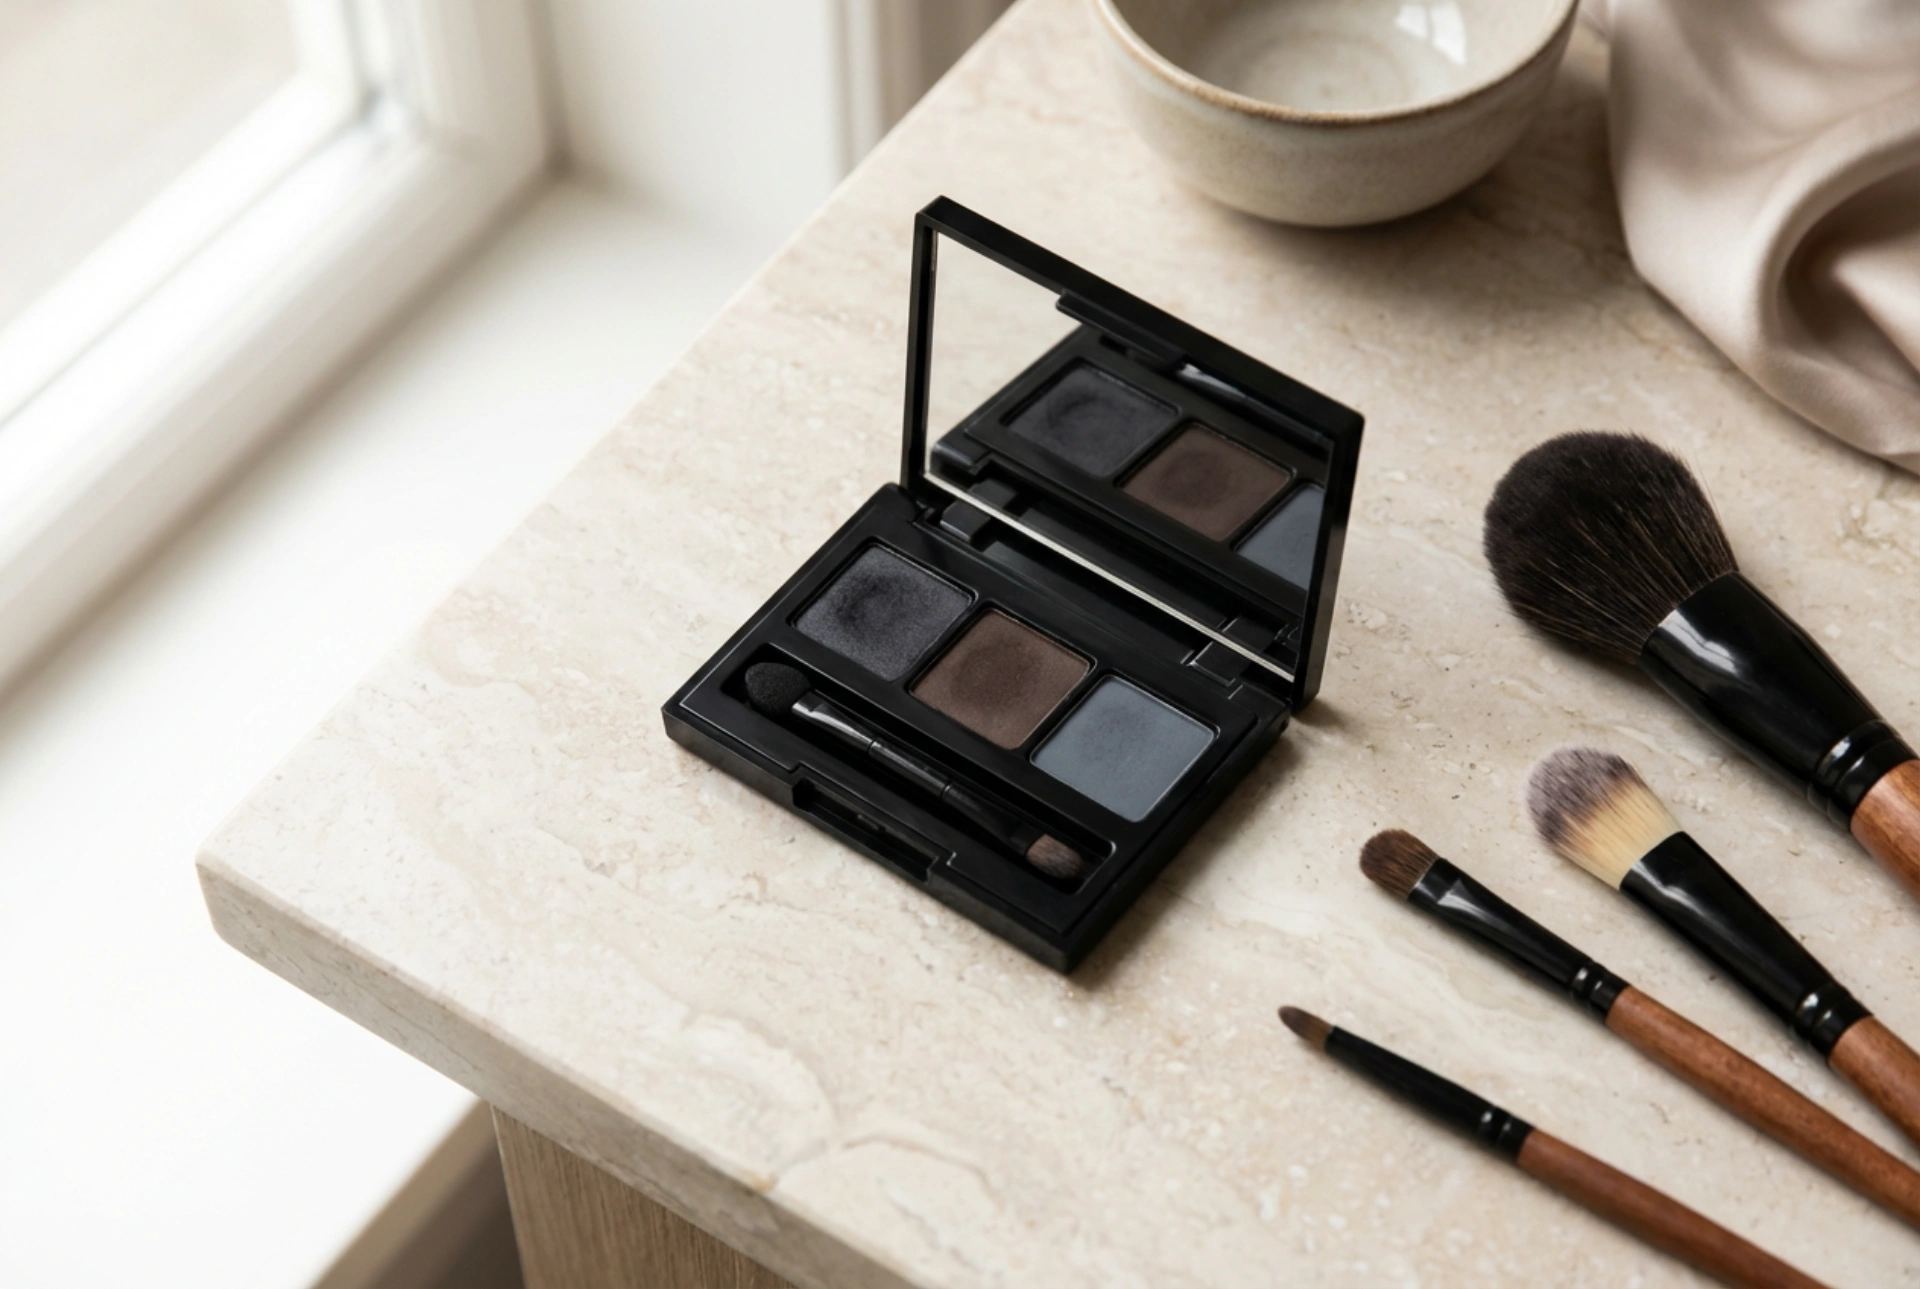
Before you even pick up a brush, proper preparation is key to ensuring your creation lasts all night and looks its best. A well-prepped canvas prevents eyeshadow from creasing, fading, or moving. The single most important step is applying an eyeshadow primer. A thin layer of a dedicated eye primer will create a smooth, slightly tacky surface that grips onto pigment, making your colours appear more vibrant and significantly increasing their longevity. Allow it to set for a minute before you begin applying shadow. Equally important are your tools. For a smokey eye, you will ideally need at least three types of brushes: a flat shader brush to pack colour onto the lid, a fluffy blending brush to diffuse harsh lines in the crease, and a smaller pencil brush for detailed work along the lower lash line.
Choosing Your Smokey Eye Colours
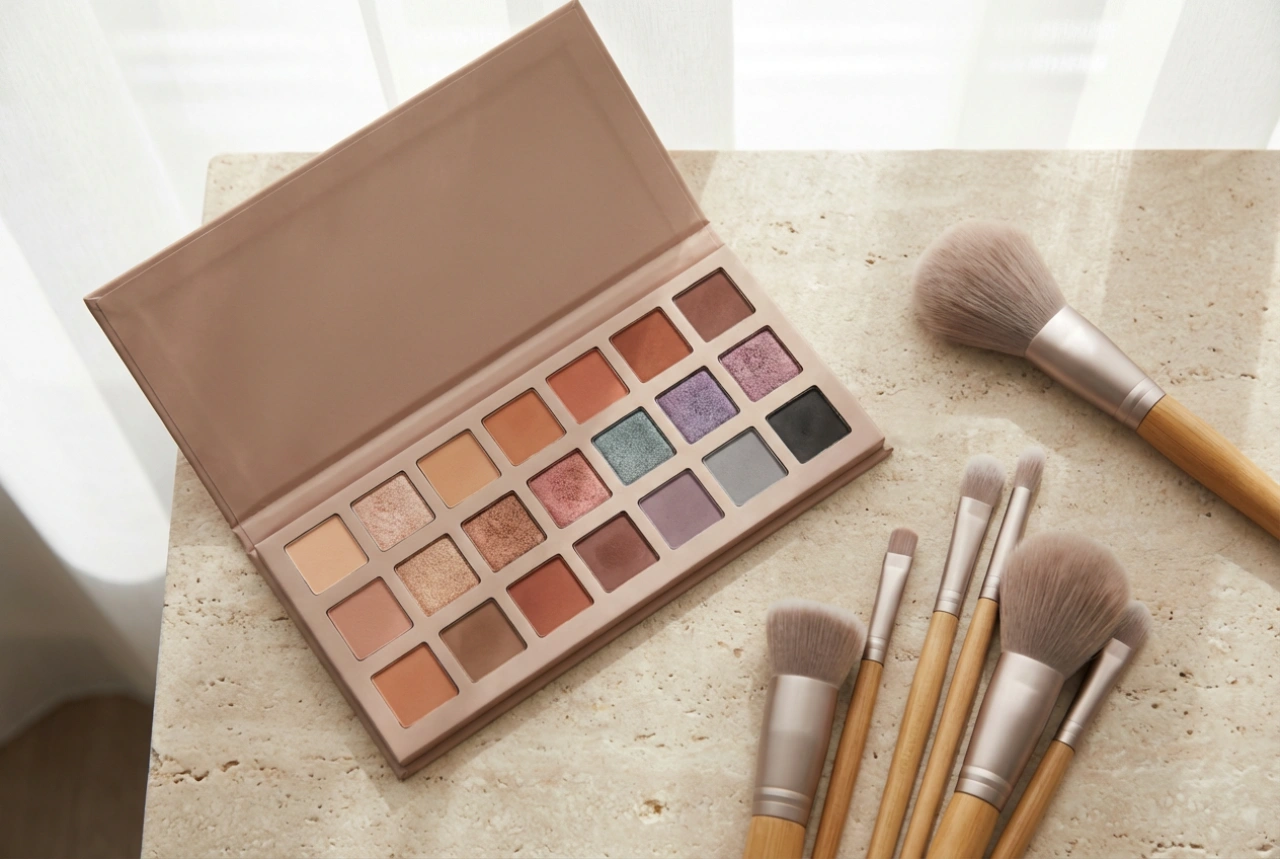
The beauty of the smokey eye lies in its adaptability. While classic shades are always in style, experimenting with colour can tailor the look to your personal taste, outfit, or even your eye colour. The core principle is to use a gradient of at least three shades: a light, a medium, and a dark.
Classic and Modern Palettes
The traditional smokey eye is built with black, charcoal, and silver. This creates a dramatic, high-impact look perfect for formal evening events. However, for a softer or more contemporary feel, consider other colour families. Brown-toned smokey eyes, using shades of taupe, bronze, and deep chocolate, offer a universally flattering warmth. Other popular choices include deep purples and plums, which beautifully complement green or brown eyes, or rich navy and forest green for a subtle pop of colour. The key is to select shades within the same colour family to ensure they blend together harmoniously.
Selecting Shades for a Seamless Gradient
When you choose your palette, ensure you have the following components:
- A Light Shade: This will be your highlight. It can be a matte cream, a shimmery champagne, or a pale silver. It is used on the brow bone and the inner corner of the eye to add light and create a lifting effect.
- A Mid-Tone Shade: This is your transition colour. It helps bridge the gap between the darkest shade and your highlight. It should be applied in the crease to add depth and guide the shape of your smokey eye.
- A Dark Shade: This is the main colour that creates the 'smokey' effect. This could be black, dark brown, deep plum, or navy. It is concentrated closest to the lash line and on the main eyelid.
Step-by-Step Application Guide
Patience and blending are the secrets to a perfect smokey eye. Follow these steps, taking your time to build the intensity gradually.
- Apply a Transition Colour: Using a fluffy blending brush, sweep your mid-tone shade into the crease of your eyelid. Use gentle back-and-forth 'windscreen wiper' motions to build up the colour and create a soft, diffused base.
- Pack on the Dark Shade: With a flat shader brush, pat your darkest eyeshadow shade onto the mobile part of your eyelid, starting from the lash line and working your way up towards the crease. Don't take it all the way up to the transition shade just yet. Concentrate the most intense pigment near the lashes.
- Blend, Blend, Blend: This is the most crucial step. Take your clean fluffy blending brush (or the one with a little transition colour left on it) and start blending the edge where the dark shade meets the transition shade. Use small circular motions to soften the line until there is a seamless gradient.
- Define the Lower Lash Line: Using a small pencil brush, smudge the dark shade or the mid-tone shade along your lower lash line. Connect it to the shadow on your upper lid at the outer corner. This balances the look and completes the smokey effect.
- Highlight: Apply your lightest shade to the inner corner of your eye and just below the arch of your eyebrow. This adds brightness and contrast, making your eyes appear more open.
- Finishing Touches: To intensify the look, you can apply a dark eyeliner pencil along your upper and lower waterlines. Finish with several coats of volumising mascara to make your lashes stand out against the dark shadow.
Common Pitfalls and How to Fix Them
Even with practice, a few common issues can arise. Knowing how to prevent them is half the battle. One major problem is 'fallout' – when dark eyeshadow particles fall onto your under-eye area. To avoid this, tap the excess powder off your brush before applying it to your eye. Alternatively, do your eye makeup before your foundation and concealer. Another common mistake is not blending enough, which results in harsh lines instead of a soft gradient. The solution is simple: spend more time blending than you think you need. Finally, avoid applying too much dark shadow too quickly. It is always easier to add more colour to build intensity than it is to take it away.