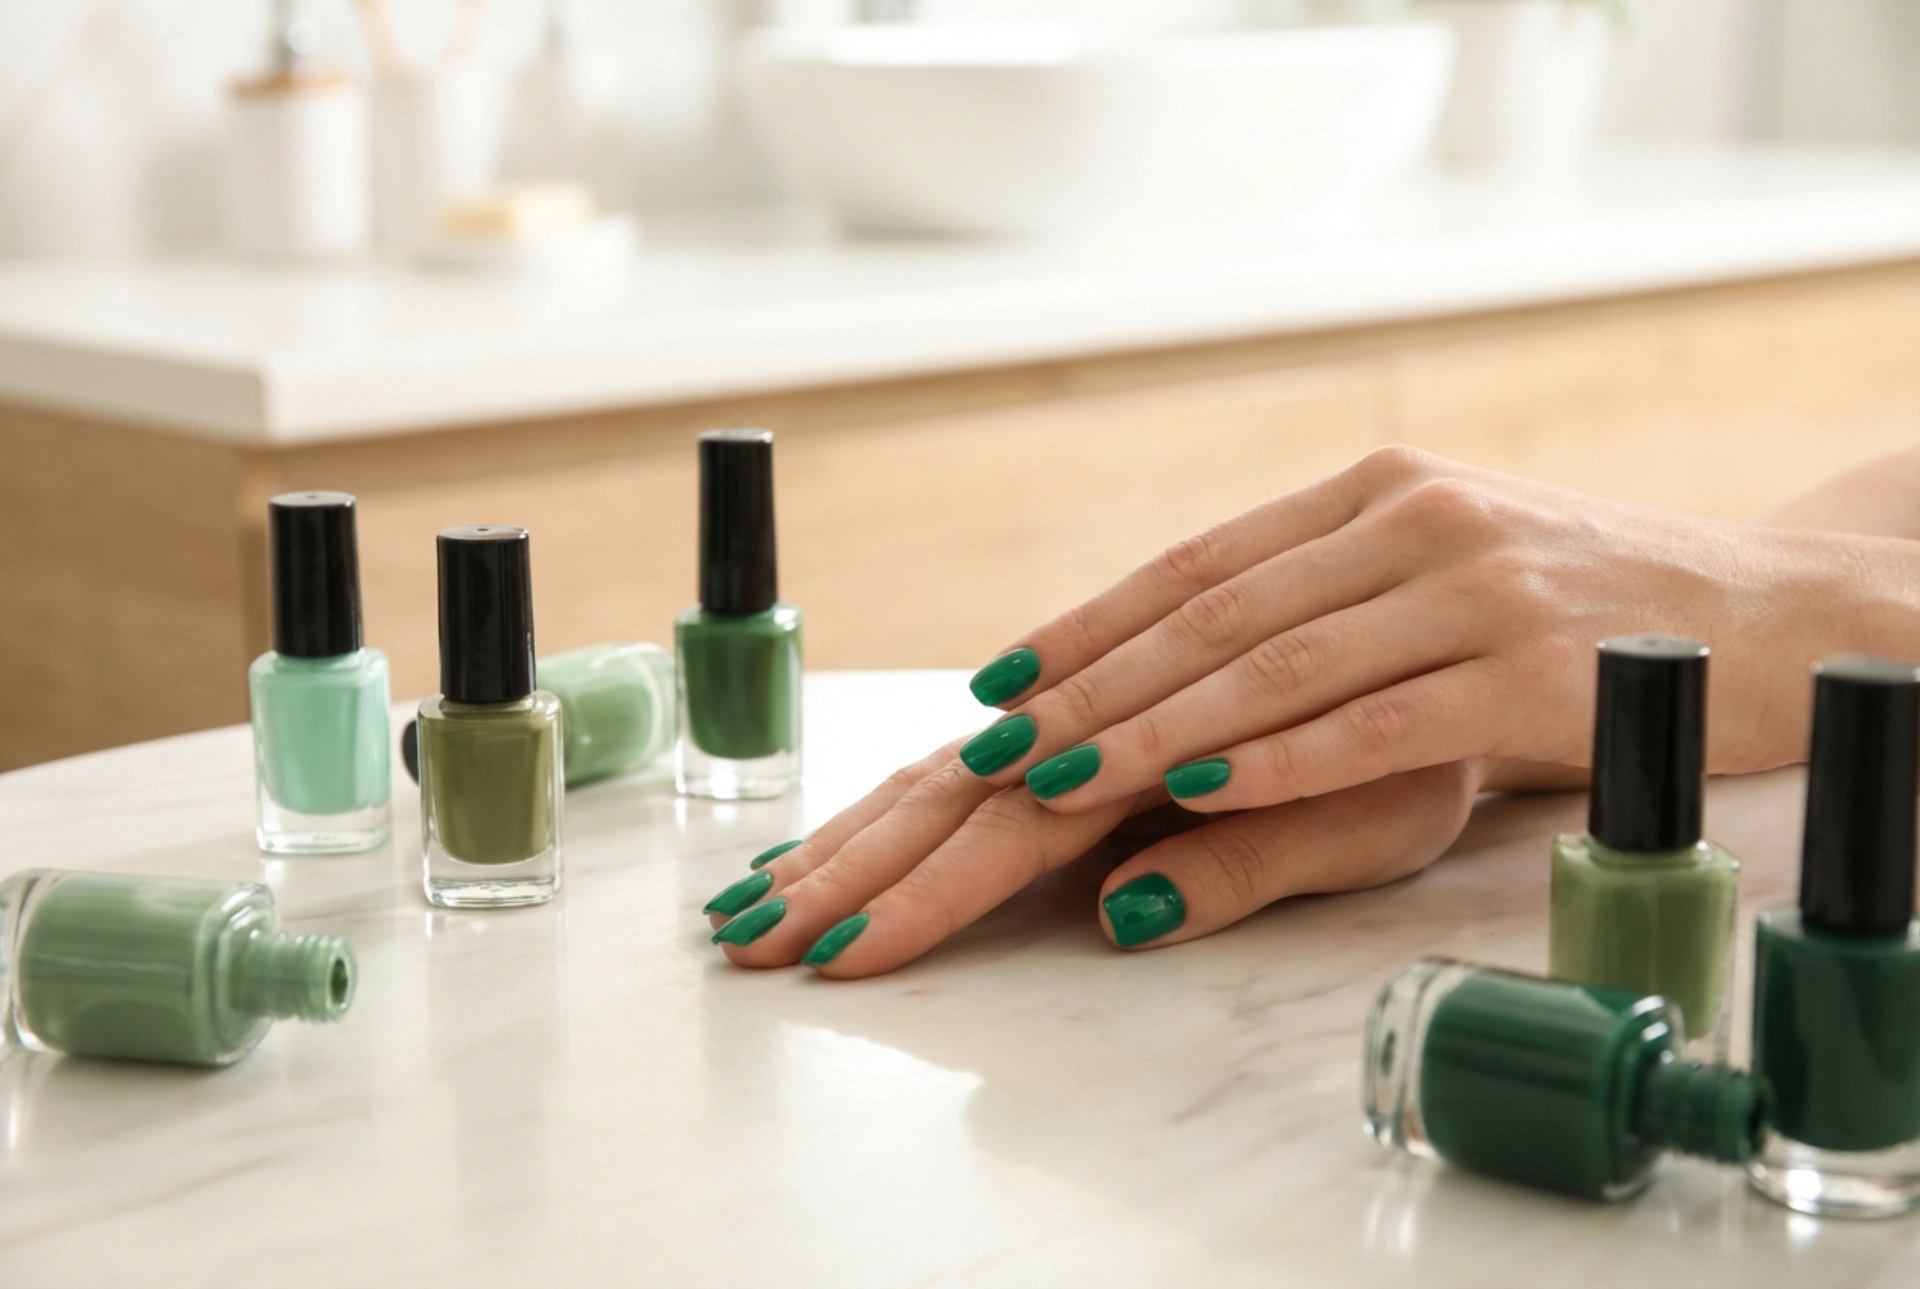


A vibrant green manicure can be a stunning style statement, reflecting everything from the freshness of spring to the deep elegance of a forest. Achieving that perfect, glossy finish seen in magazines starts with two key steps: selecting the right shade for you and mastering the application technique. Whether you're drawn to a soft mint, a zesty lime, or a sophisticated emerald, green offers a surprisingly versatile palette. This guide will help you navigate the world of green nail polish to achieve a beautiful and long-lasting manicure at home.
Choosing the Perfect Shade of Green
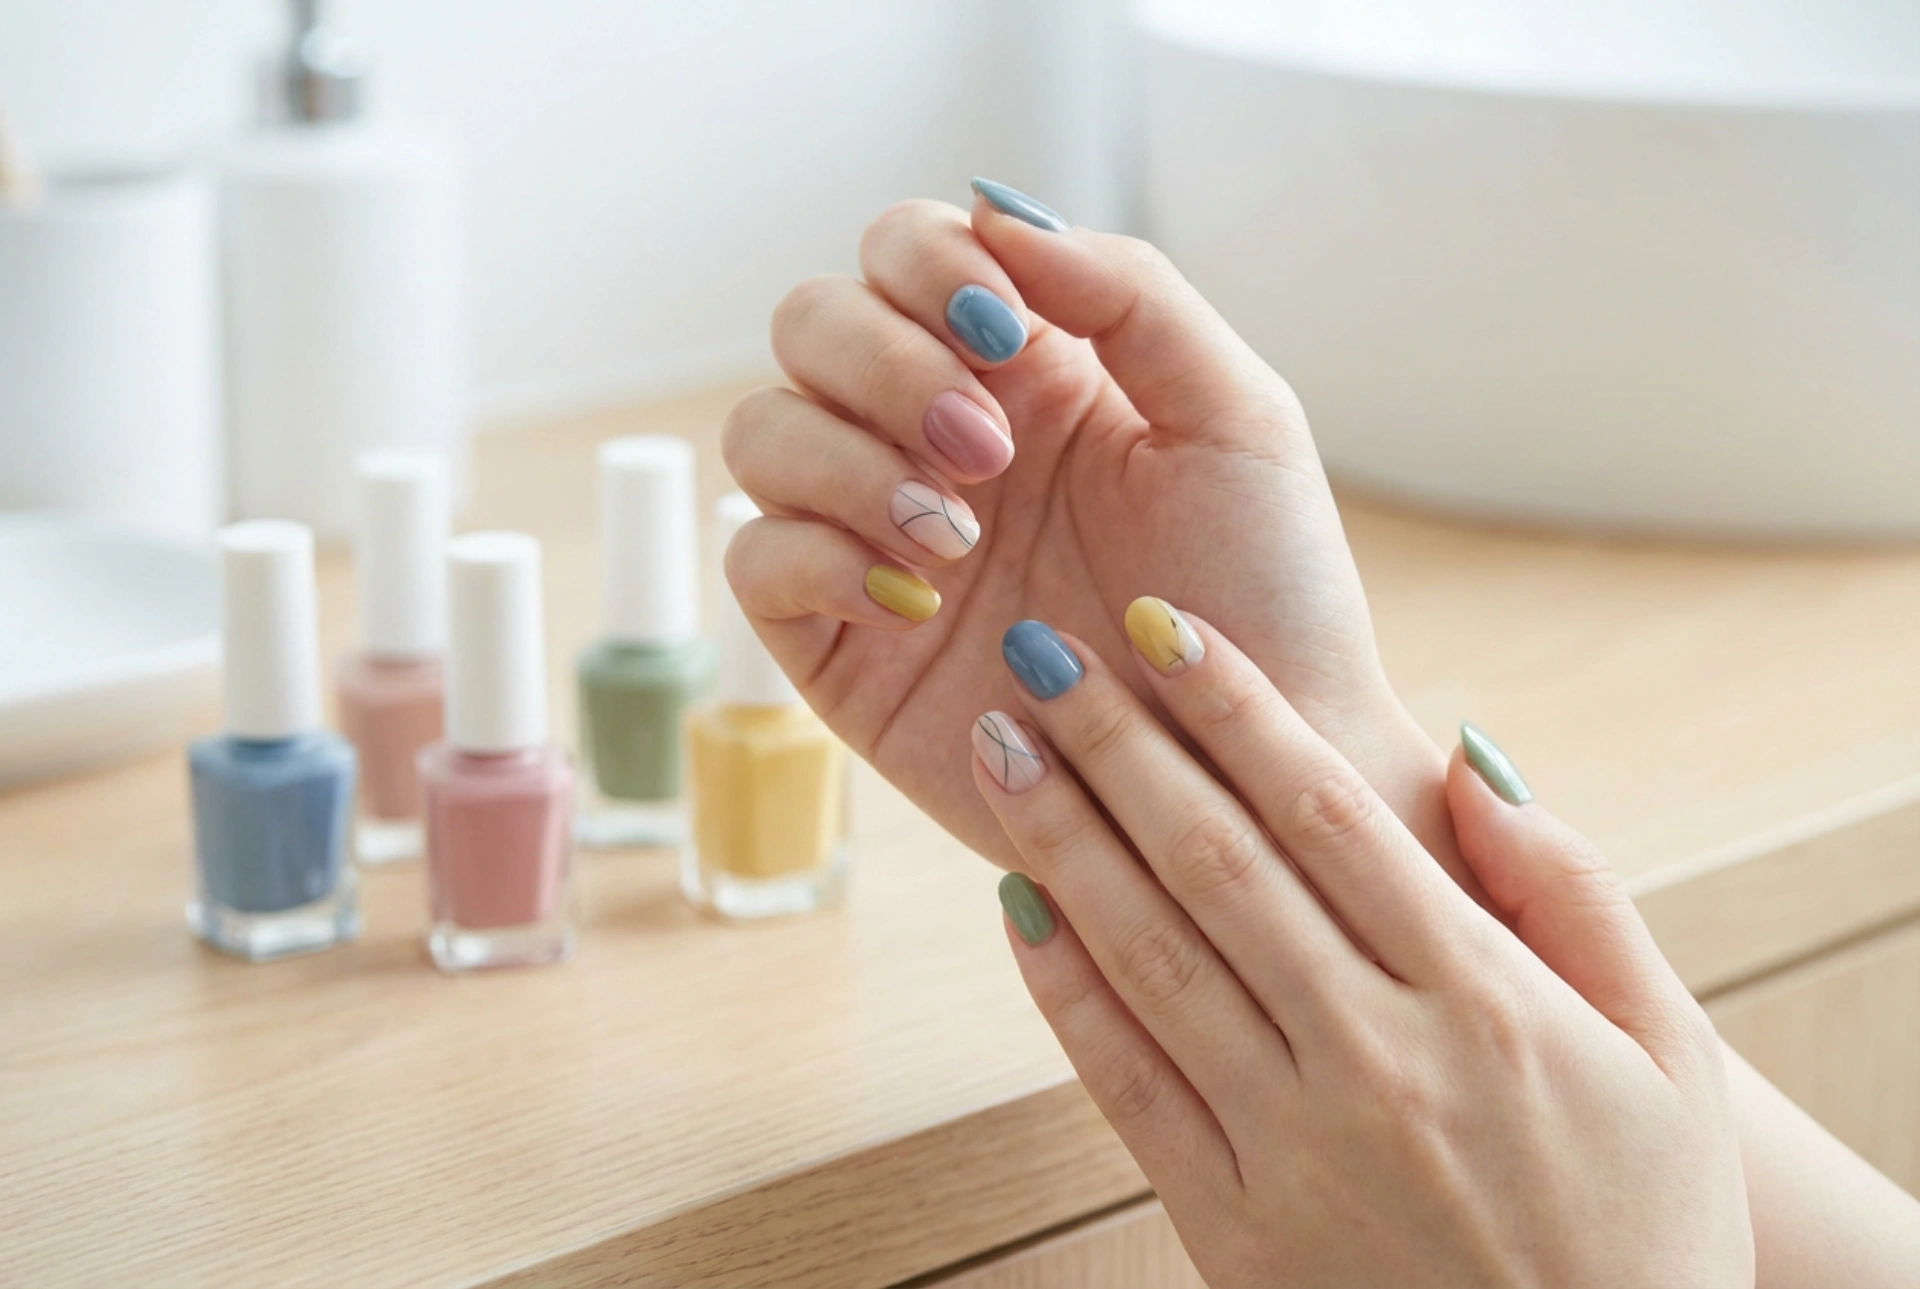
The vast spectrum of green means there is a shade for everyone. The secret to finding your most flattering option often lies in understanding your skin's undertone. This simple consideration can elevate your manicure from nice to truly spectacular.
Matching Green to Your Skin's Undertone
To determine your undertone, look at the veins on the inside of your wrist in natural light. If they appear blueish, you likely have a cool undertone. If they look greenish, your undertone is warm. If you can't decide, you may have a neutral undertone.
- For Cool Undertones: Greens with a blue base will be most complementary. Think of rich jewel tones like emerald, teal, and deep forest green. These shades create a striking and elegant contrast.
- For Warm Undertones: Earthy and yellow-based greens will make your skin glow. Opt for shades like olive, khaki, moss, and lime green. These colours harmonise beautifully with golden or peachy complexions.
- For Neutral Undertones: You have the luxury of choice! Most shades of green will suit you, from pastel mints and bright kelly greens to dark, moody shades. Feel free to experiment across the entire spectrum.
Considering the Finish and Occasion
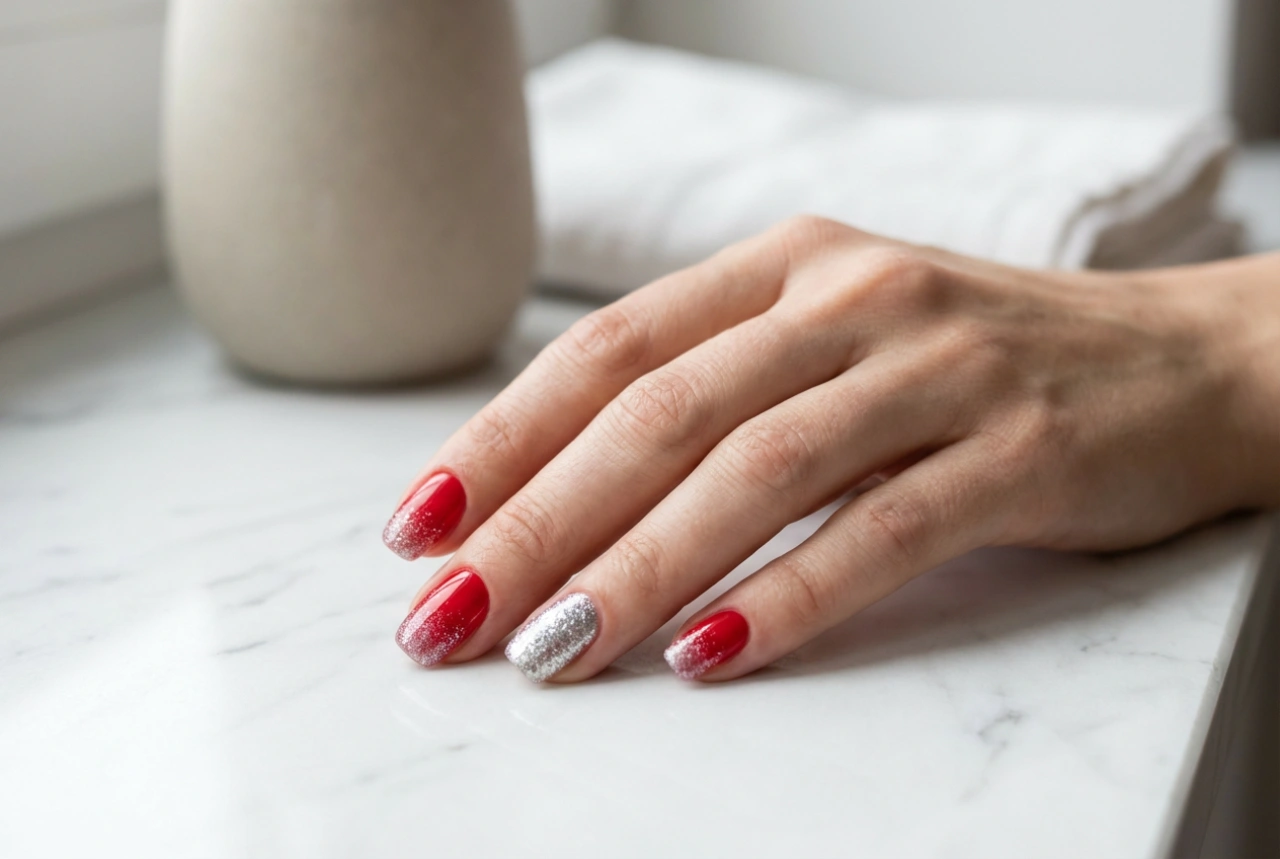
Beyond the colour itself, the finish of the polish plays a significant role in the final look. A classic high-gloss finish is timeless and chic. A matte top coat can give any green a modern, edgy twist. Metallic or chrome greens are bold and futuristic, perfect for making a statement, while subtle shimmers can add depth and dimension to darker greens.
Preparing Your Nails for a Perfect Manicure
A flawless polish application is impossible without a well-prepared canvas. Proper nail preparation not only ensures a smoother finish but also helps your manicure last longer. Take a few extra minutes for these essential steps.
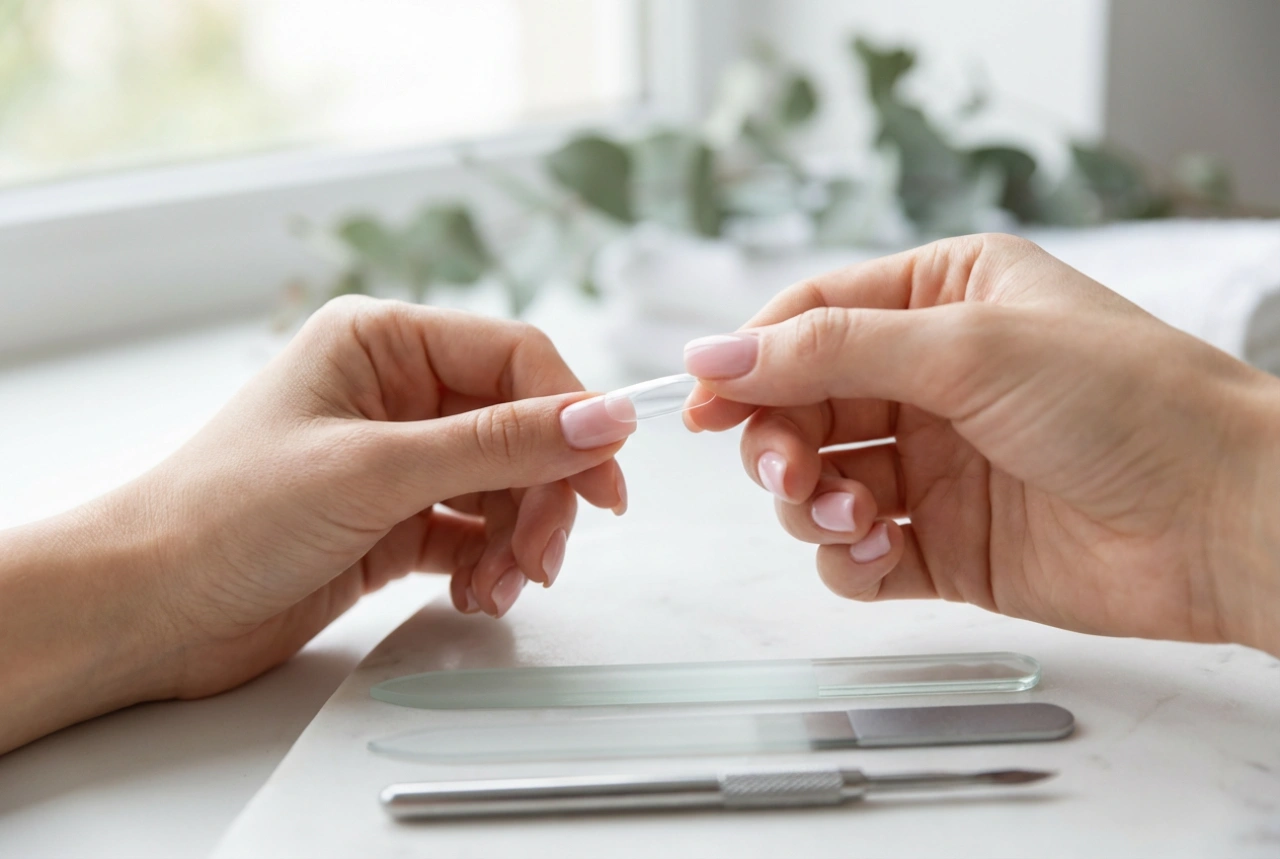
- Clean and Shape: Start by removing any old polish. Wash your hands, then file your nails into your desired shape, always filing in one direction to prevent splitting.
- Cuticle Care: Gently push back your cuticles using a wooden or rubber-tipped cuticle pusher. Avoid cutting them at home, as this can lead to irritation.
- Buff the Surface: Lightly buff the surface of your nails with a fine-grit buffer. This smooths out any ridges and creates a slightly textured surface for the polish to adhere to.
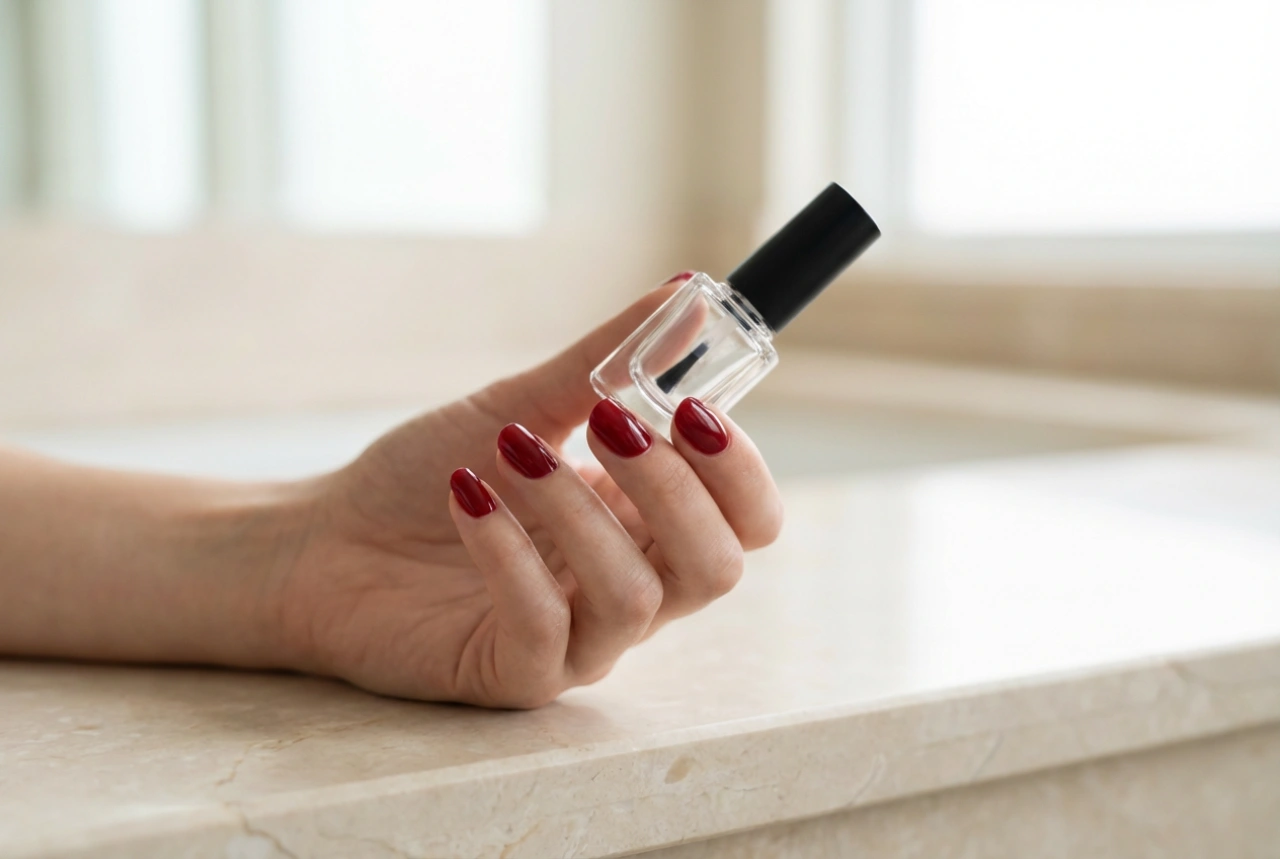
- Apply a Base Coat: Never skip the base coat. It creates a protective barrier that prevents dark pigments like green from staining your natural nails. It also provides a smooth, even base for the colour application.
The Art of Flawless Application
Applying a bold colour like green requires a steady hand and a methodical approach. The goal is to achieve full, even coverage without flooding the cuticles.
The Three-Stroke Method
This professional technique ensures even coverage with minimal mess.
- Wipe one side of the brush on the neck of the bottle to remove excess polish.
- Place the brush in the centre of your nail, slightly away from the cuticle.
- Gently push the brush back towards the cuticle, leaving a tiny gap, and then pull it straight down to the tip of the nail.
- Return the brush to the base of the nail and sweep it down the left side.
- Repeat on the right side to cover the entire nail.
Build Colour in Thin Coats
Resist the urge to apply one thick, goopy coat. Instead, apply two to three thin coats, allowing each one to dry for a few minutes in between. This method ensures faster overall drying time, prevents bubbles, and results in a more durable, professional-looking finish.
Sealing the Deal: Top Coat and Aftercare
The final steps are crucial for locking in your colour and ensuring your manicure stays pristine for as long as possible.
The Importance of a Top Coat
After your final colour coat has dried for a few minutes, apply a generous layer of a quality top coat. This seals the colour, protects against chips and scratches, and provides a high-gloss shine. Be sure to 'cap' the free edge of the nail by running the brush along the tip to further prevent chipping.
Manicure Aftercare
To extend the life of your green manicure, apply cuticle oil daily to keep your nails and the surrounding skin hydrated. When doing household chores, wear gloves to protect your polish from harsh detergents and prolonged water exposure. With the right care, your perfect green nails will look fresh and vibrant for days.