


Ombre nails, with their beautiful and subtle transition of colours, represent a timeless and elegant manicure style. The smooth gradient effect, shifting from a soft nude to a delicate rose, adds a touch of sophistication to any look. While it may seem like a complex design reserved for salon professionals, creating a flawless gel polish ombre at home is entirely achievable with the right technique and a little patience. This guide will walk you through the process step-by-step, ensuring you can create your own stunning gradient manicure.
Preparing Your Nails for a Flawless Ombre
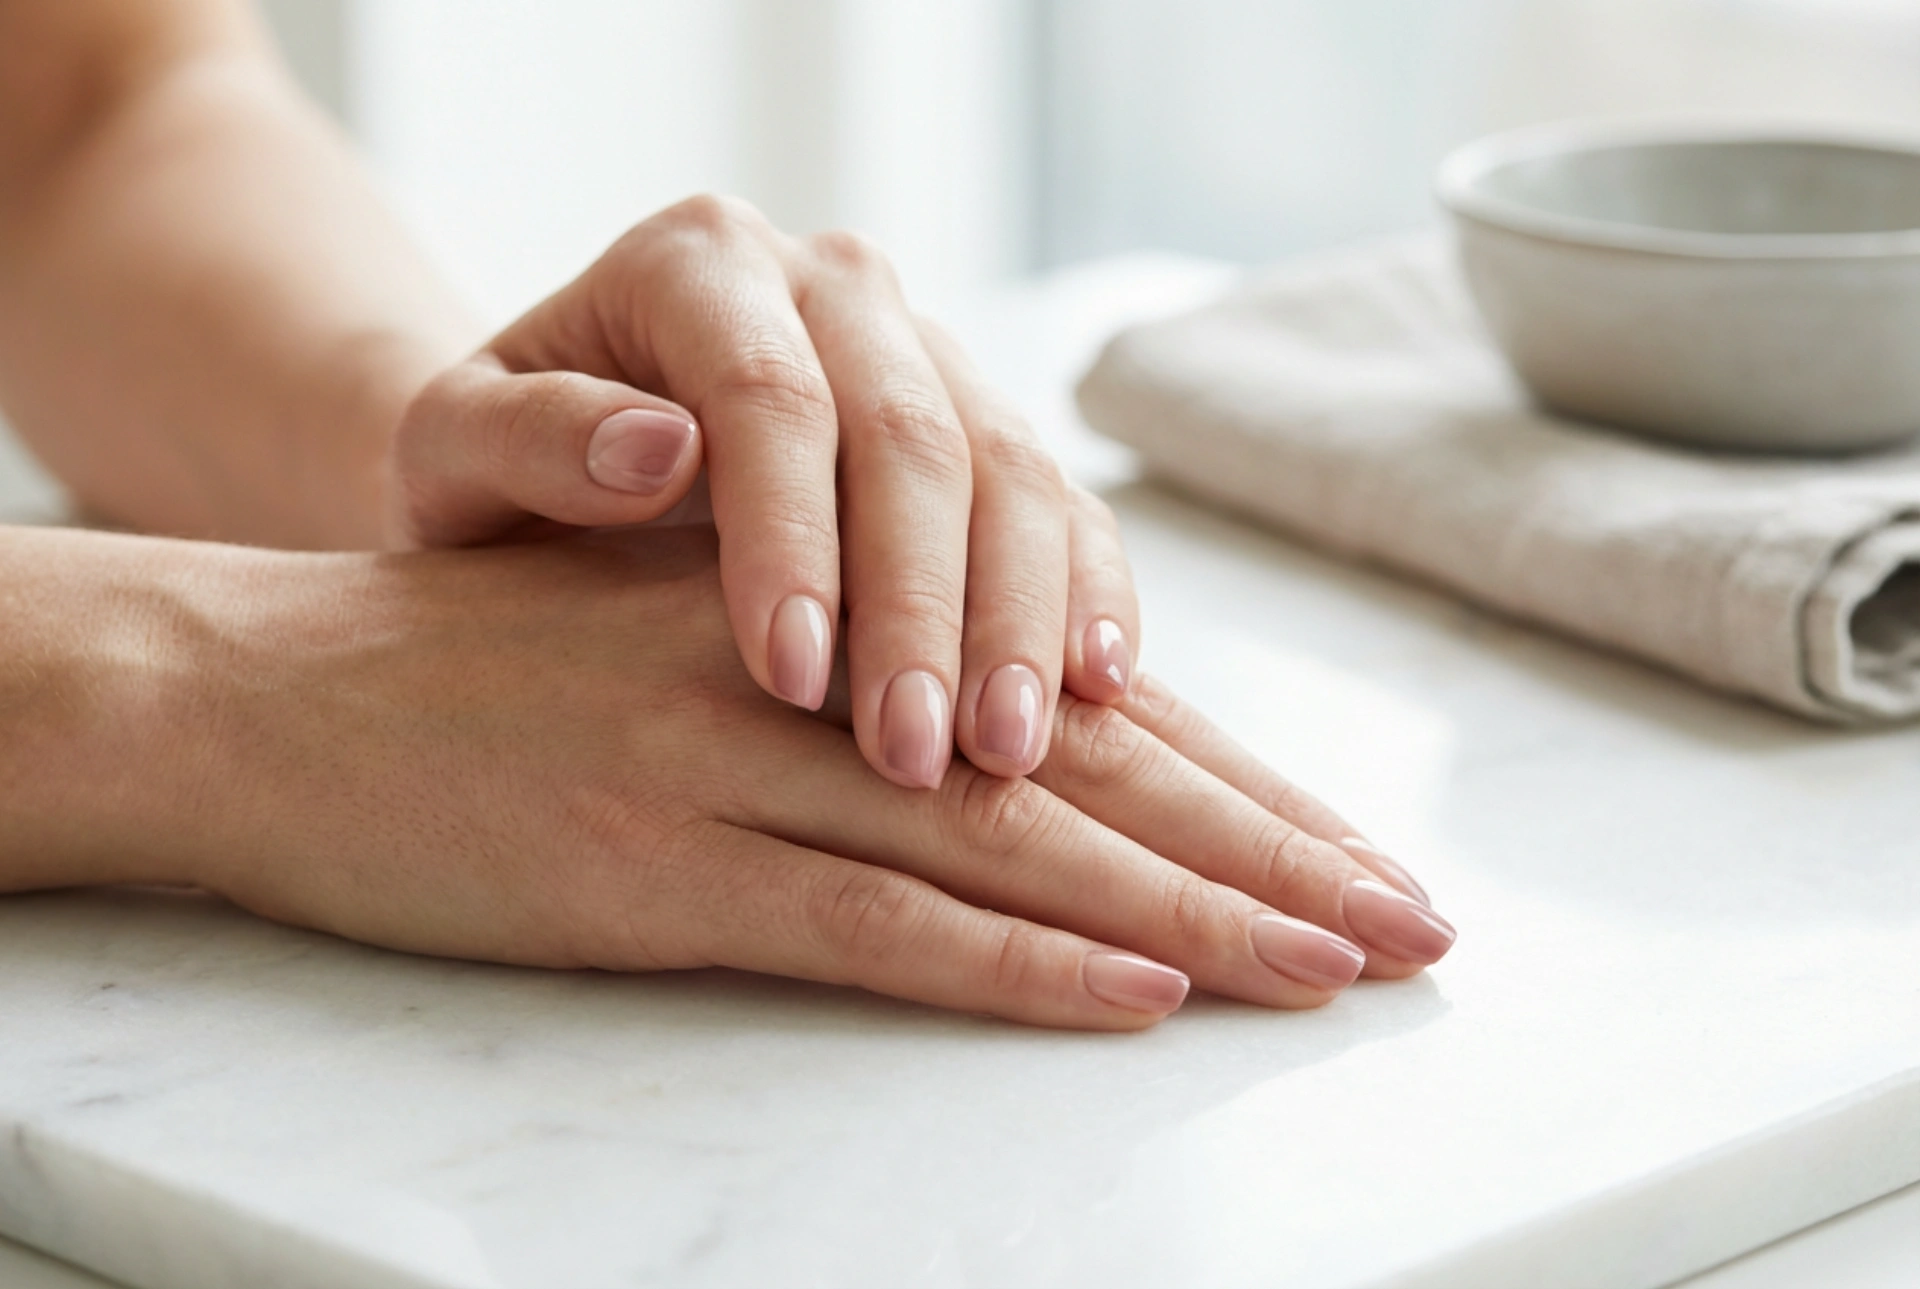
Proper preparation is the foundation of any long-lasting and beautiful manicure. Before you begin creating the gradient, it's essential to ensure your nails are clean, shaped, and ready for the gel polish application. Skipping these steps can lead to a less polished finish and reduced wear time.
Nail and Cuticle Care
Start by removing any old polish. Gently push back your cuticles and trim any excess if necessary. Be careful not to cut the living tissue. Next, file your nails into your desired shape, whether it's square, oval, or almond. Once shaped, lightly buff the surface of your nails with a fine-grit buffer. This removes the natural shine and creates a slightly rough surface, which helps the gel polish adhere better. Finally, wipe each nail with a lint-free wipe soaked in a nail cleanser or isopropyl alcohol to remove any dust and oils.
Applying the Base Coat and Background Colour
Apply a thin layer of gel base coat to each nail, making sure to cap the free edge. Capping the edge means running the brush along the tip of the nail, which helps prevent chipping. Cure the base coat under your UV/LED lamp according to the product's instructions. After curing the base coat, apply one or two thin coats of your lightest ombre colour. This will serve as the background for your gradient. Cure each layer completely under the lamp. A light, neutral shade like soft nude or pale pink often works best as a base.
Creating the Ombre Effect: A Step-by-Step Guide
This is the creative part of the process. The key tool for creating a smooth blend is a simple cosmetic sponge. A dense, disposable makeup wedge works best as it has small pores that create a finer, less bubbly texture.
Applying Colours to the Sponge
Take your two chosen gel polish colours. On a non-porous surface, like a piece of foil or a nail art palette, paint a stripe of each colour right next to each other. The stripes should slightly overlap in the middle. The combined width of the stripes should be about the same as your nail. Now, take your sponge and gently dab it directly onto the polish stripes several times to pick up the colours and start the blending process on the sponge itself.
Dabbing the Gradient onto the Nail
Carefully and repeatedly dab the colour-soaked sponge onto your nail. You want to use a light, bouncing motion rather than a wiping one. The first layer will look sheer and possibly a bit patchy – this is normal. Don't worry about getting polish on the skin around your nail; this can be cleaned up later. Focus on positioning the gradient where you want it on the nail. Once you've applied the first layer to all nails, cure them under the lamp.
Building the Intensity
To achieve a vibrant and seamless ombre, you will need to apply two to three layers of the sponged-on gradient. Re-apply the polish to your sponge and repeat the dabbing process. With each new layer, the colours will become more opaque and the blend will become smoother. Remember to cure each layer under the lamp. Before the final cure, use a small brush dipped in nail cleanser to carefully clean up any polish on the skin around your nails.
Sealing Your Design for a Lasting Finish
Once you are happy with the intensity and blend of your ombre, it's time to seal your hard work. Apply a generous layer of a high-shine gel top coat. This step is crucial not only for protecting the design but also for smoothing out any minor texture left by the sponge. The top coat will meld the colours together, making the gradient look even more seamless. Be sure to cap the free edge with the top coat as well. Perform a final cure under the UV/LED lamp for the recommended time. After the final cure, if your top coat has a sticky inhibition layer, wipe it off with a lint-free pad and nail cleanser to reveal a hard, glossy finish.
Common Mistakes to Avoid for a Perfect Gradient
Achieving a perfect ombre takes practice. If your first attempt isn't flawless, don't be discouraged. Here are some common pitfalls to watch out for:
- Using a sponge with large pores: Sponges with large, open cells (like a kitchen sponge) will create a bubbly, uneven texture instead of a smooth blend. Always use a dense makeup sponge.
- Choosing colours with high contrast: Blending a very dark colour with a very light one can be challenging. For beginners, it's easier to work with colours that are in the same family or have similar tones.
- Not applying enough polish to the sponge: A dry sponge won't transfer colour effectively. Make sure your sponge is adequately saturated, but not dripping, with polish.
- Applying layers that are too thick: Sponging creates thin layers, which is ideal. Trying to get an opaque finish in one go with a thick layer will result in improper curing and a lumpy finish.
- Forgetting to clean up: Gel polish on the skin that gets cured can be difficult to remove and can lead to lifting. Always clean the skin around the nail before the final cure of the colour and top coat.
- Over-blending on the nail: Dabbing too many times or too aggressively in one spot can cause the colours to become muddy rather than creating a clean gradient. Use a light, bouncing motion.


