


Applying false eyelashes can be a transformative step in any makeup routine, but it often comes with a learning curve. Achieving a seamless, natural look requires precision and a steady hand, which can be challenging when using just your fingers or standard tweezers. This is where a dedicated eyelash applicator becomes an invaluable tool. Designed specifically for this task, it offers superior control and placement, making the entire process quicker, cleaner, and far less intimidating. Mastering this simple device can elevate your beauty regimen, ensuring flawless results every time.
What is an Eyelash Applicator?
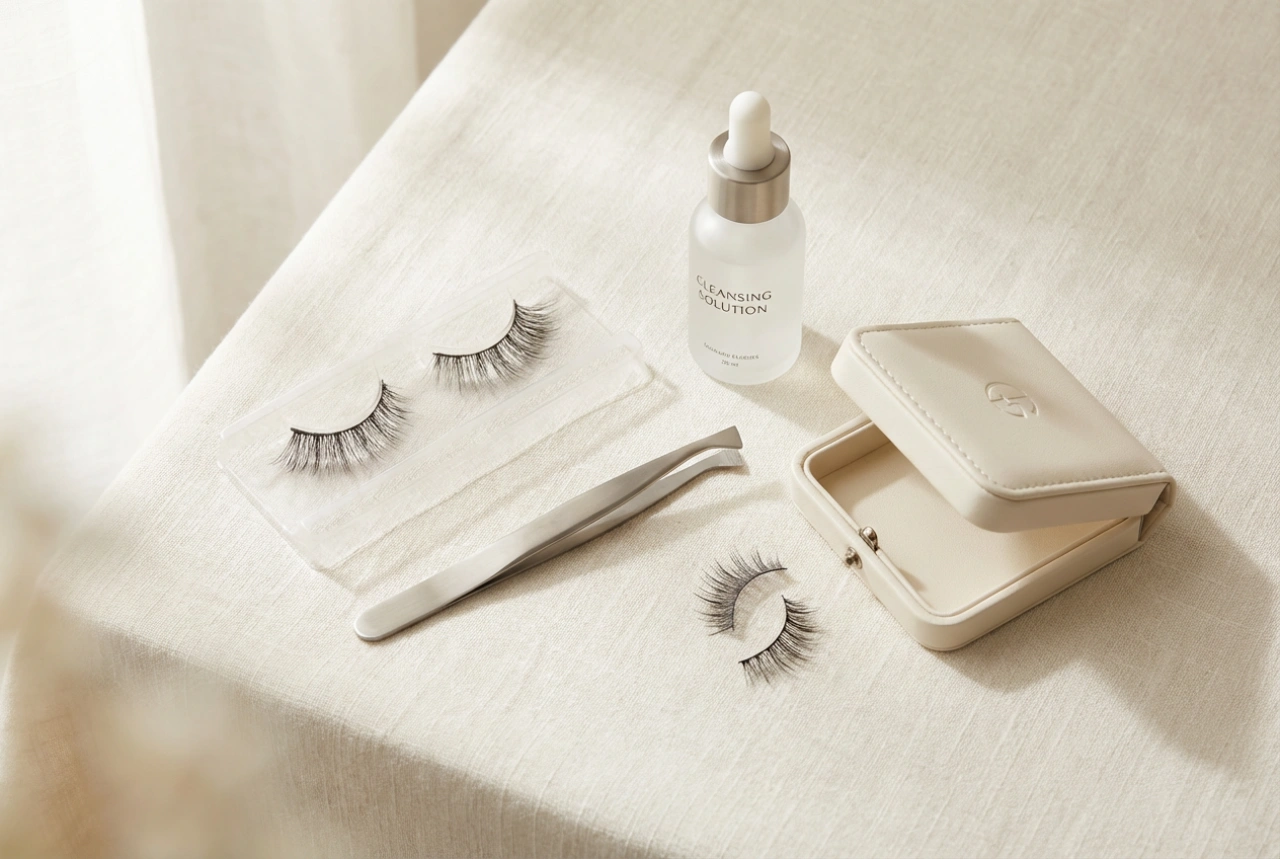
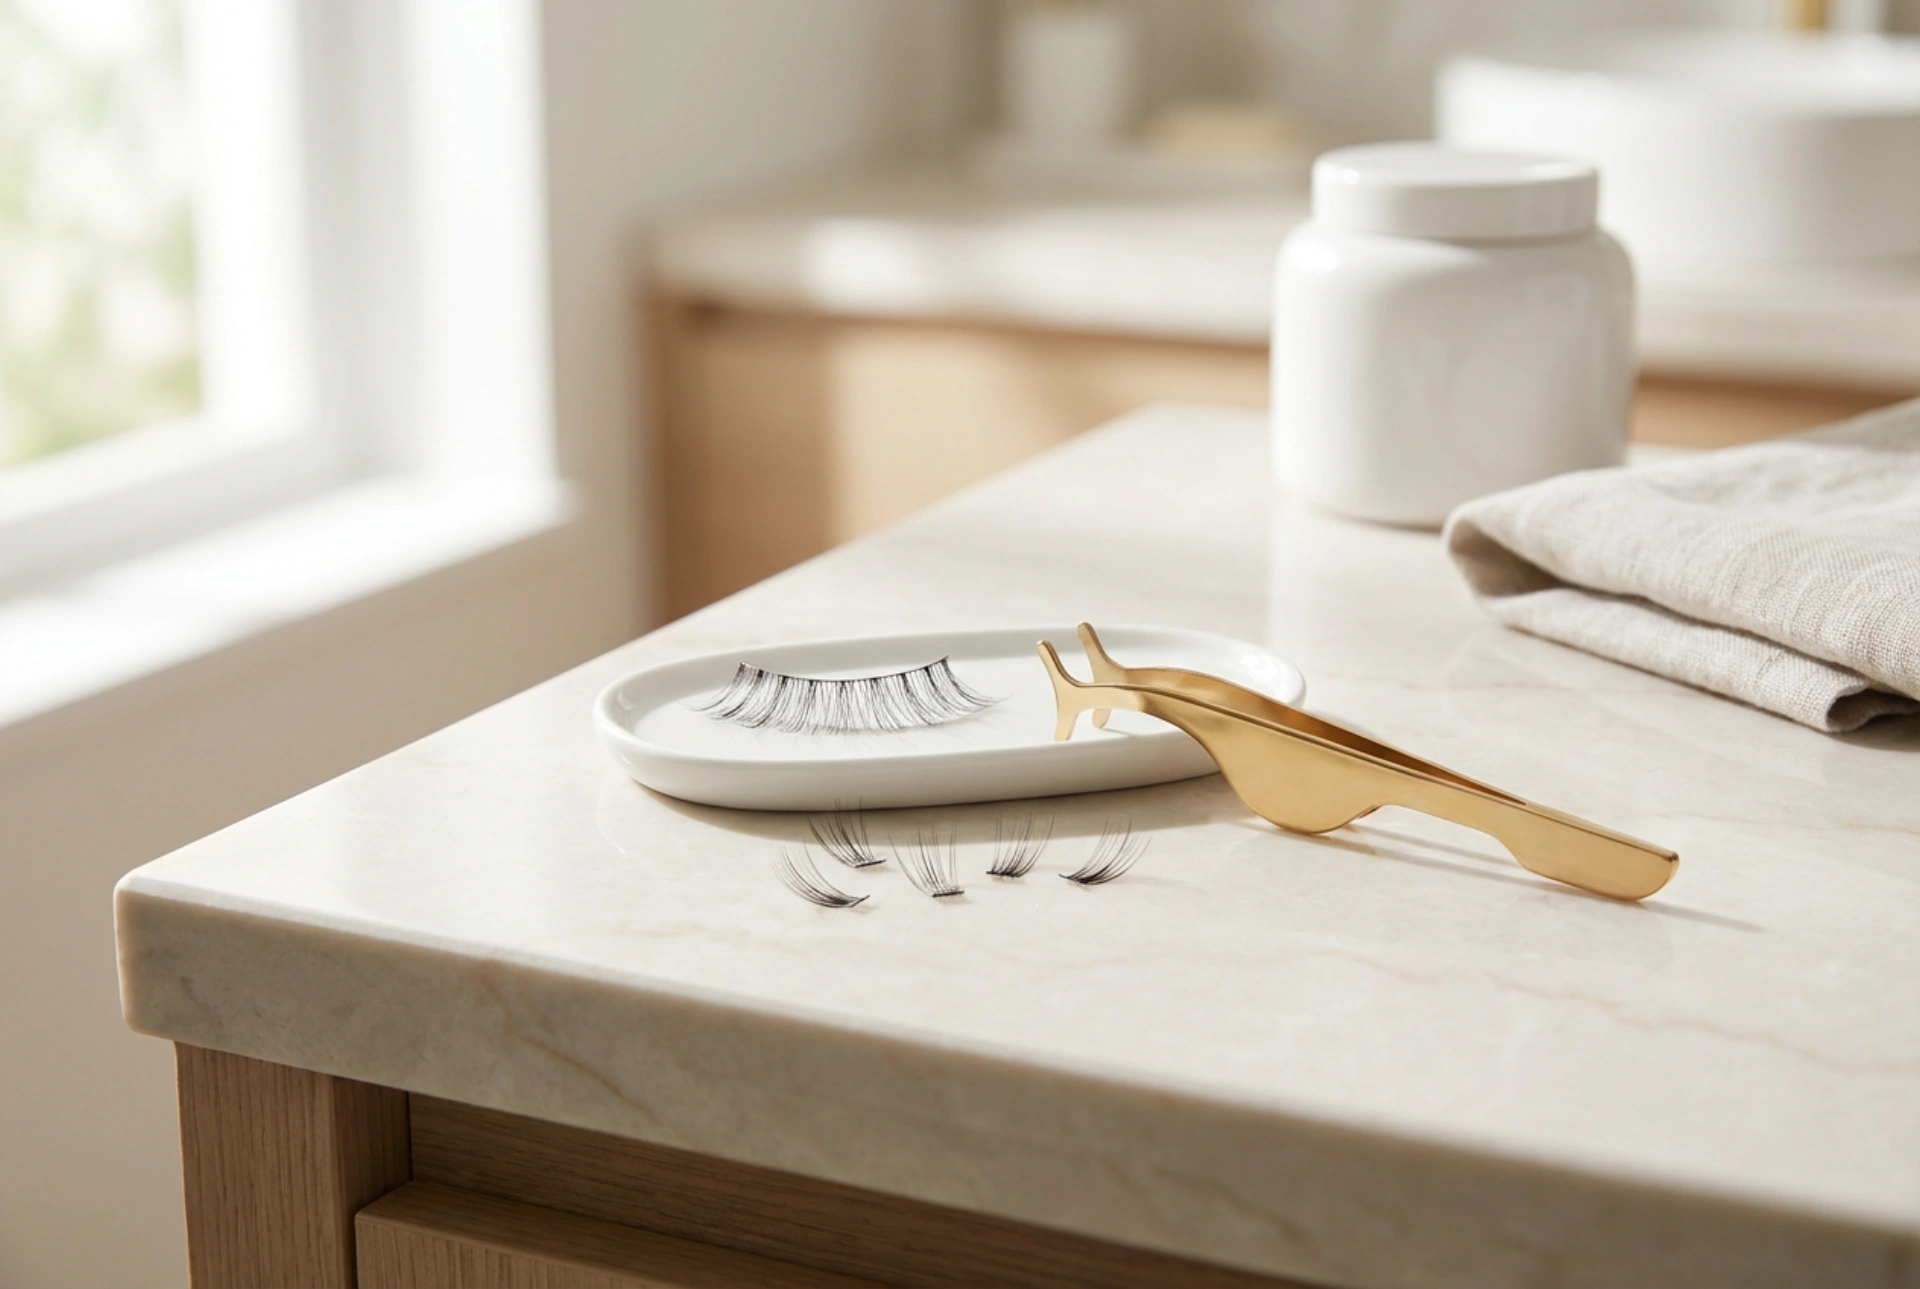
An eyelash applicator is a specially designed tool created to assist in the precise application of false eyelashes, including both full strips and individual clusters. It typically resembles a pair of tweezers, but instead of sharp, pointed tips, it features wider, curved ends that are shaped to hug the contour of the eyelid. This ergonomic design allows you to grip the entire lash strip securely. Most applicators are made from durable stainless steel, providing a firm hold and easy cleaning. The primary function of this tool is to offer a level of control and accuracy that is difficult to achieve with fingers, which can be clumsy and obstruct your view, or with traditional tweezers, which can damage the delicate lashes or pose a risk to your eyes.
The Key Advantages of Using a Lash Applicator
Integrating an eyelash applicator into your makeup kit offers several significant benefits that can streamline your routine. For both beginners and experienced users, this tool can make a noticeable difference in the final look and the application experience.
- Enhanced Precision: The curved shape of the applicator allows you to see exactly where you are placing the lash, enabling you to position it perfectly along your natural lash line without any guesswork.
- Superior Control and Grip: The applicator provides a firm, wide grip on the lash band, preventing it from slipping or twisting during application. This steady hold is crucial for aligning the lash correctly from the inner to the outer corner of the eye.
- Improved Hygiene: Using a tool instead of your fingers minimises contact between your hands, the adhesive, and your eye area. This helps to keep the lashes and your eyes clean, reducing the transfer of oils and bacteria.
- Faster Application: While it may take a little practice, once you are comfortable with the tool, you will find that the application process becomes significantly faster and more efficient.
- Safety: Unlike sharp-pointed tweezers, the smooth, rounded edges of a lash applicator are much safer to use near the delicate eye area, reducing the risk of accidentally poking yourself.
How to Use an Applicator for Strip Lashes
Applying a full strip of lashes becomes a straightforward process with the help of an applicator. Follow these steps for a perfect application.
Step 1: Prepare the Lash
First, measure the lash strip against your eye and trim any excess from the outer edge. Apply a thin, even layer of lash adhesive along the band of the false lash. Wait about 30 seconds for the glue to become tacky; this is a crucial step for ensuring the lash adheres properly.
Step 2: Grip the Lash
Using the eyelash applicator, grasp the strip lash firmly in the centre. The body of the lash should be held securely between the curved tips of the tool, parallel to its clamps.
Step 3: Position and Place
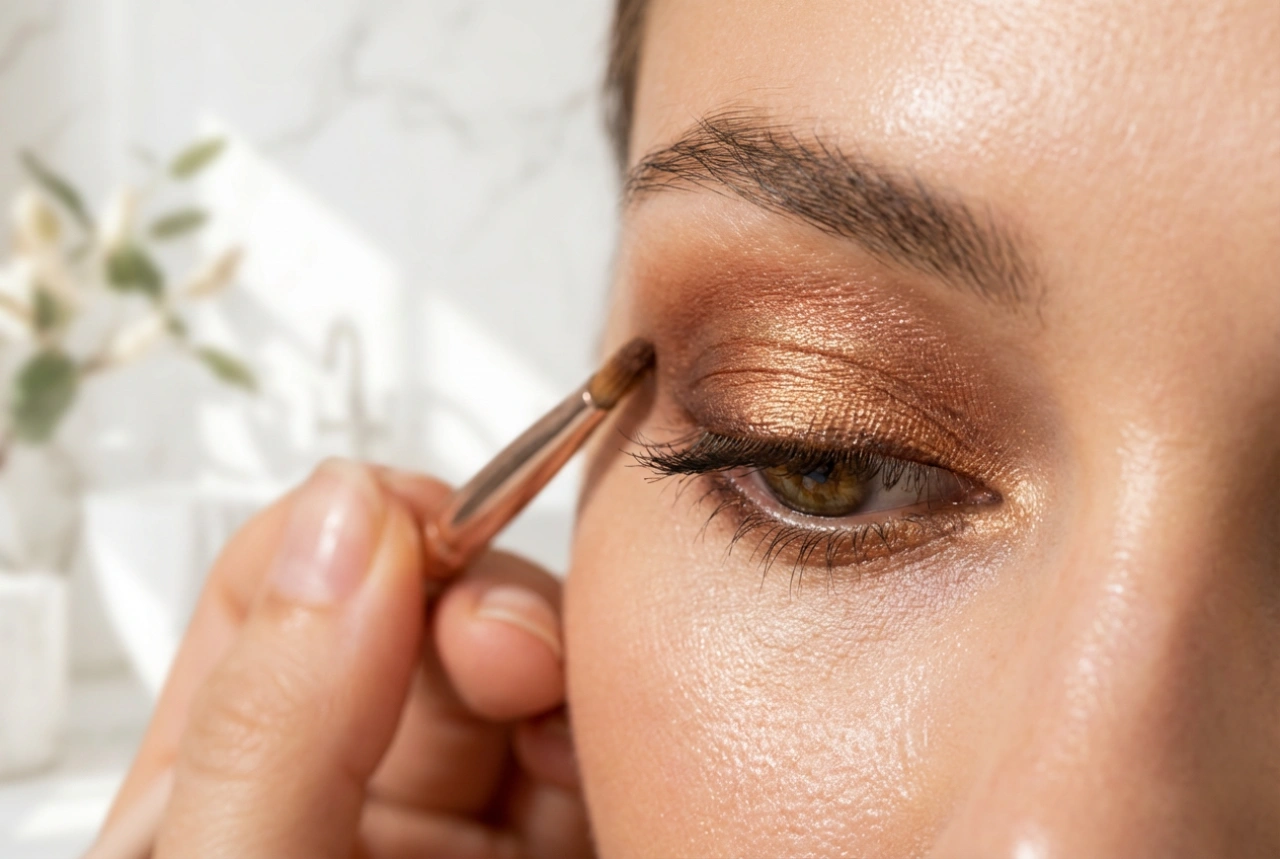
Looking down into a mirror will give you the best view of your lash line. Bring the applicator towards your eye and place the centre of the lash strip onto the middle of your lash line, as close to the natural roots as possible.
Step 4: Secure the Ends
Once the centre is in place, use the tip of the applicator to gently press down and secure the inner corner, followed by the outer corner. Ensure the entire band is flush against your skin.
Applying Individual Lash Clusters with an Applicator
An applicator is also incredibly helpful for the detailed work of applying individual or trio lash clusters for a more customised, natural look.
Step 1: Prepare the Glue
Squeeze a small dot of lash adhesive onto a clean, non-porous surface, such as a small piece of foil or the plastic tray the lashes came in. This will serve as your palette.
Step 2: Pick Up a Cluster
Use the fine tip of the applicator to carefully pick up a single lash cluster from the tray. Hold it gently by the lashes, near the knotted base.
Step 3: Apply Adhesive
Lightly dip the tiny knotted base of the cluster into the dot of glue. Be careful not to use too much; a small amount is all that's needed to secure the lash.
Step 4: Place the Cluster
Looking into your mirror, gently place the cluster onto your natural lash line. You can place it directly on the skin between your lashes or attach it to the base of a natural lash. Start from the outer corner and work your way inwards, adding clusters until you reach your desired volume and style. The applicator allows you to place each cluster with pinpoint accuracy without disturbing those already applied.
Caring for Your Eyelash Applicator
To ensure your tool remains hygienic and effective, it is important to clean it after every use. Any residual lash adhesive can build up, making it difficult to use the applicator smoothly next time. Simply take a cotton pad soaked in an oil-free makeup remover and thoroughly wipe down the tips of the applicator until all traces of glue are gone. Dry it completely and store it in a clean, dry place to keep it ready for your next flawless lash application.