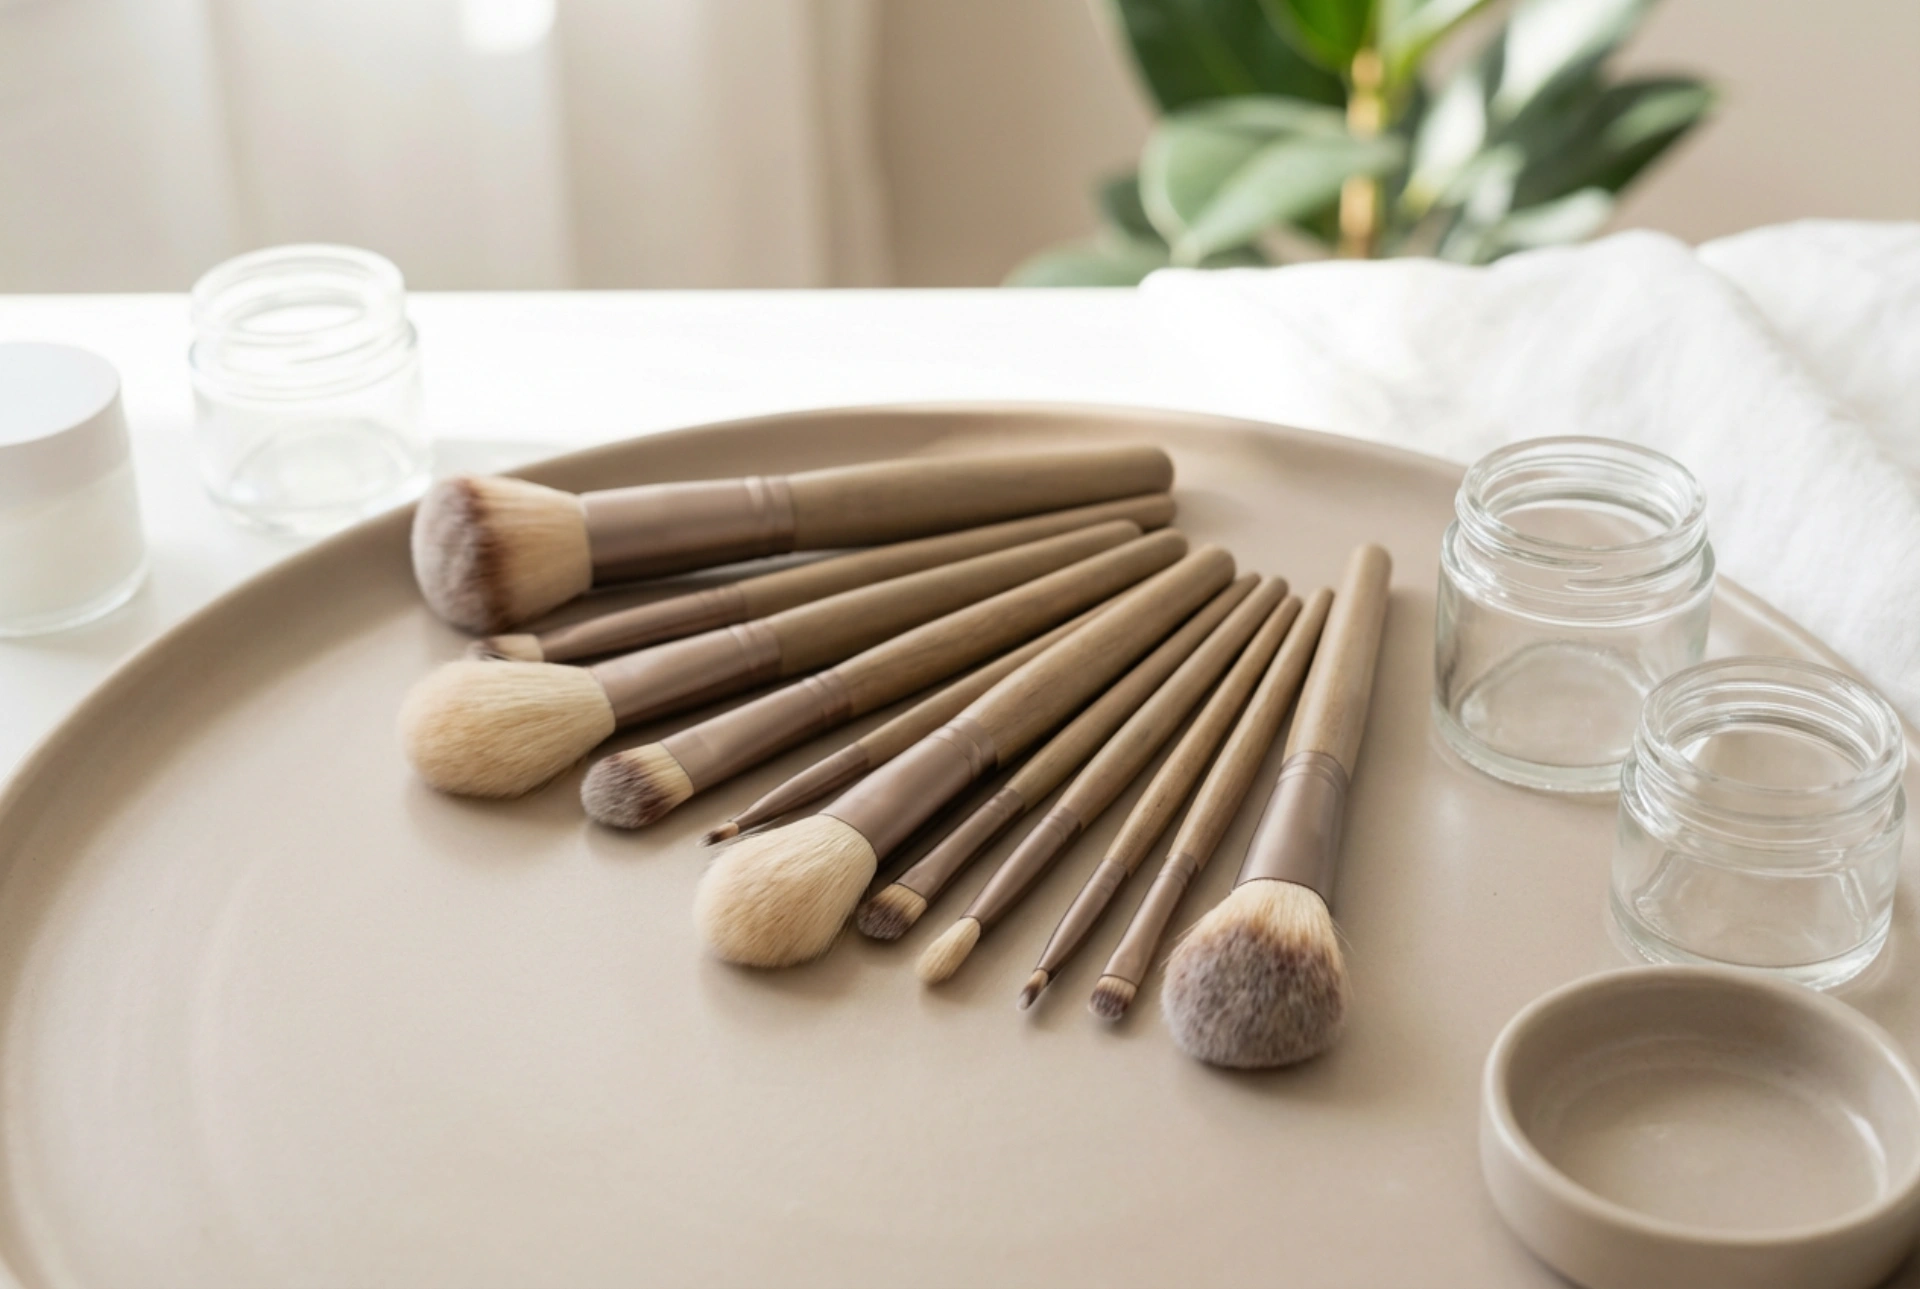


Achieving a beautifully blended and defined eye makeup look often comes down to the quality of your tools. While the market is saturated with brushes of every shape and size, you only need a few key types to create a wide range of styles. Building a core collection and knowing how to care for it is the foundation of a great makeup routine. An artfully arranged set of clean, well-maintained brushes is not just aesthetically pleasing; it's a sign of a routine that values precision and hygiene.
The Core Collection: Essential Eye Brushes
To navigate the world of eye makeup, from a simple daytime look to a dramatic evening style, a few select brushes will serve you well. Focusing on these essentials will prevent your collection from becoming overwhelming and ensure you have the right tool for every key step.
Fluffy Blending Brush
If you invest in only one eye brush, make it this one. A fluffy blending brush has soft, longer bristles that are arranged in a domed or tapered shape. Its primary purpose is to diffuse and soften eyeshadow, particularly in the crease of the eye. Use it with light, back-and-forth 'windscreen wiper' motions to seamlessly blend colours together and eliminate any harsh lines, creating a professional, airbrushed effect.
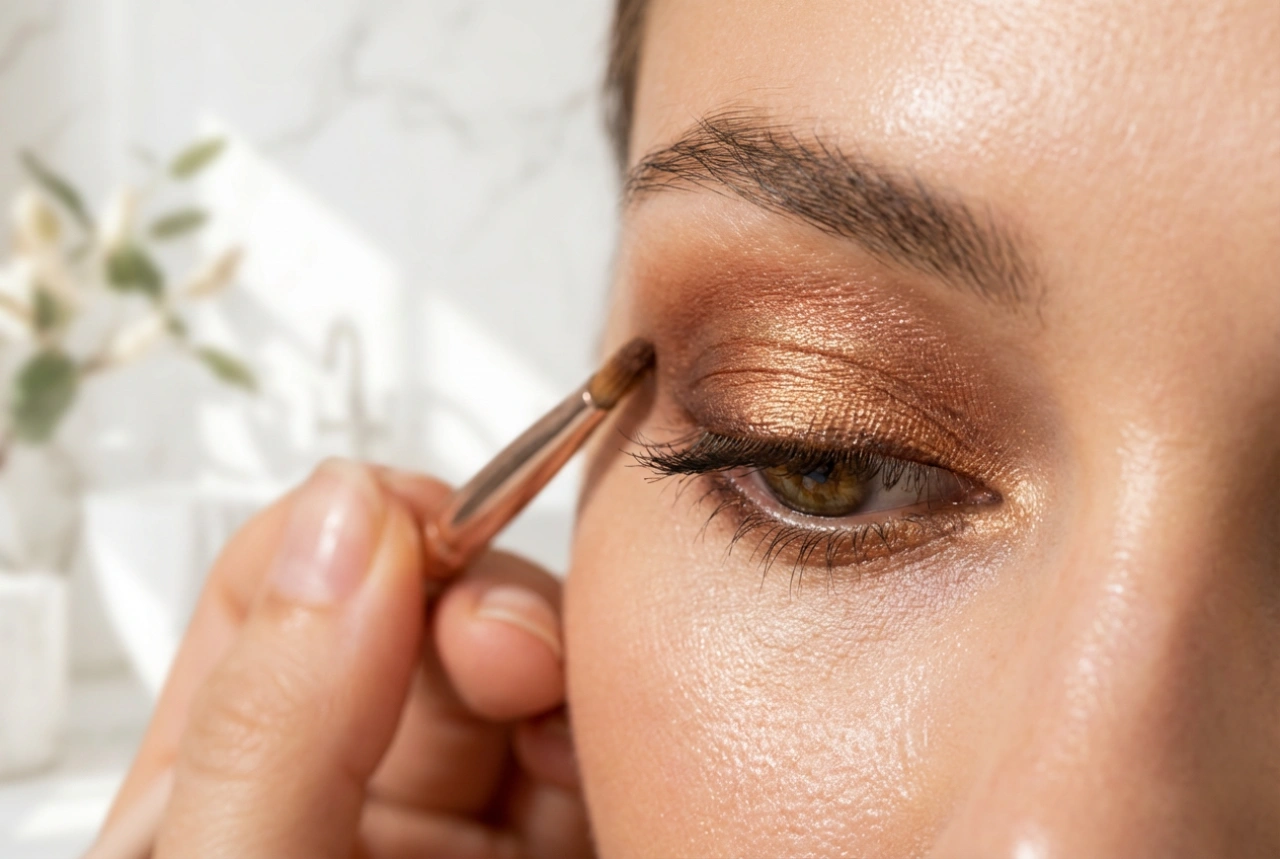
Flat Shader Brush
This brush typically has dense, firm bristles and a flat, slightly rounded shape. It is designed to pick up a good amount of product and pack it onto the eyelid for maximum colour payoff. Whether you're using powder, cream, or glitter eyeshadows, a patting motion with a flat shader brush will deposit the colour intensely and evenly across the lid.
Pencil or Smudger Brush
For detail work, a pencil brush is invaluable. It features a small, pointed, and dense tip that allows for precise application. Use it to apply eyeshadow along the upper and lower lash lines for a soft, smoky liner effect, to smudge out pencil eyeliner, or to place a pop of highlight in the inner corner of the eye or on the brow bone.
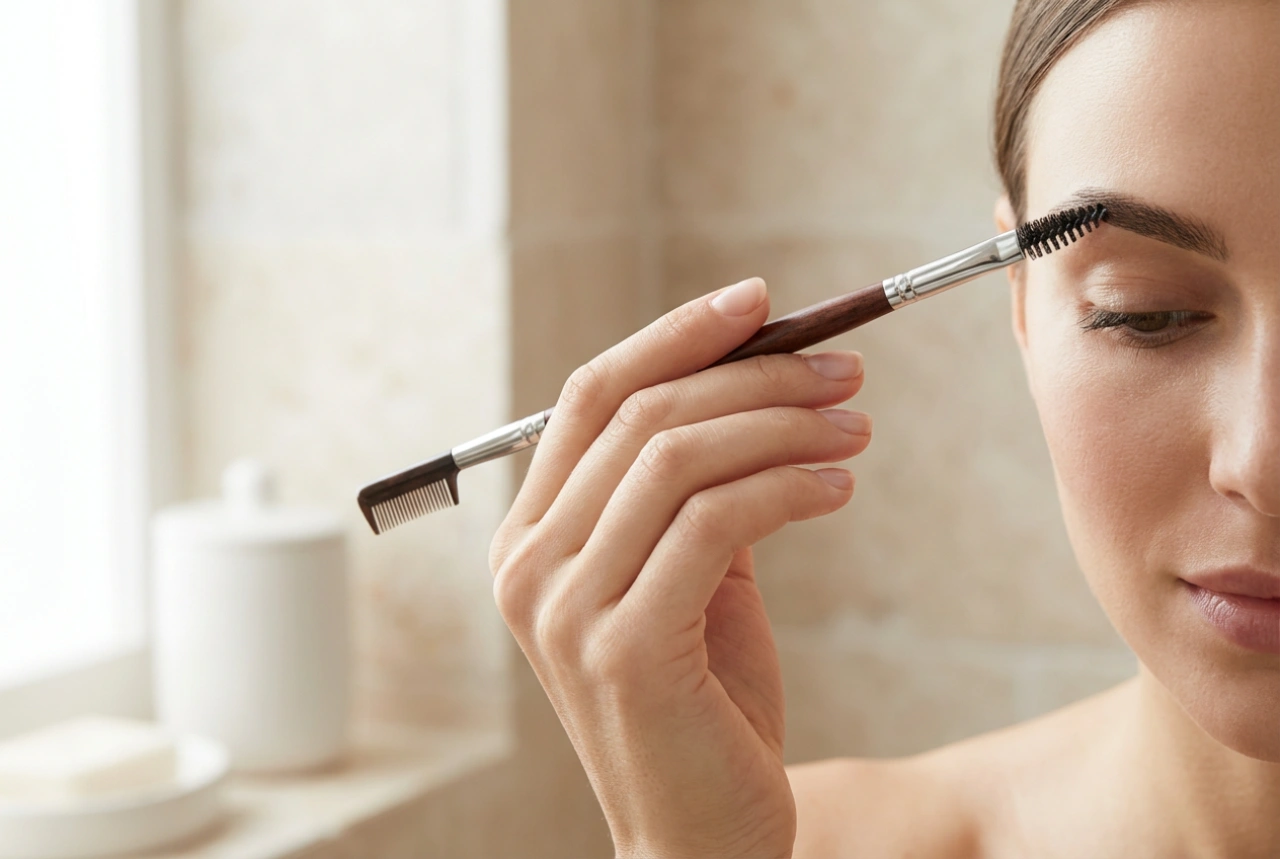
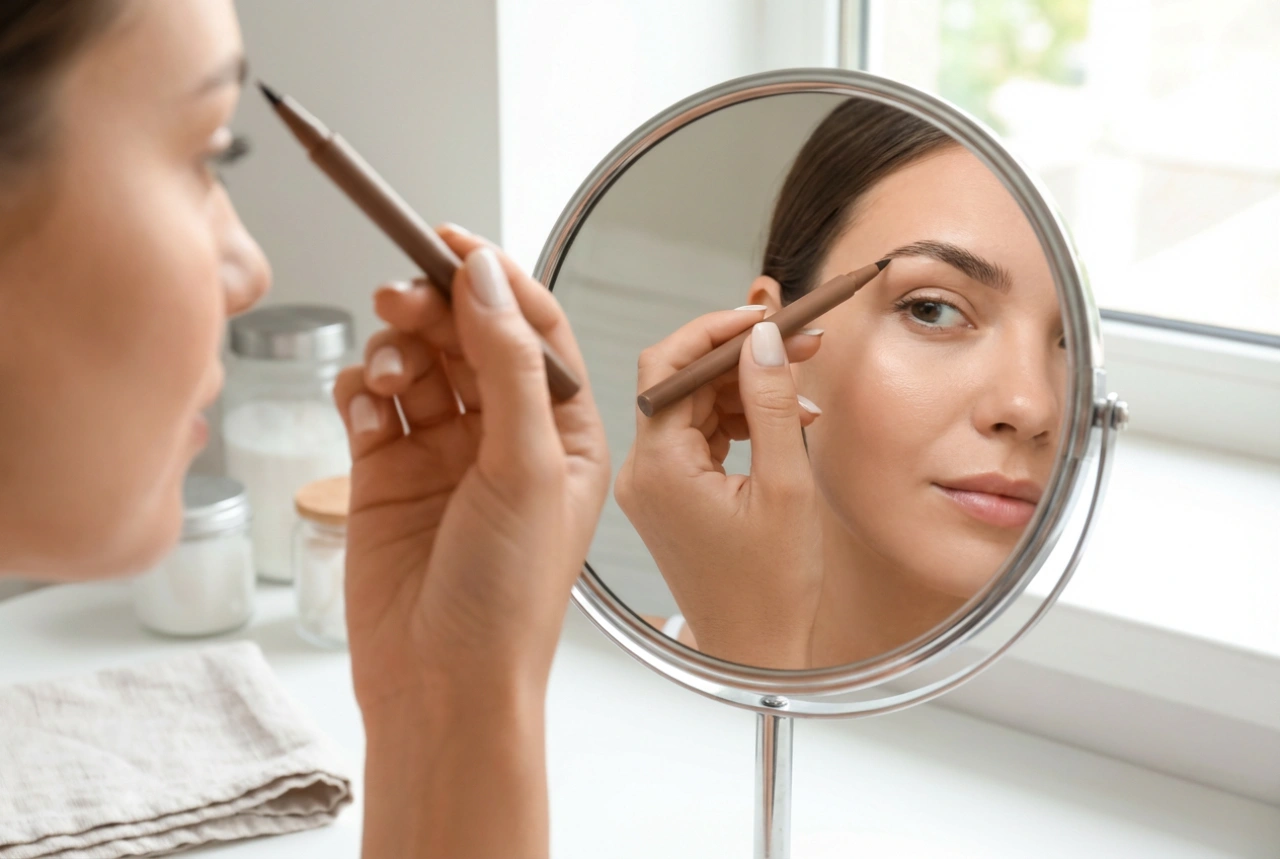
Small Angled Brush
A thin brush with stiff bristles cut at an angle is a multi-purpose powerhouse. It's perfect for creating a sharp, winged eyeliner look with gel or powder products. It can also be used to fill in and define eyebrows with powder or pomade, giving you clean, hair-like strokes.
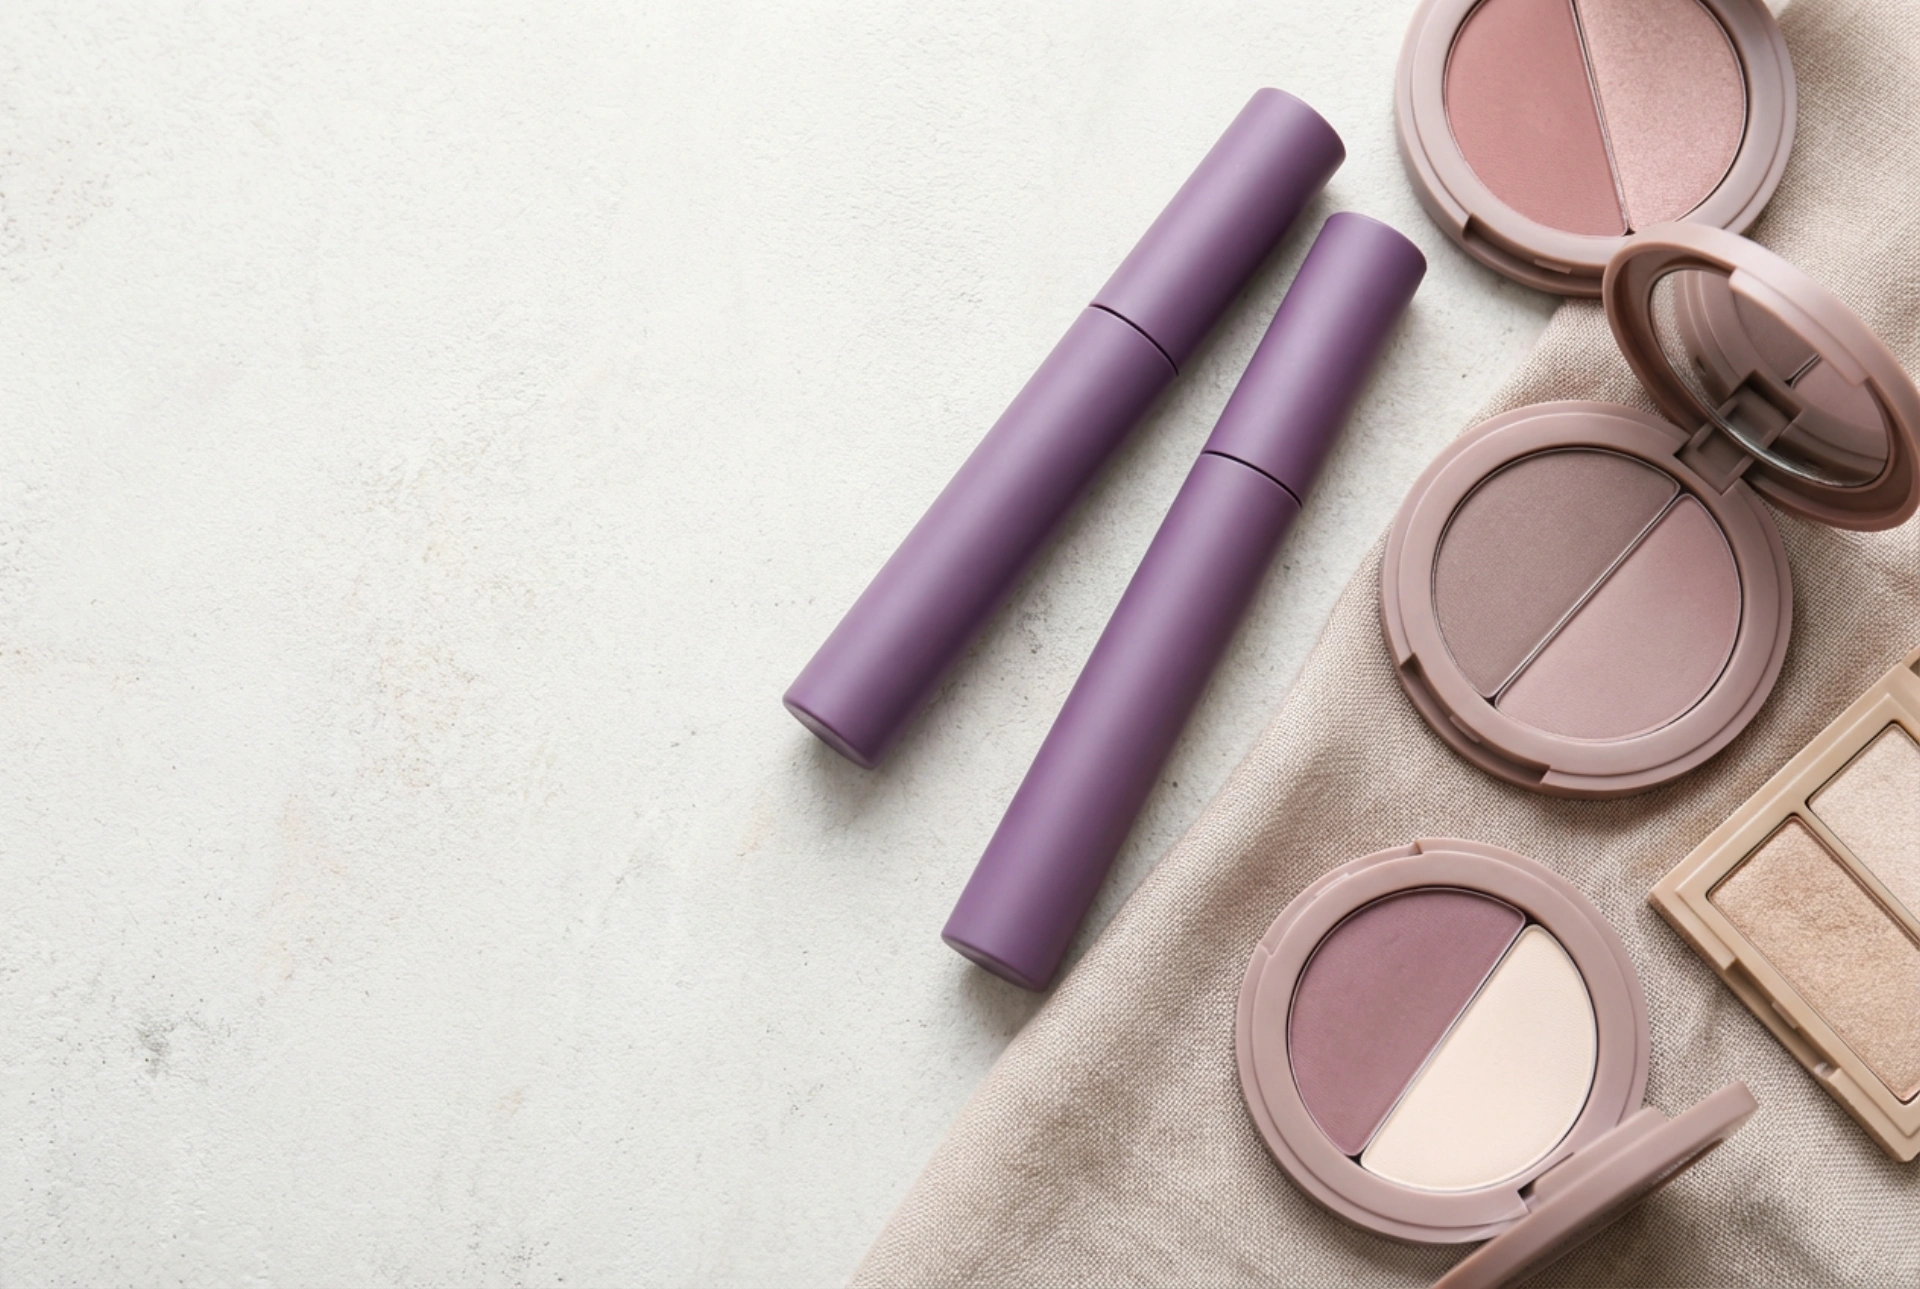
Choosing Your Tools: Natural vs. Synthetic Bristles
Understanding the difference between bristle types can help you select the best brush for your needs. Traditionally, brushes were made with natural animal hair, but modern synthetic options are exceptionally high-quality and often preferred.
- Natural Bristles: Usually made from animal hair, these bristles have a cuticle layer that helps to pick up and distribute powder products very effectively. They are known for their softness and superior blending capabilities, making them ideal for blending brushes.
- Synthetic Bristles: Made from materials like nylon or taklon, synthetic bristles do not have a cuticle and are therefore less absorbent. This makes them perfect for applying liquid and cream products, as they won't soak up excess formula. High-quality synthetic brushes are now incredibly soft and perform just as well as natural bristles with powders, plus they are easier to clean and a cruelty-free choice.
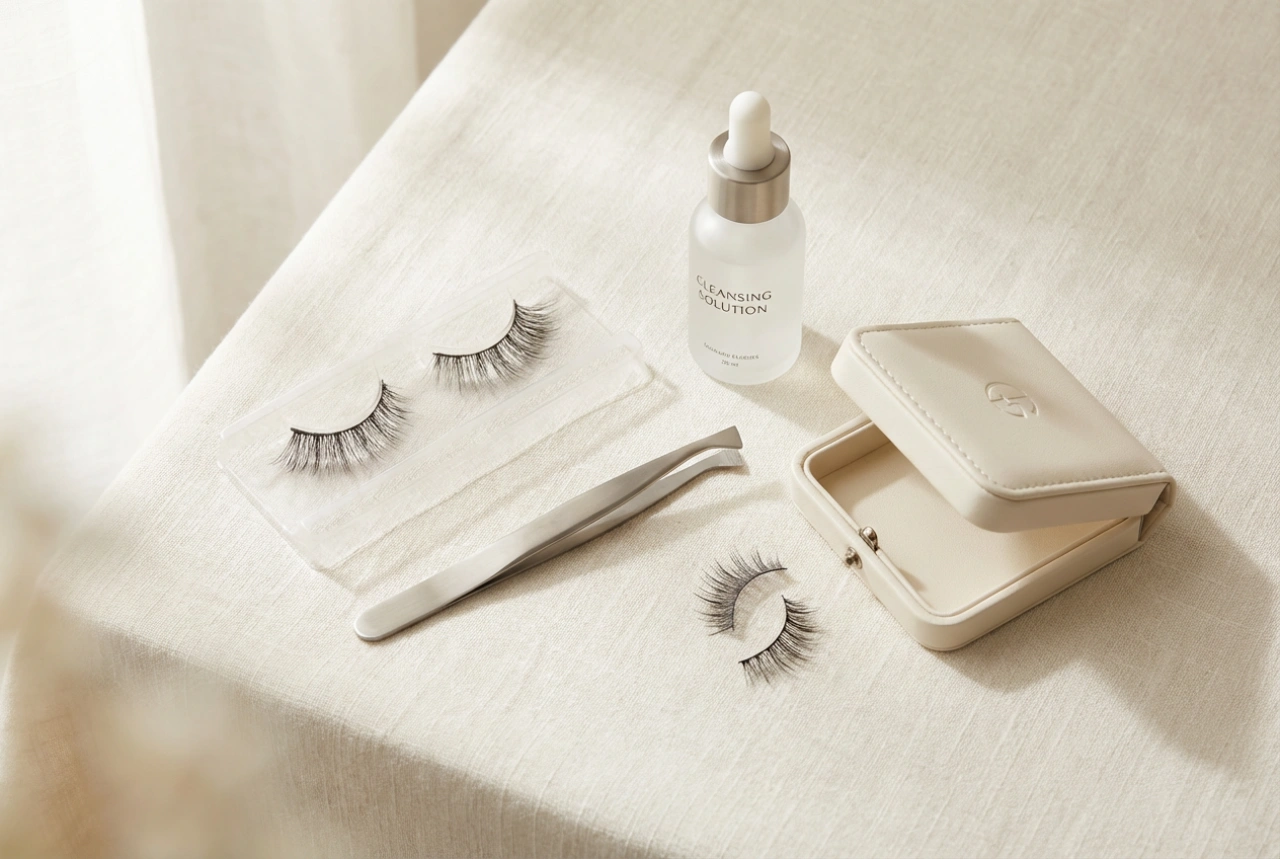
A Guide to Brush Care and Hygiene
Cleaning your brushes regularly is non-negotiable. It not only prevents the buildup of old makeup, oils, and bacteria, but it also ensures your brushes perform at their best and last longer. A clean brush provides better colour application and blending.
Step-by-Step Cleaning Process
Follow this simple routine for a deep clean, ideally once a week.
- Wet the Bristles: Run the bristles of your brush under lukewarm water. Avoid getting water on the ferrule (the metal part connecting the bristles to the handle), as this can loosen the glue over time.
- Cleanse: Place a drop of gentle soap or a dedicated makeup brush cleanser into the palm of your hand or onto a silicone cleaning mat.
- Lather: Gently swirl the brush tip in the cleanser to create a lather. Work the soap through the bristles to break down all the makeup residue.
- Rinse: Rinse the bristles thoroughly under running water until the water runs clear.
- Squeeze and Reshape: Gently squeeze out any excess water with your fingers and then again with a clean towel. Carefully reshape the brush head back to its original form.
- Dry: Lay the brush flat on a clean, dry towel or surface with the bristles hanging over the edge to allow air to circulate. Alternatively, use a brush holder that allows them to hang upside down. Never dry your brushes upright, as water can seep into the ferrule.