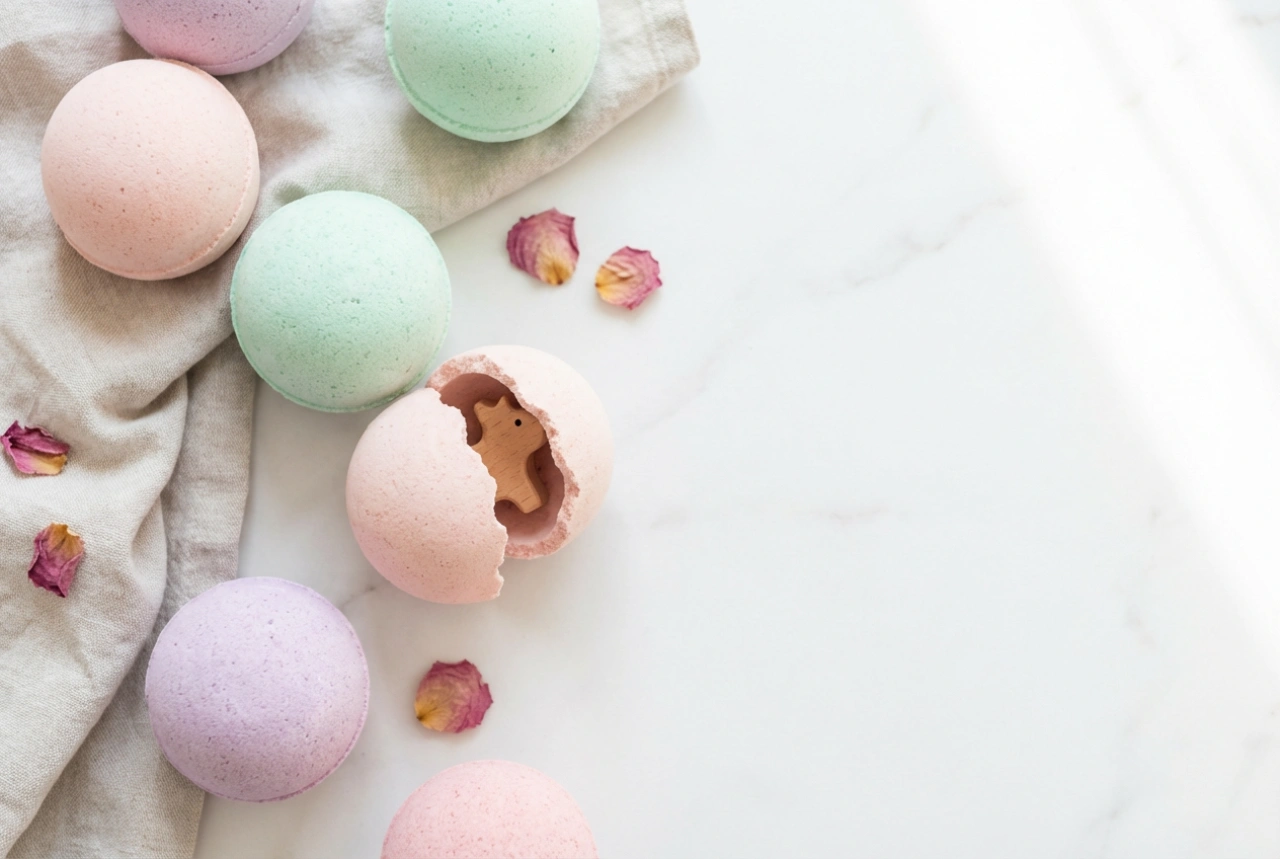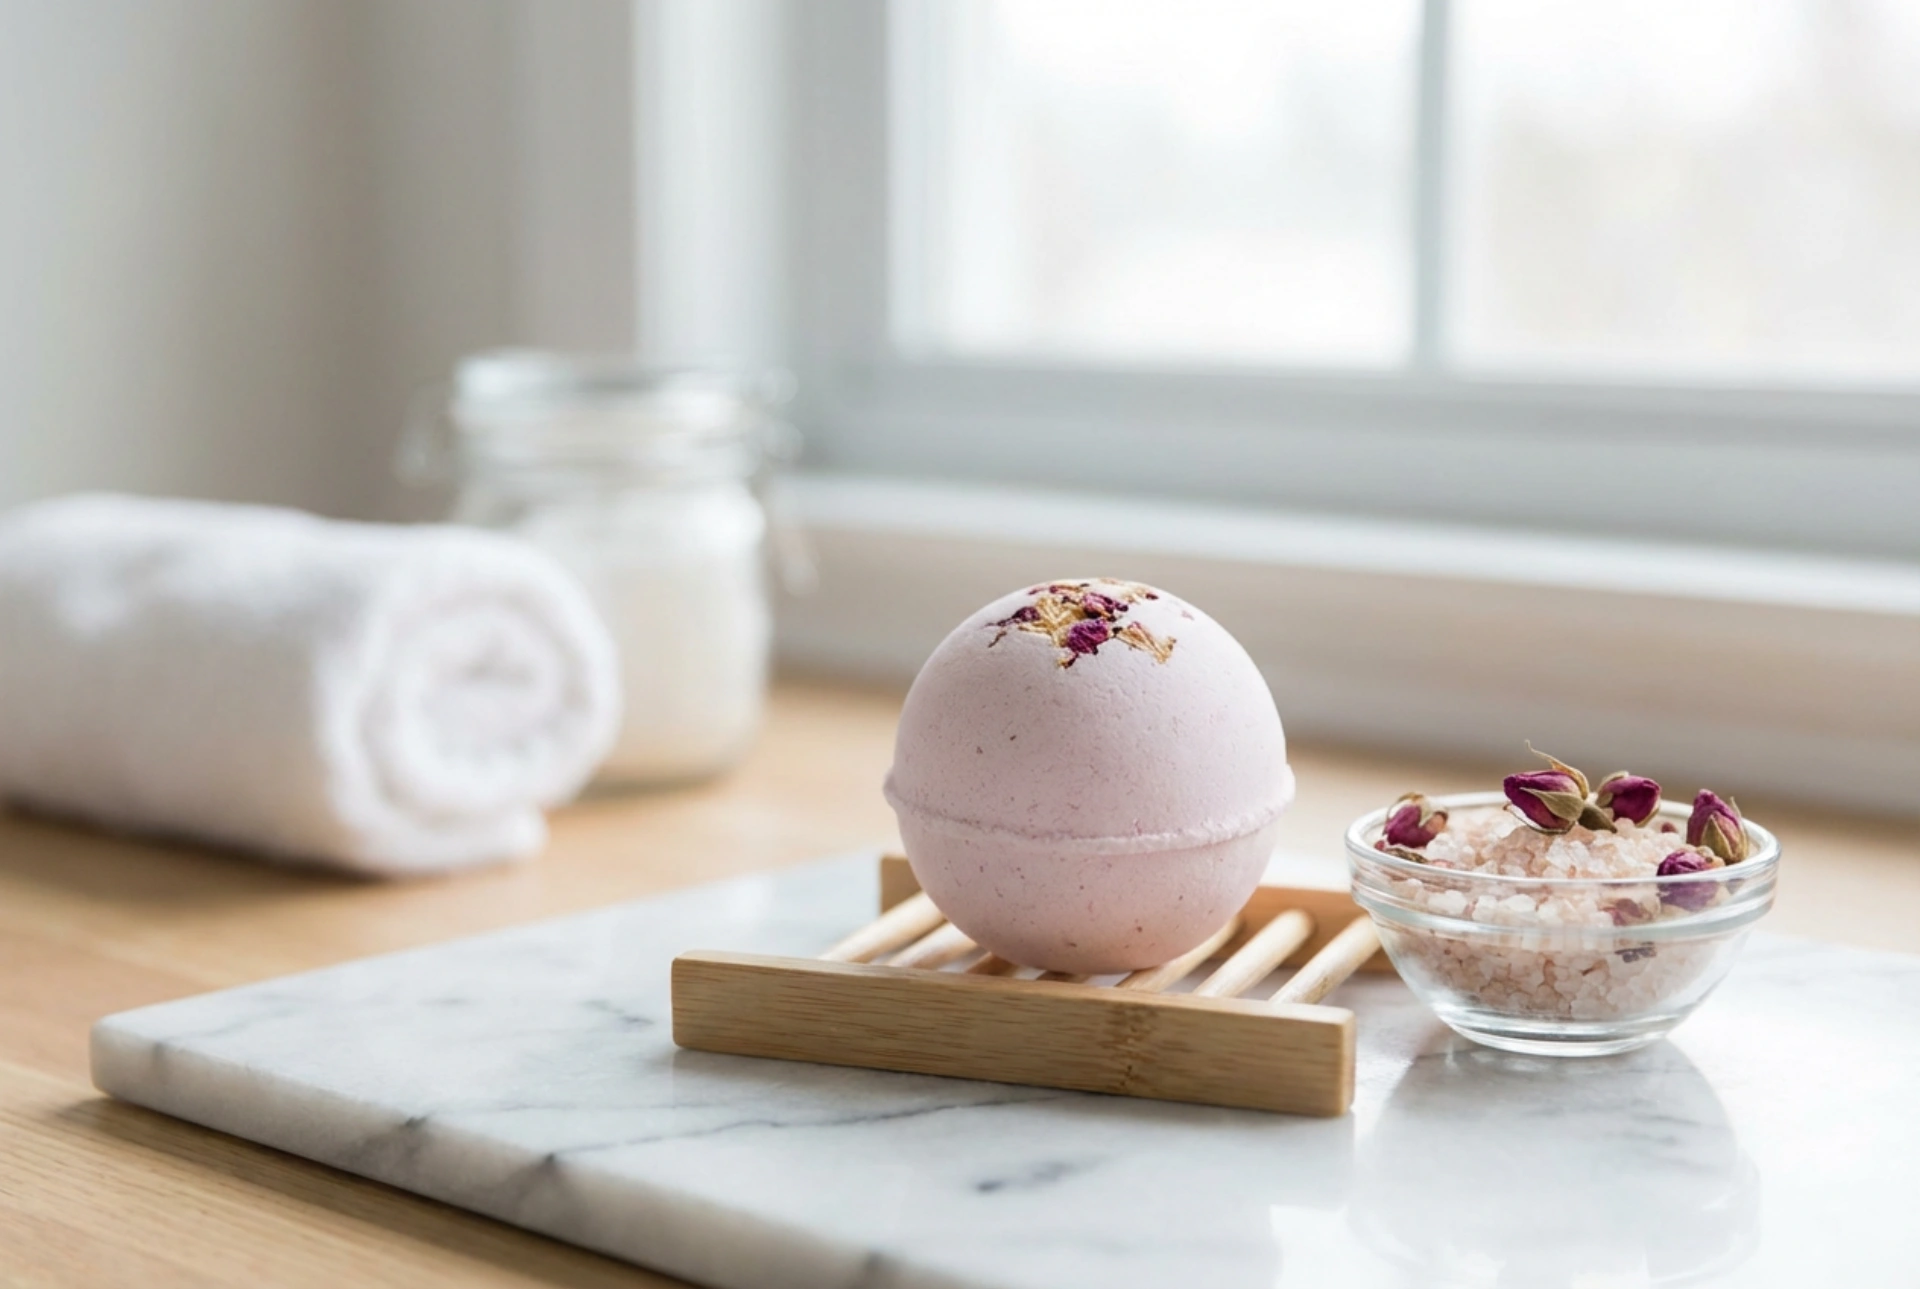


Creating homemade bath bombs is a delightful way to introduce a touch of bespoke luxury to your personal care routine. There is a quiet satisfaction in crafting a pristine, delicately scented sphere that will eventually dissolve into a soothing, effervescent bath. While the recipe for these fizzy delights seems simple, achieving the perfect structure requires a blend of precision and patience. When you look at a freshly crafted bath bomb resting on a drying rack under soft, natural light, you appreciate the balance of dry and liquid ingredients. Understanding the subtle nuances of moulding and curing is what elevates a basic home project into an art form, ensuring your bath treats remain intact and fizz beautifully when introduced to water.
The Chemistry of the Fizz: Balancing the Ingredients
Before diving into the physical shaping of the spheres, it is essential to understand the structural foundation of a bath bomb. The core reaction relies on two primary dry ingredients: bicarbonate of soda (sodium bicarbonate) and citric acid. Typically, a two-to-one ratio of bicarbonate of soda to citric acid creates the ideal chemical balance. This combination remains completely inert while dry, but erupts into a satisfying fizz once it comes into contact with moisture.
The challenge arises when adding liquids. To bind these dry powders together, crafters often introduce light plant oils, water, or witch hazel. The liquid must be added with extreme caution. Introducing too much moisture too quickly will trigger the effervescent reaction prematurely, ruining the texture of the mixture. To prevent this, liquid ingredients should be added drop by drop, or misted gently using a spray bottle while stirring vigorously. The goal is to achieve a consistency resembling damp sand—it should hold its shape when squeezed firmly in your hand but crumble easily when pressed with a finger.
Mastering the Moulding Technique
Once your mixture has reached the consistency of damp sand, the moulding process begins. While plastic and stainless steel moulds are widely available, achieving a smooth, seamless sphere requires a specific technique rather than just the right tools. Here is how to ensure your bath bombs release cleanly and hold their shape:
- Overfill each half: Do not pack the mixture tightly into each individual half of the mould. Instead, scoop the mixture loosely into both halves until they are overflowing.
- Press together firmly: Bring the two overflowing halves together and press them firmly with your hands. Avoid twisting the halves, as this can shear the delicate connection in the middle and cause the bomb to split.
- Clear the excess: Gently brush away any excess mixture that squeezes out of the sides of the mould.
- Release with care: Tap the outside of the mould gently with a wooden spoon or your knuckles to release the suction, then slowly lift the top half off to reveal the freshly shaped bath bomb.
Choosing the Right Binder for Smooth Release
If you find that your mixture is sticking to the mould or crumbling immediately upon release, the issue often lies with the binding agent. Incorporating a small amount of light carrier oil, such as sweet almond oil or apricot kernel oil, can help the mixture release more smoothly. It also provides a nourishing element to the bath water without leaving a heavy, greasy residue.
The Crucial Drying and Curing Phase
Moulding is only half the battle; the drying process is where the bath bombs gain their structural integrity. When a bath bomb is freshly moulded, it is incredibly fragile and susceptible to warping. To ensure they dry evenly and maintain their perfect spherical shape, they should be placed on a soft, breathable surface. A delicate drying rack lined with a soft cloth or a layer of bubble wrap prevents the damp spheres from flattening on the bottom.
Humidity is the greatest adversary during the curing phase. If the air is too damp, the bath bombs will absorb environmental moisture, causing them to expand, crack, or lose their fizzing potential. Ideally, cure your bath bombs in a cool, dry room with plenty of air circulation. Dehumidifiers or small fans can be extremely helpful in maintaining a dry environment, especially during humid summer months or in rainy weather.
How Long Should Bath Bombs Dry?
Patience is key during curing. While a bath bomb may feel dry to the touch after a few hours, it typically takes between 24 and 48 hours to fully cure and harden. Allowing them to dry completely ensures they will withstand handling and packaging without crumbling.
Troubleshooting Common Crafting Issues
Even experienced crafters encounter occasional setbacks. Understanding why a bath bomb behaves in a certain way allows you to adjust your technique for future batches. Here are some of the most common issues and how to fix them:
- Crumbling upon release: The mixture was likely too dry. Add a few more spritzes of witch hazel or a tiny drop of carrier oil to the mixture and try again.
- Expanding in the mould: The mixture was too wet, triggering the effervescent reaction. You can try saving the batch by quickly pressing it into the moulds, but next time, reduce the water content.
- Cracking after drying: This often happens when the mixture is packed too tightly or if the environment is too humid, causing uneven drying. Ensure your drying area remains dry and consistently warm.
By mastering these subtle techniques of moisture control, gentle moulding, and patient drying, you can easily create high-quality, beautiful bath bombs that bring a sense of luxurious relaxation to your bath time rituals.