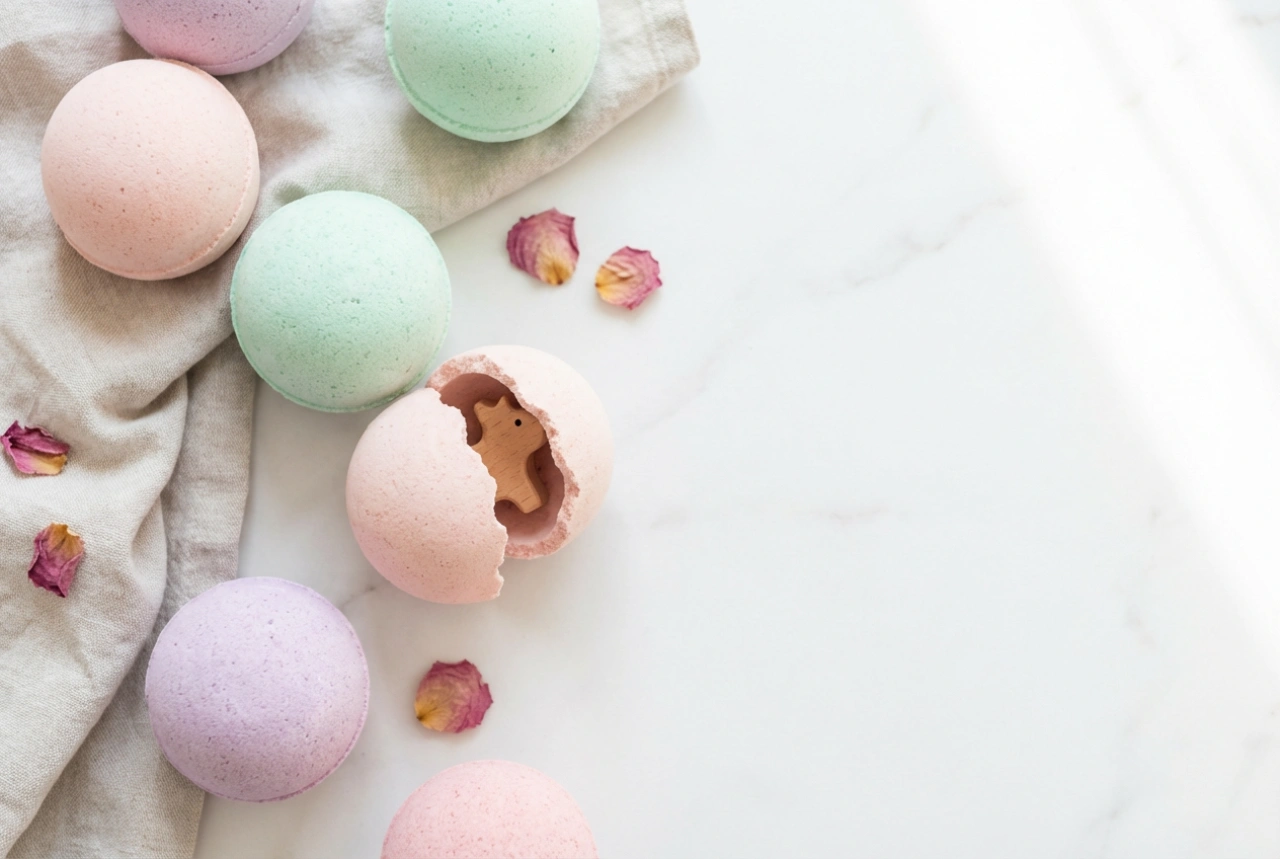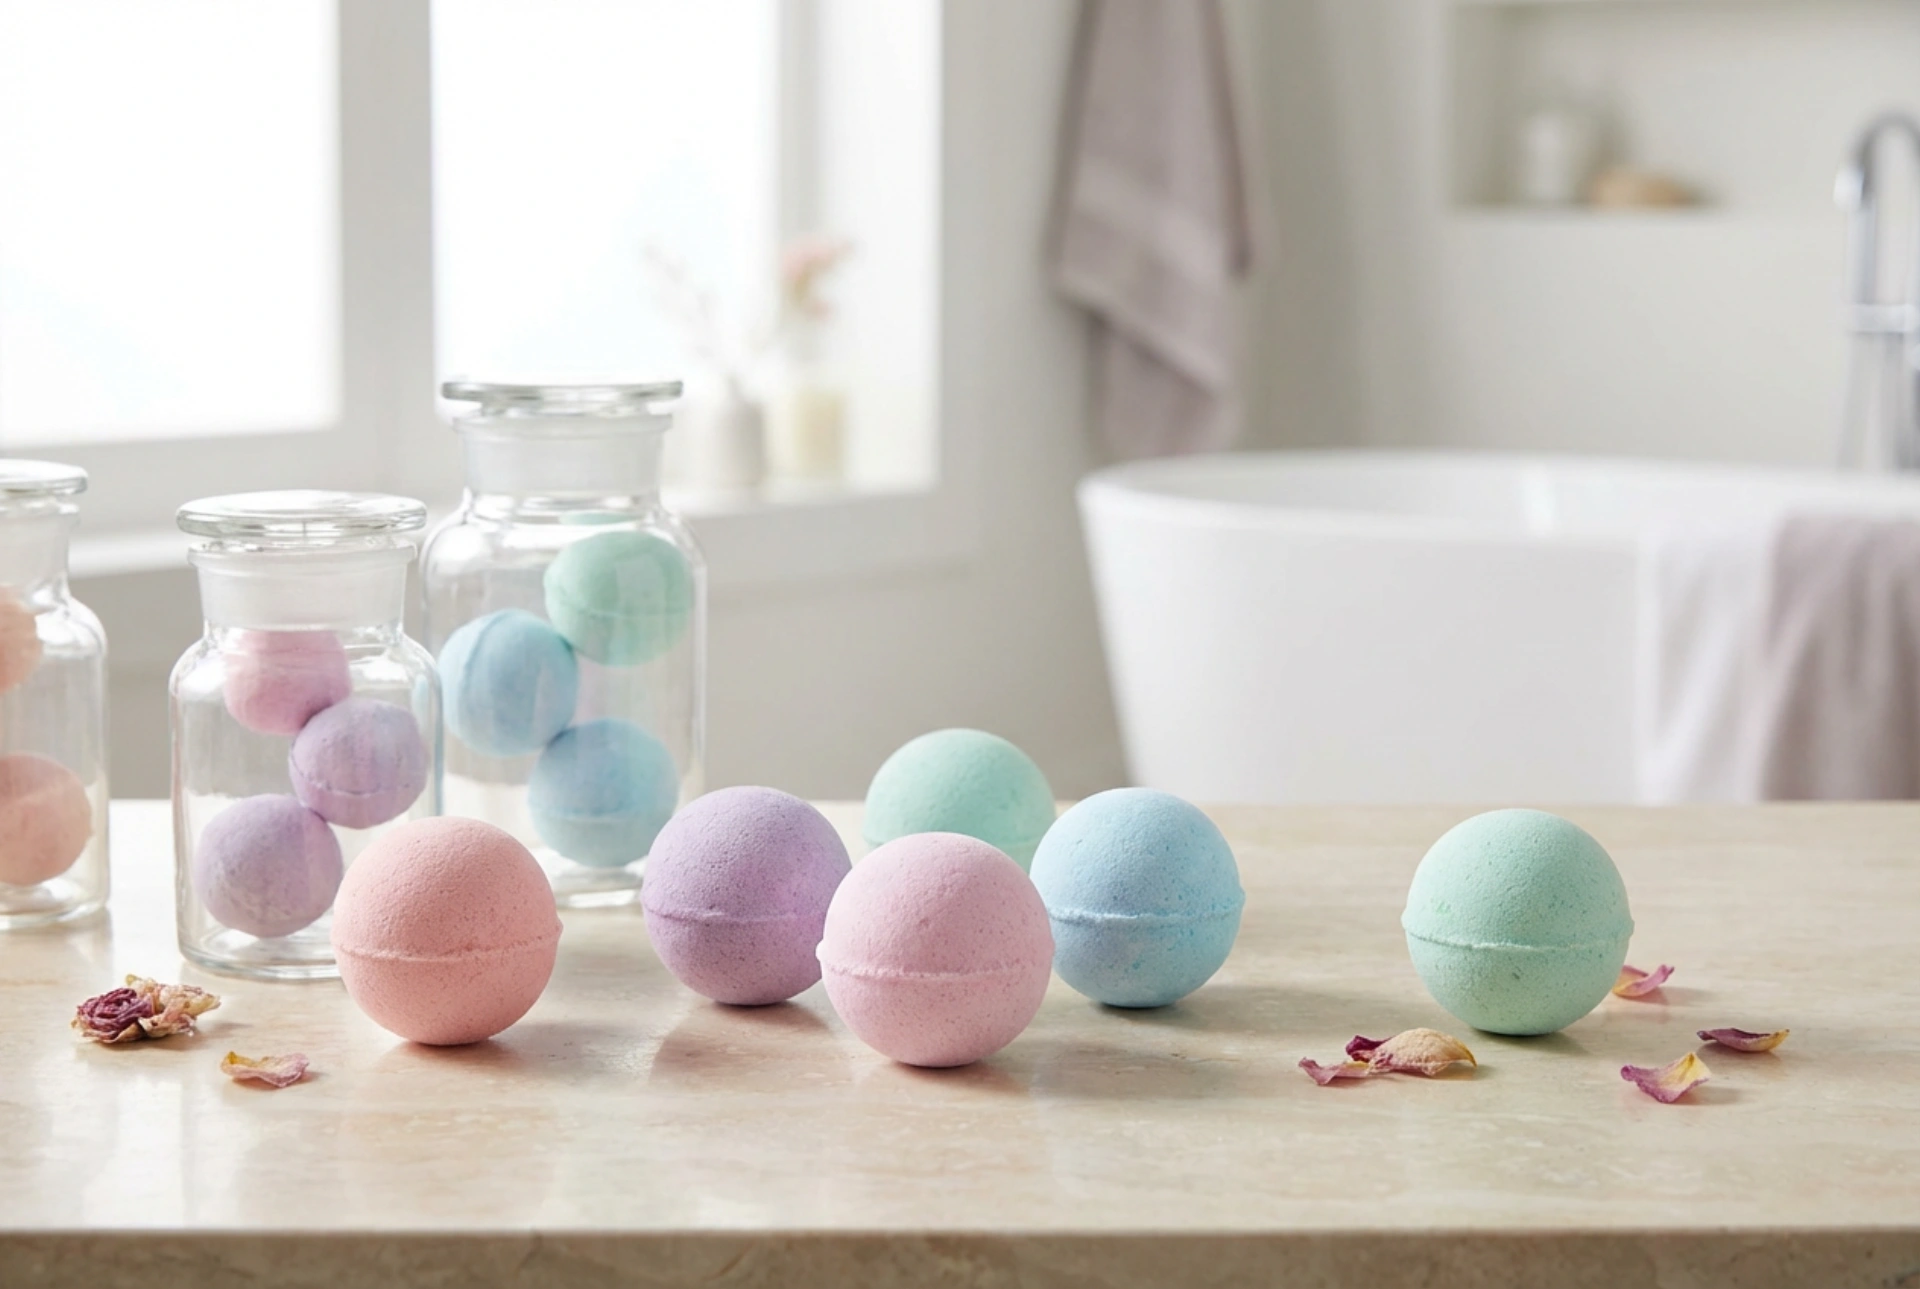


Creating your own bath products is a wonderful way to bring a luxurious, modern spa experience directly into your home. The sight of elegant, pastel-hued bath bombs arranged neatly on a light surface or placed inside simple glass jars instantly elevates the aesthetic of any bathroom. However, achieving that perfect, professional finish requires a bit of technique, particularly when it comes to moulding, drying, and storing your creations. Understanding these key steps ensures your bath bombs remain structurally sound, visually beautiful, and highly effervescent when they finally hit the water.
Perfecting the Moulding Process
The secret to a beautifully formed bath bomb lies in the consistency of the mixture and the technique used during the moulding stage. Before you begin filling your moulds, the mixture must resemble damp sand. When squeezed firmly in your hand, it should hold its shape without crumbling, yet break apart easily when pressed. If the mixture is too dry, your bath bombs will crumble upon release; if it is too wet, they will begin to fizz prematurely, losing their shape and texture.
When using traditional two-part spherical moulds, it is important to heap the mixture loosely into both halves until they are overflowing. Do not pack the mixture too tightly into each individual half before joining them, as this prevents the two sides from bonding together. Instead, press the two overflowing halves firmly together for a few seconds. Avoid twisting the mould, as this can shear the bond and cause the halves to separate. Gently wipe away any excess mixture from the outer seam. To release the bath bomb, lightly tap the outside of the mould with a spoon to loosen it, then gently lift one half away, followed carefully by the other.
The Drying Stage: Patience and Environment
Drying is perhaps the most crucial phase of making bath bombs at home. Because they are sensitive to moisture in the air, the environment in which they dry will heavily impact the final result. Ideally, bath bombs should dry in a cool, dark, and dry room with very low humidity. If you attempt to dry them in a damp room, such as a bathroom that has recently been used for a hot shower, they may absorb moisture from the air, causing them to expand, crack, or flatten on the bottom.
Place your freshly moulded bath bombs on a soft surface to prevent them from developing a flat spot on one side. A folded towel, a tray lined with bubble wrap, or even soft silicone egg cups work exceptionally well for keeping their spherical shape intact. Allow them to dry undisturbed for at least 24 to 48 hours. The longer they are allowed to dry, the harder and more durable they will become, ensuring they do not crumble when handled.
How to Properly Store DIY Bath Bombs
Once your bath bombs are completely dry and firm to the touch, they must be protected from environmental moisture to preserve their freshness. Because the ingredients are designed to react instantly with water, even everyday humidity can slowly degrade their quality and reduce their ultimate fizzing power.
Using airtight glass jars is one of the most effective and aesthetically pleasing storage methods. Simple, clean glass jars not only protect the bath bombs from moisture but also turn your handmade creations into a beautiful decorative element for your bathroom shelves. You can also wrap each bath bomb individually in compostable film or delicate tissue paper before storing them in containers. Keep your storage jars in a dry cupboard away from direct sunlight, as exposure to bright light can fade any gentle, natural colours you have used.
Useful Tips for Longevity and Quality
To get the absolute best out of your homemade bath bombs, keep these practical tips in mind during storage and use:
- Always use clean, dry hands when retrieving a bath bomb from its container to avoid introducing moisture to the remaining batch.
- Avoid storing your containers in areas of the bathroom that experience heavy steam build-up, such as directly next to the shower or bathtub.
- Use your homemade bath bombs within a few months of making them, as natural ingredients and essential oils can lose their aromatic properties and efficacy over time.
- Consider adding a small food-safe silica gel packet to the bottom of your storage jar to absorb any residual moisture.