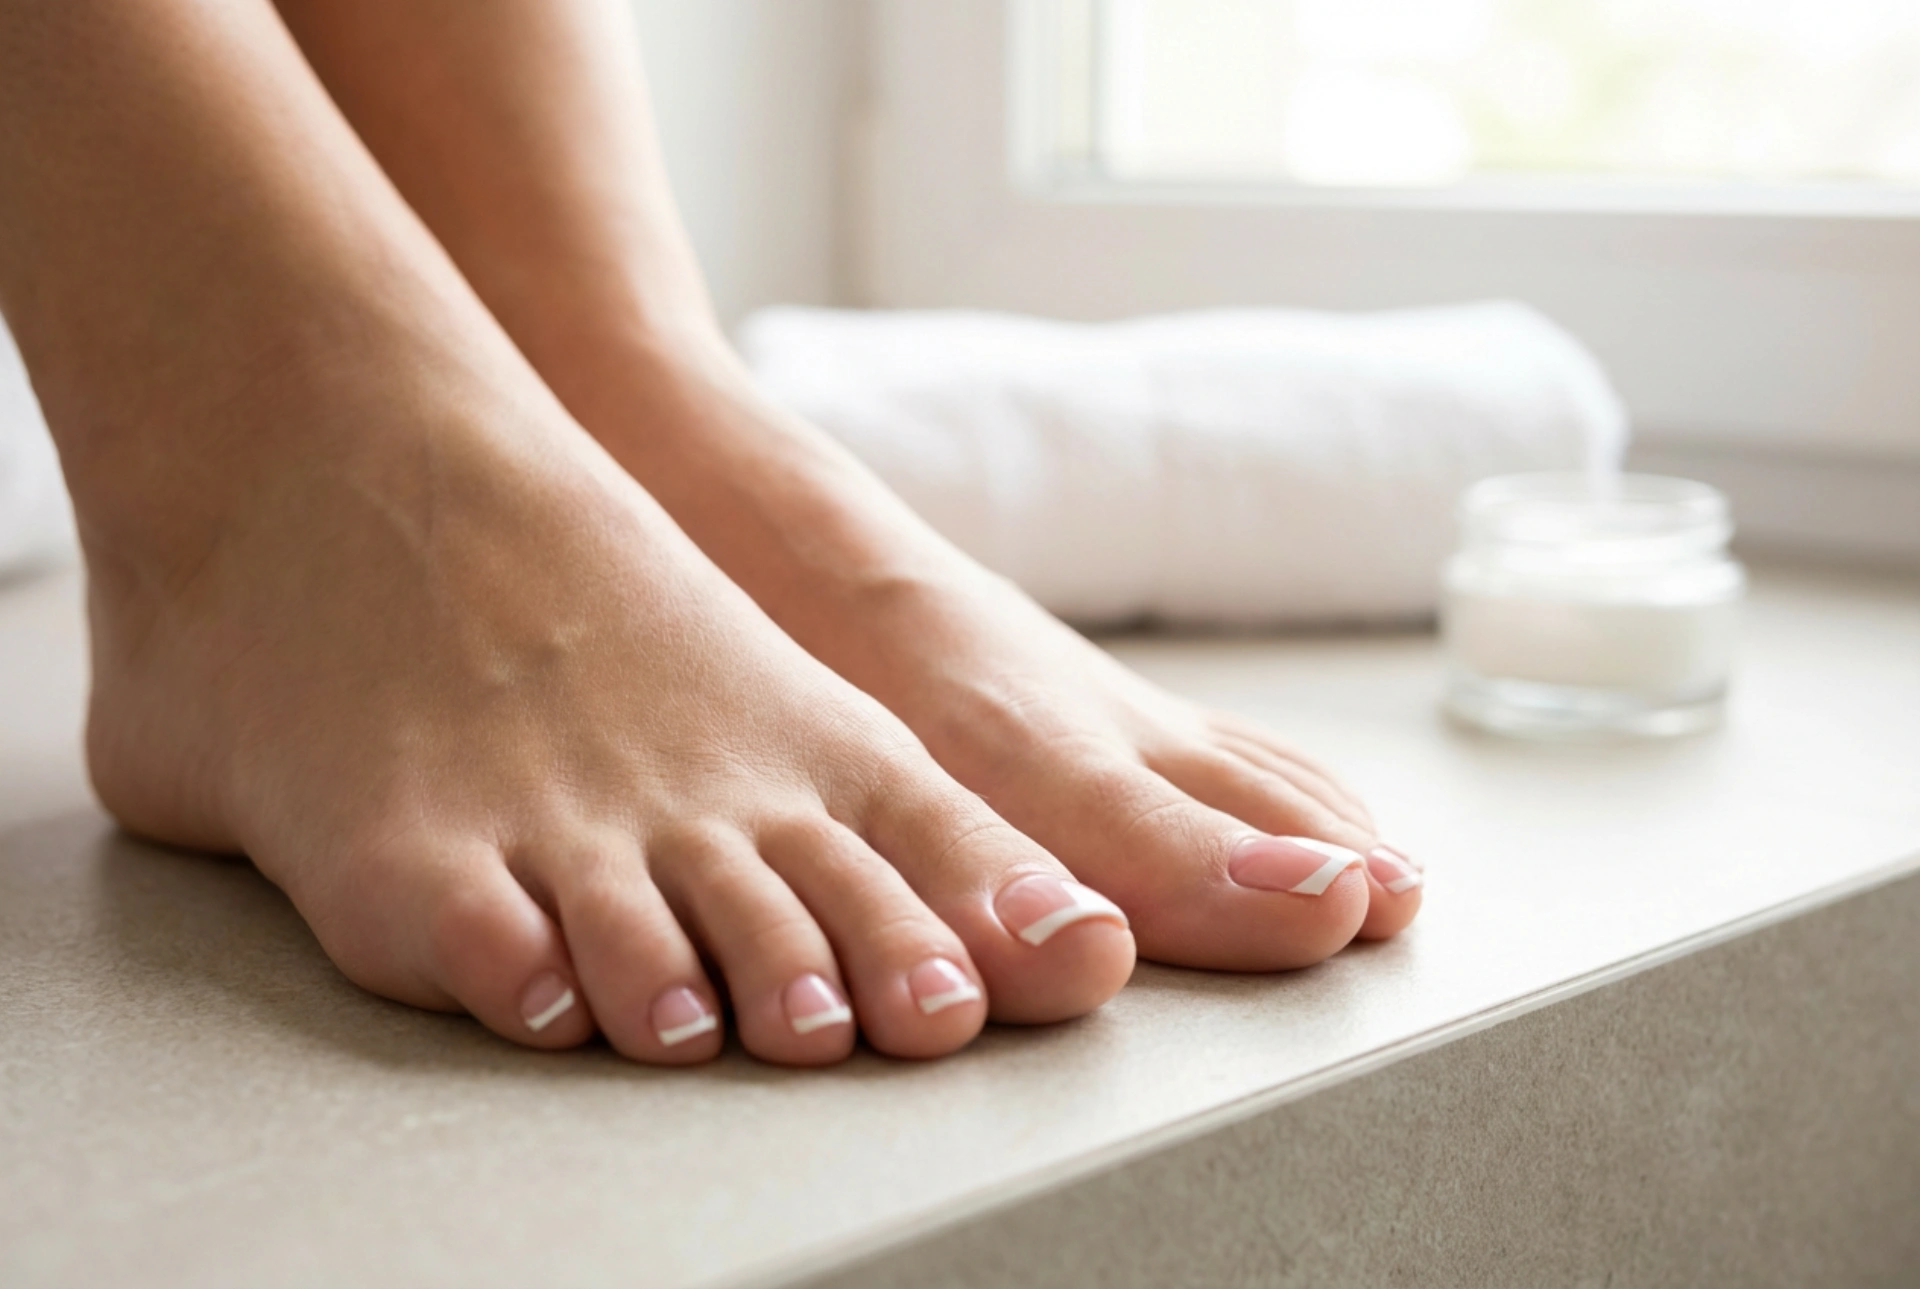


The French pedicure is the epitome of timeless elegance. Its clean, polished, and understated look makes it a universally flattering choice for any occasion, from a beach holiday to a formal event. Achieving that flawless, salon-quality finish at home requires more than just a steady hand; it demands an understanding of proportion, technique, and the right preparation. This guide will walk you through the essential steps to master the classic French pedicure, ensuring your feet look impeccably groomed and sophisticated.
The Foundation: Preparing Your Toenails for Perfection
Before you even think about opening a bottle of polish, the groundwork must be laid. A beautiful pedicure starts with well-prepped nails. Rushing this stage is the most common reason for a less-than-perfect outcome.
Nail Shaping and Surface Preparation
Start by trimming your toenails straight across to your desired length. Avoid cutting them too short or rounding the corners aggressively, which can lead to discomfort. Use a gentle nail file to smooth the edges. A 'squoval' shape—mostly square with slightly rounded corners—is a classic and practical choice for toes. Next, focus on cuticle care. Gently push back your cuticles using an orangewood stick or a rubber-tipped pusher after a bath or foot soak when the skin is soft. Never cut your cuticles at home, as this can leave the area vulnerable. Finally, lightly buff the surface of each nail. This removes any natural oils and creates a smooth, even texture for the polish to adhere to, which significantly improves the longevity of your pedicure.
Choosing Your Classic Colour Palette
The traditional French pedicure palette is defined by its subtlety. You will need three key products: a crisp, opaque white for the tip; a sheer, translucent colour for the nail bed; and a clear top coat. For the nail bed, choose a shade that complements your skin tone—this could be a milky pink, a soft beige, or a delicate peach. The goal is not to mask your natural nail colour completely but to enhance it, even out its tone, and create a healthy-looking glow.
Mastering the Smile Line: Precision and Proportion
The 'smile line'—the curved white tip—is the defining feature of a French pedicure. On toenails, the key to an elegant look is restraint. A thick, heavy white band can look dated and unnatural. The tip should be a delicate sliver of white that follows the natural free edge of your nail.
There are several techniques to create a neat smile line:
- Freehand Technique: For those with a steady hand, using a thin nail art brush dipped in white polish offers the most control and a natural-looking curve. Rest your hand on a stable surface and paint the tip with slow, deliberate strokes.
- The Bottle Brush Swipe: You can also use the brush from the white polish bottle. Wipe off most of the polish on the inside of the bottle neck, then carefully swipe the brush tip from one side of the nail to the other in a single, fluid motion.
- Using Guides: Adhesive nail guides are a great option for beginners. Apply the sticker just below the free edge of your nail, ensuring it's sealed tightly to prevent polish from bleeding underneath. Paint the tip, and then carefully remove the guide while the polish is still slightly wet to ensure a crisp line.
Regardless of the method, allow the white tips to dry completely before moving to the next step. Use a small brush dipped in nail polish remover to clean up any smudges around the nail for a professional finish.
Achieving a Natural Nail Bed and Glossy Finish
Once your white tips are perfectly dry, it's time to unify the look. The sheer colour applied over the entire nail is what blends the white tip seamlessly and provides that signature polished appearance. This step helps to soften the contrast between the white and the natural nail, masking any minor imperfections on the nail bed and delivering a cohesive, elegant result.
Follow this order for a flawless application:
- Base Coat: Always begin with a clear base coat. This protects your nails from staining and helps the coloured polish adhere better.
- Sheer Colour Application: Apply one thin coat of your chosen sheer pink or nude polish over the entire nail, including the white tip. Let it dry for a few minutes. If you desire a slightly more opaque look, you can apply a second thin coat. Two thin coats are always better than one thick one.
- High-Gloss Top Coat: The final step is a generous layer of a high-quality, quick-drying top coat. This is non-negotiable. It seals in your design, protects it from chipping, smooths out any minor ridges, and provides a brilliant, long-lasting shine that makes the pedicure look professionally done. Be sure to 'cap' the free edge of the nail by running the brush along the very tip to further prevent chipping.
Common Pedicure Pitfalls and How to Avoid Them
Even with the best intentions, a few common errors can detract from the final look. Being aware of them is the first step to avoiding them.
- The Tip is Too Thick: The most frequent mistake. Always aim for a thin, delicate white line that mimics the natural free edge of your nail.
- Skipping Preparation: Neglecting to shape, buff, and care for cuticles will result in a messy, unprofessional appearance, no matter how well the polish is applied.
- Uneven Smile Line: Patience is key. Rushing the white tip application leads to wobbly lines. Take your time and clean up mistakes as you go.
- Not Allowing Enough Drying Time: Applying layers of polish too quickly causes smudging, bubbling, and a longer overall drying time. Allow each coat—base, white tip, sheer colour, and top coat—to dry sufficiently.
- Using an Opaque Base Colour: A French pedicure relies on translucency. Using an opaque nude or pink polish will completely cover the white tip, defeating the purpose of the design. Always opt for a sheer formula.


