


There's a unique satisfaction that comes from a freshly painted manicure—the glossy finish, the uniform colour, the clean lines. Yet, there's an equal frustration when that perfect finish chips or peels within a day or two. The secret to a durable, long-lasting manicure isn't found in the polish bottle alone; it lies in meticulous preparation and a precise application technique. Mastering these steps at home can transform your manicure from a fleeting pleasure into a week-long statement.
The Foundation: Why Nail Preparation is Crucial
Think of your nail plate as a canvas. You wouldn't apply paint to a dusty, oily, or uneven wall and expect a smooth, lasting finish. The same principle applies to your nails. The natural nail plate produces oils that can create a barrier between the nail and the polish, preventing proper adhesion. Any residue from lotions, soaps, or cuticle removers will have the same effect. Proper preparation aims to create a surface that is clean, dry, and has a very slight texture for the base coat to grip onto, ensuring the entire manicure is anchored securely.
Furthermore, well-shaped nails and cared-for cuticles are not just about aesthetics. Filing correctly prevents snags and splits that can lead to chipping from the tip. Pushing back cuticles creates a larger, cleaner surface area for polish application, preventing the polish from lifting at the base. Every step in the preparation process is a building block for a resilient and professional-looking manicure.
Step-by-Step Guide to Flawless Preparation
Patience during the prep stage will pay off with days of extra wear. Dedicate time to this process and follow each step carefully for the best results.
Step 1: Clean and Dry Thoroughly
Start by washing your hands with a gentle soap and water to remove surface dirt and oils. Use a soft nail brush to clean under the free edge of your nails. The most critical part of this step is drying. Pat your hands and nails completely dry with a lint-free towel. Water absorbed by the nail can cause it to expand slightly; as it dries and contracts later, it can cause the polish to crack and chip. Allow your nails to air-dry for a few minutes after towelling them off to ensure all moisture has evaporated.
Step 2: Shape and File
Use a fine-grit nail file (240-grit or higher is ideal for natural nails) to shape your nails. To prevent weakening the nail and causing microscopic splits, always file in one direction, from the side of the nail towards the centre. Avoid a back-and-forth sawing motion. Ensure all nails are a uniform length and shape, as this contributes to an even, polished look.
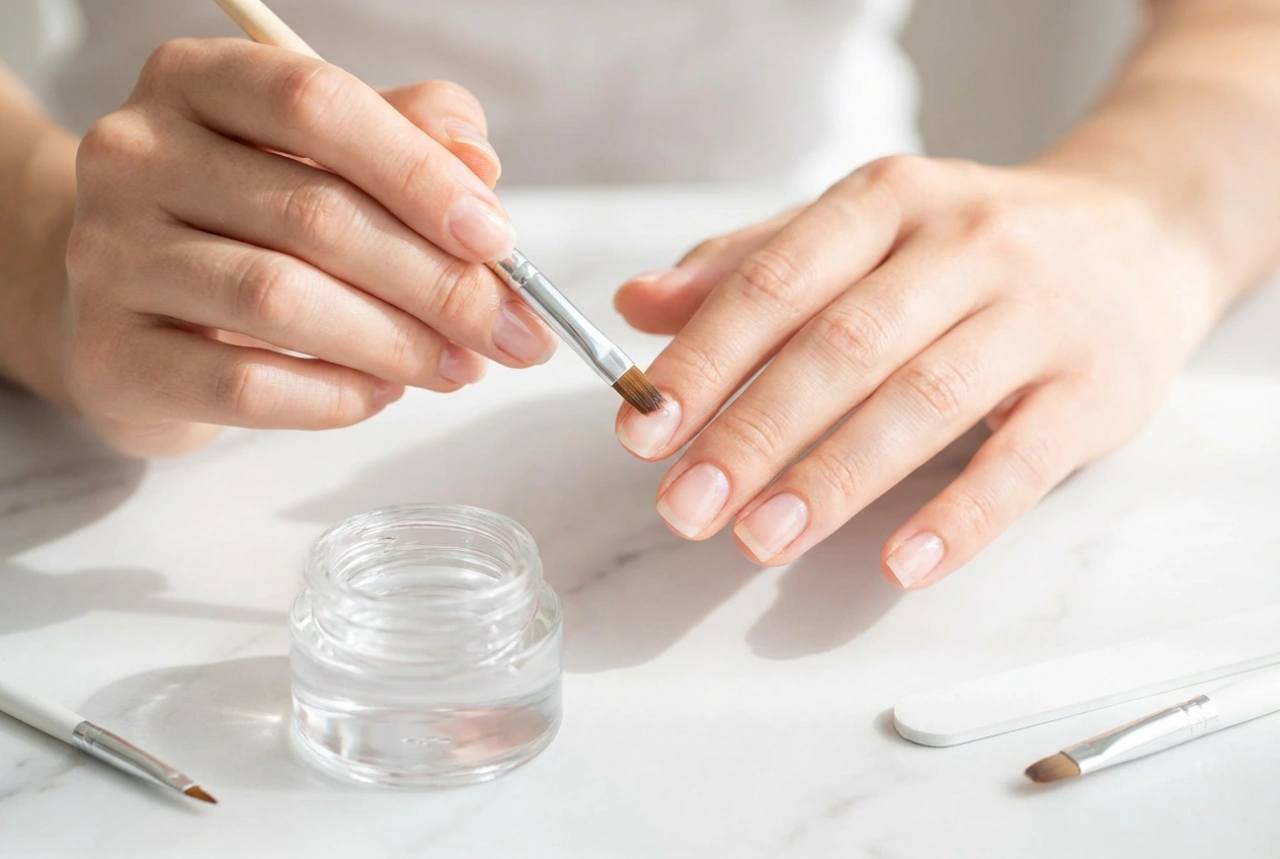
Step 3: Gentle Cuticle Care
Apply a cuticle remover solution to the base of your nails and let it sit for the time recommended on its packaging. Then, using a wooden orangewood stick or a metal cuticle pusher with a gentle hand, carefully push back the softened cuticles. The goal is to reveal the clean nail plate, not to be aggressive. Avoid cutting your cuticles at home, as this can lead to damage and makes the area prone to problems. Once pushed back, gently wipe away the remover residue.
Step 4: Buff the Surface
Take a soft, high-grit buffer block and lightly pass it over the entire surface of each nail just a few times. The objective is not to thin the nail but to remove any remaining ridges and, most importantly, take away the natural shine. This creates a very fine, matte texture that gives the base coat something to adhere to much more effectively than a glossy, smooth surface.
Step 5: Dehydrate the Nail Plate
This is arguably the most vital step for longevity. After buffing, wipe each nail with a lint-free pad soaked in a nail dehydrator solution or simple rubbing alcohol. This final cleanse removes all traces of dust from filing, residual oils, and any moisture, leaving you with the perfect, pristine canvas for your manicure.
Perfecting Your Polish Application Technique
With your nails perfectly prepped, it's time to apply the polish. The technique here is just as important as the preparation.
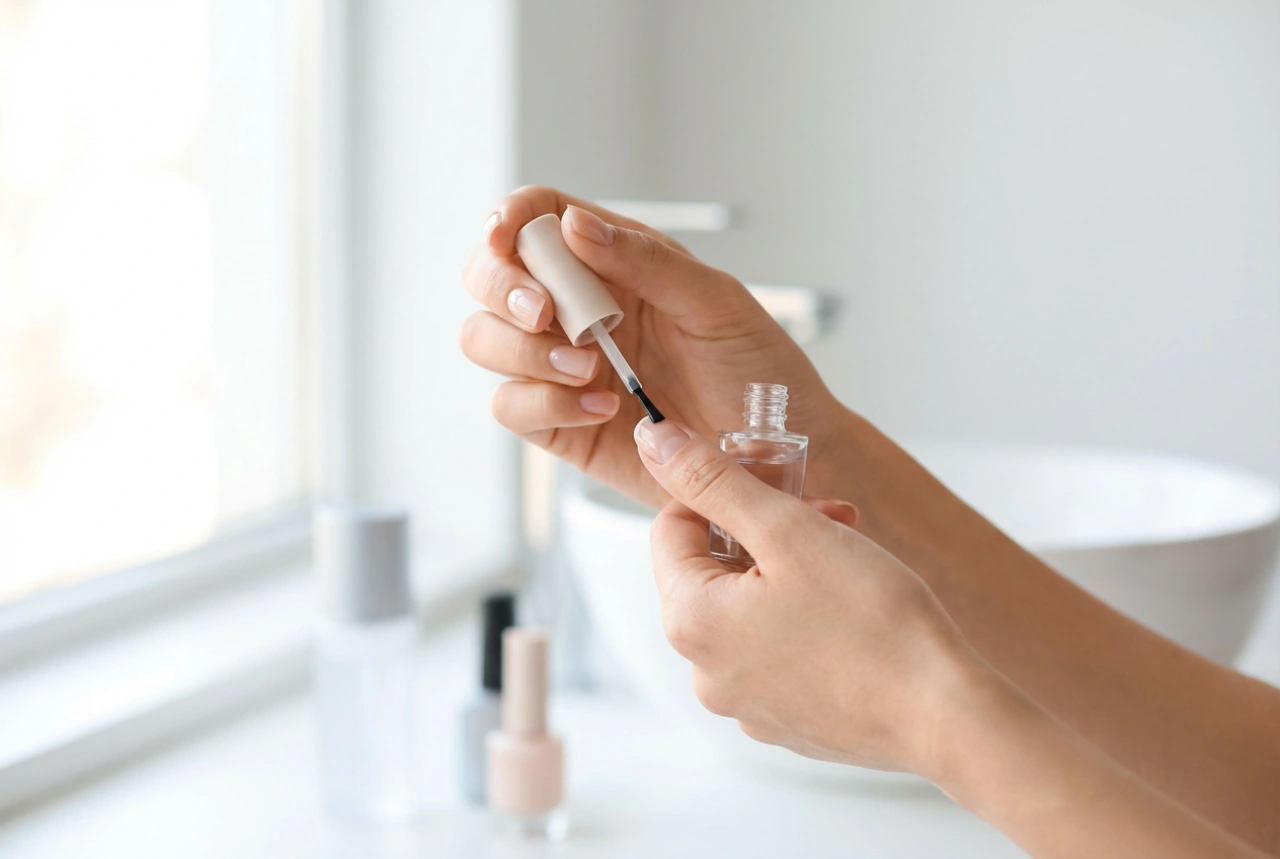
The Base Coat: Your Manicure's Anchor
Never skip the base coat. It serves multiple functions: it protects your nails from staining by dark pigments, it fills in any remaining microscopic ridges for a smoother colour application, and most importantly, it's formulated to grip the nail plate below and the colour polish above. Apply one thin, even layer and let it dry completely.
Applying the Colour: Thin Coats are Key
The golden rule of colour application is to use multiple thin coats rather than one or two thick ones. Thick coats take much longer to dry, remain soft underneath, and are prone to smudging, bubbling, and peeling off in sheets. Use the three-stroke method: one stroke down the centre, followed by one on each side. Allow each coat to dry for at least two to three minutes before applying the next. Two thin coats are usually sufficient for full opacity.
Sealing the Deal: The Top Coat and Capping the Edge
A good top coat protects your colour from chipping, adds a high-gloss shine, and can help expedite the overall drying time. Apply a generous layer of top coat over the dry colour. But for the ultimate protection, you must 'cap the free edge'. This means taking the brush and swiping it horizontally along the very tip of your nail. This seal prevents water from getting under the polish and stops tip wear in its tracks—the most common cause of early chipping.
Post-Manicure Care and Common Mistakes
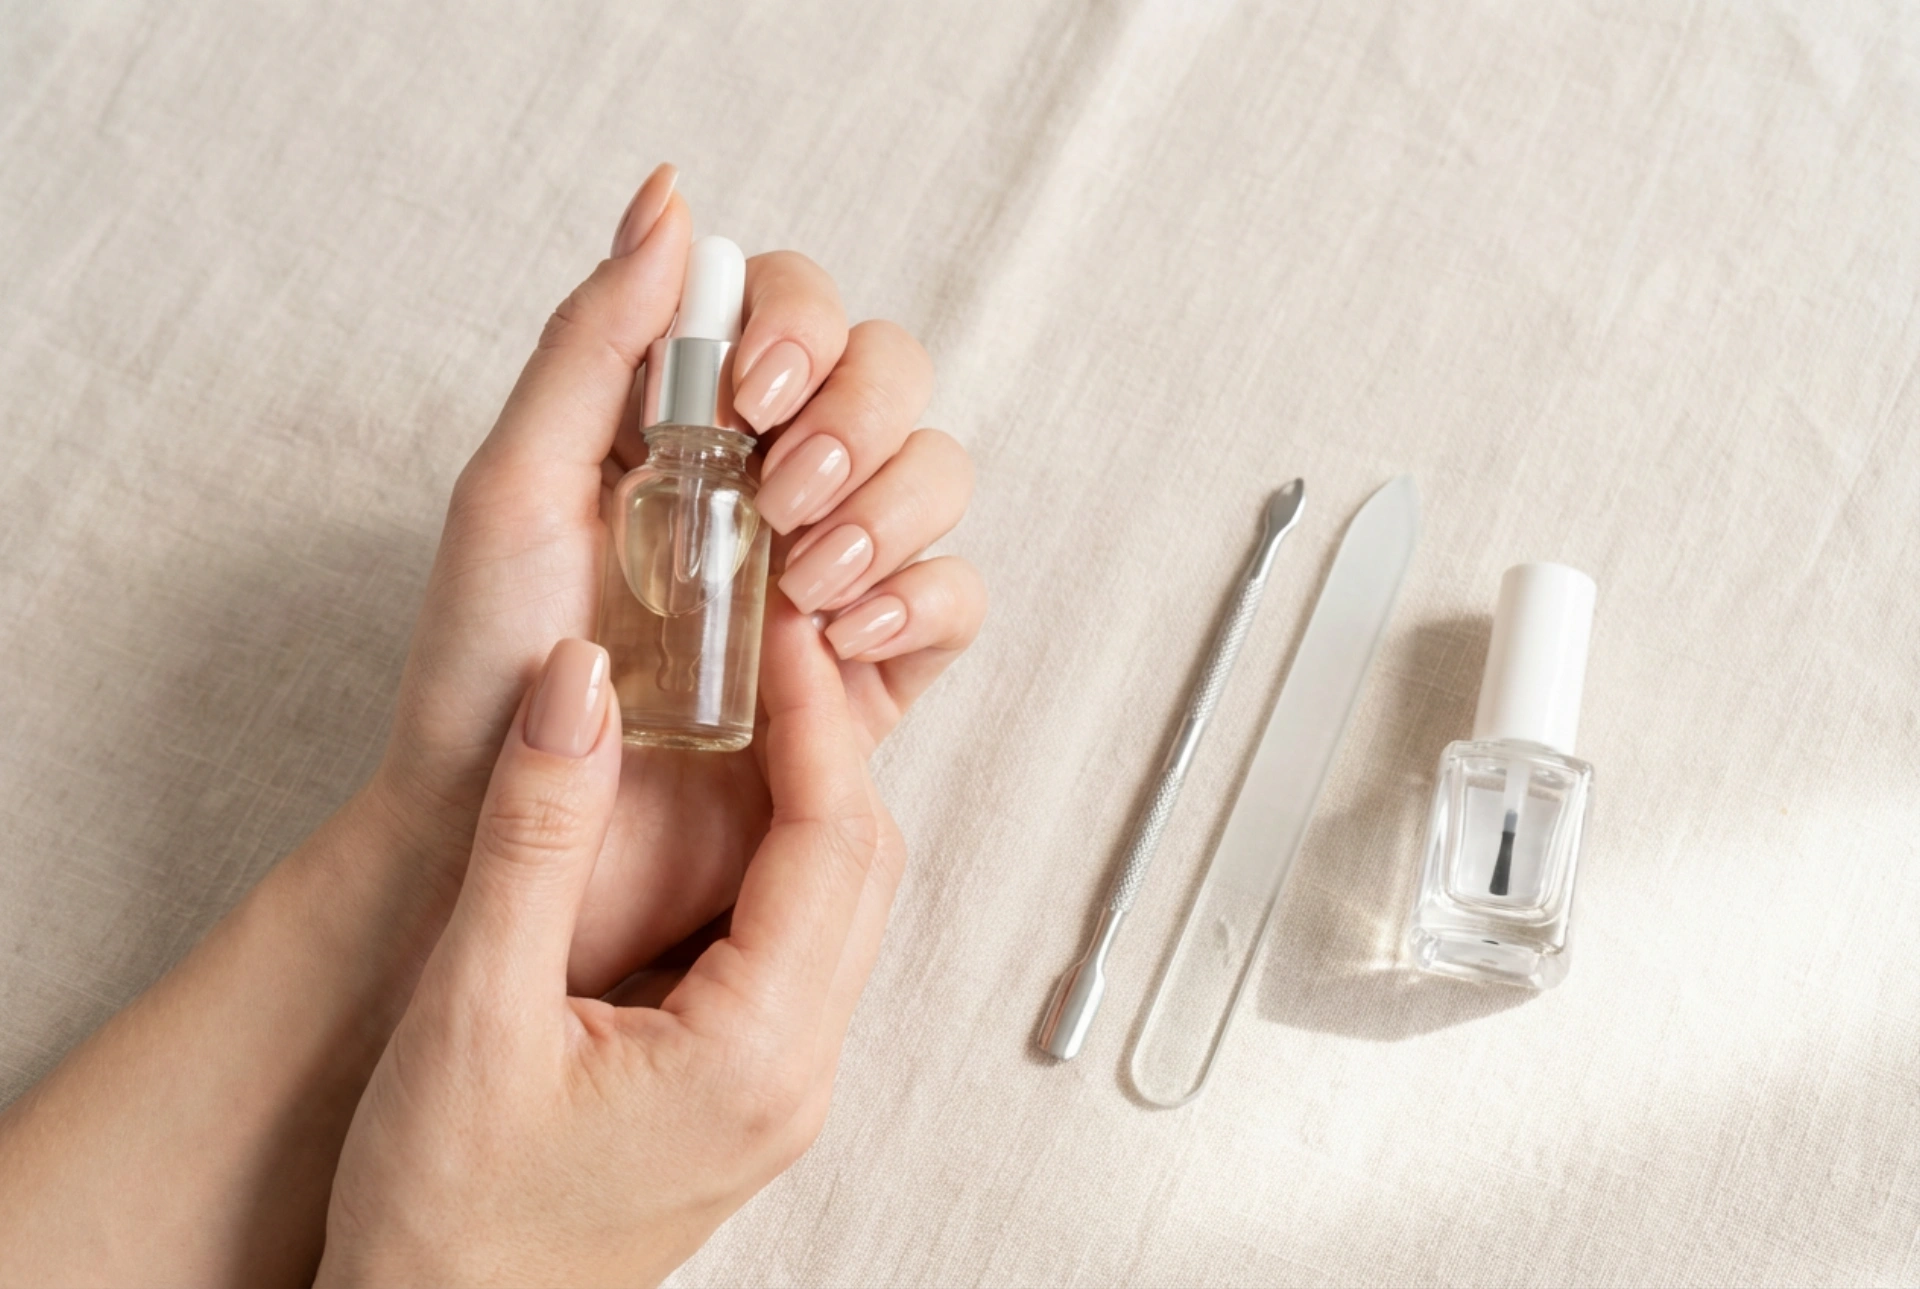
Your manicure is finished, but your job isn't quite done. For the first few hours, be extra careful as the polish continues to harden fully. Avoid hot water, as it can hinder the curing process. In the following days, simple habits can make a big difference. Wear gloves when washing dishes or cleaning, as harsh chemicals and prolonged water exposure are the primary enemies of nail polish. Apply a thin layer of top coat every two to three days to refresh the shine and reinforce the protective seal. Finally, use cuticle oil daily to keep the skin around your nails hydrated, which promotes healthy nails and prevents hangnails that might tempt you to pick at your manicure.