


Achieving a salon-quality manicure at home that truly lasts is often a matter of perfecting the preparation stages. While we focus on shaping and choosing the perfect colour, a small but mighty product often gets overlooked: the nail primer. It’s the unsung hero of a durable, chip-free manicure. Understanding its role and how to apply it correctly—and sparingly—can transform your nail care routine and the longevity of your favourite polish.
What Is a Nail Primer and Why Is It Necessary?
Think of a nail primer as a foundational step for your nails, much like a primer for paint on a wall. Its primary function is to prepare the nail plate for the application of subsequent products, such as a base coat. It does this by creating an optimal surface that dramatically improves adhesion. By ensuring the products stick better to your natural nail, a primer helps prevent lifting and chipping, extending the life of your manicure by several days.
There are different formulations of nail primers, but a type commonly used for home manicures is an acid-free primer. This kind of product works not by chemically etching the nail, but by acting like ultra-thin, double-sided tape. When applied, it leaves a slightly tacky or sticky layer on the nail surface. This residue provides a superior grip for your base coat, creating a much stronger bond than a base coat on a bare nail could achieve alone. It's a simple step that addresses one of the most common reasons for premature manicure failure: poor adhesion caused by natural oils or microscopic residues on the nail plate.
The Correct Application Order: A Step-by-Step Guide
Using a nail primer is easy, but its effectiveness depends entirely on it being applied at the right moment in your prep routine. Inserting it correctly into your process ensures that all products work together harmoniously for a flawless finish.
1. Initial Nail Preparation
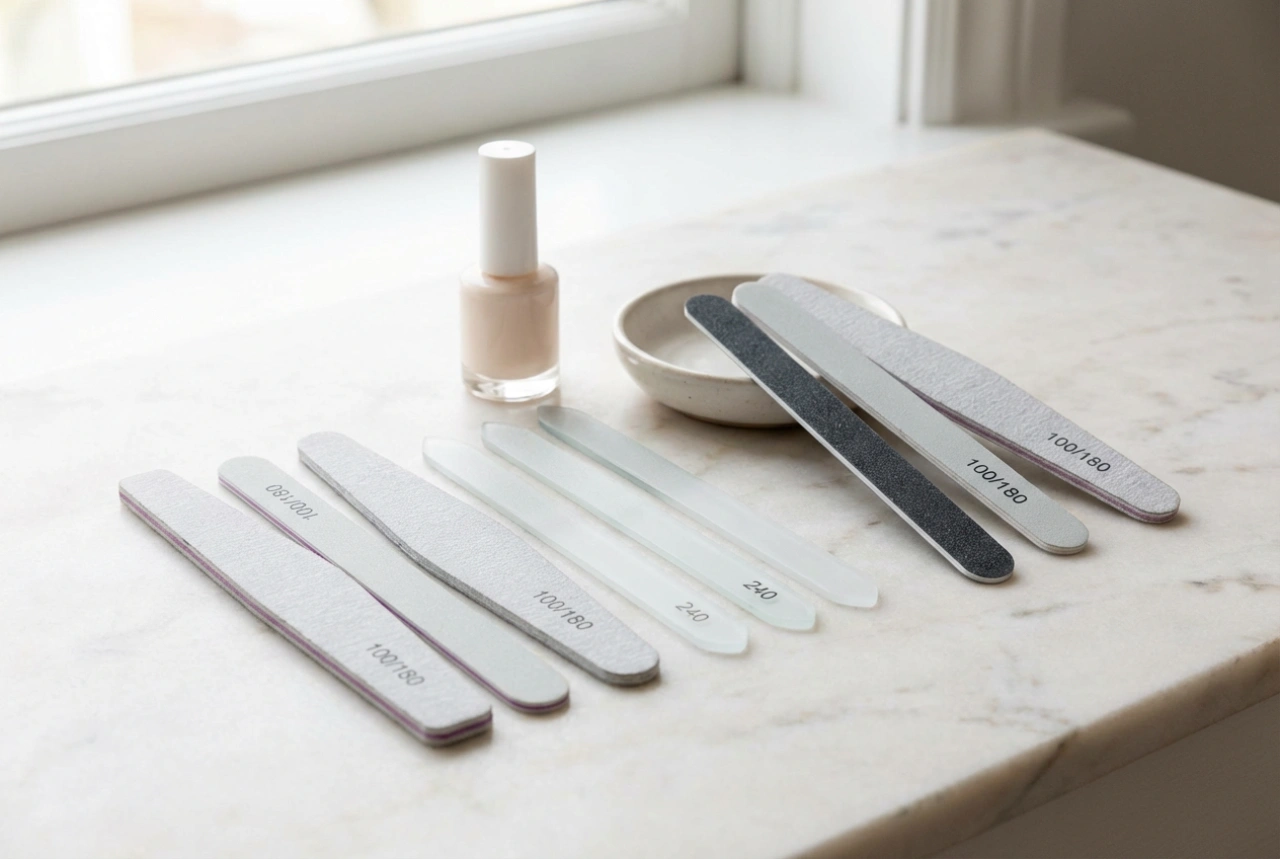
Start with clean, dry hands. Gently push back your cuticles using a wooden or rubber-tipped cuticle pusher. File and shape your nails to your desired length and form. Afterwards, take a fine-grit buffer and very lightly go over the entire surface of each nail. The goal is not to thin the nail, but simply to remove the natural shine, which creates a slightly more porous surface for products to adhere to.
2. Cleansing and Dehydrating
This is a non-negotiable step before priming. Take a lint-free wipe saturated with a dedicated nail surface cleanser or pure isopropyl alcohol. Thoroughly wipe down each nail, paying close attention to the side walls and the cuticle area. This removes all traces of dust from filing, as well as any natural oils or lotions that would otherwise create a barrier between the nail and the primer.
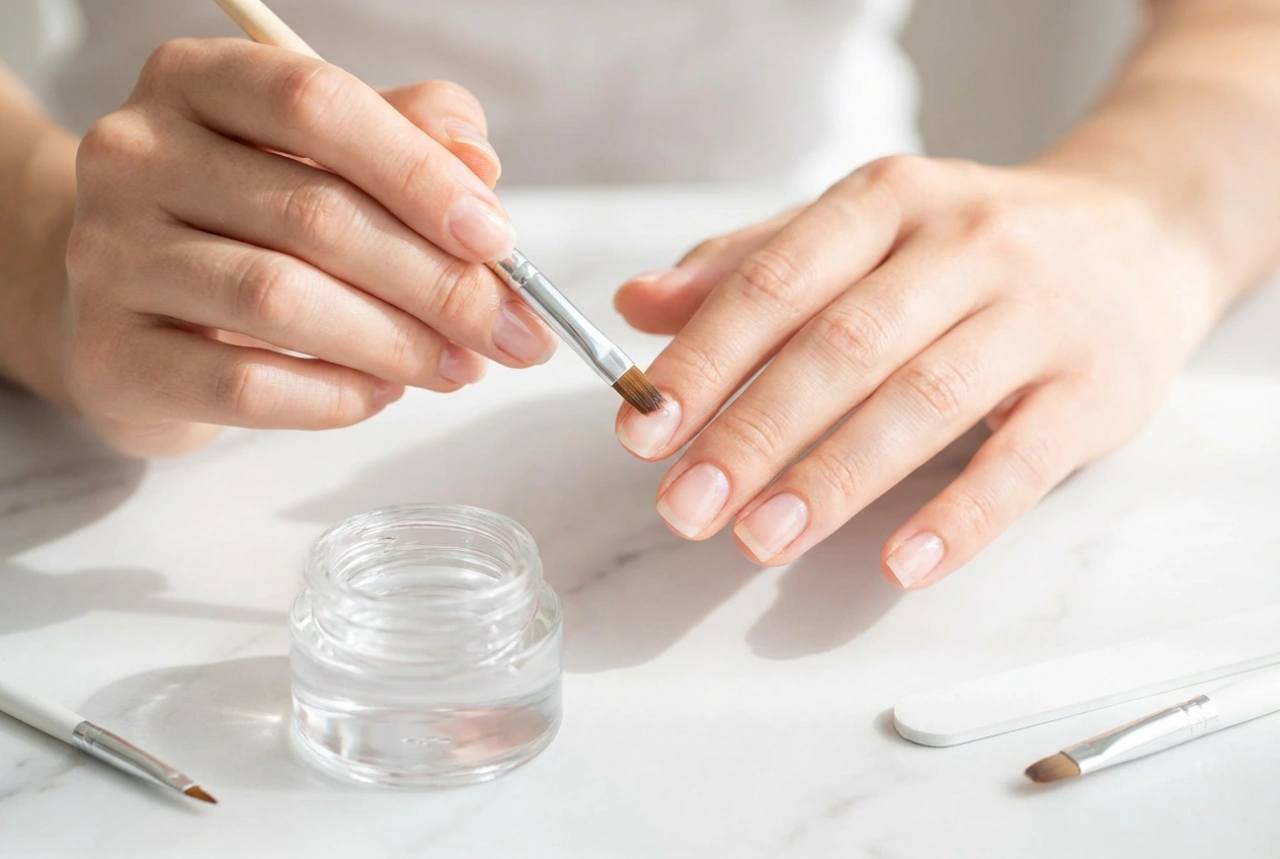
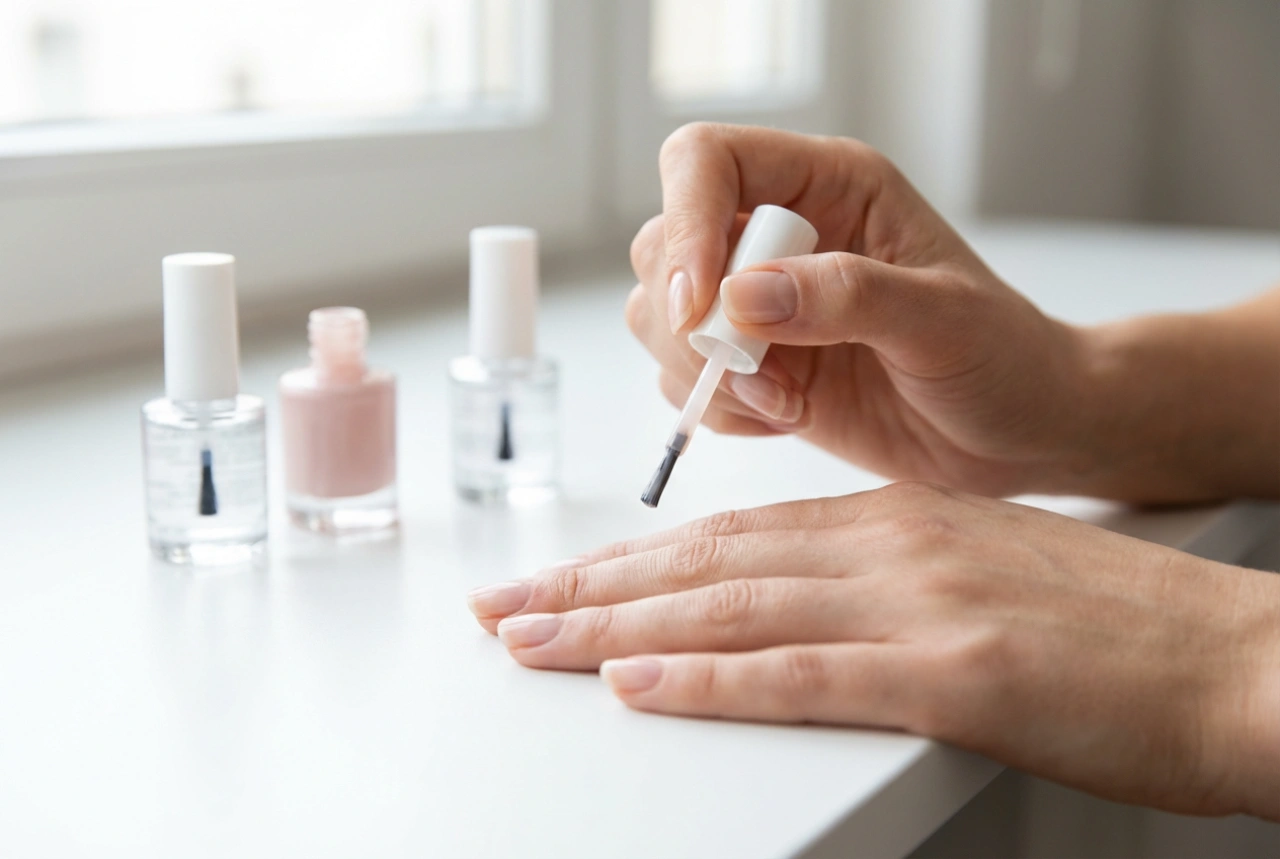
3. Primer Application
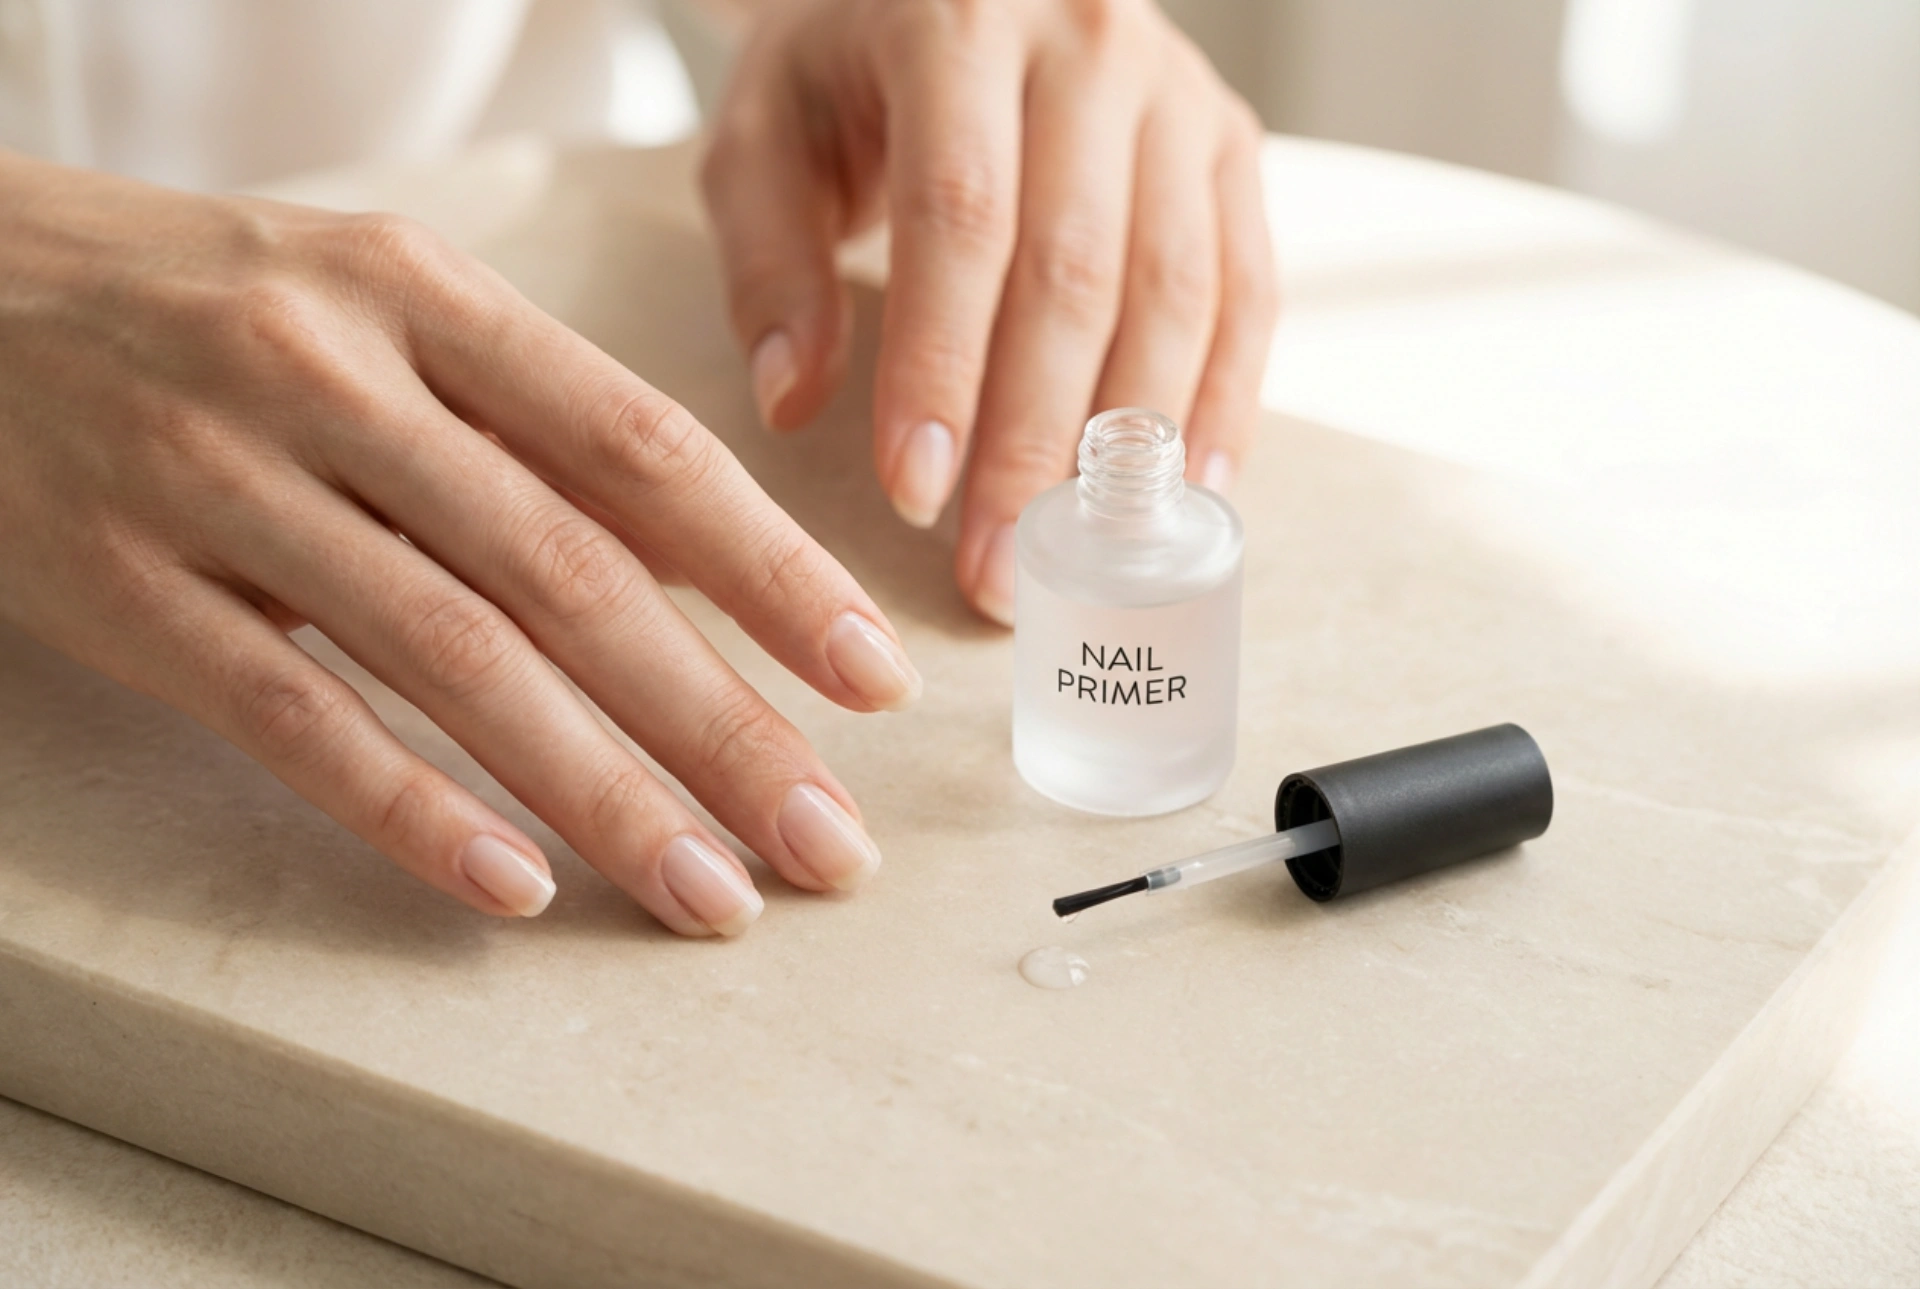
Once your nails are completely dry from the cleansing step, it's time to apply the primer. This is where the 'less is more' principle is crucial. A tiny amount is all you need. We'll cover the exact technique in the next section. Apply the primer only to the natural nail plate, avoiding contact with the surrounding skin.
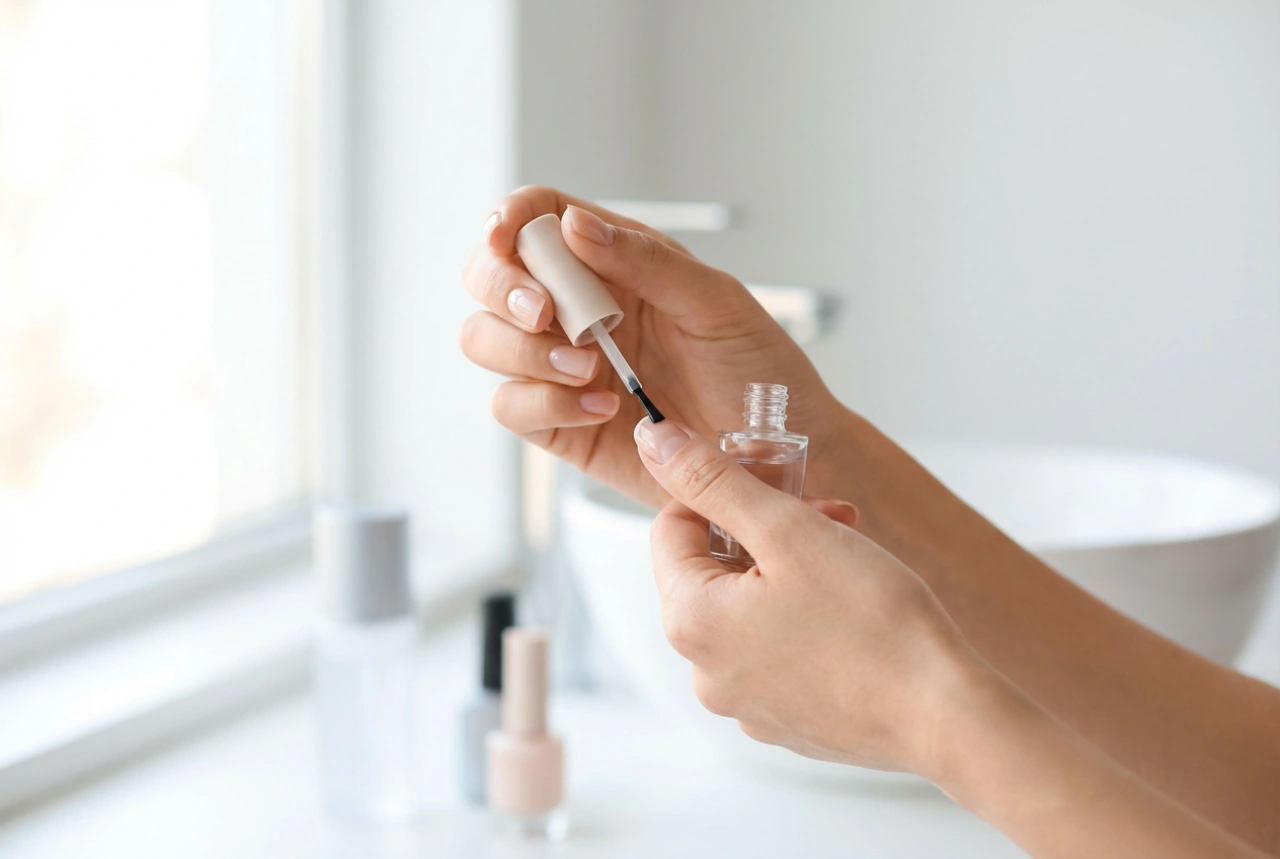
4. The Next Layers
Allow the primer to air-dry for about 30-60 seconds. It will likely remain slightly tacky to the touch, which is exactly what you want. Do not touch the nail surface. Proceed immediately with your base coat, applying it over the primed nail. After curing or drying the base coat according to its instructions, you can continue with your colour polish and finish with a top coat.
The Art of Frugal Application: Common Mistakes to Avoid
The most frequent error when using nail primer is applying far too much. This not only wastes the product but can also be counterproductive. Here’s how to get it right and avoid common pitfalls.
- Mistake: Flooding the Nail. Drenching the nail in primer is unnecessary. An excess of product can run into the cuticles and side walls, which can sometimes cause skin irritation and may even affect the integrity of the polish layer later on.
- Correct Technique: Before applying, wipe the brush against the inside of the bottle's neck to remove most of the liquid. For even more control, you can gently touch the tip of the brush to a clean paper towel. Then, place a single, small dot of primer in the centre of your nail. The liquid is thin and will spread out to cover the nail plate on its own. You don't need to 'paint' it on like polish.
- Mistake: Skipping the Cleansing Step. Applying primer over an oily or dusty nail is like trying to stick tape to a dirty surface—it simply won't work effectively. The primer will bond with the oil and dust, not your nail, leading to lifting.
- Mistake: Touching the Nails After Priming. Once the primer is on, the nail is perfectly prepped. Touching it with your finger will transfer oils back onto the surface, completely undoing the benefit of the primer.
- Mistake: Not Letting It Dry. While it dries fast, applying a base coat to a still-wet primer can cause the products to mix improperly, resulting in a gloopy application. Give it that brief moment to air-dry until it reaches that characteristic matte or slightly sticky finish.
By integrating this one simple, quick step into your home manicure routine and mastering the economical application, you will notice a significant improvement in the durability and professional appearance of your nails.