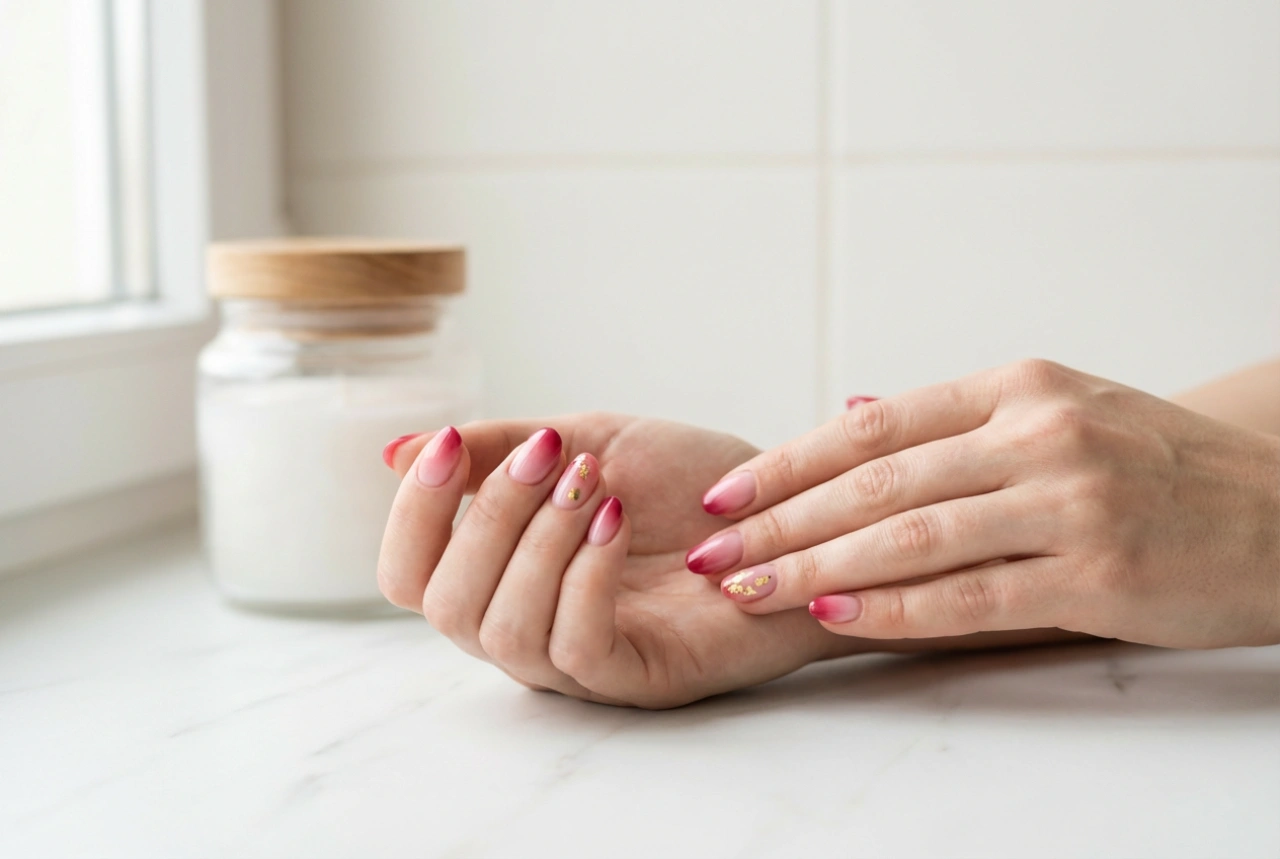


A smooth, long-lasting manicure is a small detail that can make a big impact. While we often focus on the perfect shade of colour polish, the true secret to a salon-quality finish at home lies in the preparation. One of the most critical, yet frequently skipped, steps is the application of a base coat. This clear layer acts as the essential foundation, ensuring your manicure not only looks better but also lasts significantly longer, making it an indispensable part of any nail care routine.
Why is a Base Coat an Essential Step in Your Manicure?
Thinking of a base coat as just another optional layer is a common misconception. In reality, it performs several crucial functions that contribute to the health of your nails and the longevity of your polish. Understanding its benefits is the first step towards achieving a flawless, durable manicure every time.
- Protection Against Staining: Highly pigmented nail polishes, especially dark reds, blues, and blacks, can leave behind stubborn yellowish stains on the natural nail plate. A base coat creates a protective barrier, preventing these pigments from coming into direct contact with the nail and keeping it looking healthy and clear once the polish is removed.
- A Smoother Canvas for Colour: Natural nails are rarely perfectly smooth; they often have subtle ridges, dents, or other imperfections. A good base coat helps to fill in these minor irregularities, creating an even, uniform surface. This allows the colour polish to glide on more smoothly, resulting in a streak-free, professional-looking finish.
- Enhanced Durability and Adhesion: Perhaps the most significant benefit is improved durability. The formulation of a base coat is specifically designed to grip the natural nail below and the colour polish above, acting like a strong double-sided adhesive. This bond significantly reduces the chances of chipping and peeling, extending the life of your manicure by several days.
- Support for Nail Condition: Many modern base coats are enriched with ingredients that offer additional benefits for nail care. While not a treatment for serious nail conditions, some are formulated to add flexibility to more brittle nails, while others might provide hydrating properties to support overall nail health. Choosing a base coat tailored to your nail type can offer this gentle, supportive boost.
How to Correctly Apply a Nail Base Coat
Proper application is just as important as the product itself. Following a few simple steps will ensure you get the maximum benefit from your base coat and set your manicure up for success. The process is all about precision and patience.
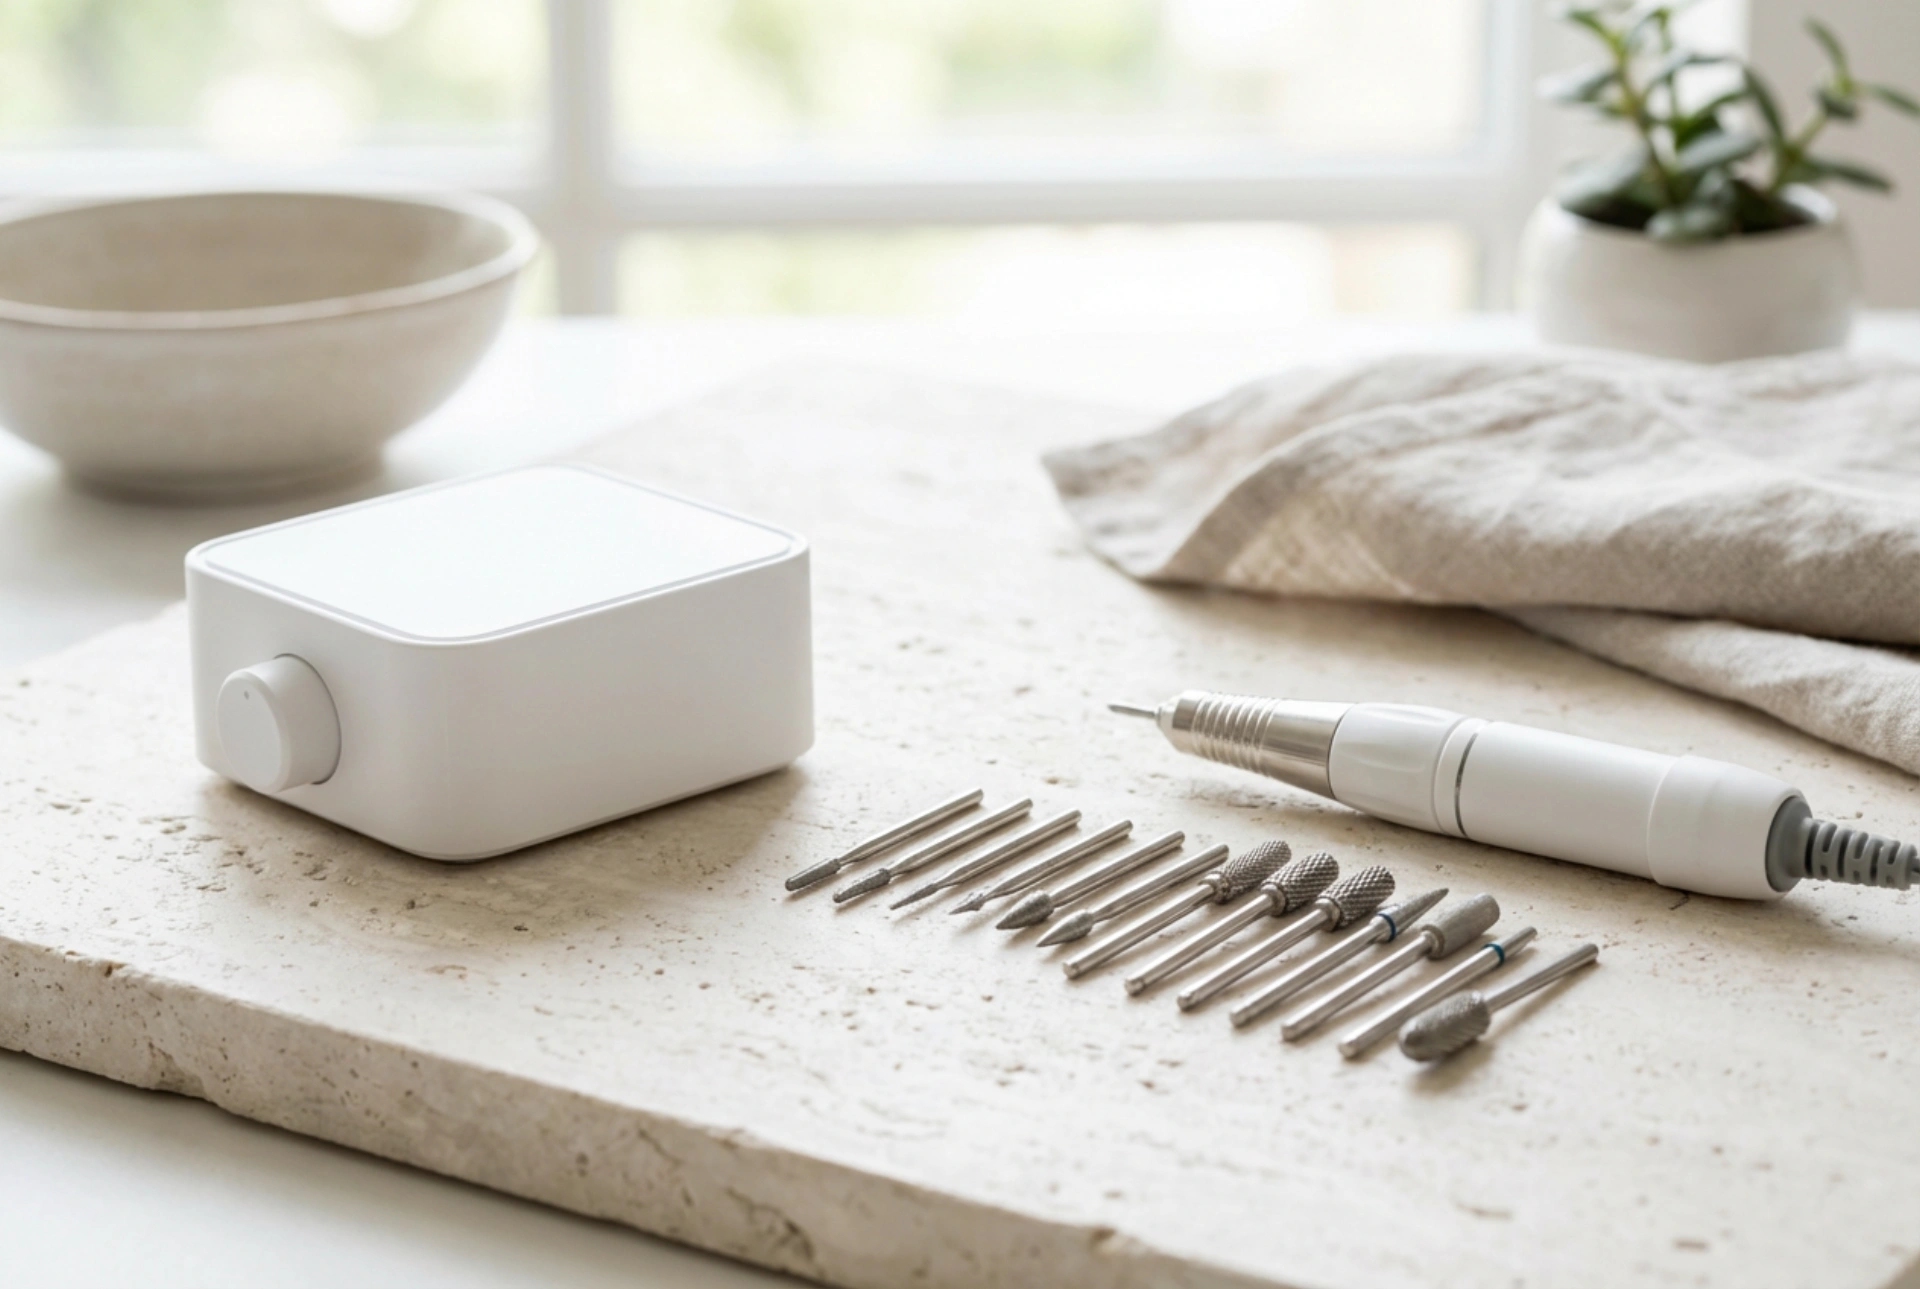
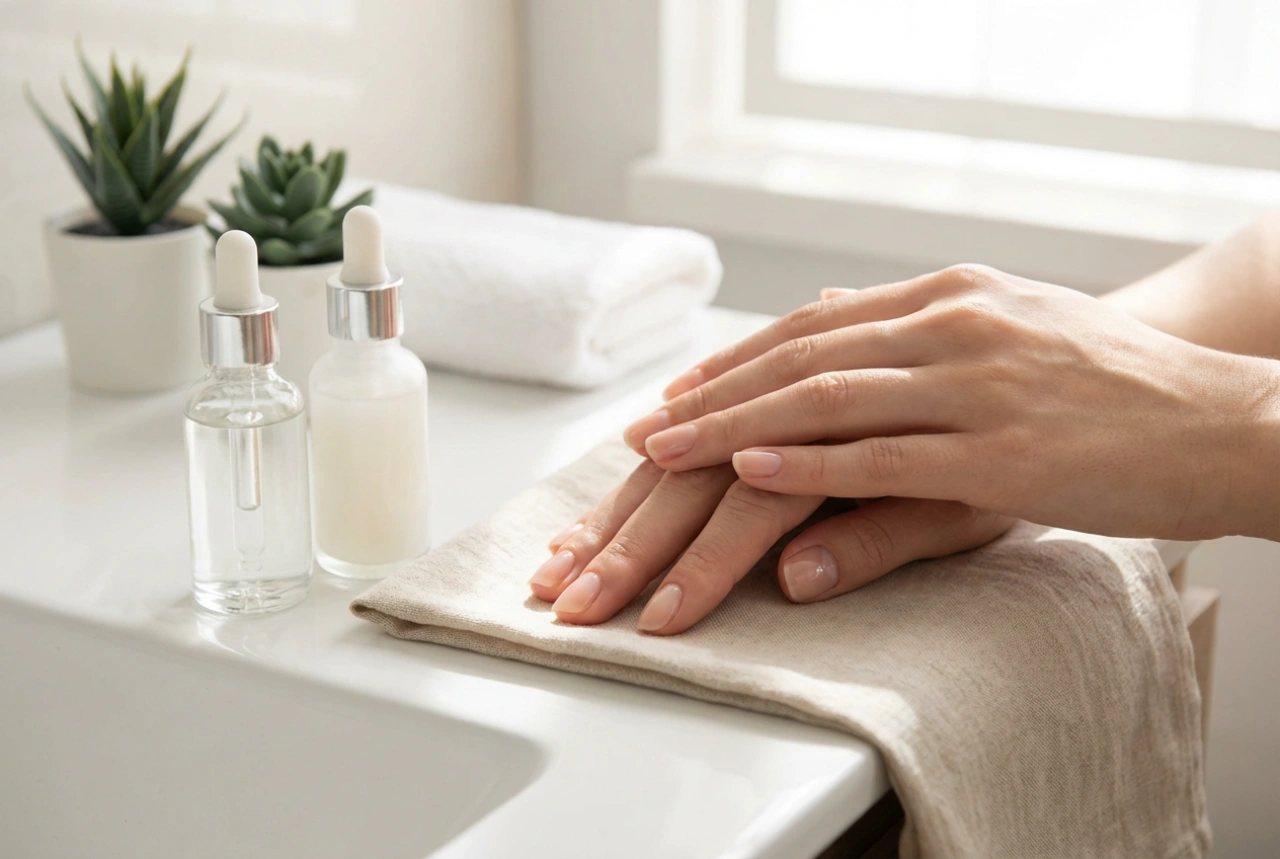
Step 1: Meticulous Nail Preparation
The foundation of your manicure begins before you even open the bottle. A clean, well-prepared nail surface is non-negotiable for a lasting result.
- Start by removing any old polish thoroughly.
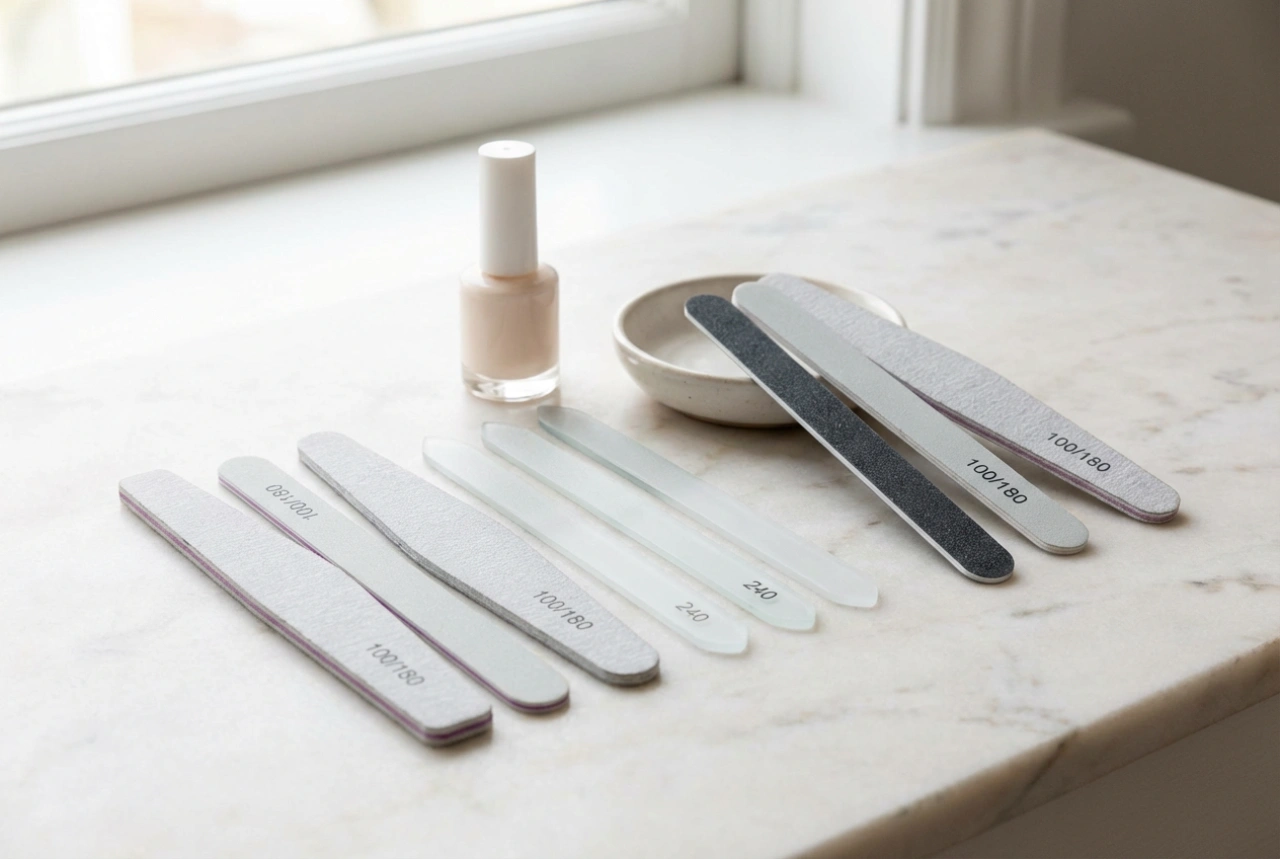
- Gently shape your nails with a fine-grit file, moving in one direction from the side to the centre to prevent splitting.
- Carefully push back your cuticles using a wooden or rubber-tipped cuticle pusher. Avoid cutting cuticles at home, as this can break the protective seal of the skin.
- If needed, lightly buff the surface of the nail with a gentle buffing block. This removes natural oils and creates a slightly textured surface for the base coat to grip.
- Finally, wipe each nail with a cotton pad soaked in a nail polish remover or a dedicated nail cleansing solution. This crucial step removes any remaining dust and oils, ensuring the nail plate is completely clean and dry.
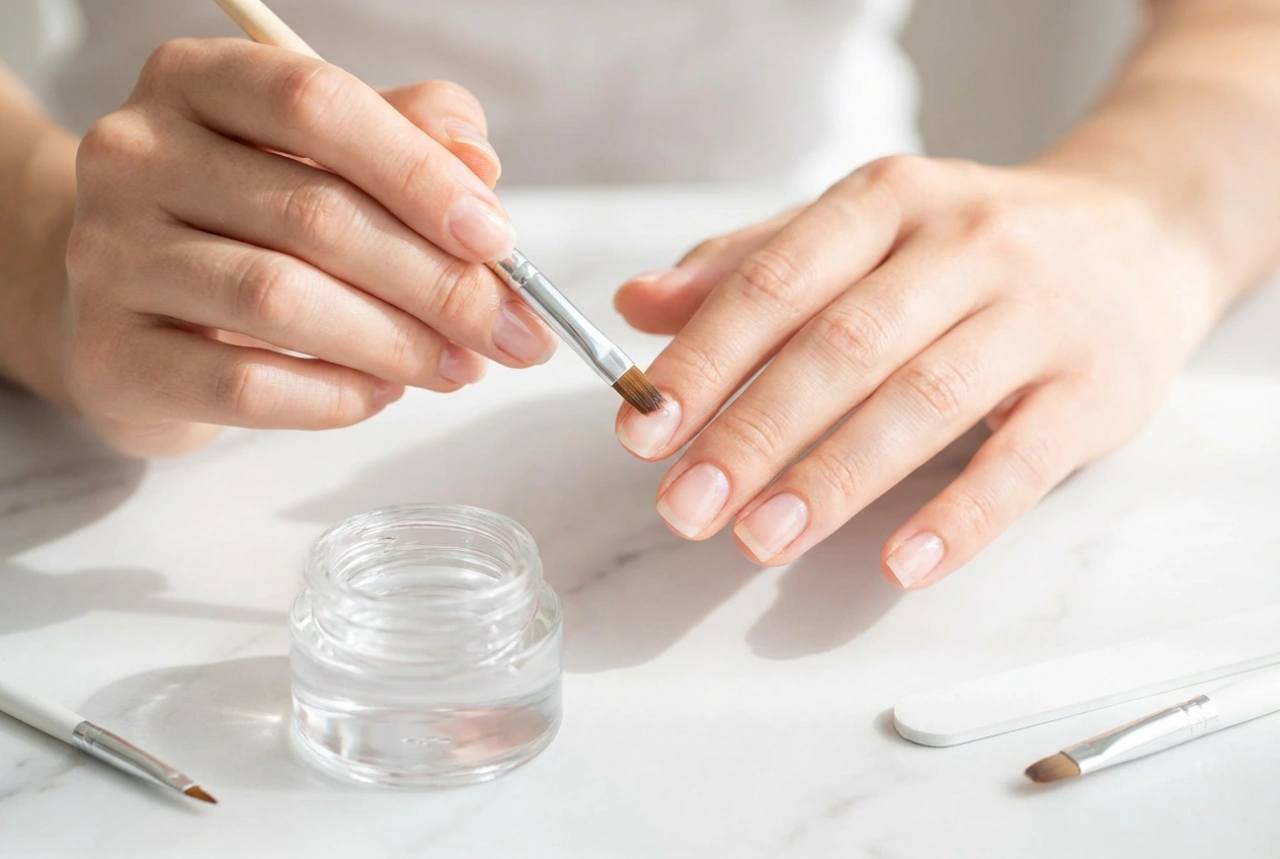
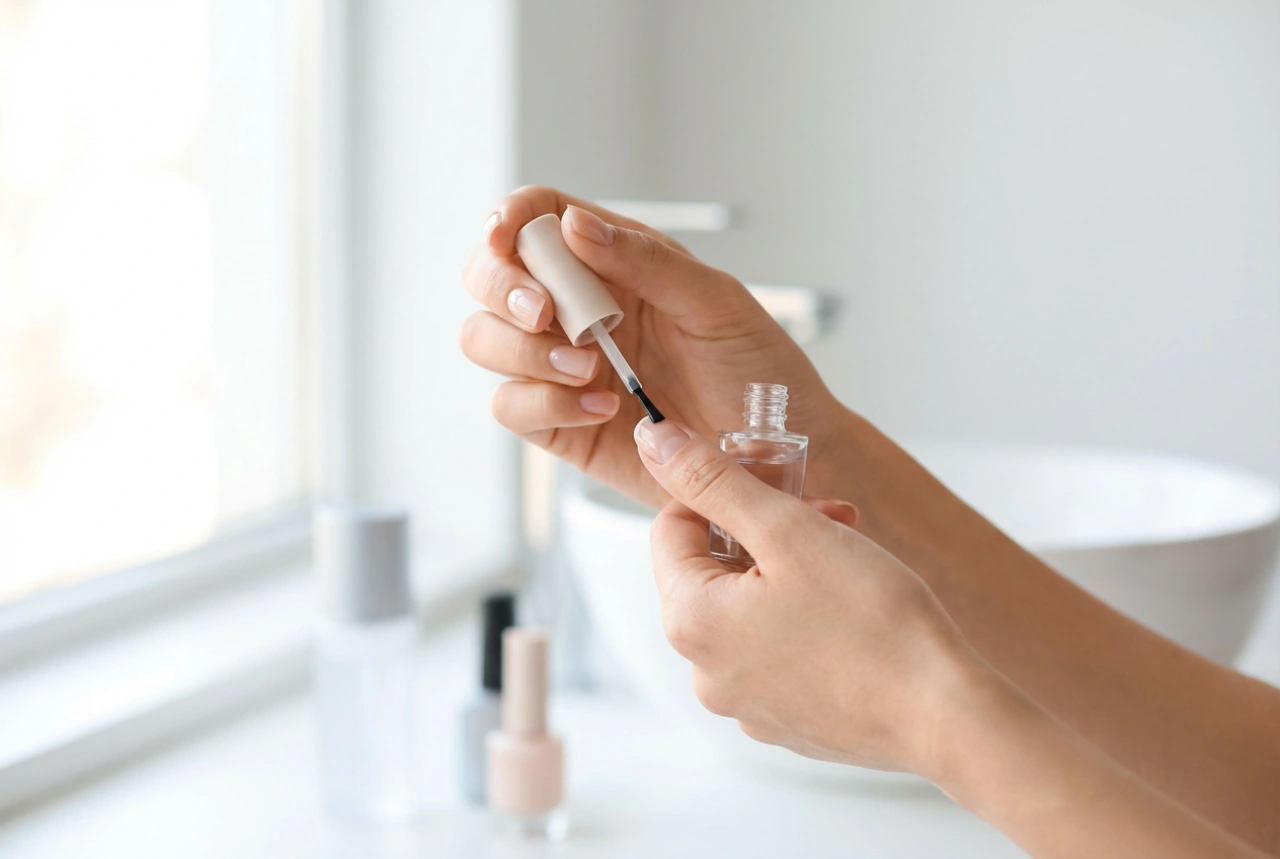
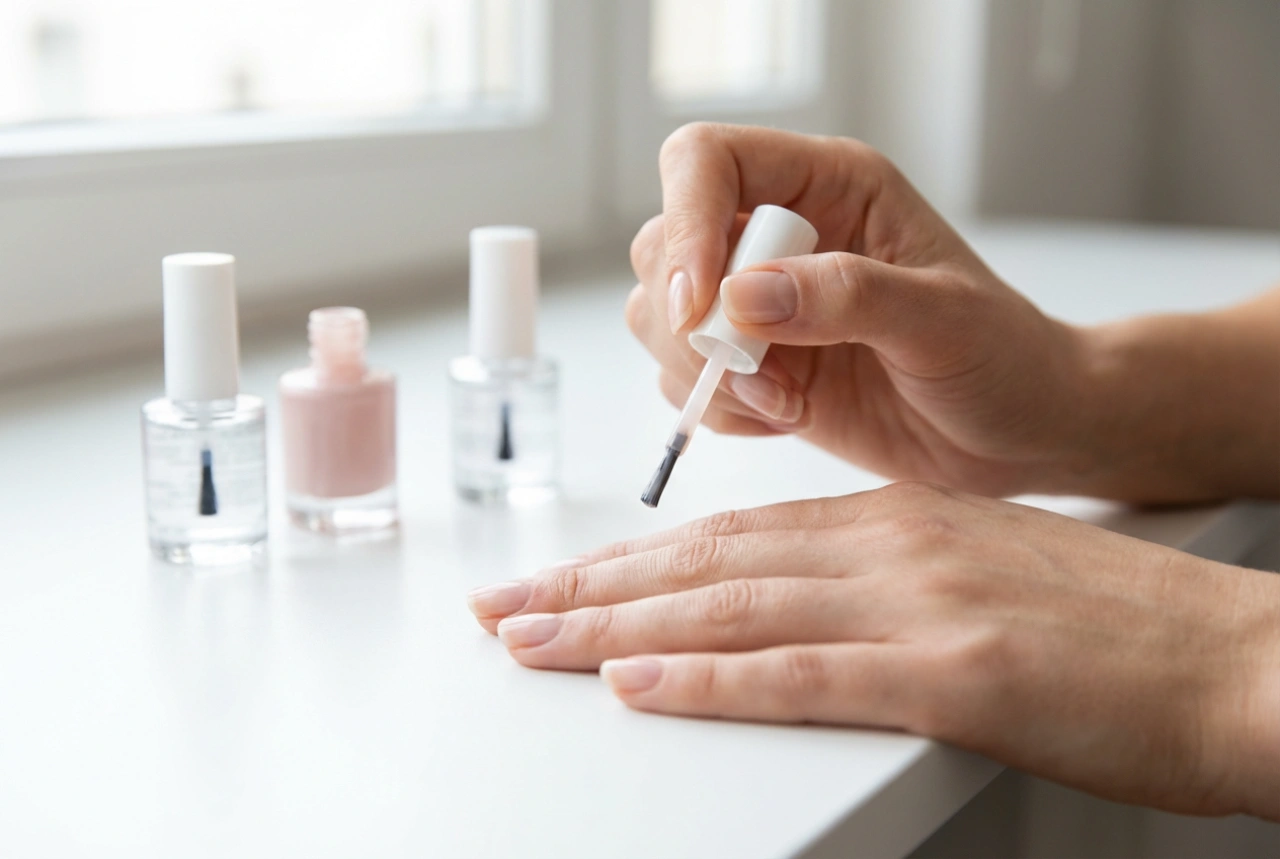
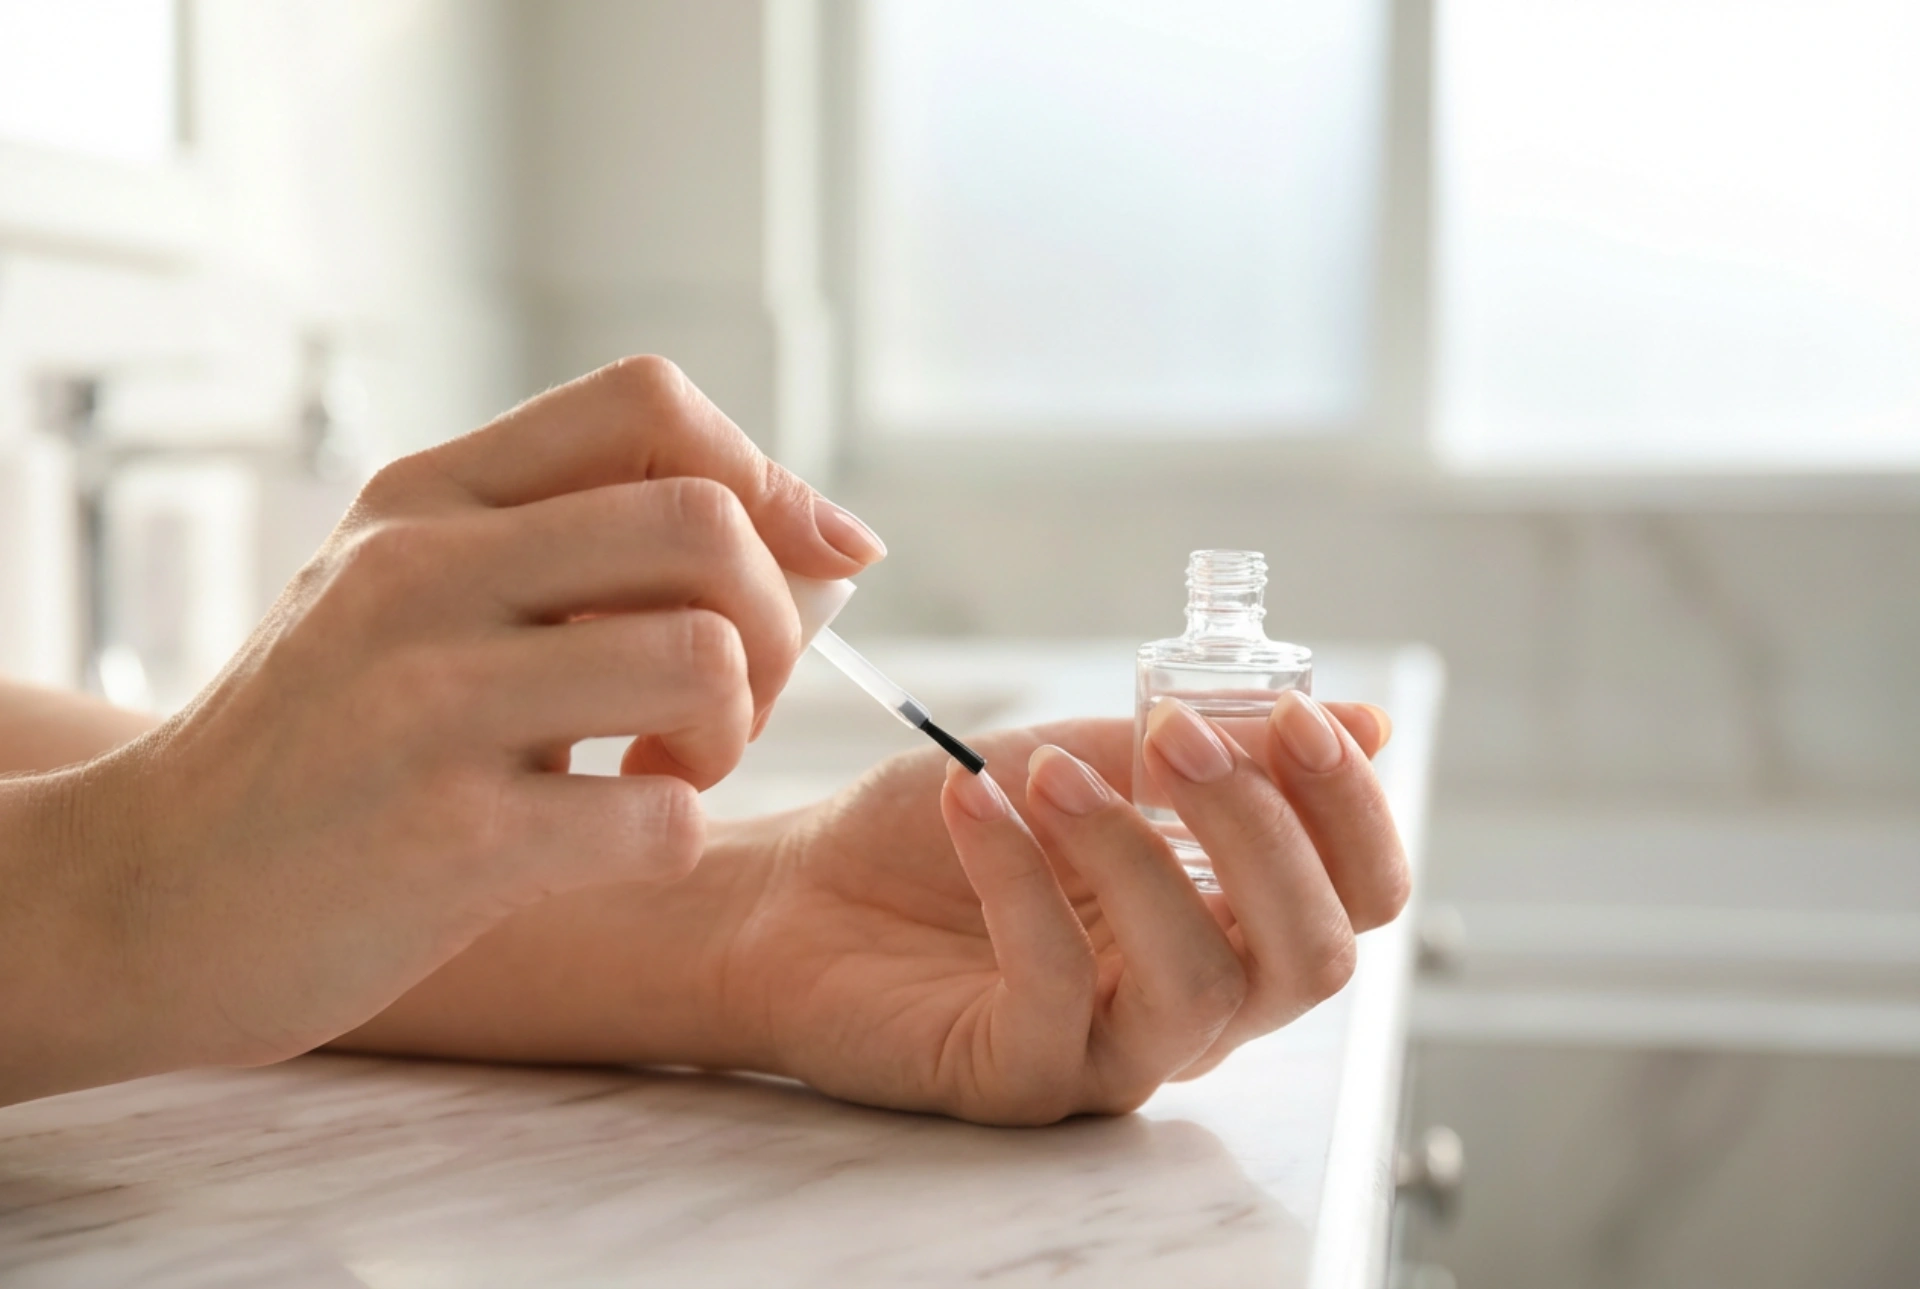
Step 2: The Art of Thin-Layer Application
When it comes to base coat, less is always more. A thick layer will take too long to dry and can cause the entire manicure to peel off.
- Remove the brush from the bottle and wipe any excess product off on the inner neck. You only need a small amount for each nail.
- Apply a single, thin layer. A good technique is to start the brush stroke slightly away from the cuticle line, gently push back towards it without touching the skin, and then pull the brush smoothly down to the tip of the nail.
- Use three efficient strokes for full coverage: one down the centre, followed by one on each side to cover the entire nail plate.
- Don't forget to 'cap' the free edge. This involves running the brush horizontally along the very tip of your nail. This simple trick seals the polish at the edge, which is the area most prone to chipping.
Step 3: The Importance of Drying Time
Patience at this stage pays off. Allow the base coat to dry completely before you even think about reaching for your colour polish. This typically takes about one to two minutes. The surface should feel dry or slightly tacky to the touch, not wet or goopy. Applying colour polish to a wet base will cause smudging, bubbling, and will compromise the entire structure of your manicure, preventing it from ever setting properly.
Common Mistakes to Avoid for a Flawless Finish
Even with the best intentions, small errors can sabotage your efforts. Being aware of these common pitfalls will help you achieve a truly professional-looking home manicure.
- Applying a Thick Coat: As mentioned, a thick application is counterproductive. It struggles to dry, remains soft underneath, and is more likely to peel away from the nail. Always aim for a thin, even layer.
- Skipping Nail Dehydration: Applying a base coat to a nail that still has natural oils or lotion residue on it is a primary cause of premature lifting. The degreasing step is essential for proper adhesion.
- Flooding the Cuticles: Getting any type of polish on your cuticles or surrounding skin creates a bridge between the nail and the skin. As your nail grows, this area will lift, taking the polish with it. Always leave a tiny, clean gap around the cuticle area.
- Using a Top Coat as a Base: While they may look similar, top coats and base coats have fundamentally different formulations. A base coat is designed to be adhesive and flexible. A top coat is formulated to be hard, shiny, and chip-resistant. Using one in place of the other will not provide the intended protective and adhesive benefits.