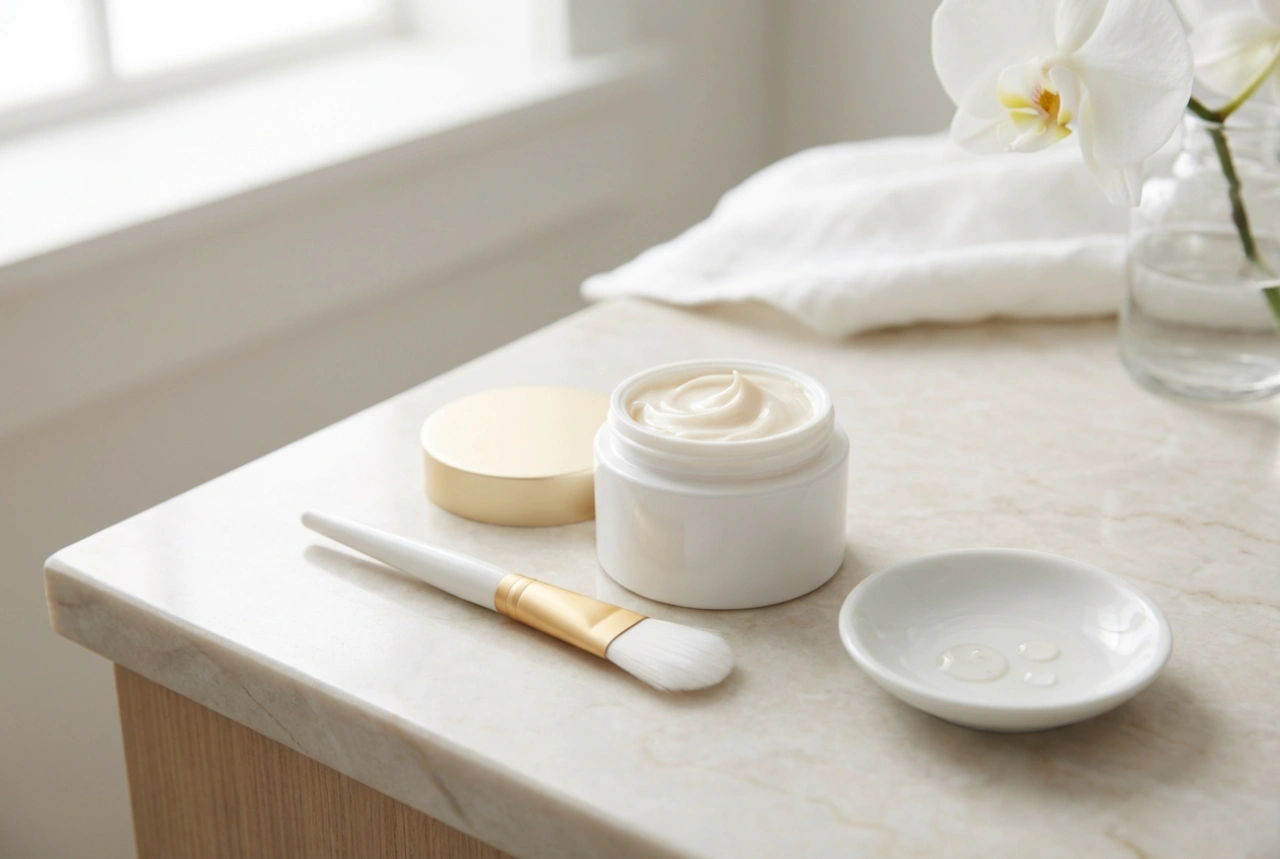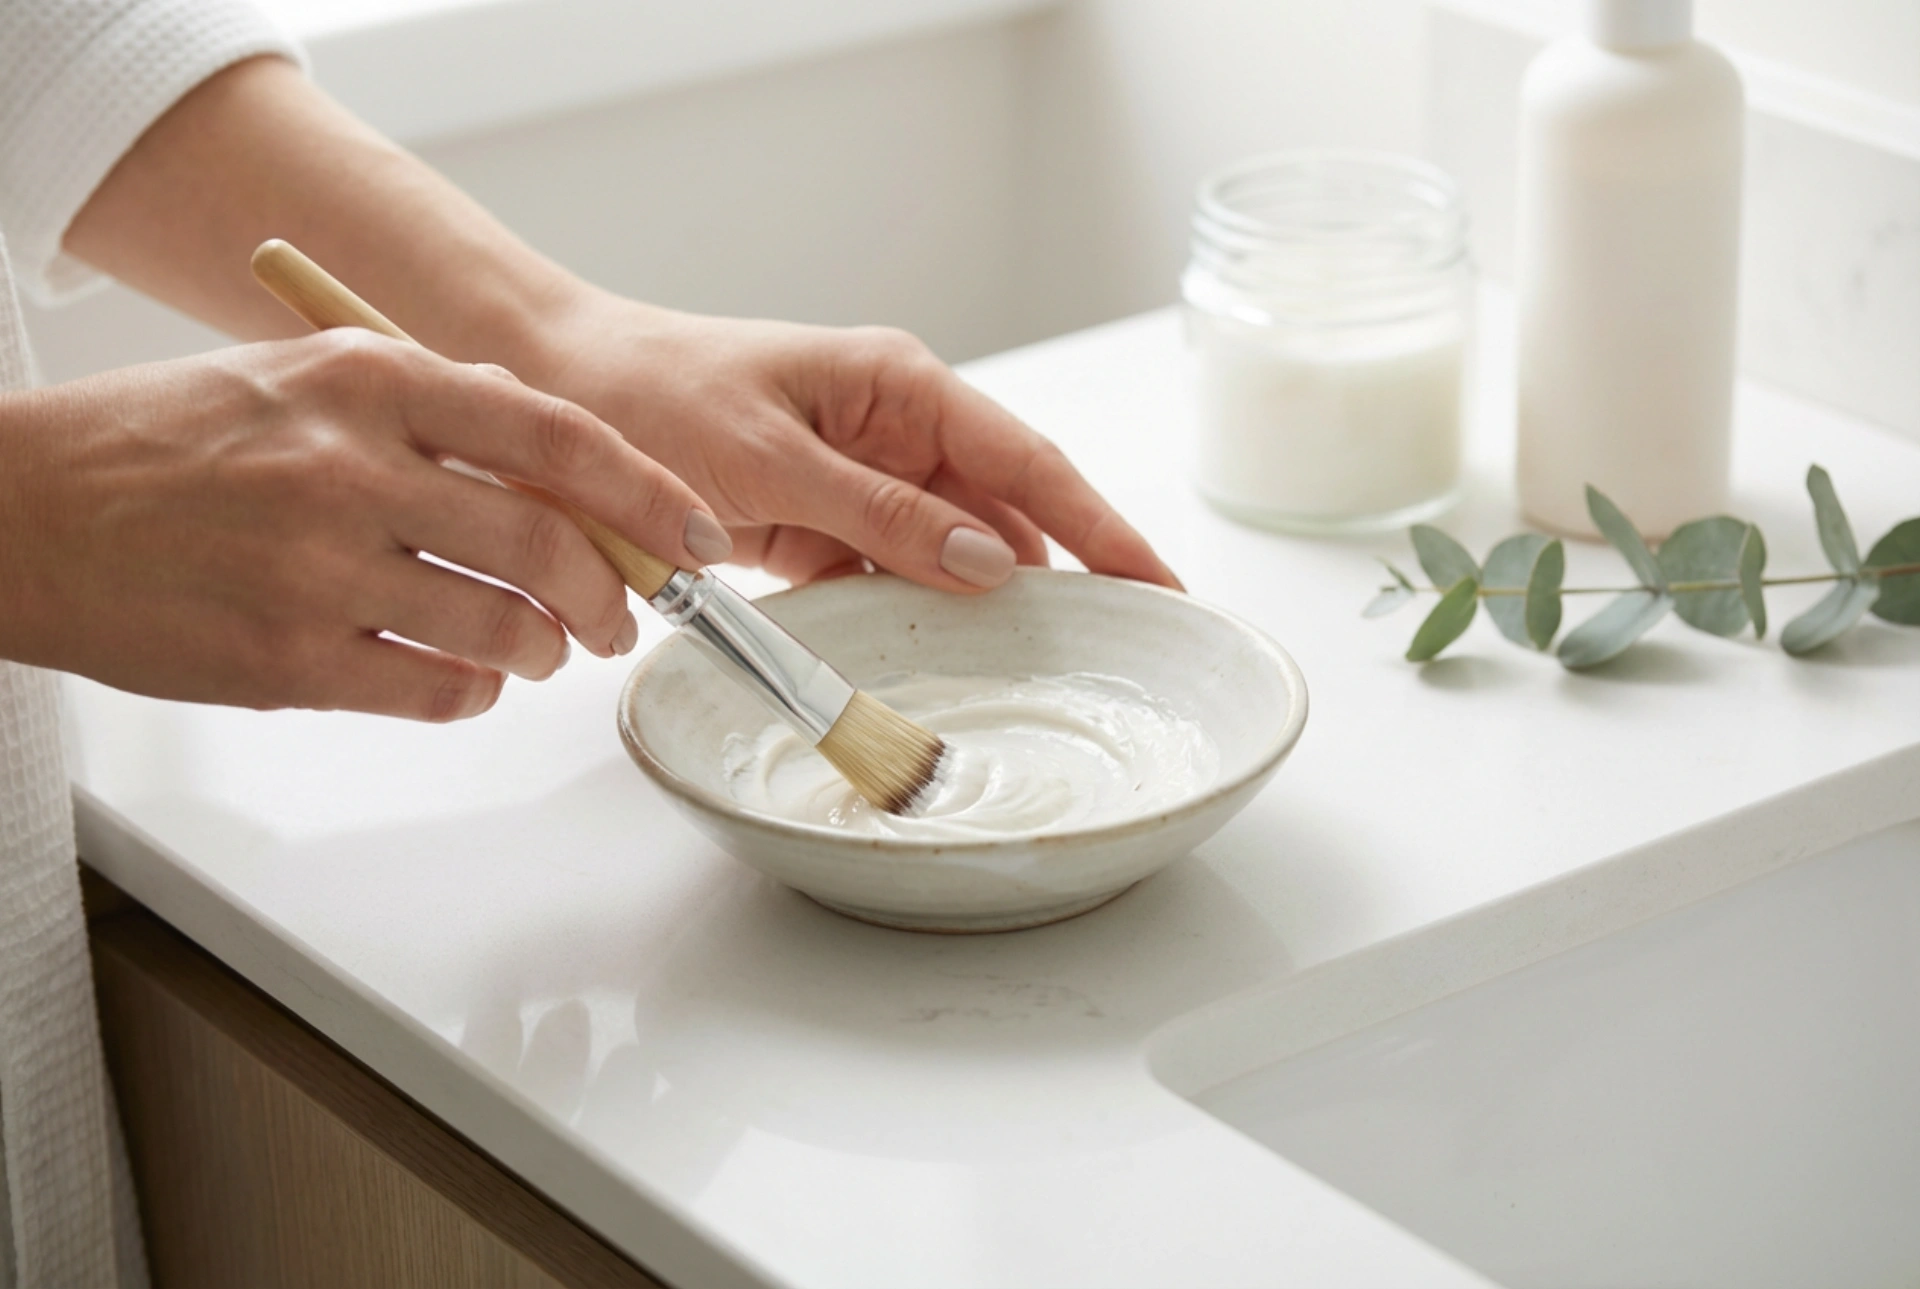


Achieving a radiant and balanced complexion often relies on the mindful rituals we create at home. Preparing a creamy purifying face mask in a minimalist ceramic bowl and applying it with a clean, soft brush elevates a simple skincare step into a deeply refreshing experience. This dedicated practice not only helps to clarify the skin but also provides a moment of tranquil self-care amidst a busy schedule. Understanding the correct methods for both application and removal is key to unlocking the full potential of these botanical and mineral-rich treatments without disrupting the skin's natural moisture barrier.
Preparing the Skin for a Purifying Mask
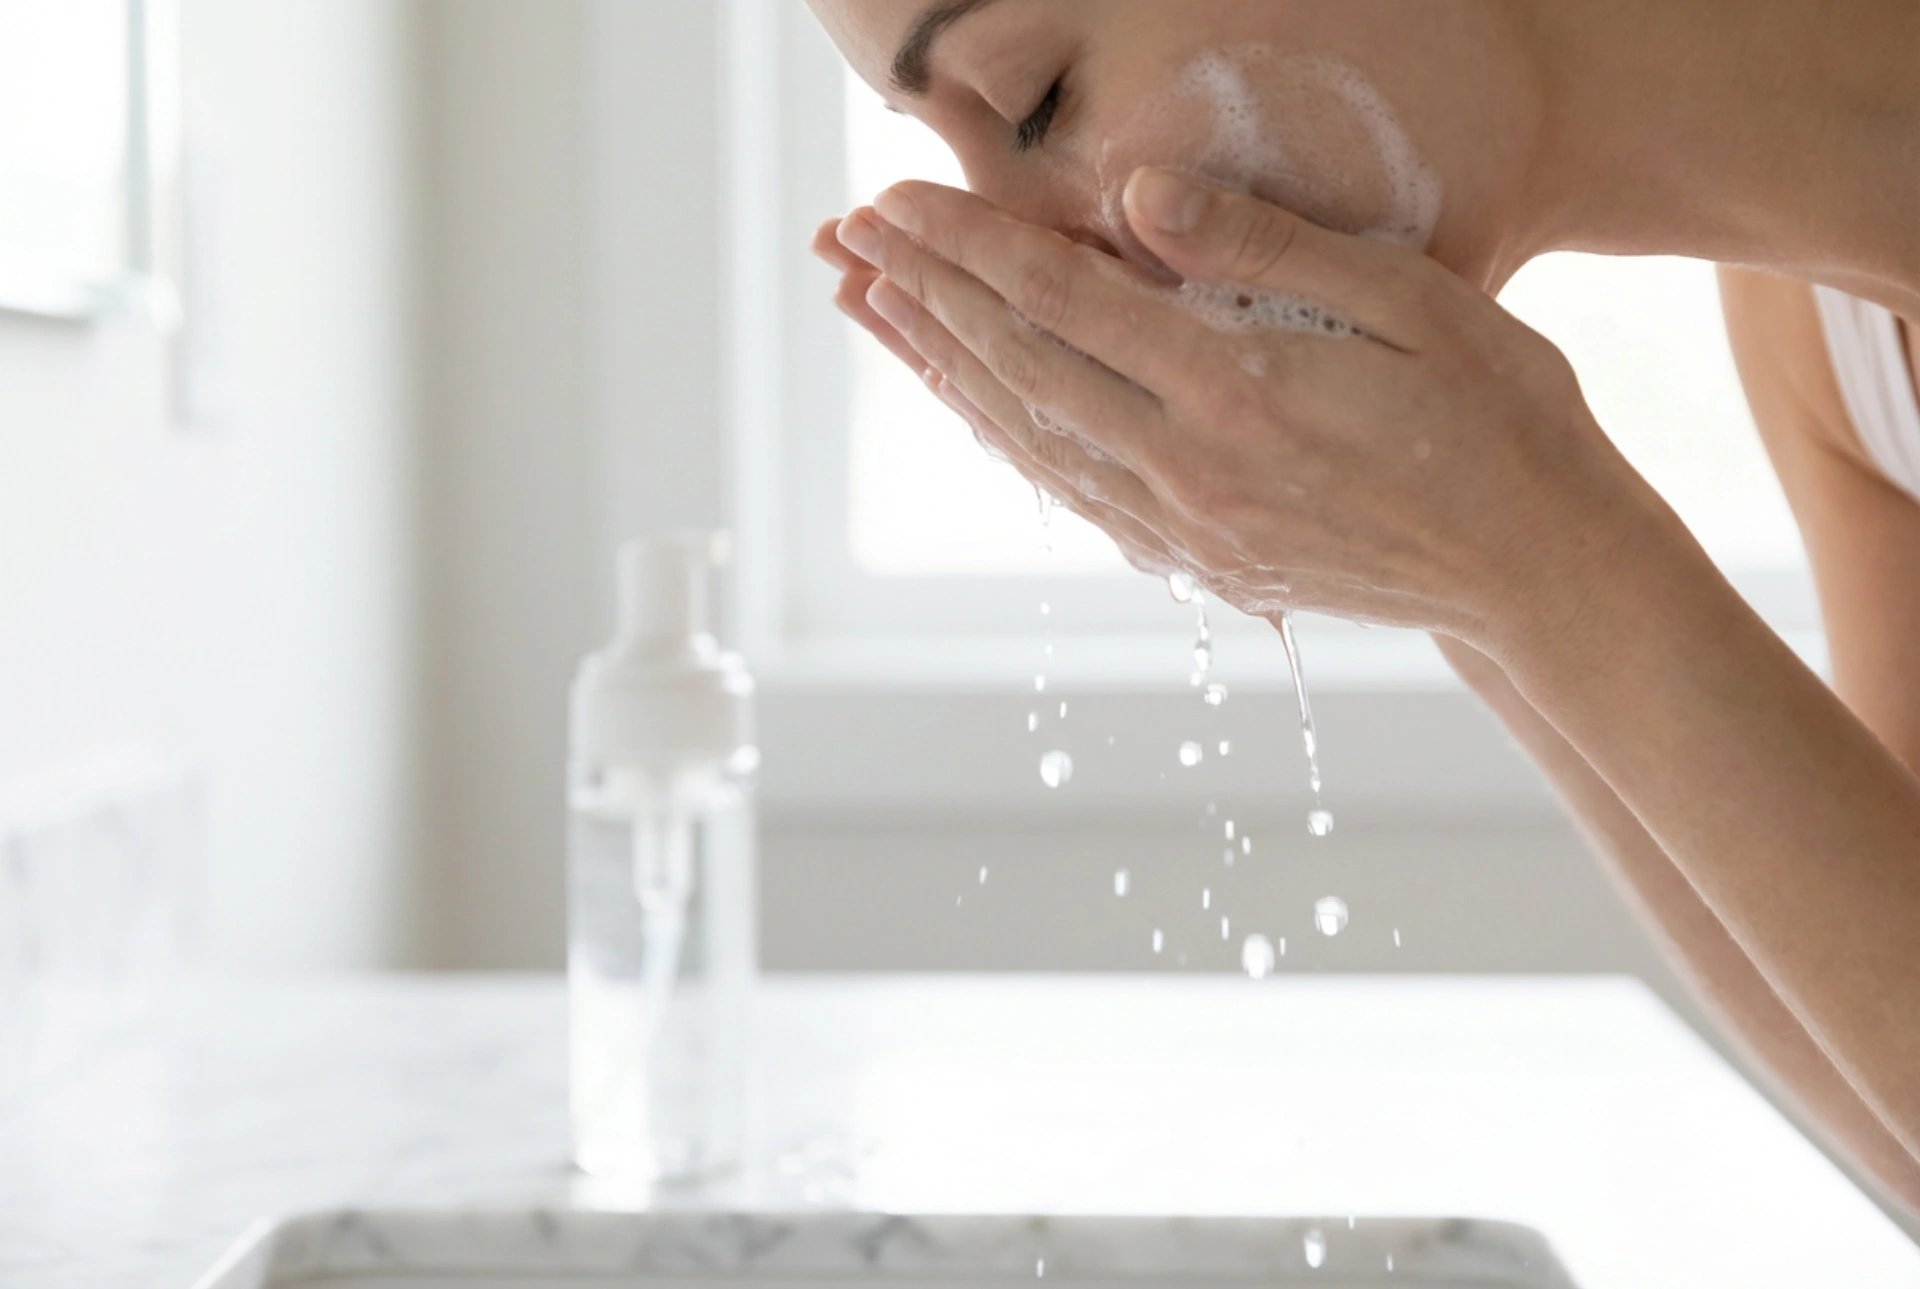
Before any mask touches your face, creating a clean canvas is essential. A purifying mask is designed to draw out impurities, refine the texture of the skin, and absorb excess sebum. If applied over makeup, daily grime, or SPF, the active ingredients cannot penetrate effectively, rendering the treatment far less beneficial. Begin by thoroughly cleansing your face with a gentle, non-foaming cleanser and lukewarm water. Avoid hot water, as it can strip natural lipids and leave the skin vulnerable to irritation.
Once cleansed, gently pat your face dry with a clean, soft towel. Some skincare enthusiasts prefer to apply masks to slightly damp skin, whilst others recommend a completely dry surface. For most purifying formulas, particularly clay or charcoal-based ones, a dry or very lightly damp face works best. If you wish to enhance the absorption process, you can gently hold a warm, damp washcloth over your face for a few moments beforehand to soften the outer layers of the skin, but ensure you do not rub or cause any redness.
The Art of Mixing and Application
The presentation and preparation of your skincare can significantly influence the overall experience. Mixing your mask in a small, clean ceramic bowl allows you to control the consistency, particularly if you are using a powder formula that requires hydration. Using a dedicated cosmetic brush with soft, synthetic bristles ensures an even, hygienic, and precise application. Unlike fingers, a brush distributes the creamy product uniformly and prevents the transfer of bacteria from your hands directly to your face.
Key Steps for a Flawless Application:
- Use the right tools: Dispense a small amount of the creamy mask into your bowl. Dip the clean brush into the product, coating the tip evenly.
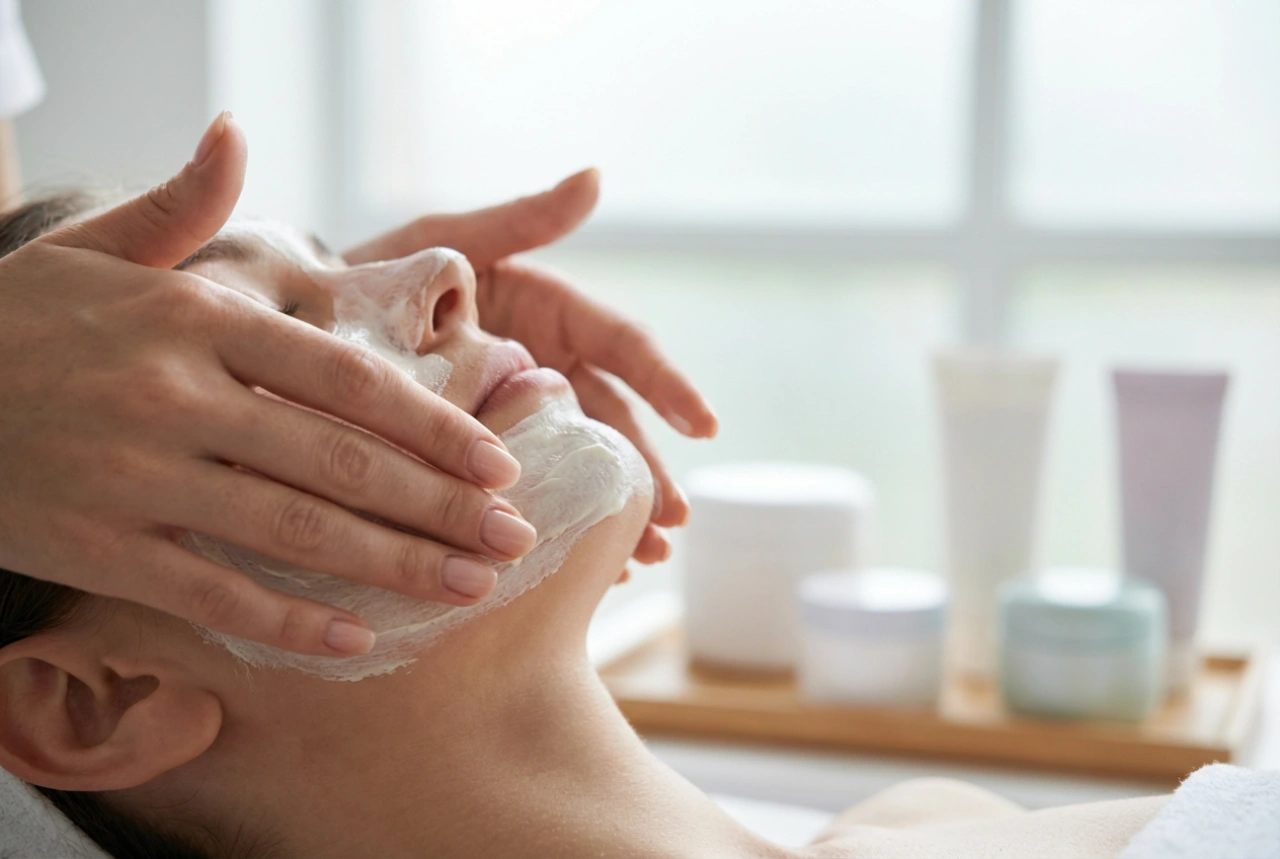
- Start from the centre: Apply the mask beginning from the centre of your face—such as the nose and forehead—and sweep outwards towards the hairline and jawline. This ensures the areas most prone to excess oil receive adequate coverage.
- Avoid delicate zones: Always leave a generous margin around the eyes, eyebrows, and lips. The skin in these areas is incredibly thin and sensitive, lacking the sebaceous glands that benefit from purifying ingredients.
- Keep the layer uniform: Aim for a medium, even layer. A layer that is too thin will dry too quickly, whilst an excessively thick layer will take too long to dry unevenly, potentially leading to localised dehydration.
Understanding the Drying Phase
One of the most common misconceptions regarding purifying or clay-based masks is that they must dry until they crack and feel tight. In reality, letting a mask reach the completely dry, flaky stage can do more harm than good. The drying process of a purifying mask actually occurs in three distinct phases, each affecting the skin differently:
- The wet phase: This is when your skin drinks in the beneficial minerals and nutrients present in the creamy formula.
- The cooling phase: The mask begins to dry slightly, contracting and stimulating blood flow to the surface of the skin while absorbing excess sebum.
- The dry phase: The mask becomes completely dry, tight, and pale. At this point, the mask begins to draw moisture out of the deeper layers of your skin, leading to dehydration and irritation.
To protect your skin barrier, it is best to remove the mask during the transition between the cooling phase and the dry phase. The surface should feel slightly tacky to the touch, but not dry, dusty, or stiff. If you notice the mask drying too quickly in certain areas, you can lightly mist your face with a basic thermal water spray to keep it comfortably damp.
Gentle and Effective Removal Techniques
Removing a purifying mask requires just as much care as applying it. Vigorous scrubbing or using harsh tools can easily sensitise the skin, causing redness and micro-tears. The goal is to rehydrate the mask so that it glides off effortlessly without pulling the skin.
Begin by splashing lukewarm water onto your face to loosen the dried product. Gently massage your skin in circular motions with your fingertips; this action helps to break down the mask while offering a very mild, physical exfoliation. Alternatively, you can soak a clean, soft muslin cloth or bamboo washcloth in warm water and press it against your face for ten seconds. This softens the mask completely, allowing you to sweep it away gently.
Ensure that no residue remains around the hairline, jawline, or the wings of the nose, as dried product left on the skin can clog pores and cause dryness. Always use a fresh towel to pat your skin dry—never rub, and avoid using the same washcloth for multiple days to maintain optimal hygiene.
Restoring and Nourishing the Skin Barrier
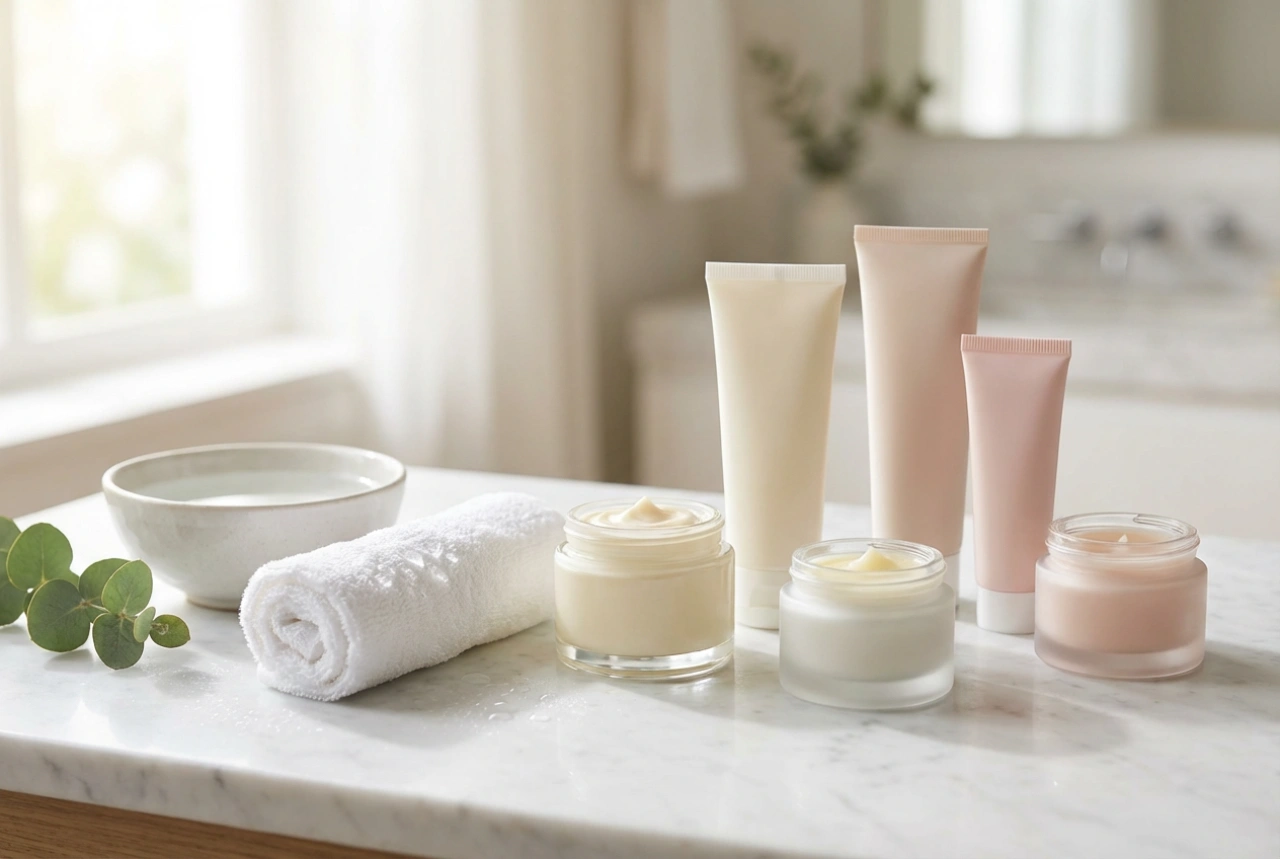
Immediately after removing your purifying mask, your skin will feel clean and fresh, but its surface pH may be slightly altered, and moisture levels temporarily lowered. This is the perfect window of opportunity to replenish hydration and lock in moisture. Whilst the skin is still slightly damp, apply a soothing, alcohol-free toner or a hydrating essence to rebalance the pH and prepare the skin for subsequent steps.
Follow with a lightweight, hydrating serum containing ingredients like hyaluronic acid or glycerin to draw moisture back into the skin cells. Finally, seal everything in with a nourishing moisturiser. This step is crucial, as it rebuilds the protective lipid barrier and ensures your skin remains soft, plump, and thoroughly balanced. Incorporating this structured, step-by-step approach once or twice a week will keep your skin feeling purified, smooth, and beautifully cared for.