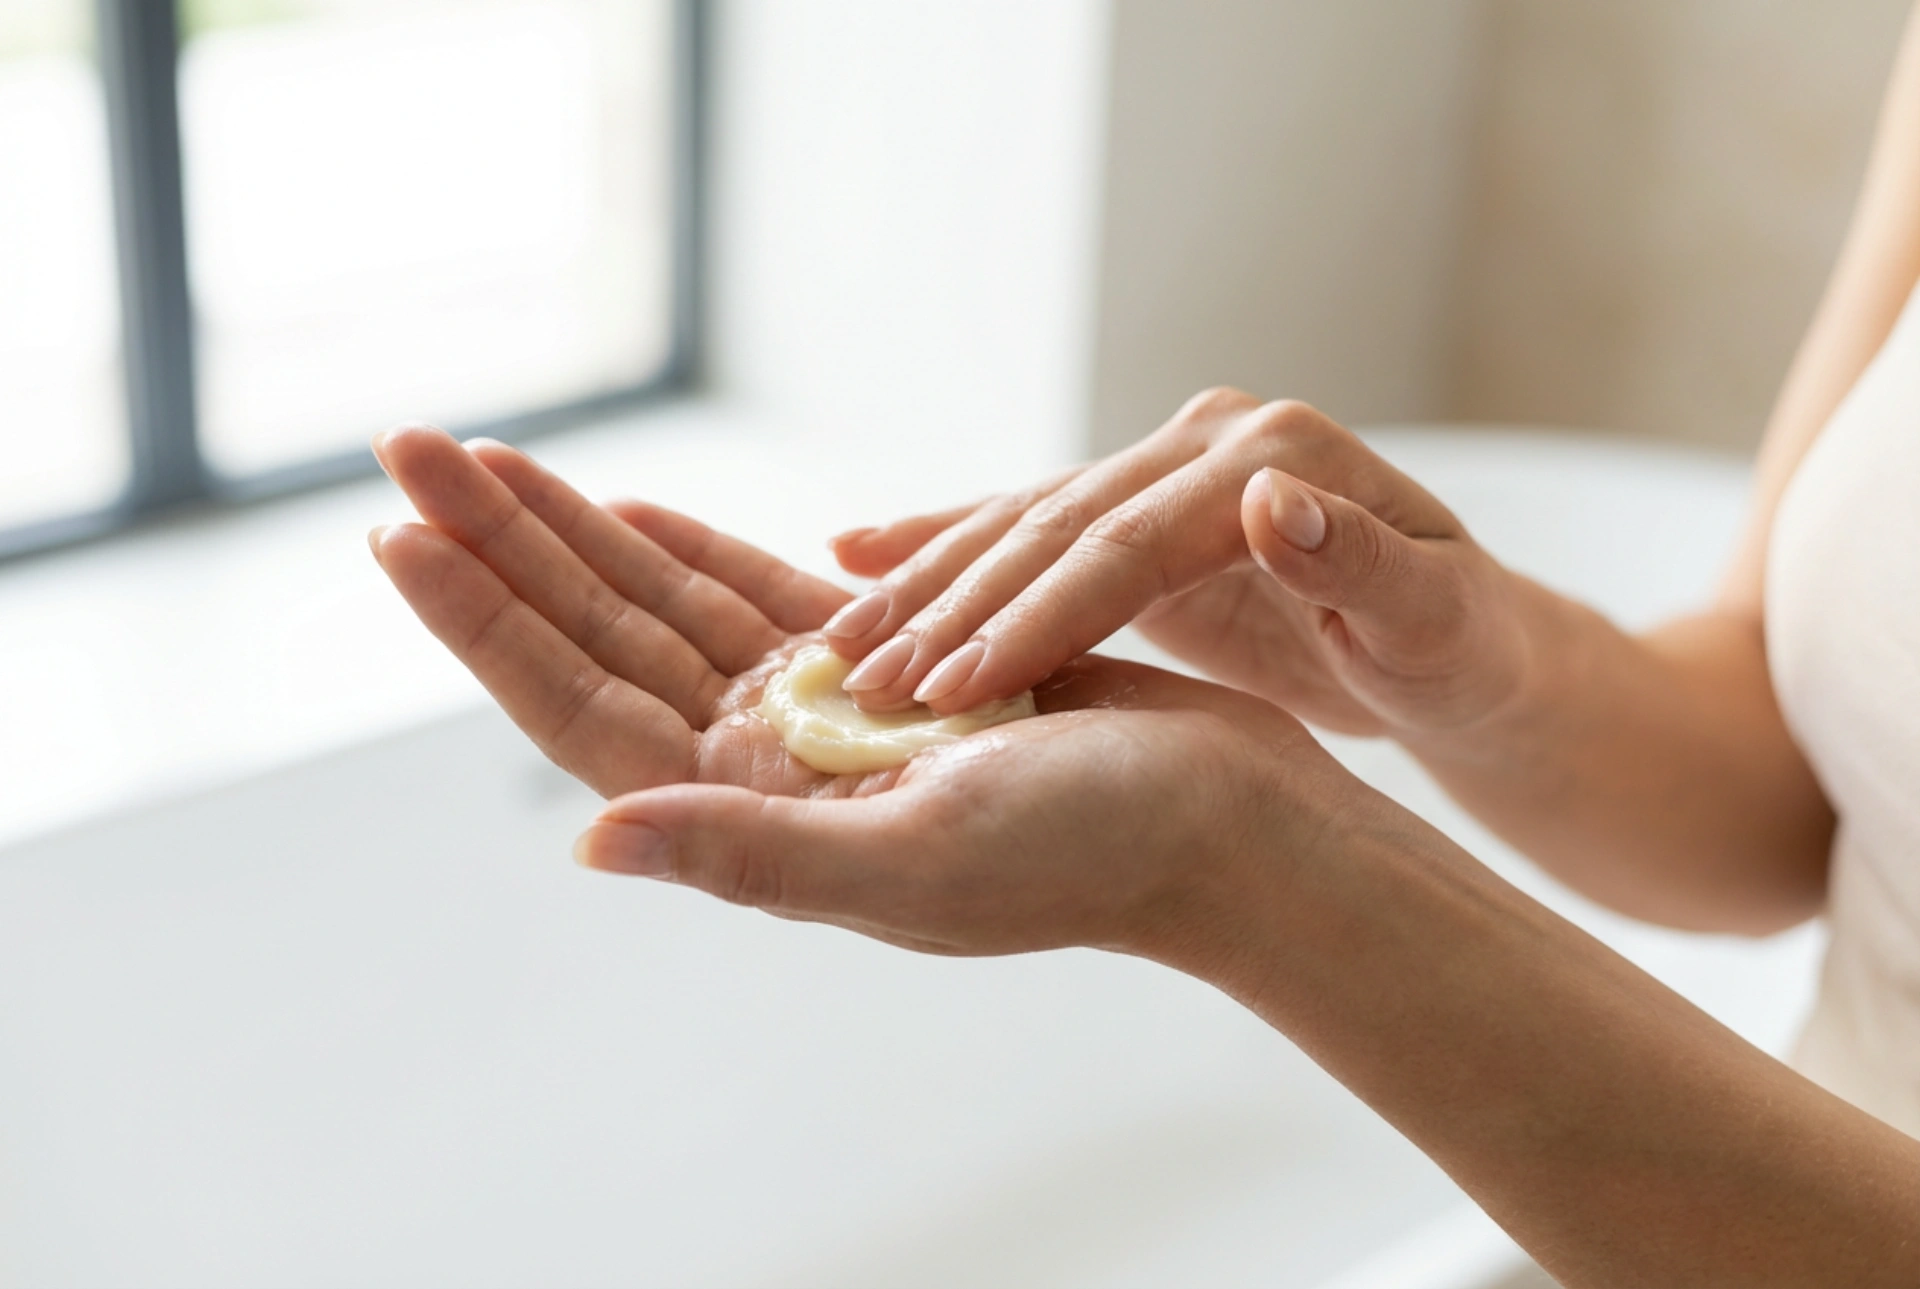


There is a unique sense of indulgence in the gentle ritual of self-care, especially when it involves nourishing products and mindful touch. Imagine a serene room bathed in soft, natural light, where elegant, manicured hands slowly warm a dollop of rich, creamy shea butter. As the butter melts between the palms, it transforms into a silky, luxurious oil that glides smoothly over the skin. Utilising shea butter for a home massage is not only a wonderful way to unwind, but it also provides intensive moisturisation for dry, tired skin. By mastering the simple techniques of preparing and warming this natural treasure, you can elevate your daily skincare routine into a deeply therapeutic experience.
The Unique Benefits of Shea Butter for Massage
Shea butter, extracted from the nuts of the shea tree, is highly regarded in the beauty world for its exceptional emollient properties. Unlike lightweight lotions that quickly absorb and disappear, raw or refined shea butter offers a rich, dense texture that provides the perfect amount of glide for a relaxing massage. It forms a delicate protective barrier on the skin, sealing in moisture and leaving a long-lasting, healthy glow.
This natural butter is packed with beneficial fatty acids and vitamins that support skin elasticity and softness. During a massage, the physical manipulation of the muscles combined with the rich nourishment of shea butter helps to soften rough patches, particularly on stubborn areas like the elbows, knees, and heels. Because it is a single-ingredient, natural product, it is incredibly gentle and suitable for various skin types, making it a versatile choice for anyone seeking a safe, chemical-free massage medium at home.
Preparing the Butter: From Solid to Liquid Gold
Before beginning your massage, proper preparation of the shea butter is essential. In its natural state, shea butter is solid at room temperature and can sometimes feel slightly grainy or firm. To ensure a seamless application, it is best to store your shea butter in a dry place at moderate room temperature, away from direct sunlight or extreme cold, which can make it excessively hard.
When you are ready to begin, use a clean cosmetic spatula or your fingertips to scoop out a small, walnut-sized portion. It is highly recommended to avoid artificial heating methods, such as using a microwave or heating the butter directly on a stove. Excessive heat can alter the beneficial properties of the natural fats and ruin the smooth texture. Instead, the most effective and skin-friendly way to liquefy shea butter is to utilise the natural warmth of your own body.
The Art of Melting Shea Butter in Your Palms
Melting shea butter directly in your palms is a sensory experience that prepares both your mind and body for the massage. This method ensures the butter reaches the perfect, comfortable temperature before touching the skin, preventing any cold surprises.
- Place and Press: Place the scooped portion of shea butter directly into the centre of one palm. Press your hands together gently to begin transferring your natural body heat to the product.
- Friction and Heat: Slowly rub your palms together in circular motions. The friction, combined with your natural skin temperature, will rapidly break down the solid fats, turning the firm paste into a smooth, creamy consistency.
- The Transformation: Within seconds, you will feel the texture shift from a solid cream to a rich, warm oil. Make sure the butter is completely melted with no remaining solid lumps before you begin applying it to the body. This guarantees a consistent, friction-free glide.
Simple Massage Techniques for Home Relaxation
Once the shea butter has reached its liquid state, you can begin the massage using gentle, deliberate techniques. The goal is to promote relaxation while allowing the rich oil to penetrate the outer layers of the skin.
Effleurage (Gentle Stroking)
Begin with long, sweeping strokes using the flat of your hands. Move upward from the limbs towards the centre of the body. This technique helps to distribute the melted shea butter evenly across larger areas, such as the legs, arms, or shoulders. It warms the skin further and prepares the muscles for deeper relaxation.
Petrissage (Kneading)
For areas that hold more tension, such as the shoulders or the arches of the feet, use gentle kneading motions. Use your thumbs and fingers to apply soft, circular pressure. The warm shea butter acts as an excellent lubricant, preventing any uncomfortable pulling or stretching of the skin while you work through tight spots.
Focusing on Dry Zones
Pay extra attention to dry zones like the hands and feet. Spend a few minutes massaging the melted butter into the cuticles and heels. The combination of warmth, pressure, and the occlusive nature of shea butter will leave these prone-to-dryness areas incredibly soft, supple, and deeply hydrated.
Creating the Perfect Home Massage Ritual
To get the most out of your shea butter massage, consider the environment in which you perform it. A quiet, warm room is essential, as cold air can cause the melted butter to cool down and solidify on the skin too quickly. Dimming the lights and playing soft background music can help you detach from daily stress.
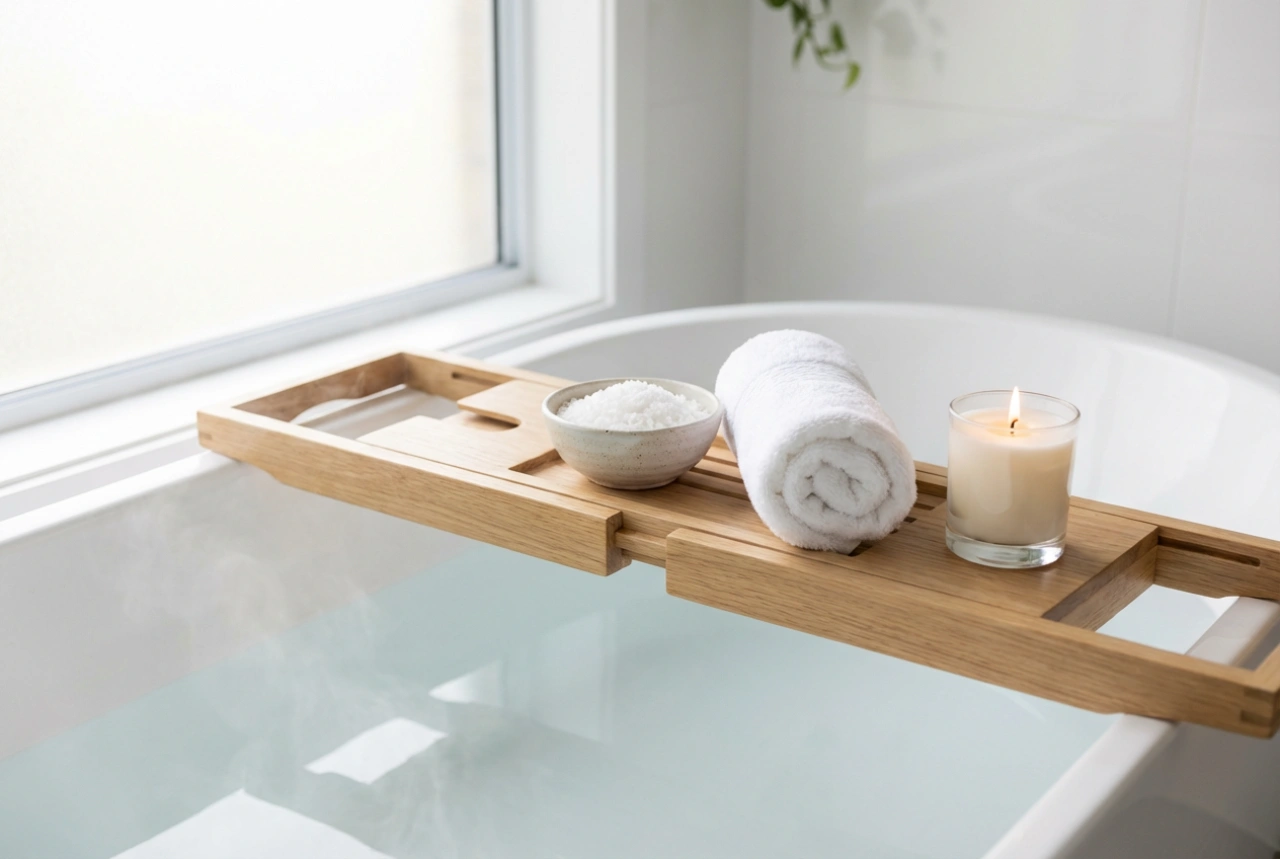
It is best to perform this ritual after a warm bath or shower. Warm water opens the pores, making the skin highly receptive to the moisturising benefits of the butter. After the massage, allow the shea butter to absorb fully into the skin for a few minutes before dressing. If there is any excess oil, you can gently pat the skin with a soft, clean towel. By incorporating this natural, warming practice into your self-care routine, you can enjoy the luxurious feel of a professional spa treatment right in the comfort of your home.