


Creating beautiful curls and waves at home has never been more accessible, thanks to the versatility of modern curling wands. From tight ringlets to soft, beachy waves, the right tool and technique can transform your hair. However, with so many options available, choosing the correct barrel size can feel overwhelming. Understanding how diameter affects the final result is the first step towards achieving your desired hairstyle safely and effectively.
Understanding Curling Wand Barrel Sizes
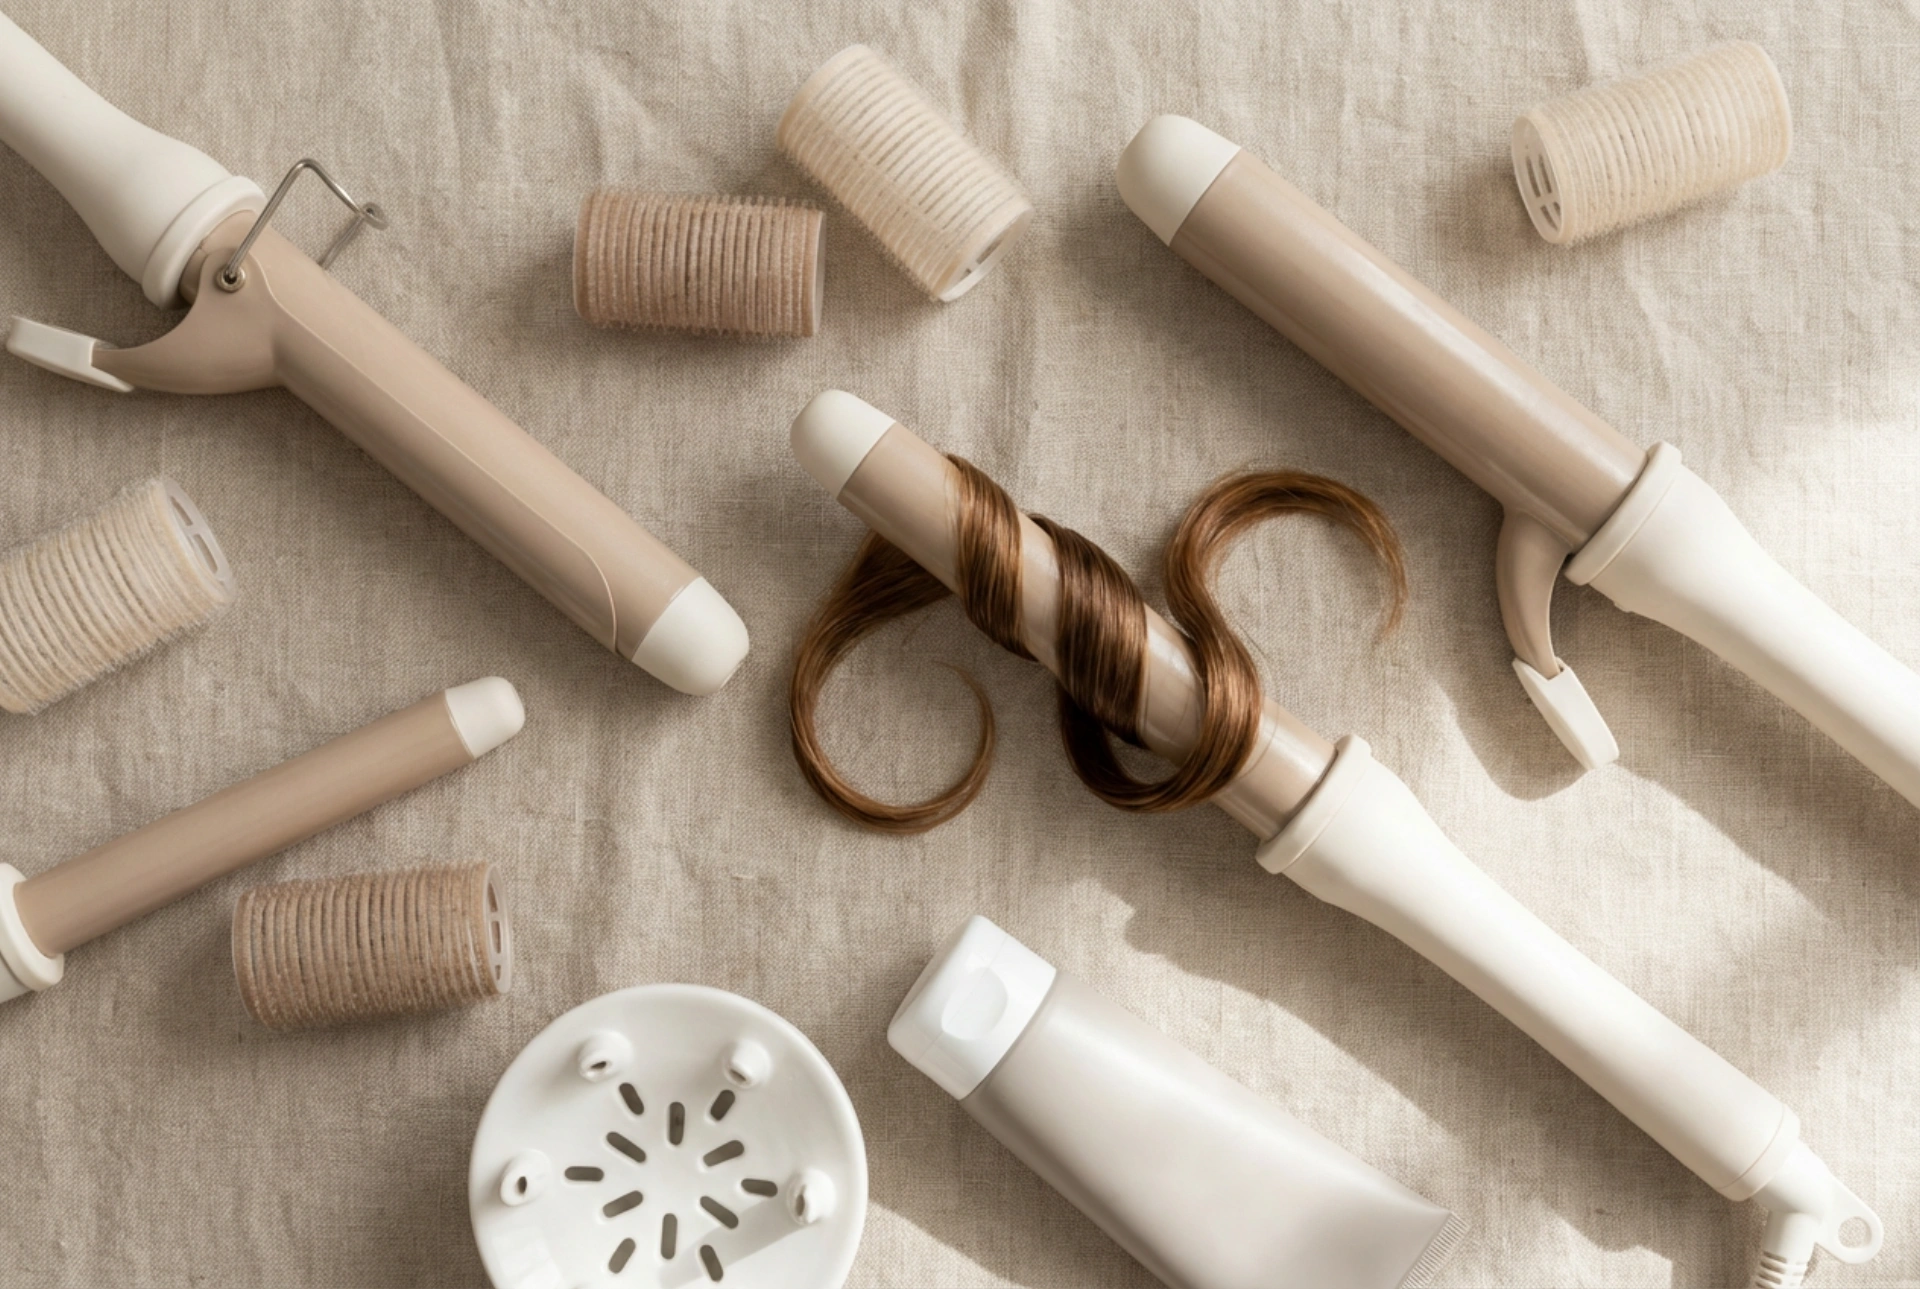
The golden rule of heat styling is simple: the smaller the barrel, the tighter the curl. Conversely, a larger barrel will produce looser waves and add volume. Matching the barrel size to your hair length and desired outcome is crucial for a successful look. Most wands range from 10mm to over 38mm, each creating a distinct effect.
Small Barrels (10mm – 19mm)
These slender wands are designed to create tight, defined, bouncy curls. They are an excellent choice for individuals with naturally curly hair who want to enhance and define their existing pattern, or for those with straight hair wanting a very textured, spiral look. Small barrels work particularly well on short to medium-length hair, as they allow you to wrap the hair around multiple times even with less length.
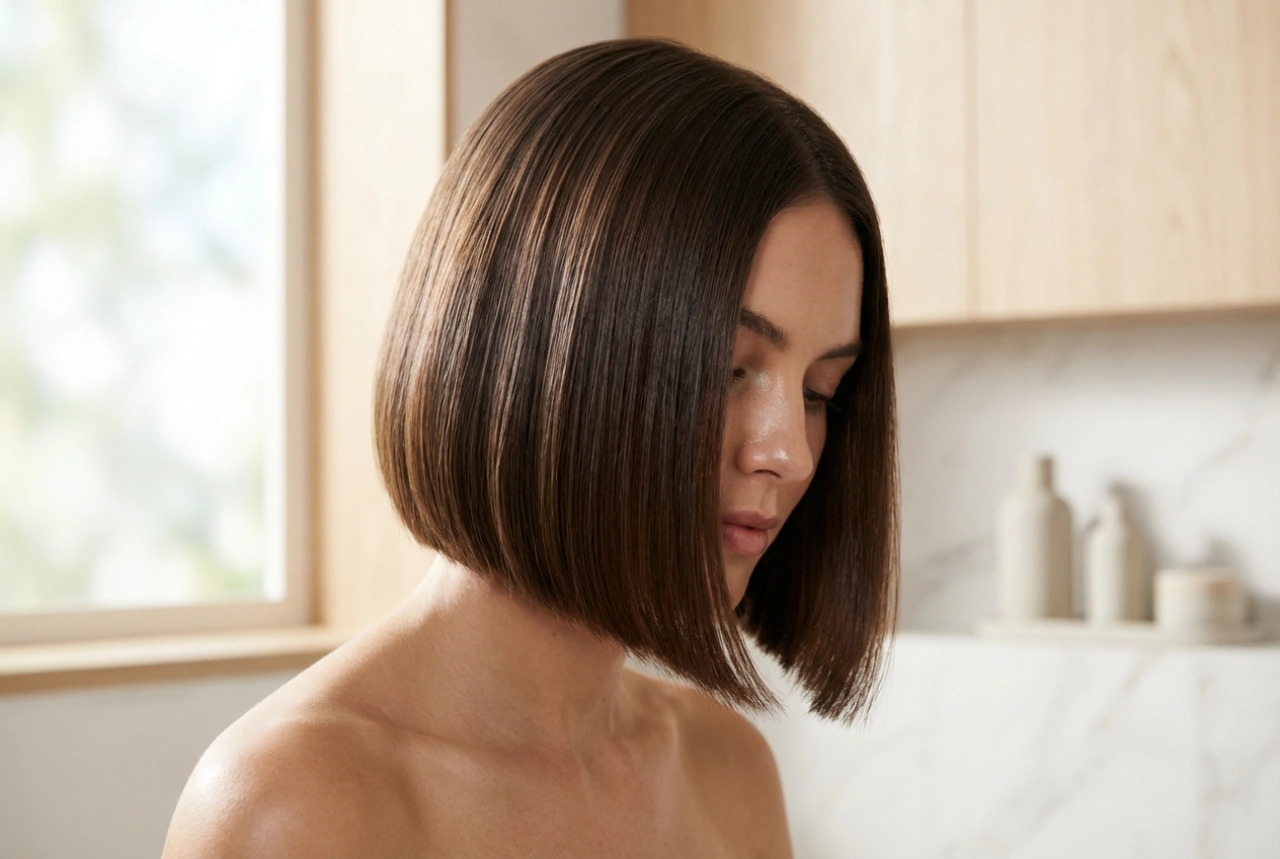
Medium Barrels (20mm – 28mm)
Often considered the most versatile and popular choice, a 25mm (1-inch) barrel is a true all-rounder. It creates classic, uniform curls that are neither too tight nor too loose. This size is suitable for almost all hair lengths, from a chin-length bob to very long hair. The curls are substantial enough to hold their shape but can also be brushed out into soft, glamorous waves. If you're looking to invest in just one tool, a medium barrel is a fantastic starting point.
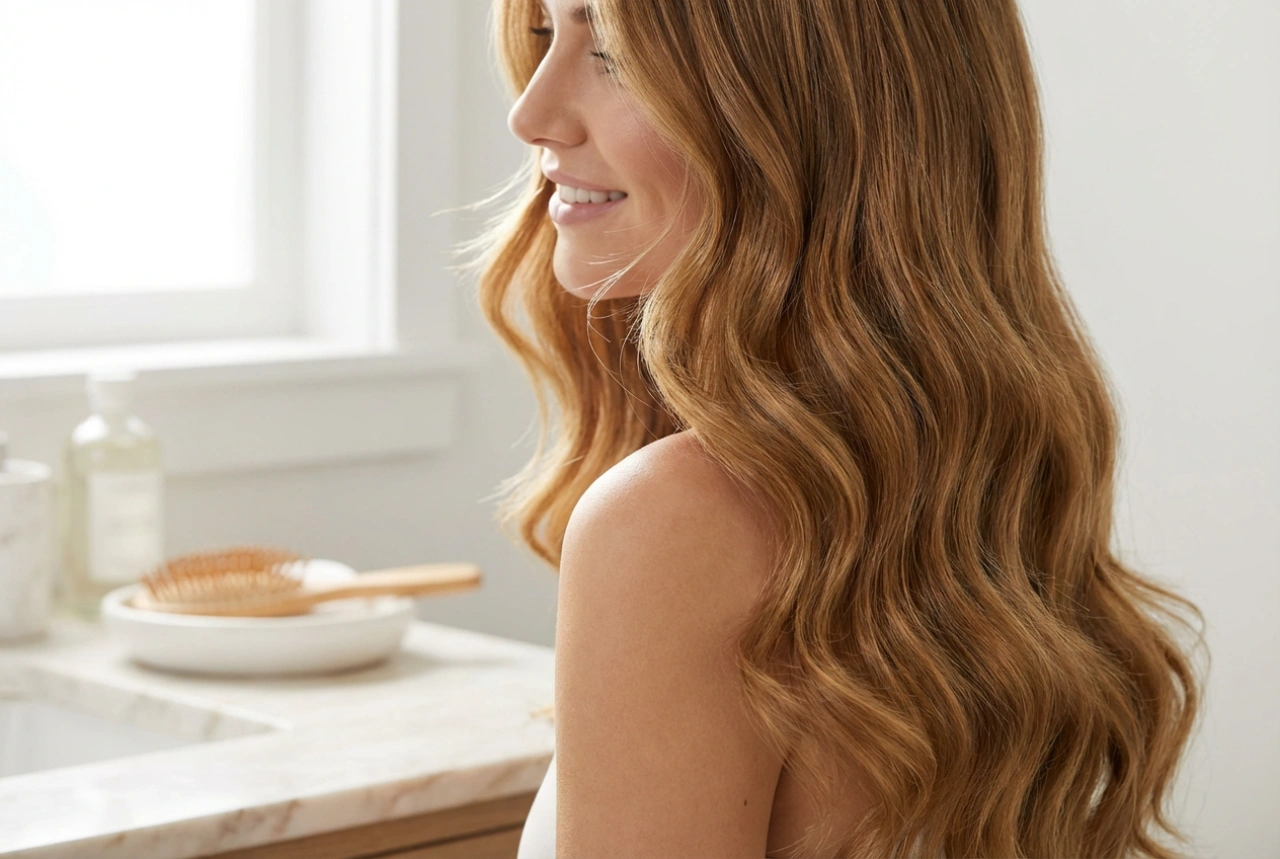
Large Barrels (32mm and above)
If your goal is volume and loose, flowing waves, a large barrel is the tool for you. Wands with a diameter of 32mm, 38mm, or even larger are perfect for achieving that sought-after 'blow-dry' effect or gentle, beachy waves. They are best suited for medium to long hair, as shorter hair may not be able to wrap around the barrel enough to create a defined shape. These wands impart body and movement rather than distinct curls.
A Step-by-Step Guide to Perfect Curls
Once you've selected your tool, mastering the technique is the next step. A consistent method will ensure your curls are uniform and long-lasting. Always prioritise the health of your hair by incorporating protective measures.
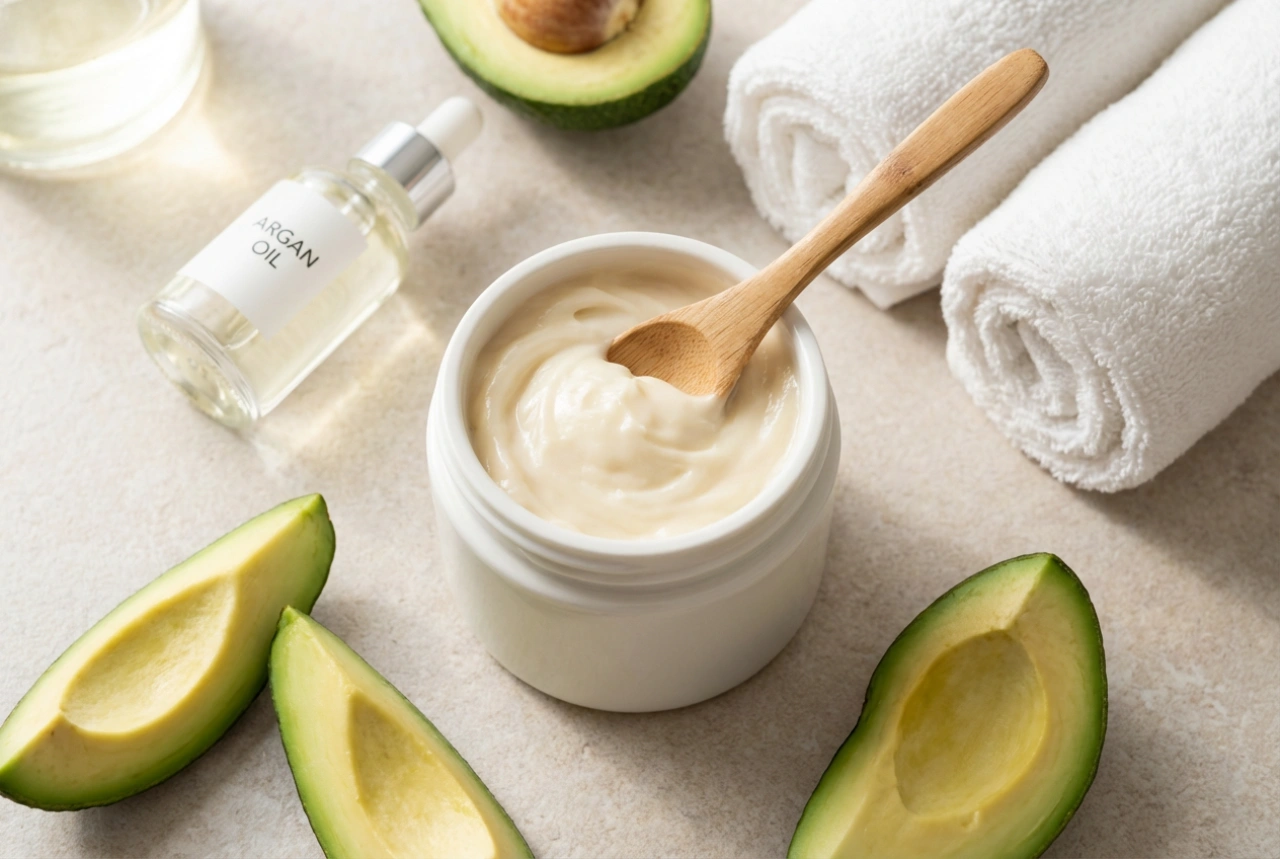
- Preparation is Key: Always begin with completely dry hair. Curling damp or wet hair can cause irreversible damage. Brush your hair thoroughly to remove any tangles. The most important step is to apply a heat protectant spray from roots to ends to create a barrier against the heat.
- Section Your Hair: Divide your hair into manageable sections using clips. Working with smaller, 1 to 2-inch sections at a time will ensure that heat is distributed evenly and will result in a more polished, consistent finish.
- The Wrapping Technique: Hold the curling wand vertically with the barrel pointing downwards. Take your first section of hair and wrap it flat against the barrel, starting a few inches from the root. For a modern, flattering look, wrap the hair away from your face. Leave the last inch or so of the ends unwrapped to create a more relaxed, natural-looking finish.
- Hold and Release: Hold the hair around the barrel for about 5-10 seconds. The exact time will depend on your hair's thickness and the temperature setting. Gently release the hair and catch the curl in the palm of your hand, allowing it to cool for a few seconds. This helps the curl set properly and dramatically improves its longevity.
- Finishing Touches: Wait until all sections are curled and completely cool before touching them further. Once cool, you can gently run your fingers through the curls to separate them and create a softer, more blended look. To lock in your style, finish with a light mist of a flexible-hold hairspray.
Common Curling Mistakes to Avoid
Achieving a flawless result often means knowing what not to do. Avoiding these common errors will protect your hair and improve the quality of your curls.
- Using Excessive Heat: It's a myth that you need the highest temperature for curls to last. Start with a lower heat setting and only increase it if necessary. Fine, damaged, or colour-treated hair is more vulnerable and requires less heat.
- Curling Hair That Isn't Dry: This is one of the most damaging mistakes. The sizzling sound is a sign that the water in your hair is boiling, which can cause severe harm to the hair cuticle.
- Forgetting the Heat Protectant: This step is non-negotiable. A good heat protectant minimizes damage, reduces moisture loss, and helps your style look smoother.
- Working with Sections That Are Too Large: If your sections are too thick, the heat won't penetrate evenly. This results in undefined curls on the outer layer and straight pieces underneath, and the style will fall out much faster.
- Brushing Out Curls While They Are Still Warm: Curls form and set during the cooling process. If you brush or pull on them while they are still warm, you will stretch them out, and they will lose their shape almost immediately. Patience is key for longevity.