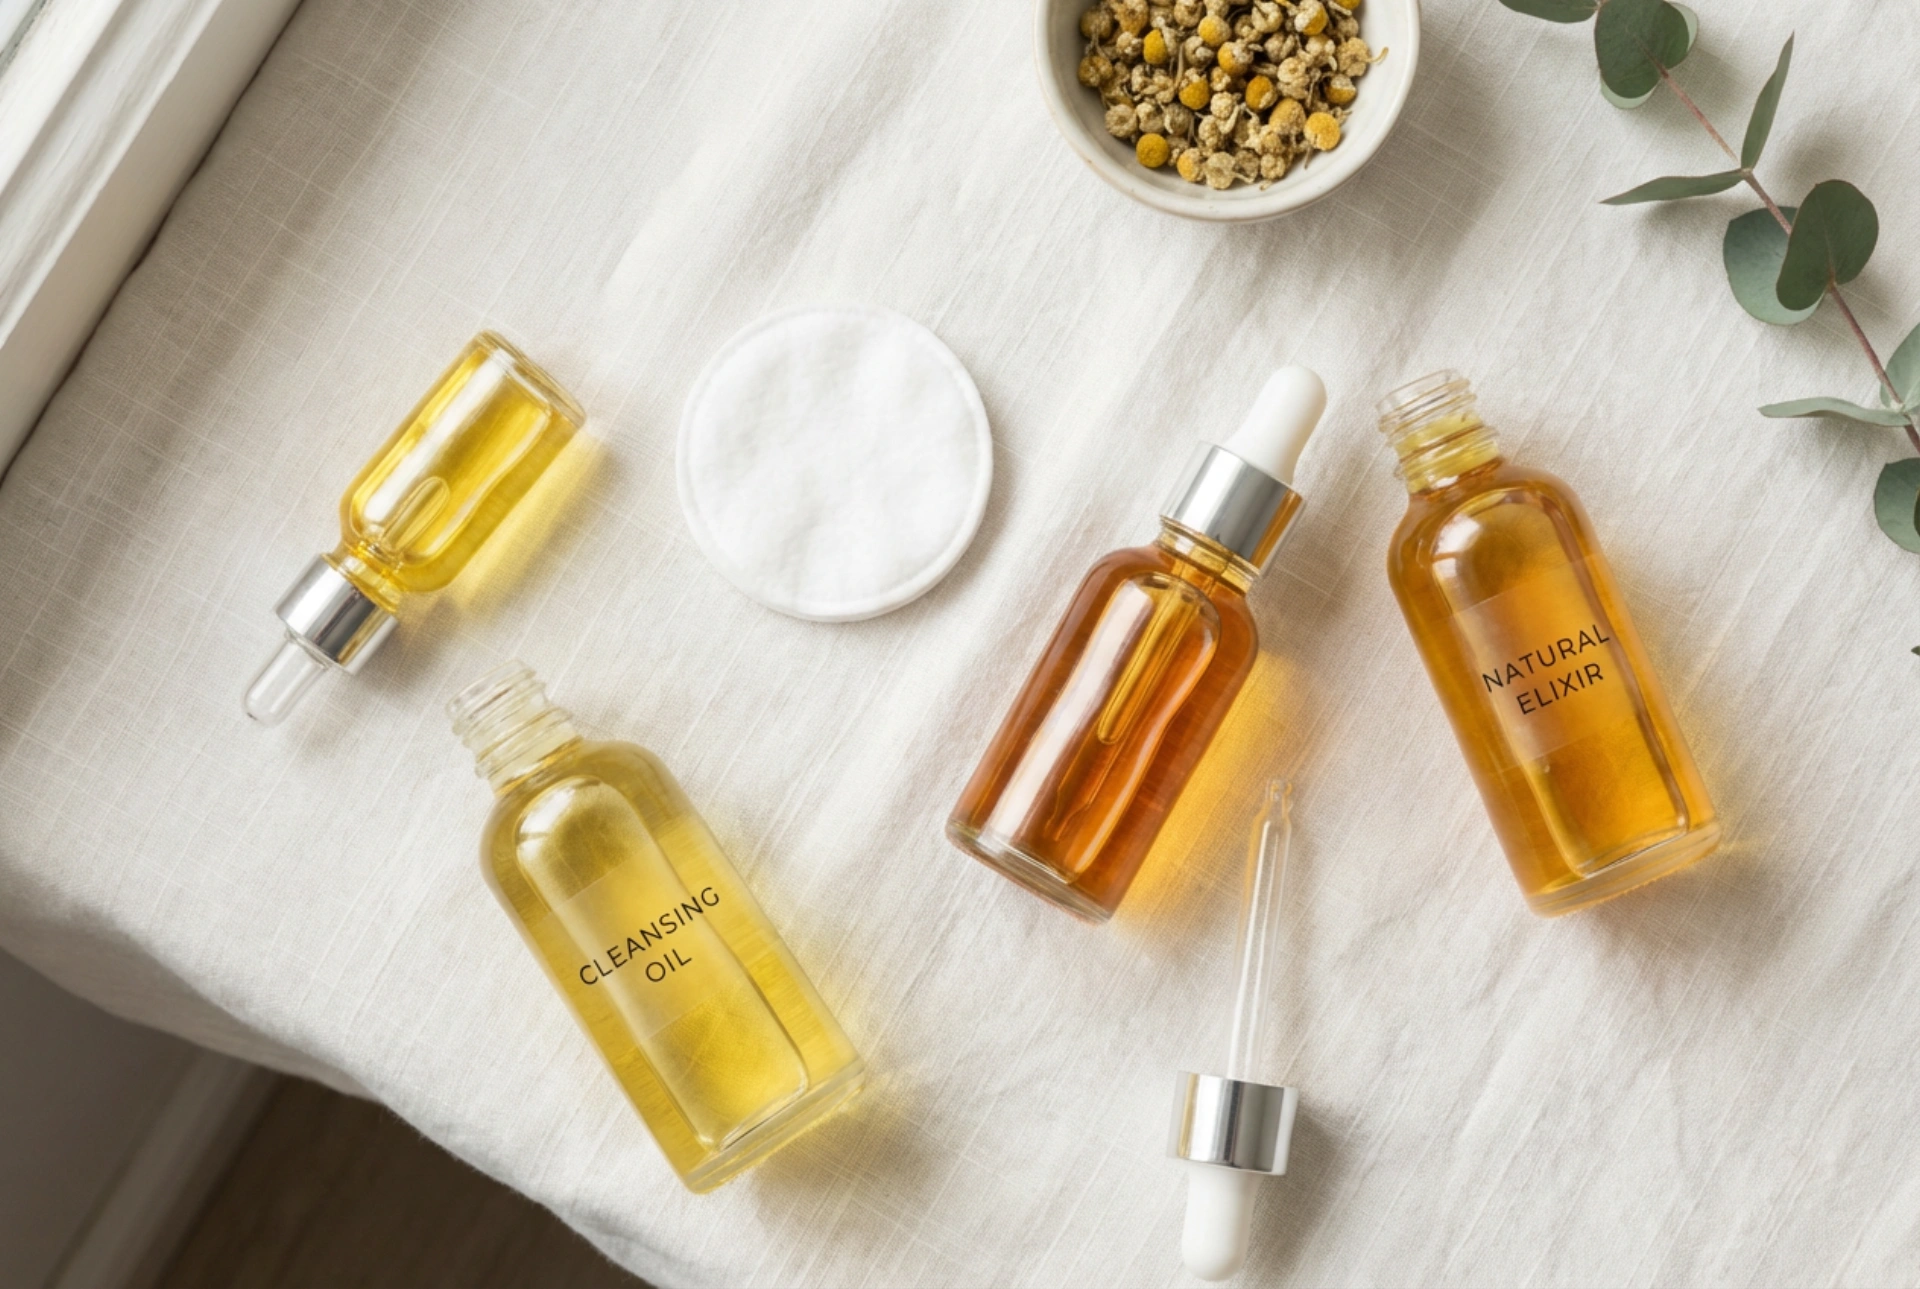


Removing makeup and daily impurities effectively without stripping the skin of its natural moisture can sometimes feel like a challenge. In the search for gentle yet powerful solutions, natural cleansing oils have emerged as a cornerstone of many skincare routines. Based on the simple principle that 'like dissolves like', these oils work to break down makeup, sunscreen, and excess sebum, all while nourishing the skin. Moving away from harsh methods, oil cleansing offers a mindful, soothing ritual that leaves your complexion feeling clean, soft, and balanced.
Why Choose Natural Oils for Cleansing?
The primary benefit of using a cleansing oil lies in its ability to provide a deep clean without disrupting the skin's delicate barrier. Many traditional cleansers use surfactants that can wash away not only dirt but also the natural lipids that keep your skin hydrated and protected. This can lead to feelings of tightness, dryness, and irritation. In contrast, cleansing oils bind to the oily impurities on your face, including stubborn waterproof mascara and long-wear foundation, lifting them from the surface so they can be easily rinsed away. The result is skin that is thoroughly cleansed but remains supple and comfortable. Furthermore, the act of massaging the oil into the skin can help to improve circulation and provides a moment of relaxation at the start or end of your day.
How to Choose the Right Cleansing Oil
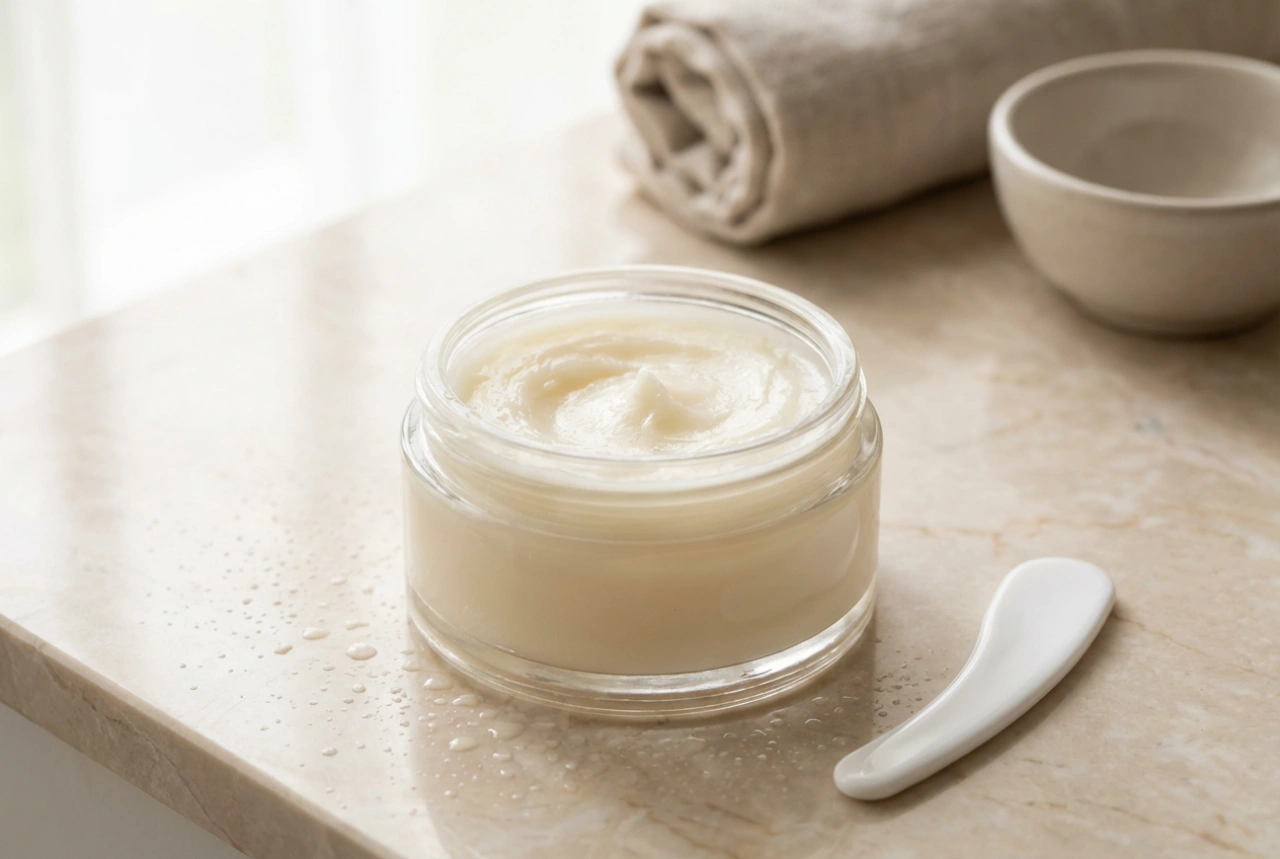
Choosing the right cleansing oil is less about specific brands and more about understanding the ingredients and your skin's needs. The key is to look for oils specifically formulated for facial cleansing. These products typically contain an emulsifier, an ingredient that allows the oil to mix with water and turn into a milky liquid, ensuring it rinses off completely without leaving a greasy residue.
For Drier or Mature Skin Types
If your skin tends to be dry or is showing signs of ageing, look for richer, more nourishing oils. Ingredients like avocado oil, sweet almond oil, and jojoba oil are excellent choices. Avocado oil is packed with fatty acids and vitamins, offering deep hydration. Sweet almond oil is known for its softening properties, while jojoba oil has a composition very similar to the skin's own sebum, making it easily absorbed and highly moisturising.
For Combination or Oily Skin Types
It may seem counterintuitive to use oil on oily skin, but it can be incredibly effective for balancing sebum production. The key is to choose lighter, non-comedogenic oils that won't feel heavy or clog pores. Look for formulations containing oils like grapeseed, safflower, or sunflower oil. Grapeseed oil, for example, is very lightweight and has astringent properties, while safflower oil is rich in linoleic acid, which can help to maintain the skin's barrier function without adding excess grease.
The Correct Oil Cleansing Method: A Step-by-Step Guide
To get the most out of your cleansing oil, technique is everything. Following the correct steps ensures you remove all impurities effectively and leave no residue behind.
- Start with Dry Hands and a Dry Face: This is the most crucial step. Oil and water repel each other, so to allow the cleansing oil to properly dissolve the oils on your skin (makeup, SPF, sebum), it must be applied to a completely dry surface.
- Gently Massage the Oil: Dispense one or two pumps of oil into your dry palms and warm it slightly by rubbing your hands together. Then, gently massage it over your entire face in circular motions for about 30 to 60 seconds. Take your time and be thorough, paying special attention to areas with heavy makeup, like around the eyes and nose. Use light pressure; no harsh scrubbing is needed.
- Emulsify with Water: Wet your hands with lukewarm water and continue to massage your face. You will see the oil transform into a thin, milky consistency. This is the emulsifier at work, lifting the dissolved dirt and oil away from your skin.
- Rinse Thoroughly: Once the oil has been fully emulsified, rinse your face completely with lukewarm water. Avoid using hot water, as it can be stripping and irritating. Continue rinsing until your skin feels clean and soft, with no oily film remaining.
- Pat Dry and Follow with a Second Cleanse (Optional): Gently pat your face dry with a clean, soft towel. For many, the oil cleanse is sufficient. However, if you wear very heavy makeup or have particularly oily skin, you might want to perform a 'double cleanse'. This involves following your oil cleanser with a gentle, water-based cleanser (like a gel or cream) to ensure your skin is perfectly clean and ready for the next steps in your routine.
Common Mistakes to Avoid
Oil cleansing is simple, but a few common missteps can hinder your results. Be mindful to avoid the following:
- Applying oil to a wet face: This prevents the oil from binding to and breaking down makeup and sebum effectively.
- Using too much or too little product: Too little won't provide enough slip and may not cleanse thoroughly, while too much can be difficult to rinse off. One to two pumps is usually sufficient.
- Rushing the massage: Give the oil at least 30 seconds to work its magic and dissolve everything.
- Scrubbing too hard: The oil does the work for you. Gentle, circular motions are all that's needed. Aggressive rubbing can irritate the skin, especially around the delicate eye area.
- Not emulsifying properly: Simply splashing water on your face after applying oil won't remove it properly. You must massage with wet hands to activate the emulsification process.
- Using a pure kitchen oil: While some pure oils can be used, they lack emulsifiers and will be very difficult to rinse off, potentially leaving a residue that could clog pores. It's best to use a product formulated for facial cleansing.