


Waterproof mascara is a true hero in any makeup bag, offering the confidence of a smudge-proof, tear-proof finish that lasts through humid days, emotional moments, and long events. However, its resilient formula requires a specific application technique to look its best and a careful removal process to protect your delicate lashes. Mastering these steps is the key to unlocking perfectly defined, voluminous lashes that stay flawless from morning to night.
Why Choose Waterproof Mascara?
While a classic mascara is perfect for daily wear, a waterproof version offers unique benefits for specific situations. Its formula is designed with ingredients that repel water, making it resistant to moisture in all its forms—from rain and humidity to tears and sweat. This makes it an ideal choice for special occasions like weddings, beach holidays, or intense workouts where you want your eye makeup to remain impeccable. The staying power of waterproof mascara means no more worrying about smudges, flakes, or the dreaded 'panda eyes,' giving you complete peace of mind.
Preparing Your Lashes for Application
The secret to a stunning mascara application begins before you even open the tube. Properly prepping your lashes creates the perfect canvas for a smooth, clump-free, and long-lasting result. Start with clean, dry lashes, completely free of any residual makeup or oils. An oil-free makeup remover can ensure they are pristine.
Next, always curl your lashes before applying mascara. An eyelash curler opens up the eyes and gives your lashes a beautiful lift. Position the curler at the base of your lashes, squeeze gently for a few seconds, then move it to the middle of the lashes and squeeze again. This creates a natural-looking curve rather than a harsh crimp. Never curl your lashes after applying waterproof mascara, as the stiffened lashes can become brittle and break.
A Step-by-Step Guide to Flawless Application
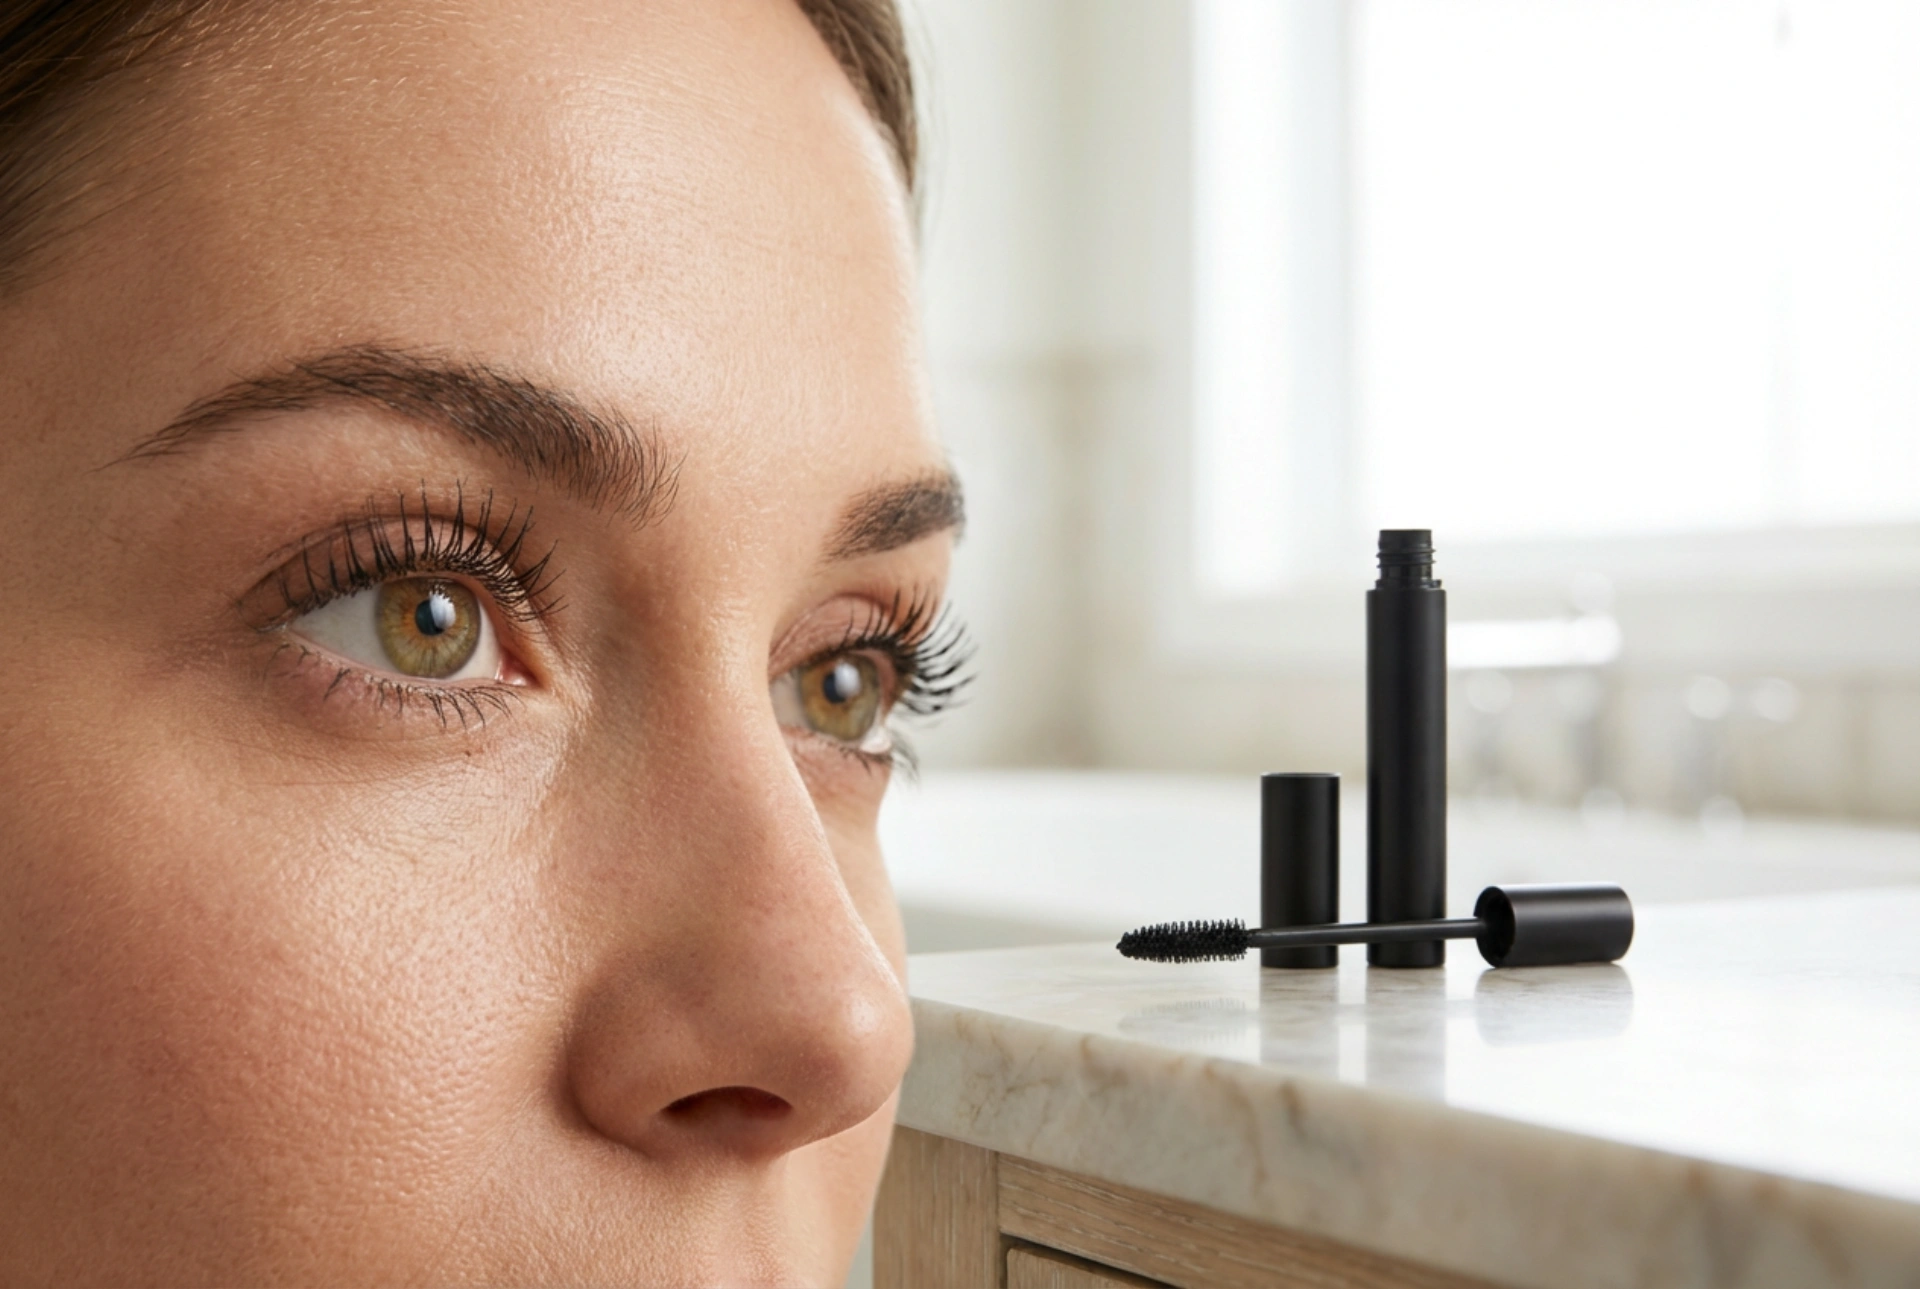
Applying waterproof mascara correctly ensures you get the desired effect—whether it's volume, length, or definition—without clumps or mess. The key is patience and precision.
Technique for Volume and Length
To build both volume and length, use the 'wiggle' technique. Place the wand at the very root of your upper lashes and gently wiggle it back and forth. This deposits product at the base, creating an illusion of thickness and a fuller lash line. After wiggling, pull the wand straight up through the tips of your lashes to coat them evenly and add length. For extra impact, you can also try coating the top side of your upper lashes first by looking down and sweeping the wand over them, then applying from underneath as usual.
Coats and Clumps: Finding the Right Balance
Waterproof formulas tend to dry faster than regular ones, so it's best to work one eye at a time. Apply a thin, even first coat from root to tip. If you desire a second coat for more drama, apply it while the first is still slightly tacky, not completely dry. Waiting too long can cause the new layer to flake or clump. If you notice any lashes sticking together, use a clean, dry spoolie brush or a dedicated lash comb to gently separate them before the mascara sets completely.
Targeting Lower Lashes with Precision
Applying mascara to lower lashes can be tricky, but it completes the look. To avoid smudging the product on your under-eye area, hold the wand vertically and use just the tip to lightly coat each lash. This gives you more control and deposits a minimal amount of product for a defined yet natural look.
Common Mistakes to Avoid
A few common habits can undermine your mascara application. Being mindful of them will elevate your makeup game.
- Pumping the Wand: Pushing the wand in and out of the tube forces air into the formula. This not only dries out your mascara faster but can also introduce bacteria. Instead, gently swirl the wand inside the tube to pick up product.
- Applying Too Many Thick Coats: While it's tempting to layer on mascara for maximum impact, too many thick coats will lead to a clumpy, spidery effect. It's better to build up volume with two thin, carefully applied coats.
- Forgetting to Refresh Your Mascara: All mascaras, especially waterproof types, should be replaced every three to four months to ensure they perform well and remain hygienic.
- Skipping the Gentle Removal: The biggest mistake of all is not removing waterproof mascara properly. Aggressive rubbing can damage or pull out your lashes. Always dedicate time to a gentle removal process.
The Crucial Final Step: Gentle and Effective Removal
Because of its resilient formula, waterproof mascara cannot be removed with simple soap and water or a standard cleanser. You need a product specifically designed to break down oil- and wax-based ingredients. A dual-phase (or bi-phase) makeup remover, which contains both oil and water components, is the most effective choice. An oil-based cleanser or pure cosmetic oils like coconut or jojoba oil can also work well.
To remove the mascara safely, saturate a cotton pad with your chosen remover. Close your eye and press the pad gently against your lashes, holding it in place for at least 30 seconds. This gives the remover time to dissolve the mascara without any need for friction. After holding, gently wipe downwards, following the direction of lash growth. Repeat with a clean pad if necessary until all traces of mascara are gone. This gentle 'soak and swipe' method protects your delicate eye area and keeps your lashes healthy and strong.