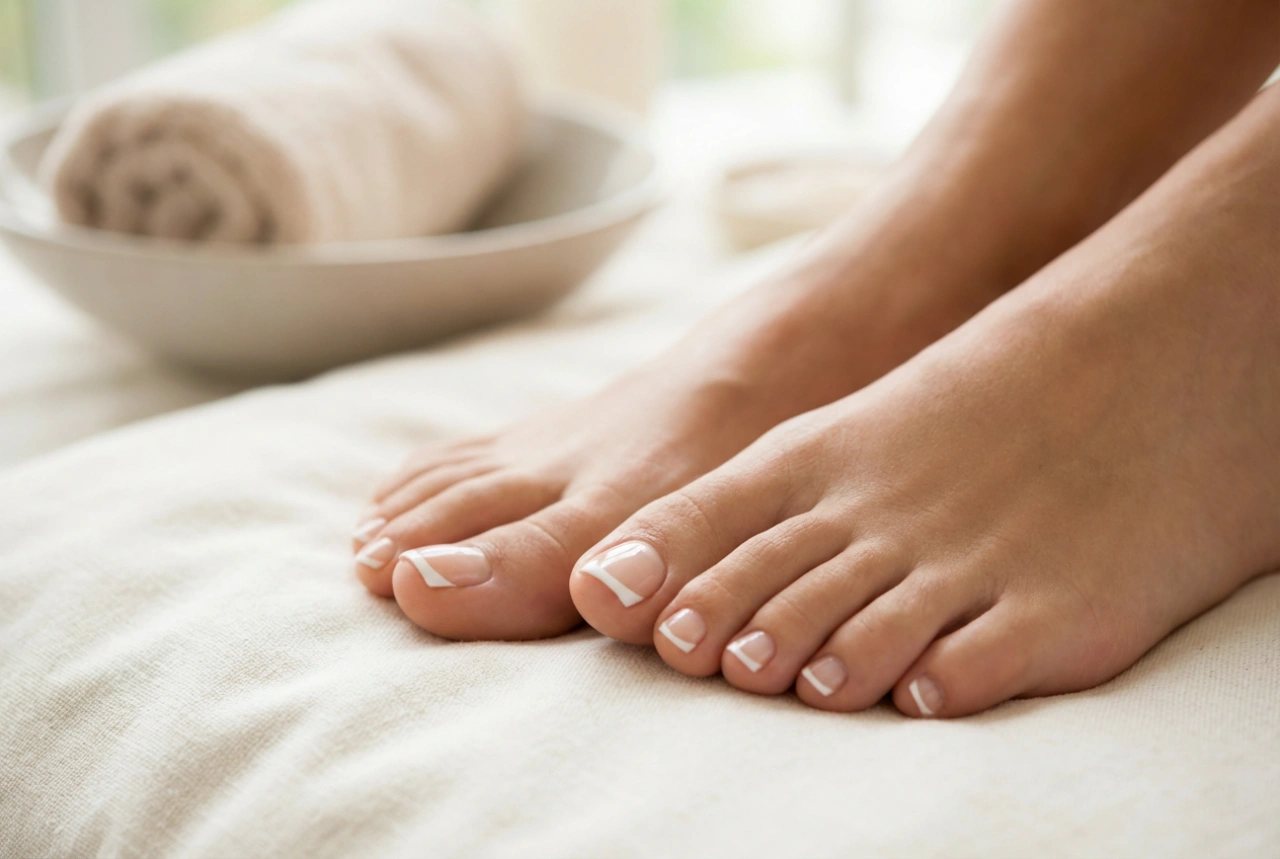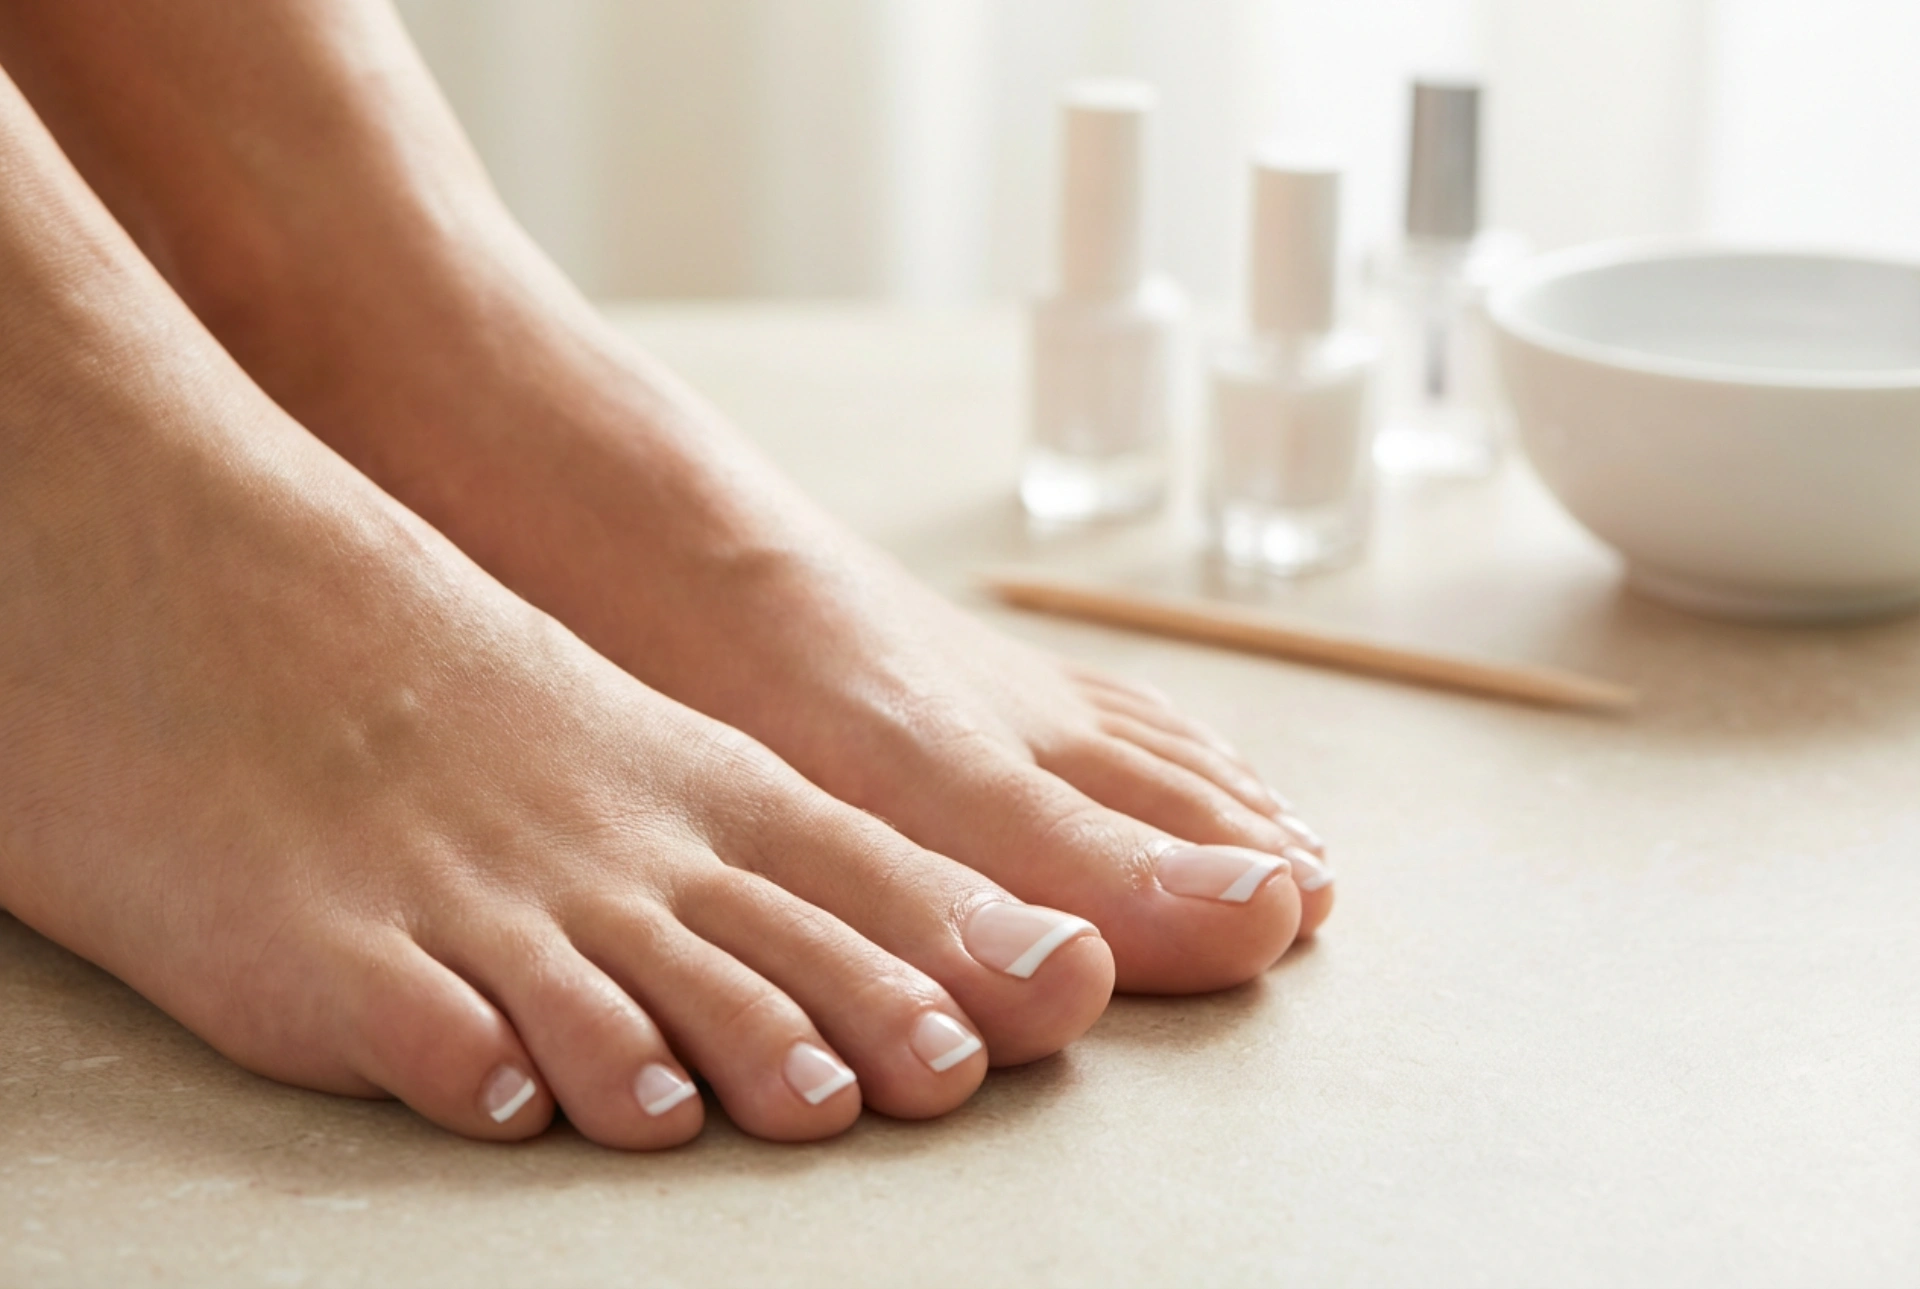


The French pedicure is a timeless classic, synonymous with elegance and refined taste. Its clean lines and natural colour palette make feet look impeccably groomed and sophisticated. While it may seem like a look best left to the professionals, achieving a beautiful French pedicure at home is entirely possible with the right techniques and a little patience. This guide will walk you through every stage, from preparing your feet to applying the final glossy top coat, ensuring a flawless and long-lasting result.
Preparation is Key: Getting Your Feet Ready
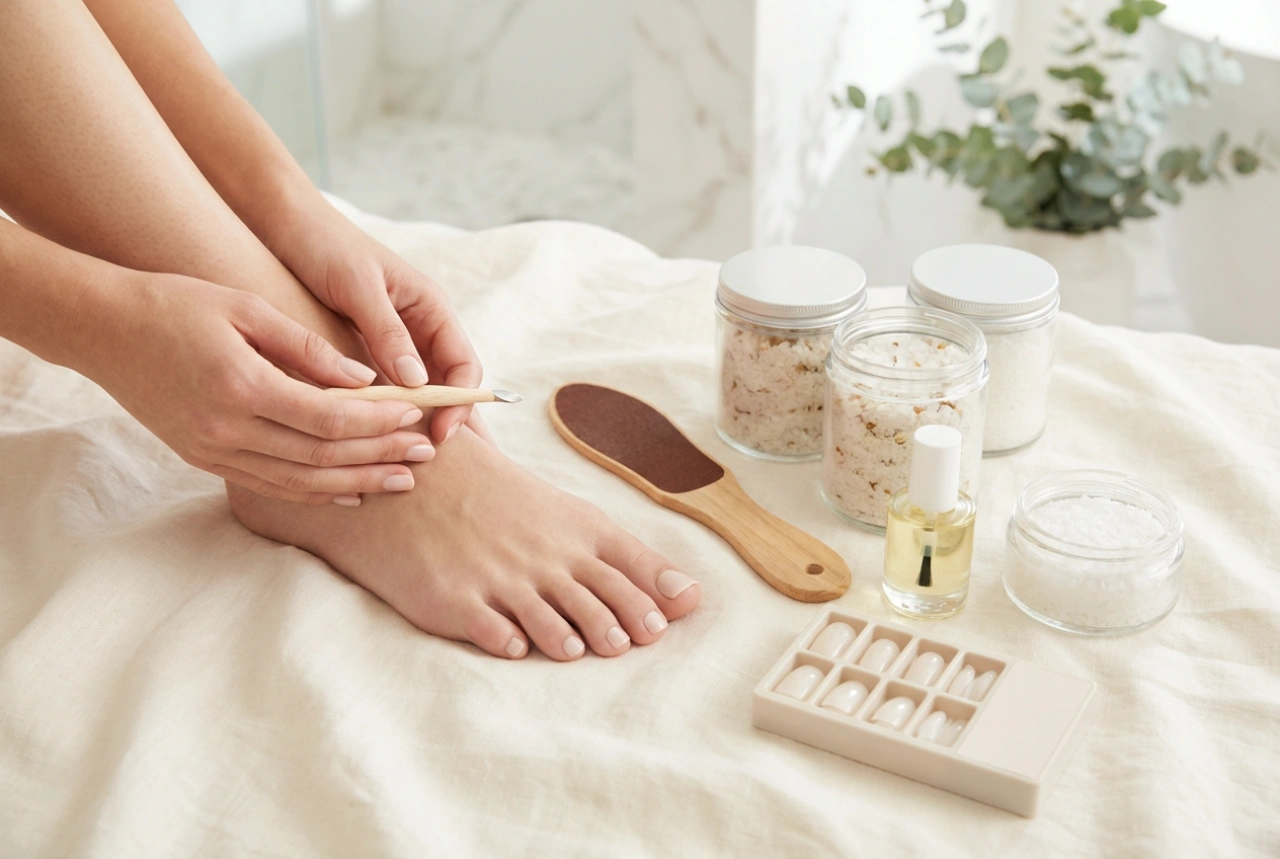
A perfect pedicure begins long before you open a bottle of polish. Proper preparation not only creates a smooth canvas for your nail art but also contributes to the overall health and appearance of your feet. Dedicate enough time to this stage; rushing it is the first step towards a subpar result.
1. Soak and Soften
Begin by soaking your feet in a basin of warm water for 10-15 minutes. This helps to soften rough skin, calluses, and cuticles, making them easier to manage. You can add a few drops of a gentle, skin-friendly bath oil or some Epsom salts for a more spa-like experience. After soaking, pat your feet completely dry with a clean towel, paying special attention to the areas between your toes.
2. Exfoliate Gently
Next, focus on removing dry, dead skin. Use a foot file or a pumice stone on tougher areas like the heels, balls of the feet, and sides of the big toes. Be firm but gentle; the goal is to smooth the skin, not irritate it. Follow up with a grainy foot scrub, massaging it all over your feet and ankles to slough away any remaining dead cells and boost circulation. Rinse thoroughly and pat dry.
3. Care for Your Cuticles
Proper cuticle care is crucial for a neat finish. Apply a drop of cuticle remover or oil to the base of each toenail and let it sit for a minute. Then, using a wooden orange stick or a rubber-tipped cuticle pusher, gently push back the softened cuticles. Avoid cutting your cuticles at home, as this can lead to irritation and potential issues. The cuticle serves as a natural barrier, and simply pushing it back is the safest and most effective approach for a home pedicure.
4. Shape and Buff the Nails
Use a nail file to shape your toenails. A slightly squared-off shape, often called 'squoval', is classic for a French pedicure and can help prevent ingrown nails. File in one direction rather than sawing back and forth, as this helps to prevent splitting and peeling. Once you are happy with the shape, take a fine-grit buffer and lightly go over the surface of each nail. This erases ridges and creates a perfectly smooth base for the polish to adhere to, which is essential for a glossy, even finish.
The Art of Application: Creating the Perfect French Tip
With your feet prepped, it's time for the main event. Work in a well-lit area and have all your products ready. Patience is your greatest tool here—allow each layer to dry properly before moving on to the next.
Step 1: Apply the Base Coat
Never skip the base coat. It serves multiple purposes: it protects your natural nails from staining, helps the polish adhere better, and fills in any minor imperfections on the nail surface. Apply one thin, even layer to each toenail and wait for it to dry completely. A good base coat provides the foundation for a durable pedicure.
Step 2: Add the Sheer Base Colour
The classic French look uses a sheer, natural-looking polish as the base colour. Choose a shade that complements your skin tone—typically a translucent pink, beige, or milky white. Apply one or two thin coats, depending on your desired level of opacity. The key is thin layers; thick coats take longer to dry and are more prone to smudging and bubbling. Let this colour dry thoroughly before proceeding.
Step 3: Create the White 'Smile Line'
This is often the most challenging part. The 'smile line' is the crisp white tip that defines the French pedicure. There are a few methods to achieve it:
- Freehand Technique: If you have a steady hand, you can use the polish brush from an opaque white nail varnish or a thin nail art brush. Wipe off excess polish and carefully paint a thin, white arc across the tip of each nail, following its natural curve.
- Using Guides: For a more foolproof method, use French pedicure guide stickers. Place the sticker on your nail, leaving the tip exposed. Paint the tip with your white polish, applying one or two thin coats. Wait for the white polish to be almost dry but not fully hardened, then carefully and slowly peel off the guide. Peeling it off too soon can cause smudging, while waiting too long can cause the polish to crack as you remove the sticker.
Whichever method you choose, aim for a tip that is proportional to the length of your nail bed. A very thick white line can look dated, while a delicate, thin line appears more modern and elegant. If you make any mistakes, use a small brush or cotton bud dipped in nail polish remover to clean up the edges before the polish sets.
The Finishing Touches: Sealing and Protecting Your Pedicure
You're almost there! The final step is what will give your pedicure that professional, high-gloss shine and protect it from the rigours of daily life.
Apply a high-quality top coat over the entire nail. Make sure to 'cap the free edge' by running the brush along the very tip of the nail. This simple action creates a seal that significantly helps to prevent chipping and extends the life of your pedicure. A good top coat will not only add brilliant shine but will also smooth over any tiny ridges between the base colour and the white tip, creating a seamless look. Allow at least 20-30 minutes of dedicated drying time where you don't wear socks or shoes. For best results, let it cure for a few hours before putting on closed-toe footwear.
Common Mistakes to Avoid and Tips for Longevity
To keep your French pedicure looking fresh for as long as possible, it pays to know what can go wrong and how to prevent it.
- Avoid thick layers of polish: This is the most common cause of bubbling, smudging, and slow drying. Always apply thin, even coats.
- Don't skip drying time: Rushing between layers will cause the polish underneath to drag and smudge, ruining the finish.
- Never forget the base and top coats: They are not optional extras. They are essential for protecting your nails and ensuring the durability of the pedicure.
- Moisturise daily: Keep the skin on your feet and your cuticles hydrated by applying a good foot cream or body lotion every day. This prevents dry skin and keeps your pedicure looking fresh.
- Be mindful of footwear: Tight shoes can put pressure on your toenails and cause the polish to chip or smudge, especially in the first 24 hours.
- Reapply the top coat: For maximum longevity, apply another thin layer of top coat every 3-4 days to refresh the shine and add an extra layer of protection.