


Achieving a flawless, glossy manicure that remains chip-free for days is a common beauty goal. While gel manicures offer impressive longevity, it is possible to get a similarly durable finish at home with the right products and techniques. The key lies in understanding what makes a polish last, how to prepare the nail surface correctly, and the application methods that seal in your colour. With a little extra care, you can enjoy a beautiful, long-lasting manicure without frequent touch-ups.
Choosing a Long-Wear Nail Polish
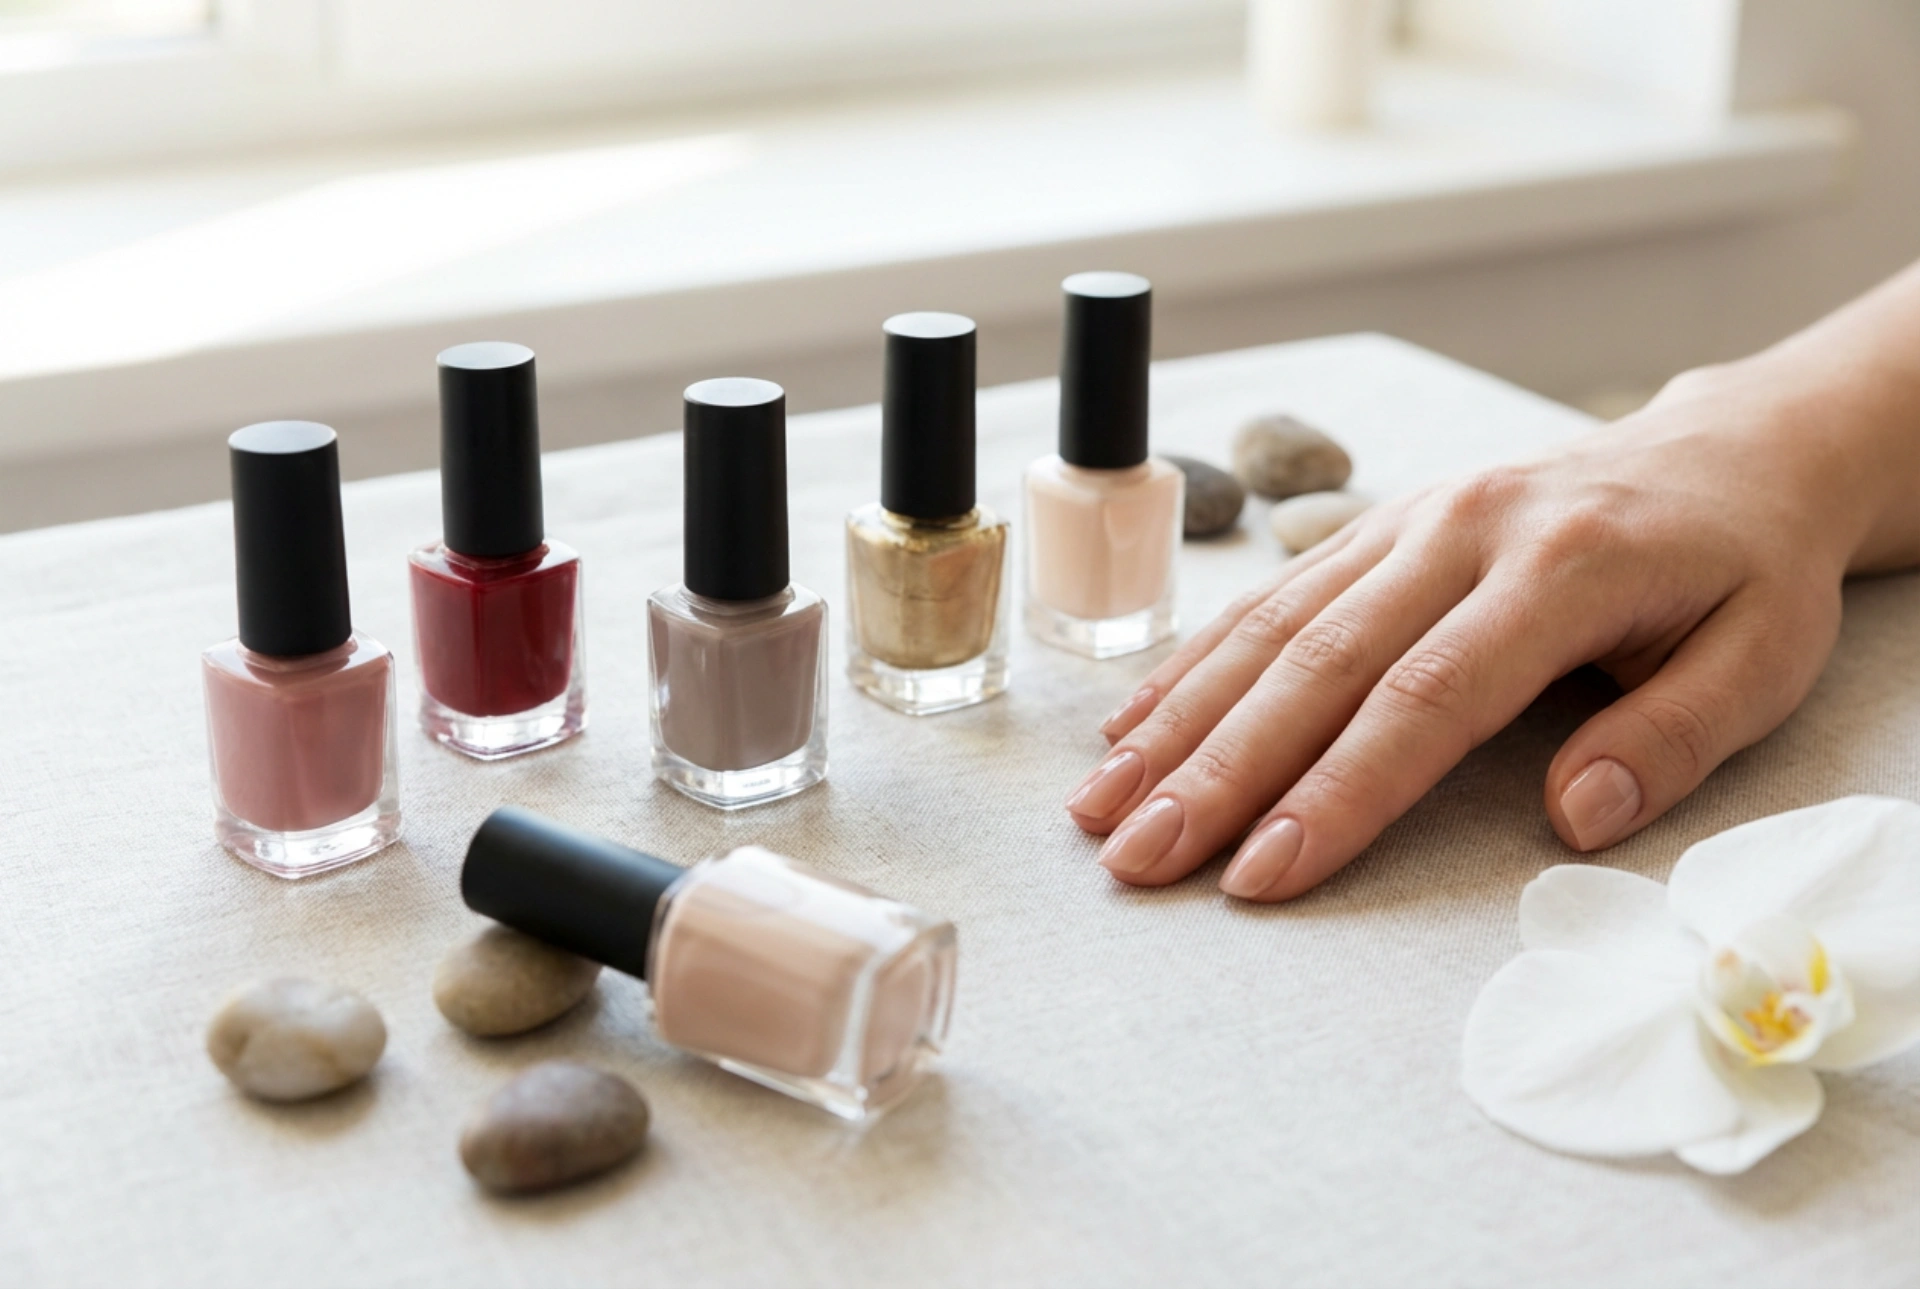
The market now offers a variety of nail polishes formulated for extended wear, often labelled as 'gel-effect', 'long-lasting', or 'chip-resistant'. These are not true gel polishes that require UV or LED light to cure, but rather advanced lacquer formulas designed to offer enhanced durability and a high-shine finish reminiscent of a salon gel service. When selecting a polish, look for systems that often include a specific base coat, colour, and a coordinating top coat. These products are designed to work together synergistically to create a stronger, more flexible coating that adheres better to the nail and withstands daily wear and tear.
What to Look For
- Formula Technology: Modern long-wear polishes often contain polymers that create a more pliable and resilient film than traditional lacquers. This flexibility helps prevent the polish from becoming brittle and chipping when the nail bends.
- Plumping Effect: Many 'gel-effect' polishes have a thicker consistency that builds a smooth, plumped-up surface, effectively hiding minor ridges and imperfections in the nail for a perfectly smooth finish.
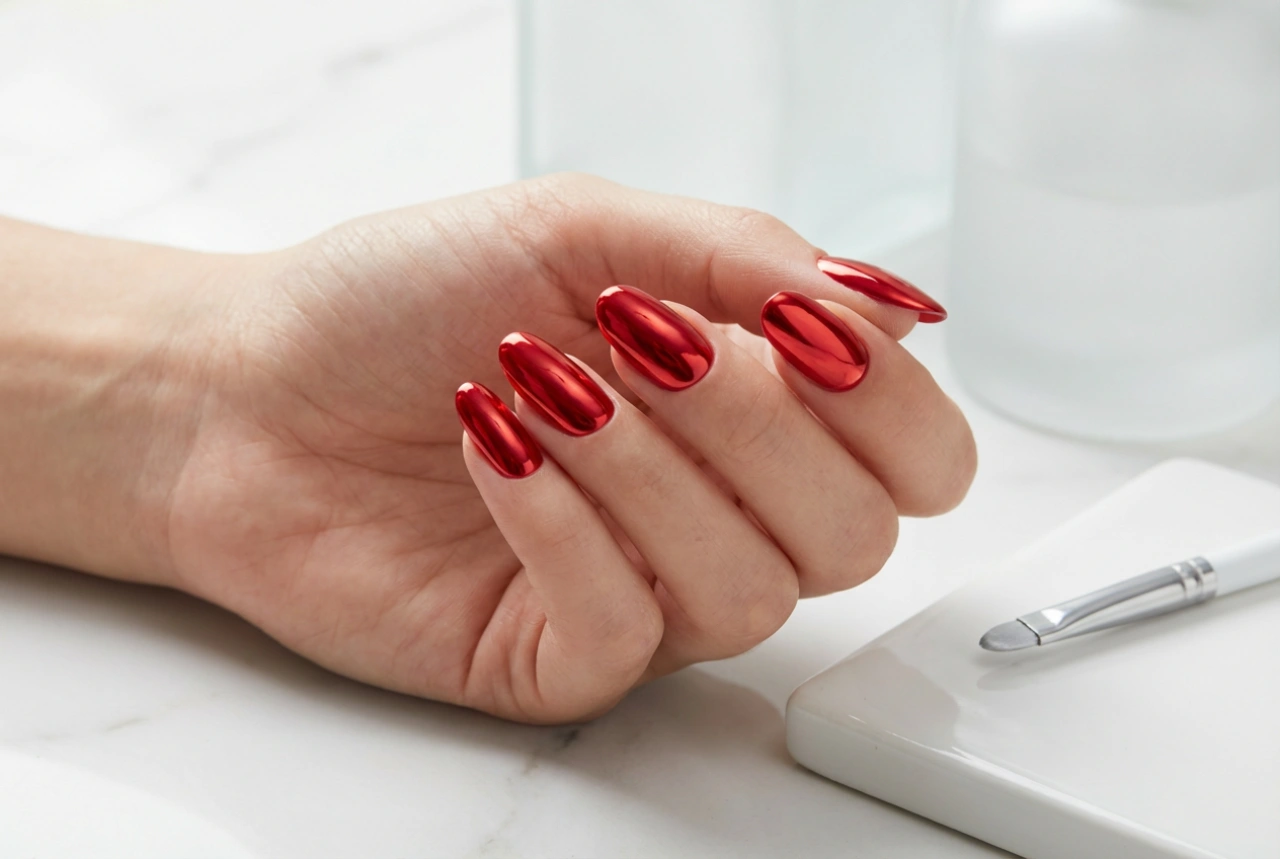
- High-Shine Finish: A key characteristic is the glass-like shine, which is typically achieved with a specialised top coat. This not only adds aesthetic appeal but also provides an extra layer of protection.
The Importance of Nail Preparation
The secret to any long-lasting manicure is meticulous preparation. Polish adheres best to a clean, dry, and slightly textured surface. Skipping this stage is the most common reason for premature chipping and peeling.
A Step-by-Step Preparation Guide
- Clean and Shape: Start by removing any old polish completely. Wash your hands, then gently file your nails to your desired shape, always filing in one direction to prevent splitting. Gently push back your cuticles, but avoid cutting them, as they serve as a protective barrier.
- Buff the Surface: Lightly buff the surface of your nails with a fine-grit buffer. This step is crucial as it removes the natural shine and creates a slightly rough texture for the base coat to grip onto. The goal is to create a matte surface, not to thin the nail.
- Dehydrate the Nail Plate: Wipe each nail with a lint-free pad soaked in rubbing alcohol or a specialised nail dehydrator. This removes any residual oils, lotions, or water from the nail surface that could interfere with polish adhesion. Allow your nails to air dry completely before proceeding.
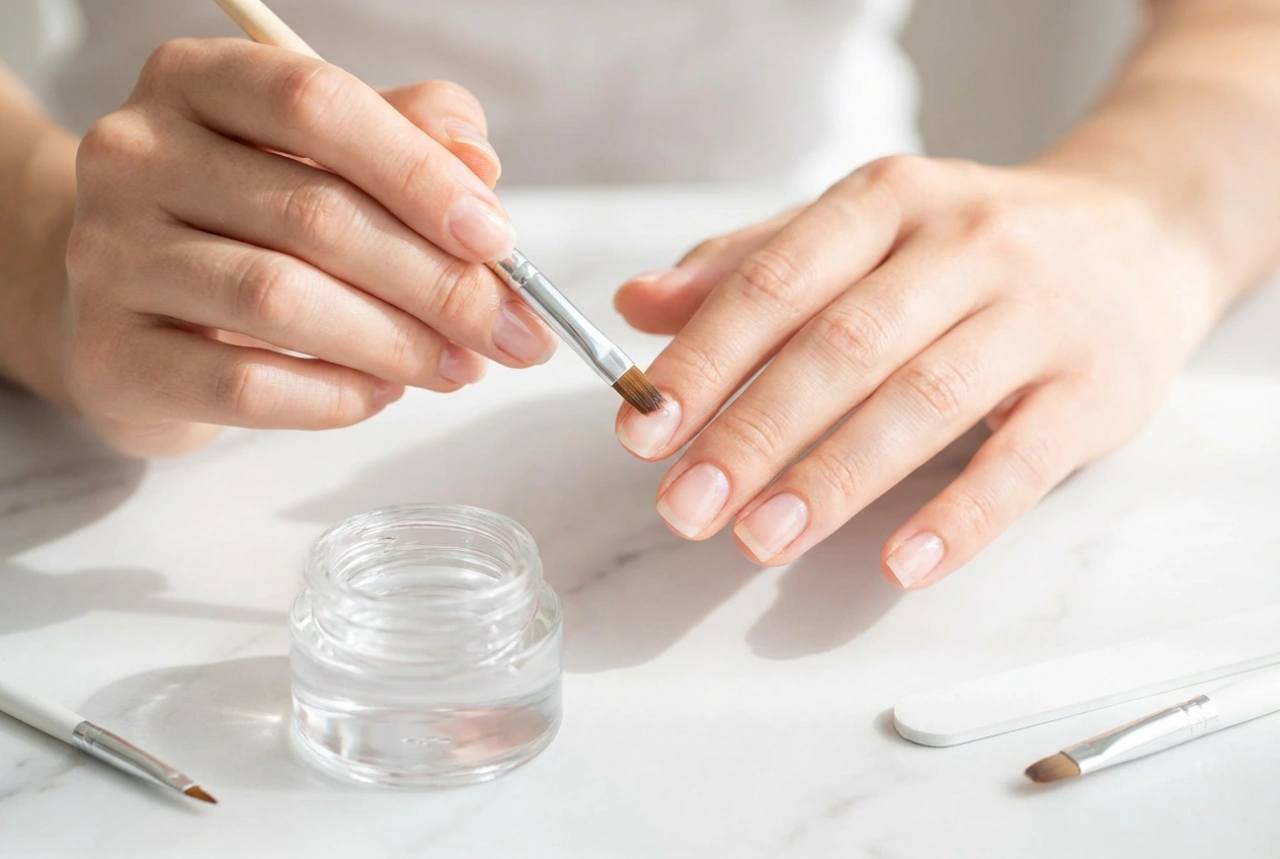
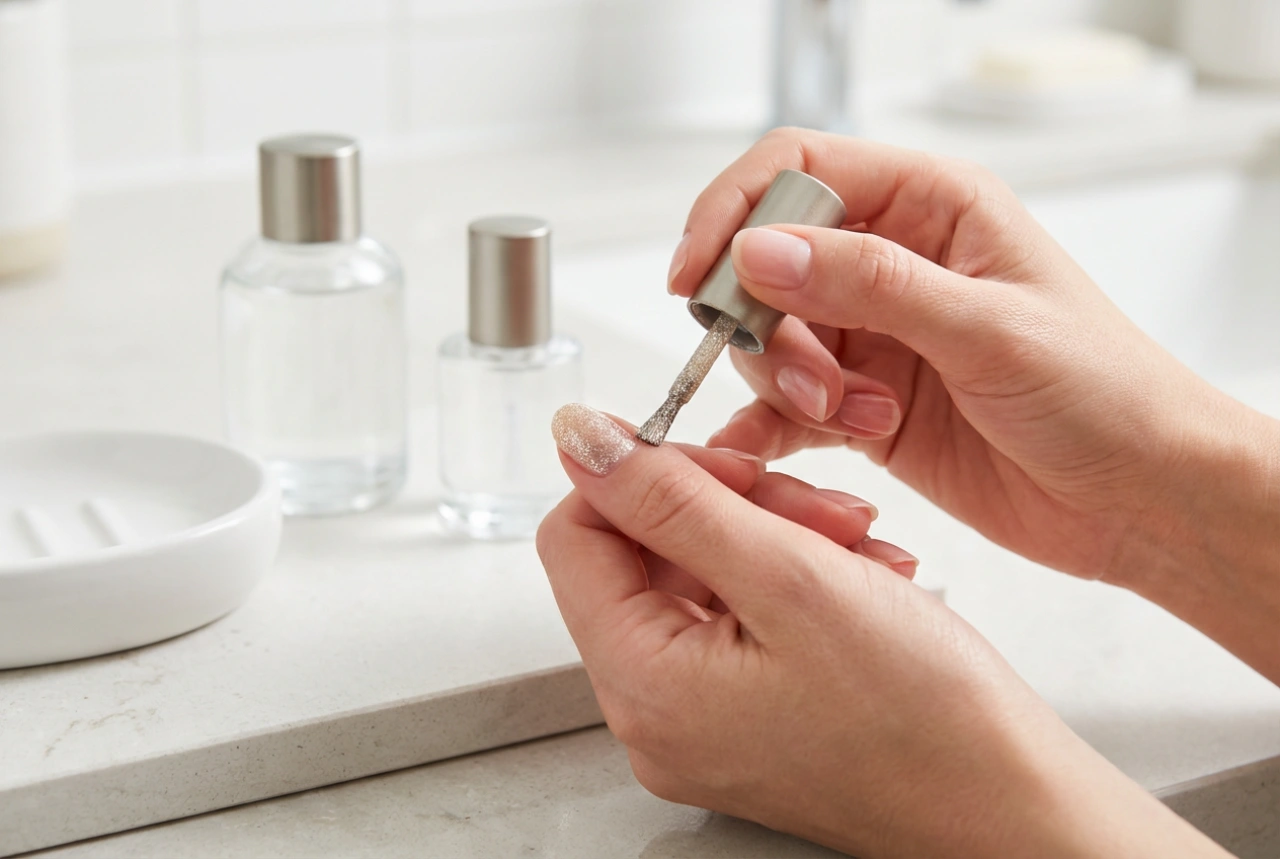
- Apply a Base Coat: Never skip the base coat. It acts as a double-sided tape, holding onto your natural nail on one side and gripping the colour polish on the other. It also prevents dark polishes from staining your natural nails.
Mastering the Application Technique
How you apply your nail polish is just as important as the product you use. Rushing the process or applying coats that are too thick will compromise the longevity of your manicure.
Tips for Flawless Application
- Use Thin Coats: Apply two to three very thin coats of colour polish rather than one or two thick ones. Thin layers dry faster and more evenly, creating a stronger, more stable finish that is less prone to smudging and bubbling.
- Allow Drying Time: Be patient and allow each coat to dry for at least two to three minutes before applying the next. This ensures that each layer has time to set properly.
- Cap the Free Edge: This is a professional technique that makes a significant difference. After painting the nail surface, swipe the brush lightly along the very tip (the free edge) of your nail. This seals the edge of the polish, creating a barrier that drastically reduces chipping from everyday activities like typing or washing your hands.
Extending the Life of Your Manicure
Once your manicure is complete, a few simple habits can help it last even longer. Protecting your nails from harsh conditions and reinforcing the protective top layer are key.
Aftercare and Maintenance
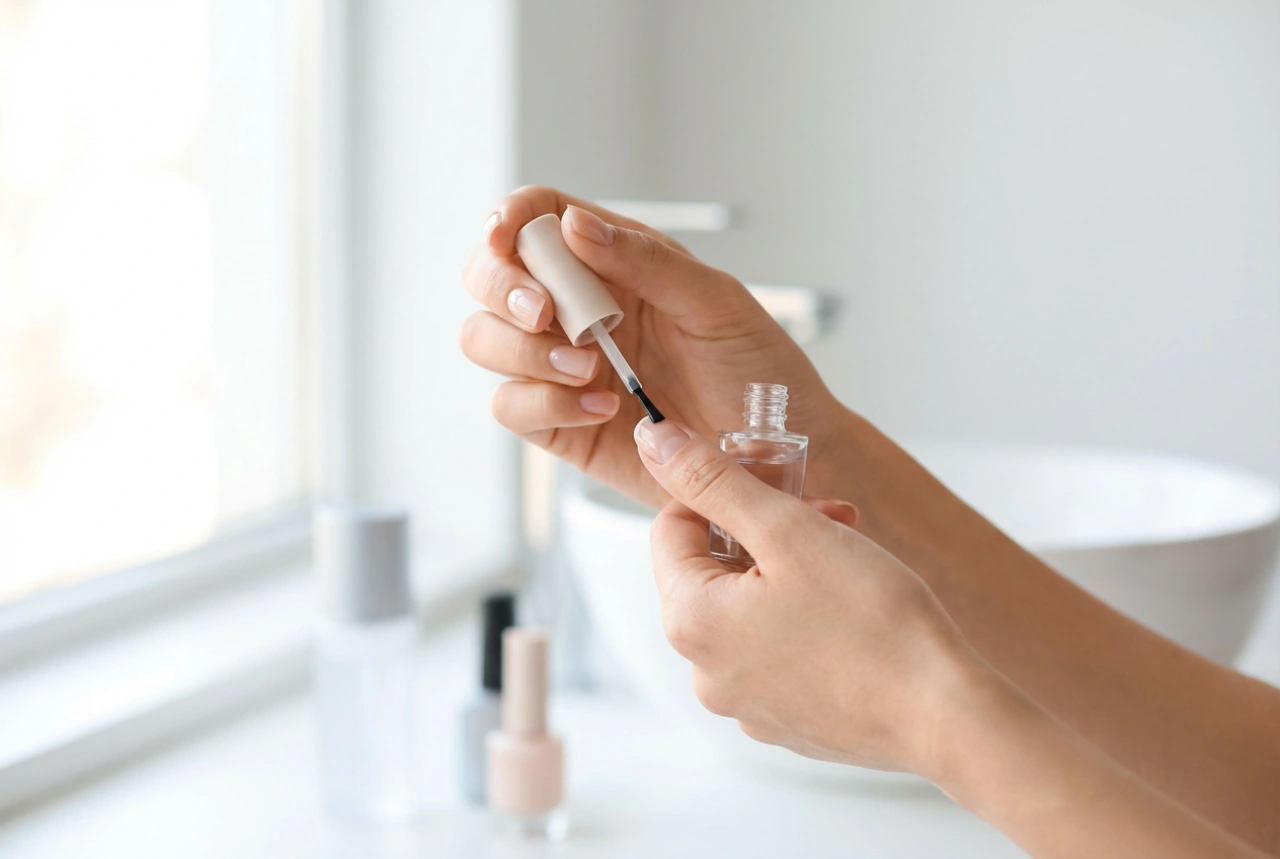
- The Power of the Top Coat: Apply a generous layer of a high-quality, long-wear top coat, making sure to cap the free edge as you did with the colour. For maximum durability, reapply a thin layer of top coat every two to three days. This refreshes the shine and reinforces the protective shield over your colour.
- Hydrate Your Cuticles: Apply cuticle oil daily. Hydrated cuticles contribute to healthier nails, and the oil can also help keep the polish at the base of your nail flexible, preventing it from drying out and lifting.
- Protect Your Hands: Wear rubber gloves when doing dishes, cleaning, or gardening. Prolonged exposure to water and harsh chemicals are the biggest enemies of a lasting manicure, as they can cause the polish to lift and peel.