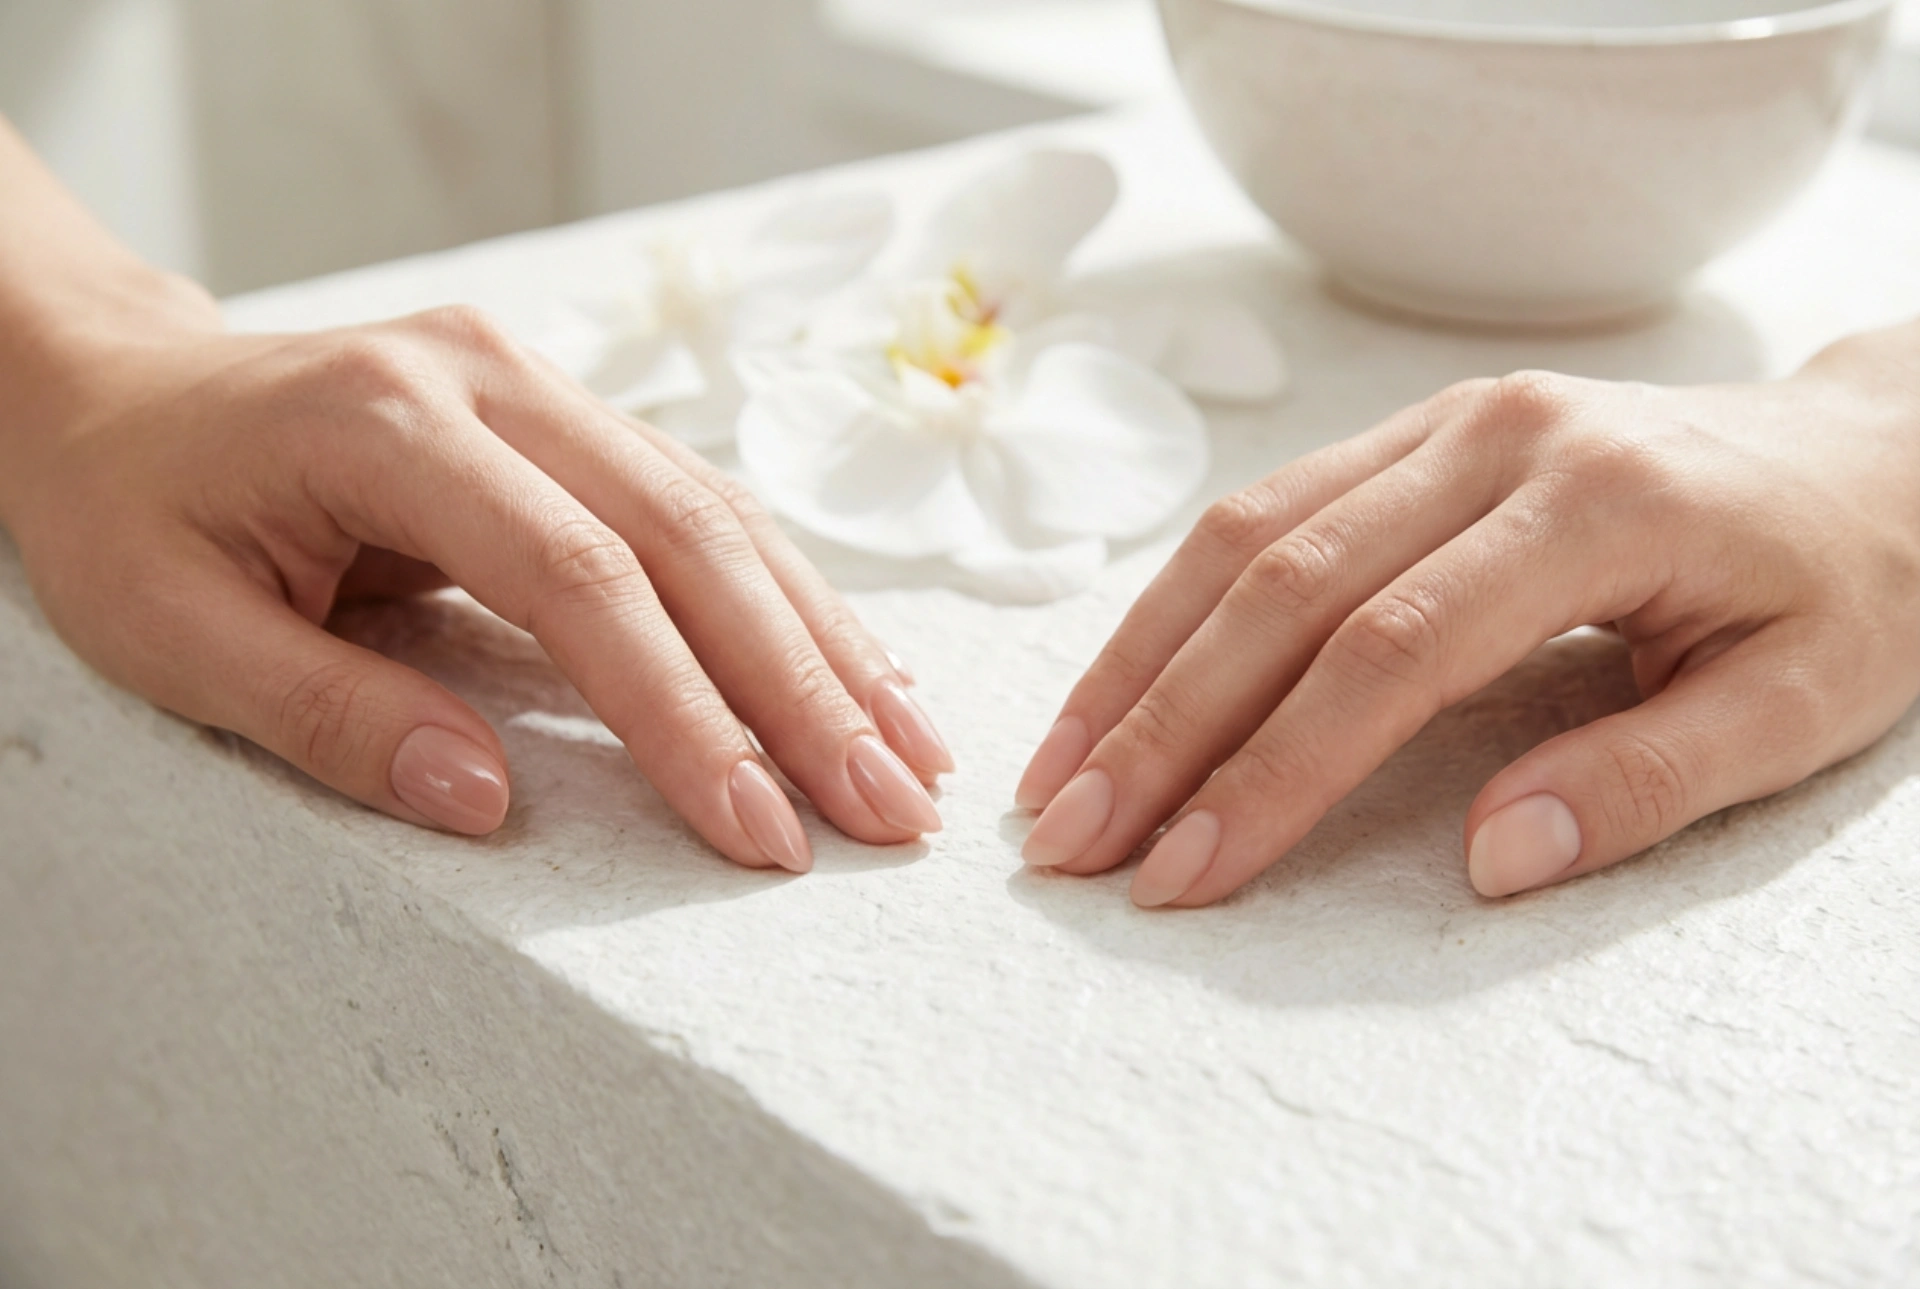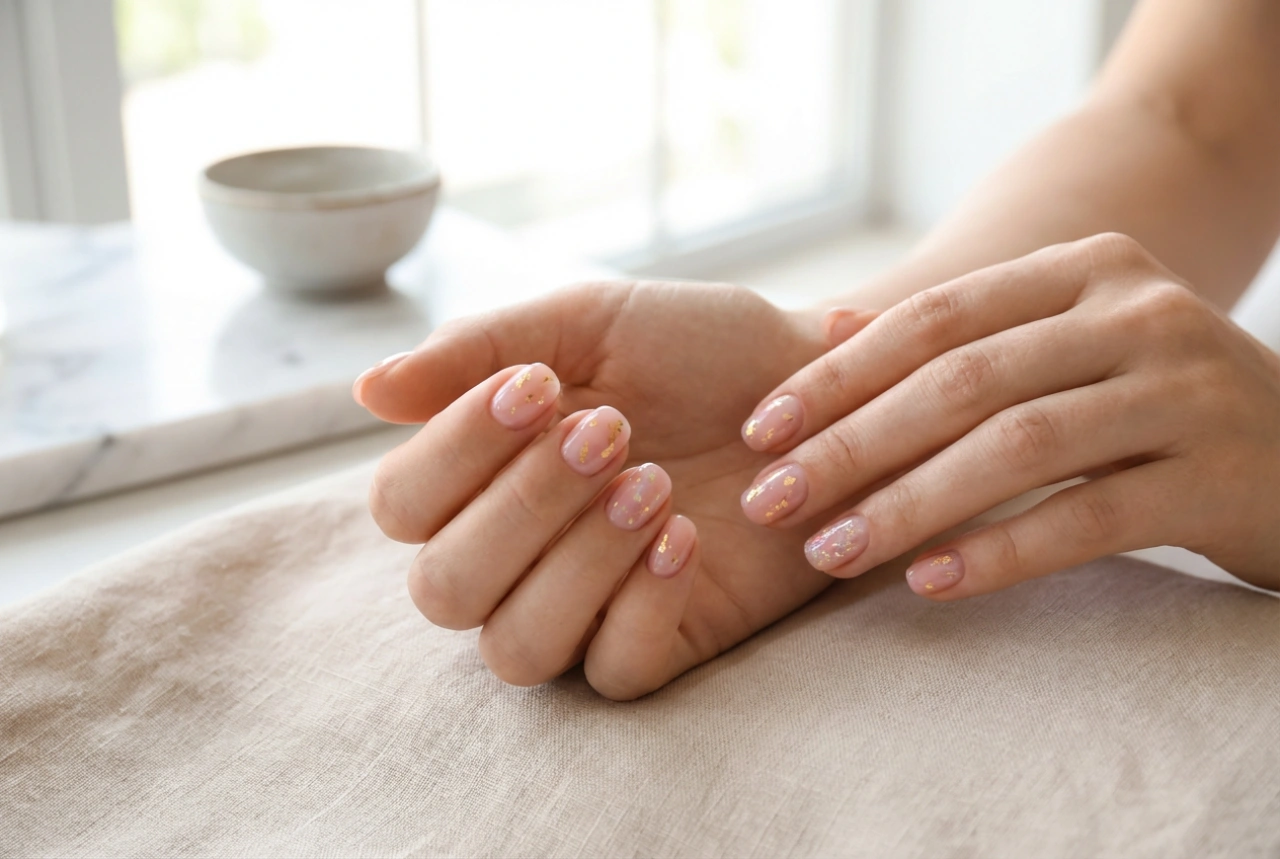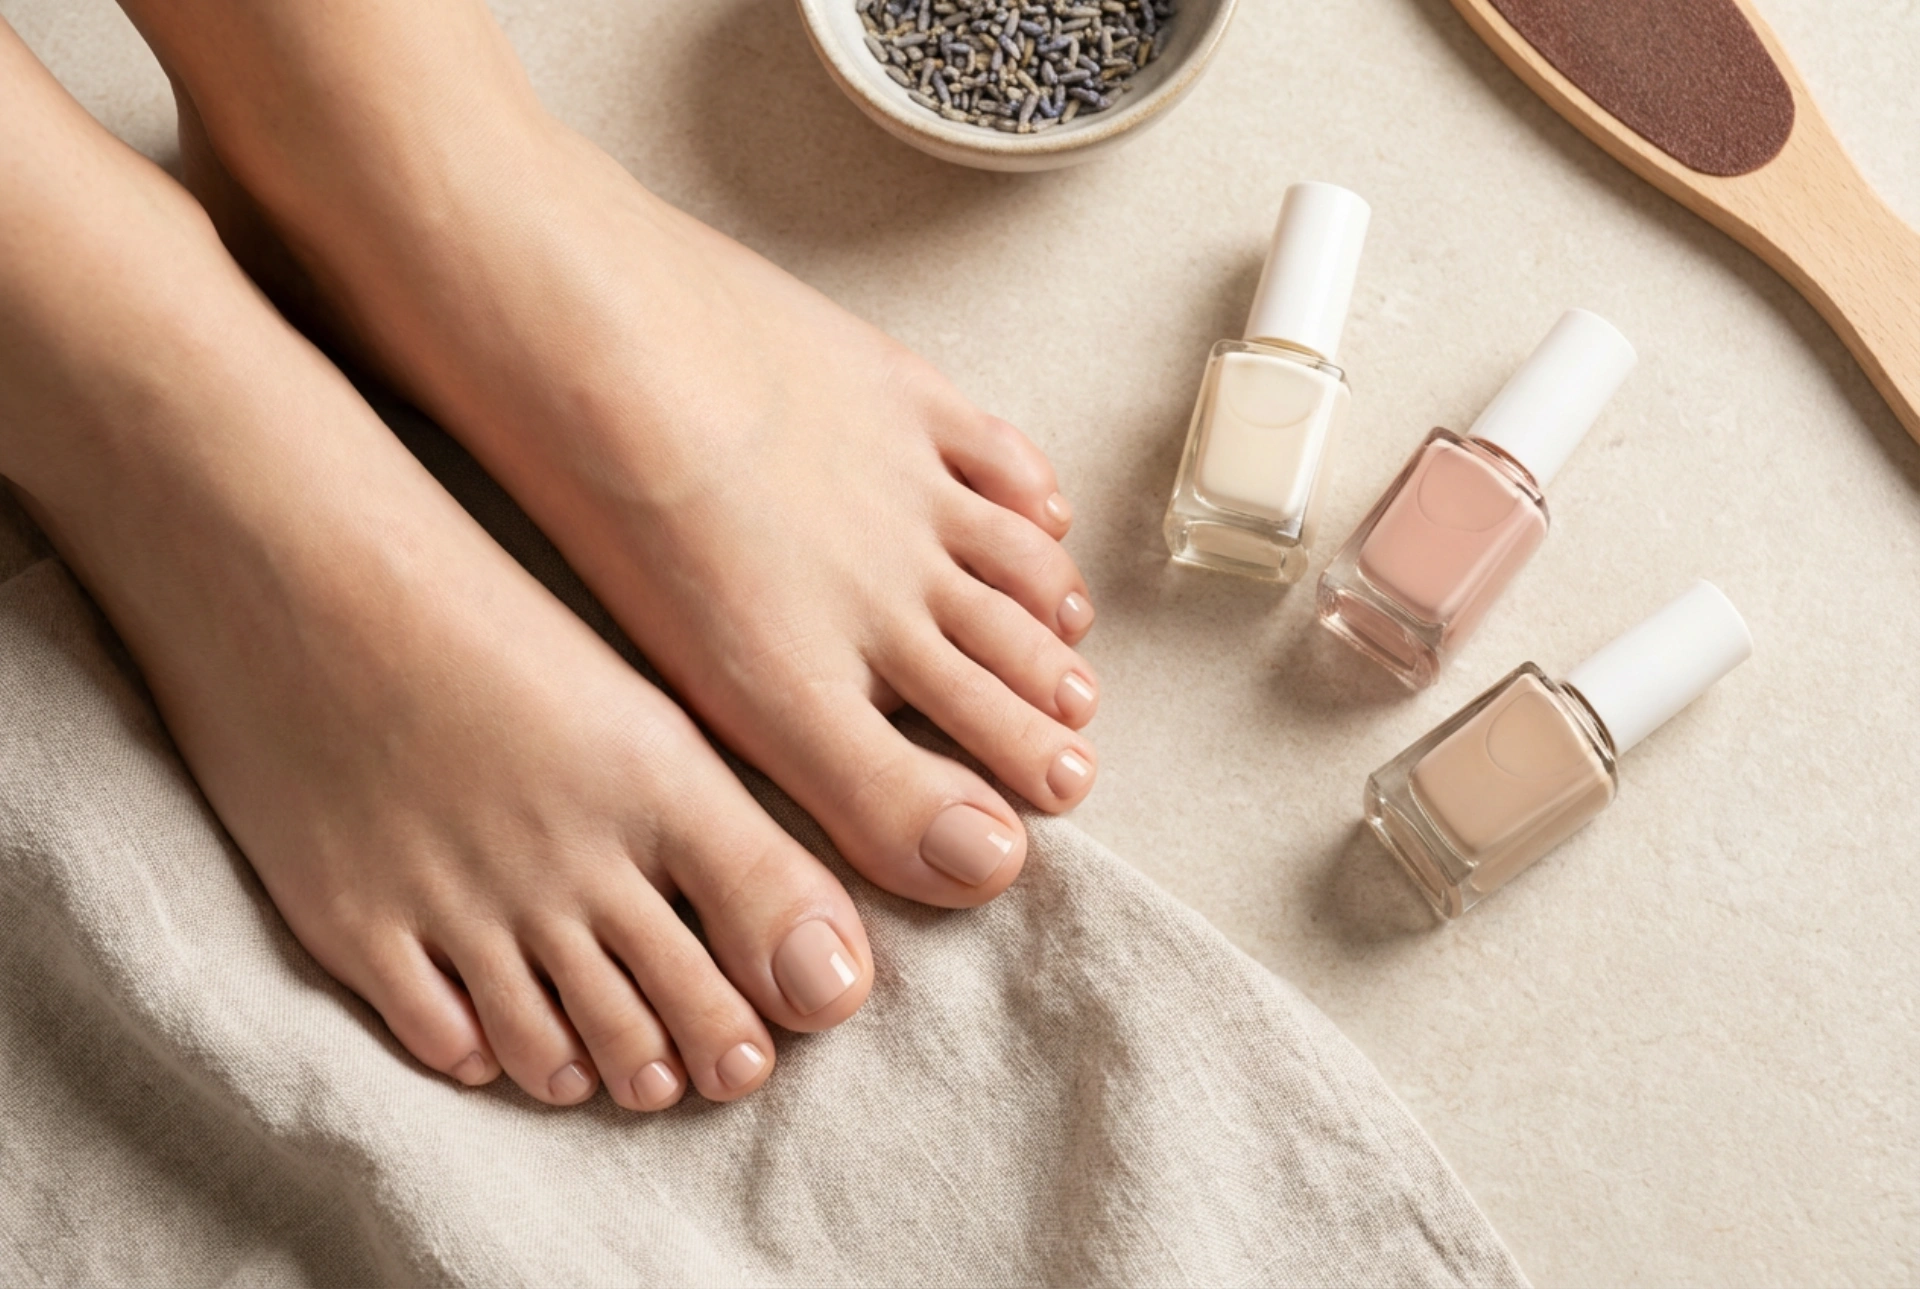


A nude pedicure is a symbol of timeless elegance and sophistication. Its subtle charm makes it a perfect choice for any season and occasion, complementing every outfit without drawing too much attention. The key to a perfect nude pedicure lies not only in a flawless, streak-free application but also in choosing a shade that harmonises beautifully with your skin tone. A well-chosen nude can elongate the look of your legs and give your feet a polished, well-groomed appearance.
How to Select the Perfect Nude Shade for Your Skin Tone
The term 'nude' encompasses a wide spectrum of colours, from pale pinks to deep chocolates. Finding your ideal match is crucial for achieving that effortlessly chic look. The goal is to choose a colour that complements your natural complexion rather than clashing with it or making your skin appear washed out.
For Fair Skin Tones
If you have fair skin with cool (pink, red, or bluish) undertones, opt for nude polishes that have a hint of soft pink. Sheer, rosy beiges will brighten your complexion. Avoid nudes that are too yellow or grey, as they can make your skin look dull. A delicate, milky pink or a pale beige with a rosy undertone is an excellent choice.
For Medium Skin Tones
Medium skin tones, often with warm (yellow, golden, or peachy) undertones, look fantastic with a wider range of nudes. You can confidently wear warm beiges, creamy caramels, or peachy-toned polishes. These shades will enhance the natural warmth of your skin. Avoid polishes that are significantly lighter than your skin tone, as they can create too much contrast.
For Olive Skin Tones
Olive skin has a unique combination of warm and neutral undertones, often with a greenish or golden hue. The best nudes for this complexion are those with a warm, golden base. Think light taupes, warm khakis, or shades of caramel. These earthy tones will complement the natural colour of your skin beautifully, creating a seamless and sophisticated look.
For Deep Skin Tones
For those with deep complexions, the options are rich and varied. You can go for shades that are slightly lighter or darker than your skin tone. Rich chocolate browns, deep espresso hues, or warm terracotta nudes create a stunning effect. A sheer berry or a creamy café-au-lait shade can also provide a beautiful, subtle contrast that highlights the richness of your skin.
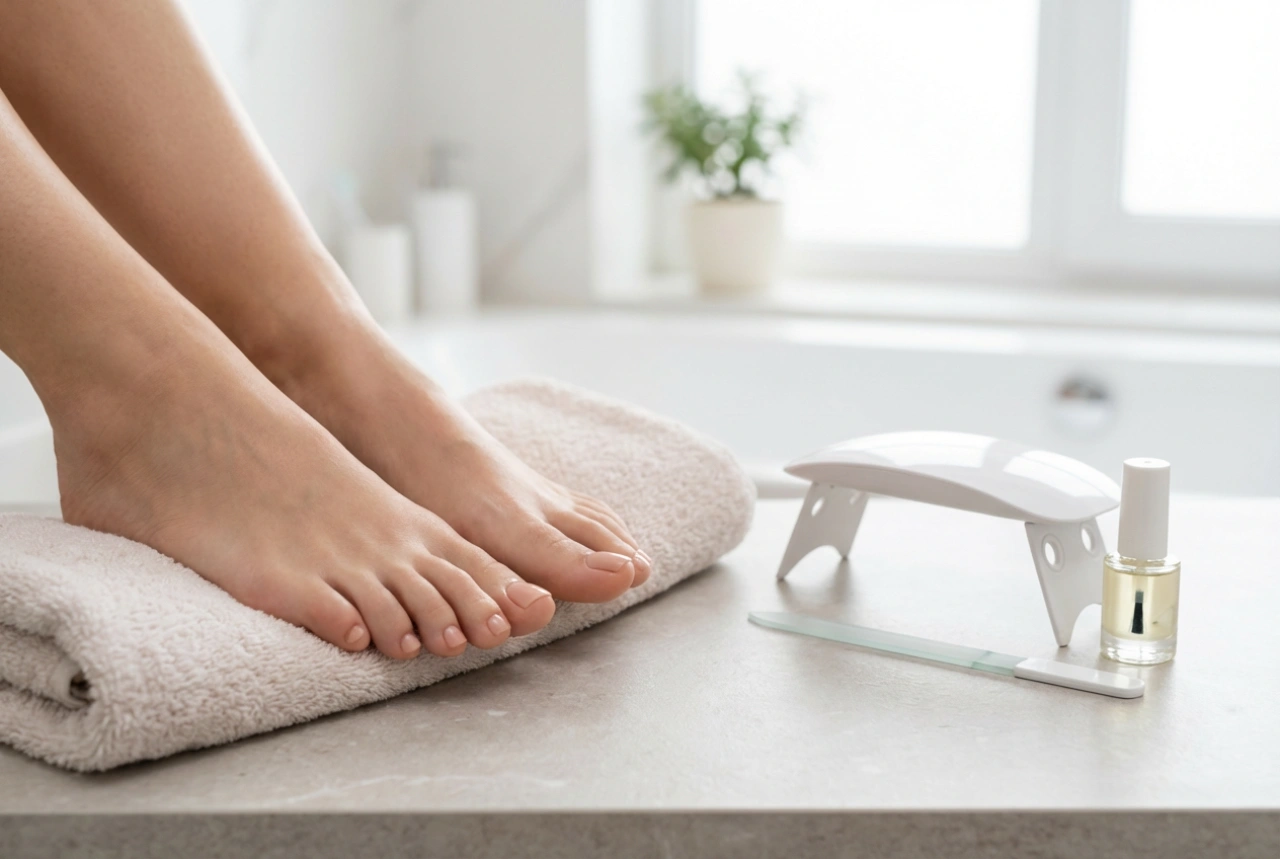
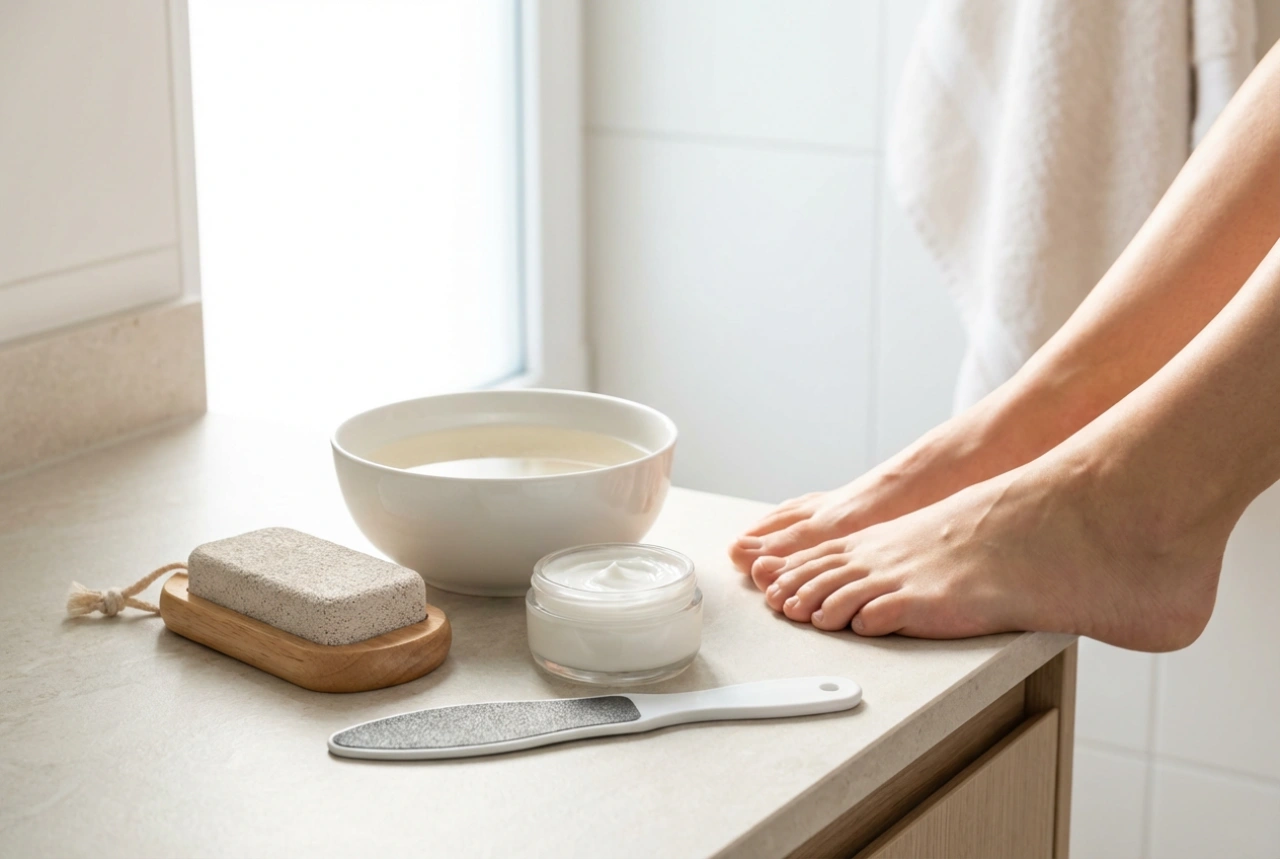
Preparation for a Flawless Application
Proper preparation is half the battle for a professional-looking pedicure at home. A smooth canvas ensures the polish glides on evenly and lasts longer.
- Soak and Exfoliate: Begin by soaking your feet in warm water for about 10-15 minutes to soften the skin and cuticles. Use a gentle foot scrub to exfoliate dead skin cells.
- Cuticle Care: Gently push back your cuticles using a wooden or rubber-tipped cuticle pusher. Avoid cutting them, as this can lead to irritation.
- Shape Your Nails: Trim and file your toenails to your desired shape. A slightly squared-off shape with rounded edges is often the most durable and classic look.
- Buff the Surface: Lightly buff the surface of your nails with a fine-grit buffer. This removes ridges and creates a smooth base for the polish to adhere to.
- Cleanse the Nail Plate: Wipe each toenail with a cotton pad soaked in nail polish remover or rubbing alcohol. This step removes any natural oils or dust, ensuring maximum polish adhesion.
The Technique for a Streak-Free Finish
Applying light-coloured polish can be tricky, but with the right technique, you can achieve a perfect, streak-free result every time.
- Start with a Base Coat: Never skip the base coat. It protects your nails from staining, fills in minor imperfections, and gives the coloured polish something to grip onto.
- Apply Thin Coats: The golden rule for nude polish is to apply it in thin, even layers. Two to three thin coats will provide better coverage and dry more evenly than one thick, goopy coat.
- Use the Three-Stroke Method: Load your brush with a moderate amount of polish. Place the brush in the centre of the nail, slightly away from the cuticle. Push back gently, then pull the brush straight down to the tip. Repeat on the left and right sides to cover the entire nail.
- Allow for Drying Time: Patience is key. Wait at least two to three minutes between coats to allow each layer to dry partially. This prevents dragging and smudging.
- Seal with a Top Coat: Once your final colour coat is touch-dry, apply a high-quality top coat. It will seal the colour, add a beautiful shine, and protect your pedicure from chipping, extending its life significantly.